fuses GMC SAVANA 2006 Owner's Manual
[x] Cancel search | Manufacturer: GMC, Model Year: 2006, Model line: SAVANA, Model: GMC SAVANA 2006Pages: 394, PDF Size: 2.56 MB
Page 105 of 394
Theft-Deterrent Systems
Vehicle theft is big business, especially in some cities.
Although your vehicle has a number of theft-deterrent
features, we know that nothing we put on it can make it
impossible to steal.
Passlock®
Your vehicle is equipped with the Passlock®
theft-deterrent system.
Passlock®is a passive theft-deterrent system. Passlock®
enables fuel if the ignition lock cylinder is turned with
a valid key. If a correct key is not used or the ignition
lock cylinder is tampered with, fuel is disabled.
During normal operation, the SECURITY light will go off
approximately five seconds after the key is turned to
RUN. SeeSecurity Light on page 3-40.
If the engine stalls and the SECURITY light flashes,
wait until the light stops flashing before trying to restart
the engine. Remember to release the key from
START as soon as the engine starts.
If the engine is running and the SECURITY light comes
on, you will be able to restart the engine if you turn the
engine off. However, your Passlock
®system is not
working properly and must be serviced by your dealer.
Your vehicle is not protected by Passlock
®at this time.
You may also want to check the fuse. SeeFuses and
Circuit Breakers on page 5-93. See your dealer for
service.
Starting and Operating Your
Vehicle
New Vehicle Break-In
Notice:Your vehicle does not need an elaborate
break-in. But it will perform better in the long run if
you follow these guidelines:
Keep your speed at 55 mph (88 km/h) or less for
the �rst 500 miles (805 km).
Do not drive at any one constant speed, fast or
slow, for the �rst 500 miles (805 km). Do not
make full-throttle starts. Avoid downshifting to
brake, or slow, the vehicle.
Avoid making hard stops for the �rst 200 miles
(322 km) or so. During this time your new brake
linings are not yet broken in. Hard stops with new
linings can mean premature wear and earlier
replacement. Follow this breaking-in guideline
every time you get new brake linings.
Do not tow a trailer during break-in. SeeTowing a
Trailer on page 4-37for the trailer towing
capabilities of your vehicle and more
information.
Following break-in, engine speed and load can be
gradually increased.
2-17
Page 126 of 394
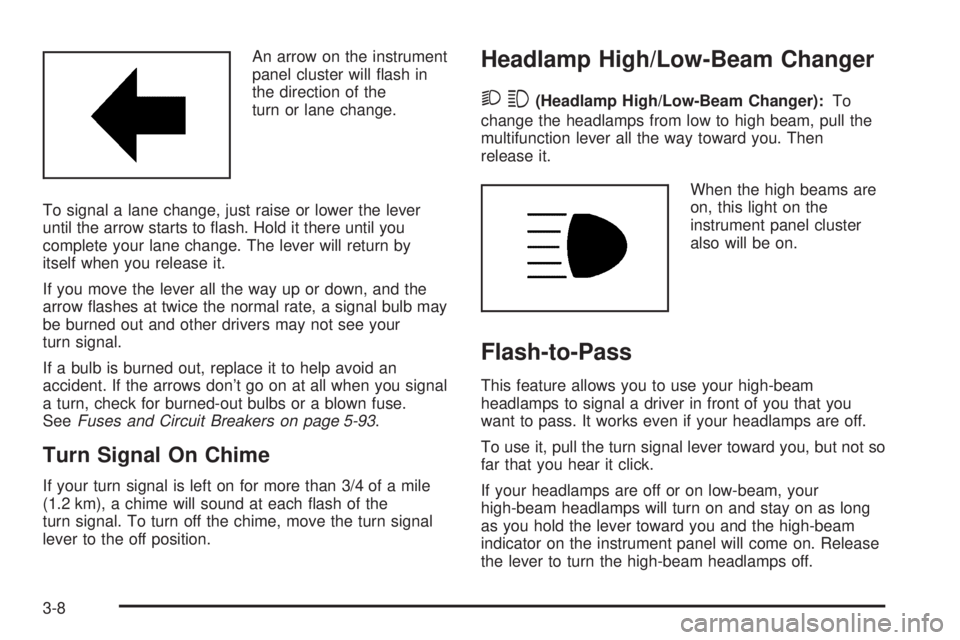
An arrow on the instrument
panel cluster will flash in
the direction of the
turn or lane change.
To signal a lane change, just raise or lower the lever
until the arrow starts to flash. Hold it there until you
complete your lane change. The lever will return by
itself when you release it.
If you move the lever all the way up or down, and the
arrow flashes at twice the normal rate, a signal bulb may
be burned out and other drivers may not see your
turn signal.
If a bulb is burned out, replace it to help avoid an
accident. If the arrows don’t go on at all when you signal
a turn, check for burned-out bulbs or a blown fuse.
SeeFuses and Circuit Breakers on page 5-93.
Turn Signal On Chime
If your turn signal is left on for more than 3/4 of a mile
(1.2 km), a chime will sound at each flash of the
turn signal. To turn off the chime, move the turn signal
lever to the off position.
Headlamp High/Low-Beam Changer
23(Headlamp High/Low-Beam Changer):To
change the headlamps from low to high beam, pull the
multifunction lever all the way toward you. Then
release it.
When the high beams are
on, this light on the
instrument panel cluster
also will be on.
Flash-to-Pass
This feature allows you to use your high-beam
headlamps to signal a driver in front of you that you
want to pass. It works even if your headlamps are off.
To use it, pull the turn signal lever toward you, but not so
far that you hear it click.
If your headlamps are off or on low-beam, your
high-beam headlamps will turn on and stay on as long
as you hold the lever toward you and the high-beam
indicator on the instrument panel will come on. Release
the lever to turn the high-beam headlamps off.
3-8
Page 134 of 394
Battery Run-Down Protection
This feature shuts off the exterior and interior lamps if
they are left on after the ignition is turned off. All exterior
lamps will shut off after 10 minutes. Interior cargo
lamps will shut down after 20 minutes and all other
interior lamps after 10 minutes.
Accessory Power Outlet(s)
With accessory power outlets you can plug in auxiliary
electrical equipment such as a cellular telephone or
CB radio.
Your vehicle may have two accessory power outlets.
If your vehicle has a cigarette lighter/accessory
power outlet, it is located on the driver’s side of the front
storage compartment. The other accessory power
outlet is located on the passenger’s side of the front
storage compartment.To use the outlet, lift the cover. When not using it,
always close the cover.
Certain power accessory plugs may not be compatible
to the accessory power outlet and could result in
blown vehicle or adapter fuses. If you experience a
problem, see your dealer for additional information on
the accessory power plugs.
Notice:Adding any electrical equipment to your
vehicle may damage it or keep other components
from working as they should. The repairs would not
be covered by your warranty. Do not use equipment
exceeding maximum amperage rating. Check
with your dealer before adding electrical equipment.
When adding electrical equipment, be sure to follow
the proper installation instructions included with
the equipment.
Notice:Improper use of the power outlet can cause
damage not covered by your warranty. Do not
hang any type of accessory or accessory bracket
from the plug because the power outlets are
designed for accessory power plugs only.
3-16
Page 250 of 394
Tires..............................................................5-52
Tire Sidewall Labeling...................................5-53
Tire Terminology and Definitions.....................5-56
Inflation - Tire Pressure.................................5-59
Dual Tire Operation.......................................5-60
Tire Inspection and Rotation...........................5-61
When It Is Time for New Tires.......................5-63
Buying New Tires.........................................5-63
Different Size Tires and Wheels......................5-65
Uniform Tire Quality Grading..........................5-65
Wheel Alignment and Tire Balance..................5-67
Wheel Replacement......................................5-67
Tire Chains..................................................5-68
If a Tire Goes Flat........................................5-69
Changing a Flat Tire.....................................5-70
Removing the Spare Tire and Tools................5-71
Removing the Flat Tire and Installing
the Spare Tire..........................................5-74
Secondary Latch System...............................5-79
Storing a Flat or Spare Tire and Tools............5-82
Spare Tire...................................................5-83
Appearance Care............................................5-84
Cleaning the Inside of Your Vehicle.................5-84
Fabric/Carpet...............................................5-85
Instrument Panel, Vinyl, and Other
Plastic Surfaces........................................5-86Care of Safety Belts......................................5-86
Weatherstrips...............................................5-86
Washing Your Vehicle...................................5-87
Cleaning Exterior Lamps/Lenses.....................5-87
Finish Care..................................................5-87
Windshield and Wiper Blades.........................5-88
Aluminum Wheels.........................................5-89
Tires...........................................................5-89
Sheet Metal Damage.....................................5-90
Finish Damage.............................................5-90
Underbody Maintenance................................5-90
Chemical Paint Spotting.................................5-90
Vehicle Care/Appearance Materials..................5-91
Vehicle Identi�cation......................................5-92
Vehicle Identification Number (VIN).................5-92
Service Parts Identification Label.....................5-92
Electrical System............................................5-93
Add-On Electrical Equipment..........................5-93
Headlamp Wiring..........................................5-93
Windshield Wiper Fuses................................5-93
Fuses and Circuit Breakers............................5-93
Floor Console Fuse Block..............................5-94
Engine Compartment Fuse Block....................5-95
Capacities and Speci�cations..........................5-98
Section 5 Service and Appearance Care
5-2
Page 341 of 394
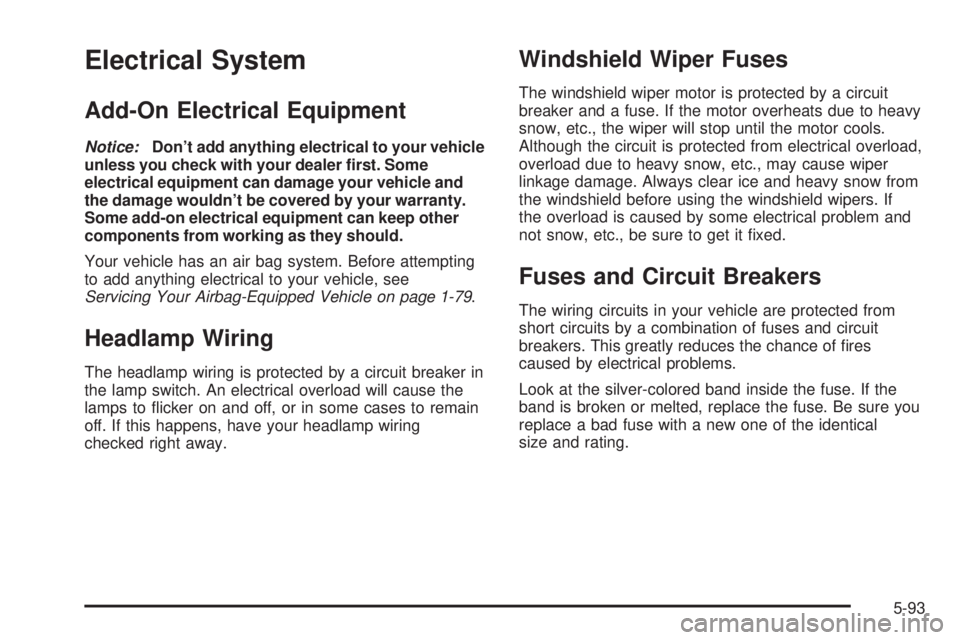
Electrical System
Add-On Electrical Equipment
Notice:Don’t add anything electrical to your vehicle
unless you check with your dealer �rst. Some
electrical equipment can damage your vehicle and
the damage wouldn’t be covered by your warranty.
Some add-on electrical equipment can keep other
components from working as they should.
Your vehicle has an air bag system. Before attempting
to add anything electrical to your vehicle, see
Servicing Your Airbag-Equipped Vehicle on page 1-79.
Headlamp Wiring
The headlamp wiring is protected by a circuit breaker in
the lamp switch. An electrical overload will cause the
lamps to flicker on and off, or in some cases to remain
off. If this happens, have your headlamp wiring
checked right away.
Windshield Wiper Fuses
The windshield wiper motor is protected by a circuit
breaker and a fuse. If the motor overheats due to heavy
snow, etc., the wiper will stop until the motor cools.
Although the circuit is protected from electrical overload,
overload due to heavy snow, etc., may cause wiper
linkage damage. Always clear ice and heavy snow from
the windshield before using the windshield wipers. If
the overload is caused by some electrical problem and
not snow, etc., be sure to get it fixed.
Fuses and Circuit Breakers
The wiring circuits in your vehicle are protected from
short circuits by a combination of fuses and circuit
breakers. This greatly reduces the chance of fires
caused by electrical problems.
Look at the silver-colored band inside the fuse. If the
band is broken or melted, replace the fuse. Be sure you
replace a bad fuse with a new one of the identical
size and rating.
5-93
Page 386 of 394
D
Daytime Running Lamps..................................3-14
Daytime Running Lamps Indicator Light.............3-41
Defensive Driving............................................. 4-2
Doing Your Own Service Work........................... 5-4
Dome Lamp Override......................................3-15
Dome Lamps.................................................3-15
Door
60/40 Swing-Out Side Door...........................2-11
Cargo Door Relocking.................................... 2-8
Locks.......................................................... 2-7
Power Door Locks......................................... 2-8
Rear Door Security Locks............................... 2-8
Rear Doors.................................................2-12
Sliding Side Door........................................2-10
Driver
Position, Safety Belt.....................................1-15
Driving
At Night.....................................................4-17
City...........................................................4-20
Defensive..................................................... 4-2
Drunken....................................................... 4-3
Freeway.....................................................4-21
Hill and Mountain Roads..............................4-23
In Rain and on Wet Roads...........................4-18
Rocking Your Vehicle to Get it Out.................4-30
Winter........................................................4-25
Dual Tire Operation.........................................5-60
E
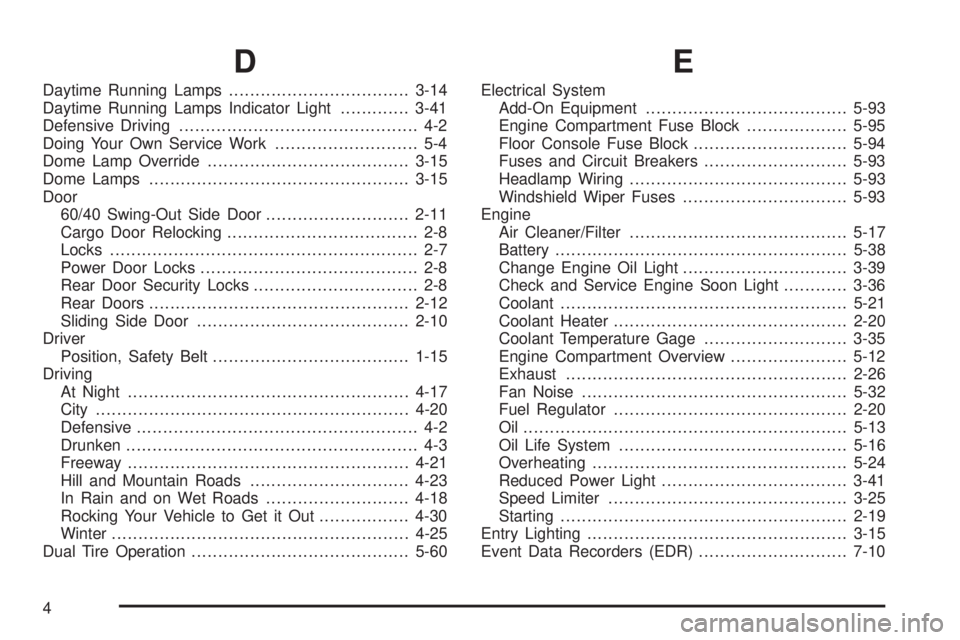
Electrical System
Add-On Equipment......................................5-93
Engine Compartment Fuse Block...................5-95
Floor Console Fuse Block.............................5-94
Fuses and Circuit Breakers...........................5-93
Headlamp Wiring.........................................5-93
Windshield Wiper Fuses...............................5-93
Engine
Air Cleaner/Filter.........................................5-17
Battery.......................................................5-38
Change Engine Oil Light...............................3-39
Check and Service Engine Soon Light............3-36
Coolant......................................................5-21
Coolant Heater............................................2-20
Coolant Temperature Gage...........................3-35
Engine Compartment Overview......................5-12
Exhaust.....................................................2-26
Fan Noise..................................................5-32
Fuel Regulator............................................2-20
Oil .............................................................5-13
Oil Life System...........................................5-16
Overheating................................................5-24
Reduced Power Light...................................3-41
Speed Limiter.............................................3-25
Starting......................................................2-19
Entry Lighting.................................................3-15
Event Data Recorders (EDR)............................7-10
4
Page 387 of 394
Exit Lighting...................................................3-15
Extender, Safety Belt.......................................1-31
Exterior Lamps...............................................3-13
F
Filter
Engine Air Cleaner......................................5-17
Finish Damage...............................................5-90
Fixed Mast Antenna........................................3-77
Flash-to-Pass................................................... 3-8
Flat Tire........................................................5-69
Flat Tire, Changing.........................................5-70
Flat Tire, Storing.............................................5-82
Fluid
Automatic Transmission................................5-19
Power Steering...........................................5-32
Windshield Washer......................................5-34
Front Axle......................................................5-44
Fuel............................................................... 5-5
Additives...................................................... 5-6
California Fuel.............................................. 5-6
Filling a Portable Fuel Container....................5-10
Filling Your Tank........................................... 5-8
Fuels in Foreign Countries.............................. 5-7
Gage.........................................................3-42
Gasoline Octane........................................... 5-5
Gasoline Specifications.................................. 5-5
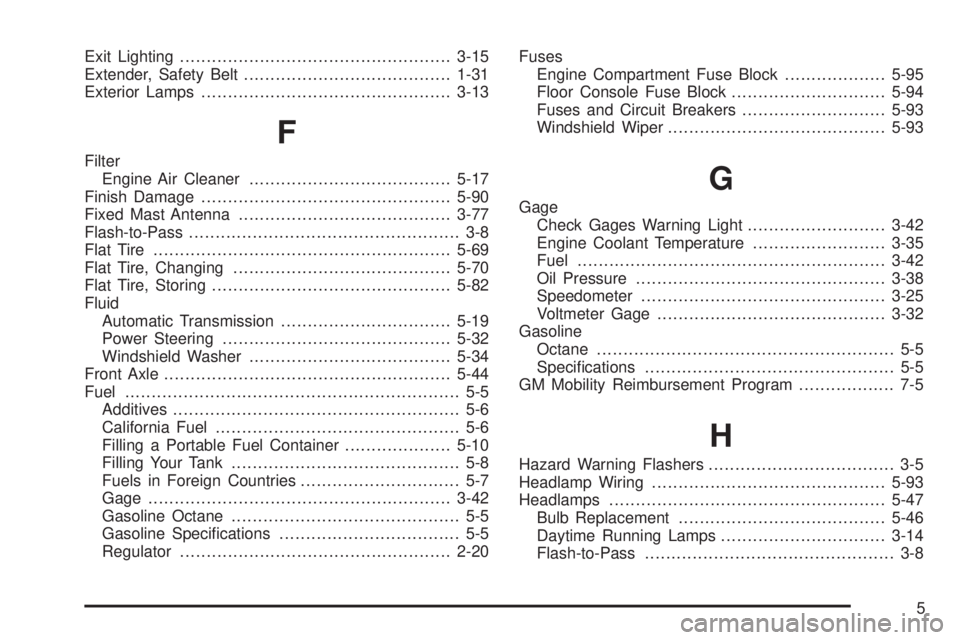
Regulator...................................................2-20Fuses
Engine Compartment Fuse Block...................5-95
Floor Console Fuse Block.............................5-94
Fuses and Circuit Breakers...........................5-93
Windshield Wiper.........................................5-93
G
Gage
Check Gages Warning Light..........................3-42
Engine Coolant Temperature.........................3-35
Fuel..........................................................3-42
Oil Pressure...............................................3-38
Speedometer..............................................3-25
Voltmeter Gage...........................................3-32
Gasoline
Octane........................................................ 5-5
Specifications............................................... 5-5
GM Mobility Reimbursement Program.................. 7-5
H
Hazard Warning Flashers................................... 3-5
Headlamp Wiring............................................5-93
Headlamps....................................................5-47
Bulb Replacement.......................................5-46
Daytime Running Lamps...............................3-14
Flash-to-Pass............................................... 3-8
5
Page 394 of 394
V
Vehicle
Control........................................................ 4-5
Damage Warnings........................................... iv
Loading......................................................4-30
Symbols......................................................... iv
Vehicle Data Collection and Event
Data Recorders...........................................7-10
Vehicle Identification
Number (VIN).............................................5-92
Service Parts Identification Label...................5-92
Ventilation Adjustment......................................3-20
Visors...........................................................2-16
Voltmeter Gage..............................................3-32
W
Warning Lights, Gages and Indicators................3-23
Warnings
Hazard Warning Flashers............................... 3-5
Other Warning Devices.................................. 3-6
Safety and Symbols......................................... iii
Vehicle Damage.............................................. ivWheels
Alignment and Tire Balance..........................5-67
Different Size..............................................5-65
Replacement...............................................5-67
Where to Put the Restraint...............................1-42
Windows.......................................................2-14
Manual......................................................2-15
Power........................................................2-15
Swing-Out Windows.....................................2-16
Windshield
Wiper Blades, Cleaning................................5-88
Windshield Washer........................................... 3-9
Fluid..........................................................5-34
Windshield Wiper
Blade Replacement......................................5-51
Fuses........................................................5-93
Windshield Wipers......................................... 3-9
Winter Driving................................................4-25
Y
Your Vehicle and the Environment....................... 6-2
12