check engine GMC SAVANA 2009 Owner's Manual
[x] Cancel search | Manufacturer: GMC, Model Year: 2009, Model line: SAVANA, Model: GMC SAVANA 2009Pages: 404, PDF Size: 2.35 MB
Page 102 of 404
If the engine still does not start, and the key appears to
be undamaged, try another ignition key. At this time,
you may also want to check the instrument panel PASS
KEY fuse. If the engine still does not start with the
other key, your vehicle needs service. If your vehicle
does start, the first key may be faulty. See your
dealer/retailer or a locksmith who can service the
PASS-Key
®III+ to have a new key made. SeeFuses
and Circuit Breakers on page 5-104.
It is possible for the PASS-Key
®III+ decoder to learn
the transponder value of a new or replacement key. Up
to 10 keys may be programmed for the vehicle. This
procedure is for learning additional keys only. If all the
currently programmed keys are lost or do not operate,
you must see your dealer/retailer or a locksmith who can
service PASS-Key
®III+ to have keys made and
programmed to the system.
See your dealer/retailer or a locksmith who can service
PASS-Key
®III+ to get a new key blank that is cut
exactly as the ignition key that operates the system.To program the new key:
1. Verify the new key has
1stamped on it.
2. Insert the original, already programmed key into the
ignition lock cylinder and start the engine. If the
engine will not start, see your dealer/retailer
for service.
3. After the engine has started, turn the key to
LOCK/OFF and remove the key.
4. Insert the key to be programmed and turn it to
ON/RUN within 10 seconds of removing the
previous key.
The security message will turn off once the key has
been programmed. It may not be apparent that
the security message went on due to how quickly
the key is programmed.
5. Repeat Steps 1 through 4 if additional keys are to
be programmed.
If you lose or damage a PASS-Key
®III+ key, see your
dealer/retailer or a locksmith who can service
PASS-Key
®III+ to have a new key made.
Do not leave the key or device that disarms or
deactivates the theft deterrent system in the vehicle.
2-18
Page 105 of 404
Starting Procedure
1. With your foot off the accelerator pedal, turn the
ignition key to START. When the engine starts,
let go of the key. The idle speed will go down as
your engine gets warm. Do not race the engine
immediately after starting it. Operate the engine and
transmission gently to allow the oil to warm up
and lubricate all moving parts.
The vehicle has a Computer-Controlled Cranking
System. This feature assists in starting the engine
and protects components. If the ignition key is turned
to the START position, and then released when the
engine begins cranking, the engine will continue
cranking for a few seconds or until the vehicle starts.
If the engine does not start and the key is held in
START for many seconds, cranking will be stopped
after 15 seconds to prevent cranking motor damage.
To prevent gear damage, this system also prevents
cranking if the engine is already running. Engine
cranking can be stopped by turning the ignition
switch to the ACC/ACCESSORY or LOCK/OFF
position.
Notice:Cranking the engine for long periods of
time, by returning the key to the START position
immediately after cranking has ended, can overheat
and damage the cranking motor, and drain the
battery. Wait at least 15 seconds between each try,
to let the cranking motor cool down.2. If the engine does not start after 5-10 seconds,
especially in very cold weather (below 0°F or
−18°C), it could be flooded with too much gasoline.
Try pushing the accelerator pedal all the way to
the floor and holding it there as you hold the key in
START for up to 15 seconds. Wait at least
15 seconds between each try, to allow the cranking
motor to cool down. When the engine starts, let
go of the key and accelerator. If the vehicle starts
briefly but then stops again, do the same thing. This
clears the extra gasoline from the engine. Do not
race the engine immediately after starting it.
Operate the engine and transmission gently until
the oil warms up and lubricates all moving parts.
Notice:The engine is designed to work with the
electronics in the vehicle. If you add electrical parts
or accessories, you could change the way the
engine operates. Before adding electrical equipment,
check with your dealer/retailer. If you do not, the
engine might not perform properly. Any resulting
damage would not be covered by the vehicle
warranty.
2-21
Page 142 of 404
9:Turns the system off.
9(Fan Control):Turn clockwise or counterclockwise
to increase or decrease the fan speed in the
rear-seating area.
Temperature Control:Turn clockwise or
counterclockwise to increase or decrease the
temperature in the rear-seating area.
The air-conditioning system on the main climate control
panel must be turned on to direct cooled air to the
rear of the vehicle. If it is not on, then the temperature
in the rear of the vehicle remains at cabin temperature.
Air Delivery Mode Control:Turn clockwise or
counterclockwise to change the direction of the airflow
in the rear seating area.
To change the current mode, select one of the following:
H(Vent):Air is directed to the upper outlets, with
some directed to the floor outlets.
2(Floor):Air is directed to the floor outlets.
Be sure to keep the area under the front seats clear of
any objects so that the air inside of the vehicle can
circulate effectively.For information on how to use the main climate control
system, seeClimate Control System on page 3-19.
For information on ventilation, seeOutlet Adjustment on
page 3-21.
Warning Lights, Gages, and
Indicators
Warning lights and gages can signal that something is
wrong before it becomes serious enough to cause
an expensive repair or replacement. Paying attention to
the warning lights and gages could prevent injury.
Warning lights come on when there may be or is a
problem with one of the vehicle’s functions. Some
warning lights come on briefly when the engine is started
to indicate they are working.
Gages can indicate when there may be or is a problem
with one of the vehicle’s functions. Often gages and
warning lights work together to indicate a problem with
the vehicle.
When one of the warning lights comes on and stays on
while driving, or when one of the gages shows there
may be a problem, check the section that explains what
to do. Follow this manual’s advice. Waiting to do
repairs can be costly and even dangerous.
3-24
Page 145 of 404
Safety Belt Reminders
Driver Safety Belt Reminder Light
When the engine is started, a chime sounds for
several seconds to remind the driver to fasten the safety
belt, unless the driver’s safety belt is already buckled.
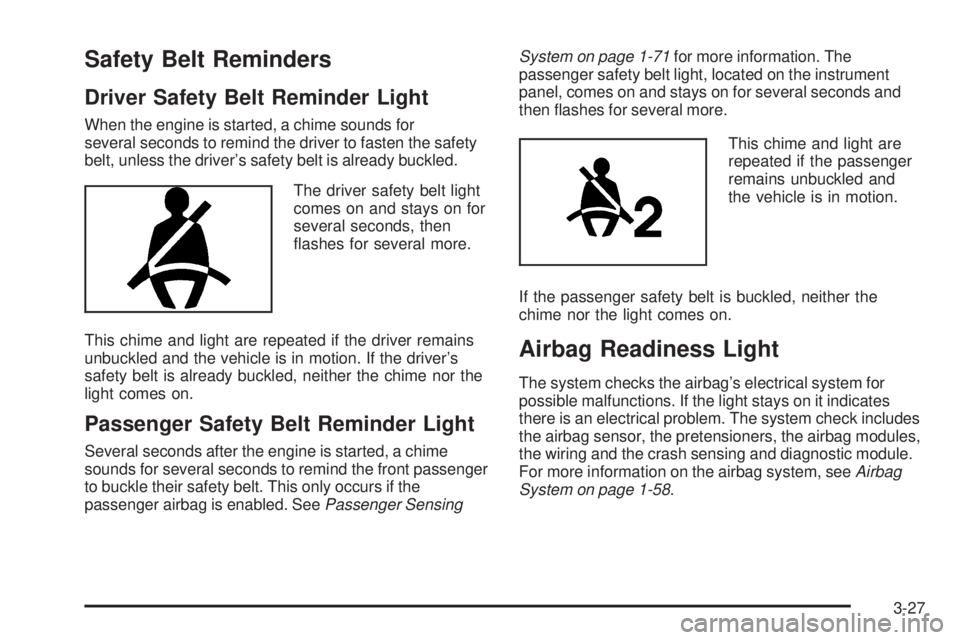
The driver safety belt light
comes on and stays on for
several seconds, then
flashes for several more.
This chime and light are repeated if the driver remains
unbuckled and the vehicle is in motion. If the driver’s
safety belt is already buckled, neither the chime nor the
light comes on.
Passenger Safety Belt Reminder Light
Several seconds after the engine is started, a chime
sounds for several seconds to remind the front passenger
to buckle their safety belt. This only occurs if the
passenger airbag is enabled. SeePassenger SensingSystem on page 1-71for more information. The
passenger safety belt light, located on the instrument
panel, comes on and stays on for several seconds and
then flashes for several more.
This chime and light are
repeated if the passenger
remains unbuckled and
the vehicle is in motion.
If the passenger safety belt is buckled, neither the
chime nor the light comes on.
Airbag Readiness Light
The system checks the airbag’s electrical system for
possible malfunctions. If the light stays on it indicates
there is an electrical problem. The system check includes
the airbag sensor, the pretensioners, the airbag modules,
the wiring and the crash sensing and diagnostic module.
For more information on the airbag system, seeAirbag
System on page 1-58.
3-27
Page 149 of 404

{CAUTION:
If the airbag readiness light ever comes on and
stays on, it means that something may be wrong
with the airbag system. To help avoid injury to
yourself or others, have the vehicle serviced right
away. SeeAirbag Readiness Light on page 3-27
for more information, including important safety
information.
Charging System Light
This light comes on briefly
when the ignition key is
turned to START, but
the engine is not running,
as a check to show it
is working.
If it does not, have the vehicle serviced by your
dealer/retailer.
The light should go out once the engine starts. If it stays
on, or comes on while driving, there could be a problem
with the charging system. A charging system message in
the Driver Information Center (DIC) can also appear.
SeeDIC Warnings and Messages on page 3-50for more
information. This light could indicate that there are
problems with a generator drive belt, or that there is an
electrical problem. Have it checked right away. If the
vehicle must be driven a short distance with the light on,
turn off accessories, such as the radio and air
conditioner.
3-31
Page 153 of 404
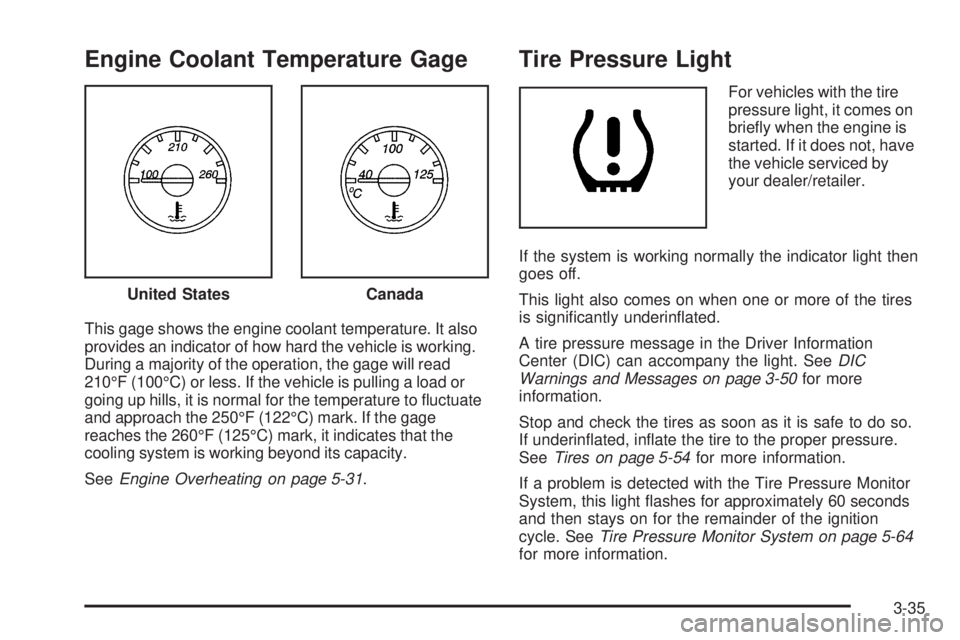
Engine Coolant Temperature Gage
This gage shows the engine coolant temperature. It also
provides an indicator of how hard the vehicle is working.
During a majority of the operation, the gage will read
210°F (100°C) or less. If the vehicle is pulling a load or
going up hills, it is normal for the temperature to fluctuate
and approach the 250°F (122°C) mark. If the gage
reaches the 260°F (125°C) mark, it indicates that the
cooling system is working beyond its capacity.
SeeEngine Overheating on page 5-31.
Tire Pressure Light
For vehicles with the tire
pressure light, it comes on
briefly when the engine is
started. If it does not, have
the vehicle serviced by
your dealer/retailer.
If the system is working normally the indicator light then
goes off.
This light also comes on when one or more of the tires
is significantly underinflated.
A tire pressure message in the Driver Information
Center (DIC) can accompany the light. SeeDIC
Warnings and Messages on page 3-50for more
information.
Stop and check the tires as soon as it is safe to do so.
If underinflated, inflate the tire to the proper pressure.
SeeTires on page 5-54for more information.
If a problem is detected with the Tire Pressure Monitor
System, this light flashes for approximately 60 seconds
and then stays on for the remainder of the ignition
cycle. SeeTire Pressure Monitor System on page 5-64
for more information. United States
Canada
3-35
Page 154 of 404
Malfunction Indicator Lamp
Check Engine Light
A computer system called OBD II (On-Board
Diagnostics-Second Generation) monitors operation
of the fuel, ignition, and emission control systems.
It ensures that emissions are at acceptable levels for
the life of the vehicle, helping to produce a cleaner
environment.
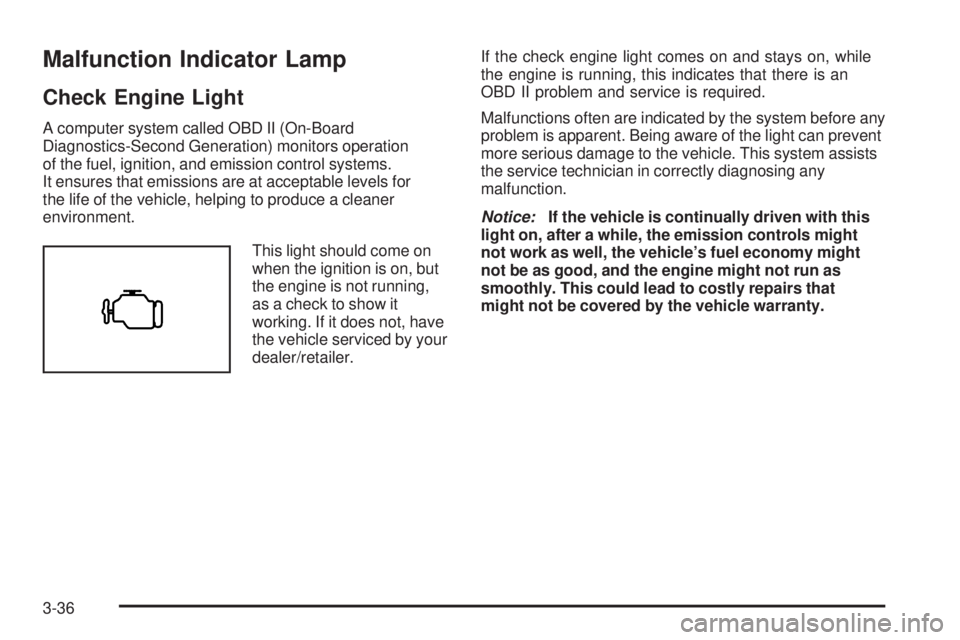
This light should come on
when the ignition is on, but
the engine is not running,
as a check to show it
working. If it does not, have
the vehicle serviced by your
dealer/retailer.If the check engine light comes on and stays on, while
the engine is running, this indicates that there is an
OBD II problem and service is required.
Malfunctions often are indicated by the system before any
problem is apparent. Being aware of the light can prevent
more serious damage to the vehicle. This system assists
the service technician in correctly diagnosing any
malfunction.
Notice:If the vehicle is continually driven with this
light on, after a while, the emission controls might
not work as well, the vehicle’s fuel economy might
not be as good, and the engine might not run as
smoothly. This could lead to costly repairs that
might not be covered by the vehicle warranty.
3-36
Page 156 of 404
An emission system malfunction might be corrected by
doing the following:
•Make sure the fuel cap is fully installed. SeeFilling
the Tank on page 5-10. The diagnostic system
can determine if the fuel cap has been left off or
improperly installed. A loose or missing fuel cap
allows fuel to evaporate into the atmosphere. A few
driving trips with the cap properly installed should
turn the light off.
•If the vehicle has been driven through a deep puddle
of water, the vehicle’s electrical system might be wet.
The condition is usually corrected when the electrical
system dries out. A few driving trips should turn the
light off.
•Make sure to fuel the vehicle with quality fuel. Poor
fuel quality causes the engine not to run as efficiently
as designed and can cause: stalling after start-up,
stalling when the vehicle is changed into gear,
misfiring, hesitation on acceleration, or stumbling on
acceleration. These conditions might go away once
the engine is warmed up.
If one or more of these conditions occurs, change the
fuel brand used. It will require at least one full tank of
the proper fuel to turn the light off.
SeeGasoline Octane on page 5-6.If none of the above have made the light turn off, your
dealer/retailer can check the vehicle. The dealer/retailer
has the proper test equipment and diagnostic tools to fix
any mechanical or electrical problems that might have
developed.
Emissions Inspection and Maintenance
Programs
Some state/provincial and local governments have or
might begin programs to inspect the emission control
equipment on the vehicle. Failure to pass this inspection
could prevent getting a vehicle registration.
Here are some things to know to help the vehicle pass
an inspection:
•The vehicle will not pass this inspection if the check
engine light is on with the engine running, or if the
key is in ON/RUN and the light is not on.
•The vehicle will not pass this inspection if the OBD II
(on-board diagnostic) system determines that critical
emission control systems have not been completely
diagnosed by the system. The vehicle would be
considered not ready for inspection. This can happen
if the battery has recently been replaced or if the
battery has run down. The diagnostic system is
designed to evaluate critical emission control
systems during normal driving. This can take several
days of routine driving. If this has been done and the
vehicle still does not pass the inspection for lack of
OBD II system readiness, your dealer/retailer can
prepare the vehicle for inspection.
3-38
Page 157 of 404
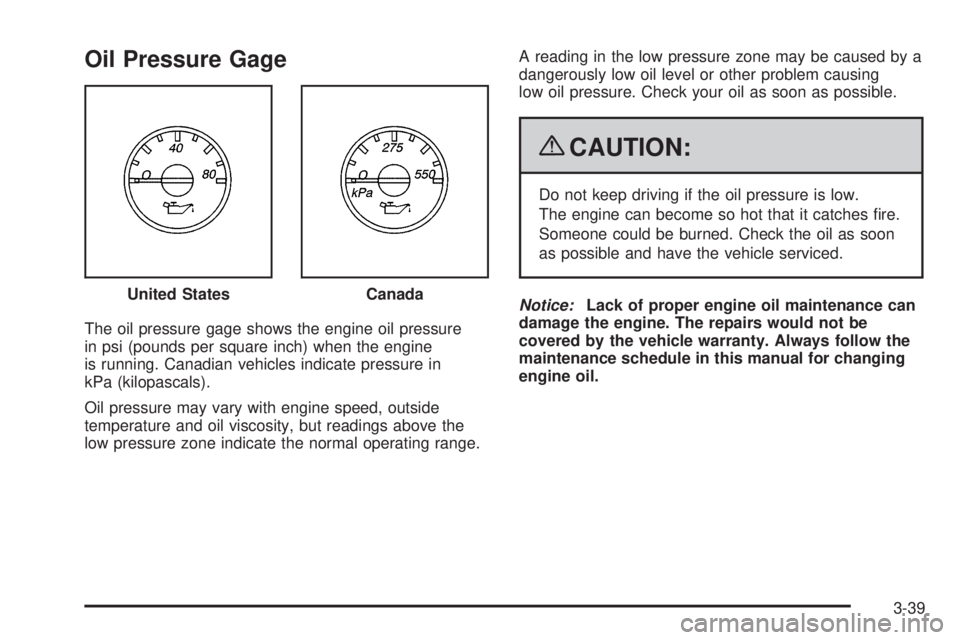
Oil Pressure Gage
The oil pressure gage shows the engine oil pressure
in psi (pounds per square inch) when the engine
is running. Canadian vehicles indicate pressure in
kPa (kilopascals).
Oil pressure may vary with engine speed, outside
temperature and oil viscosity, but readings above the
low pressure zone indicate the normal operating range.A reading in the low pressure zone may be caused by a
dangerously low oil level or other problem causing
low oil pressure. Check your oil as soon as possible.
{CAUTION:
Do not keep driving if the oil pressure is low.
The engine can become so hot that it catches fire.
Someone could be burned. Check the oil as soon
as possible and have the vehicle serviced.
Notice:Lack of proper engine oil maintenance can
damage the engine. The repairs would not be
covered by the vehicle warranty. Always follow the
maintenance schedule in this manual for changing
engine oil. United States
Canada
3-39
Page 158 of 404
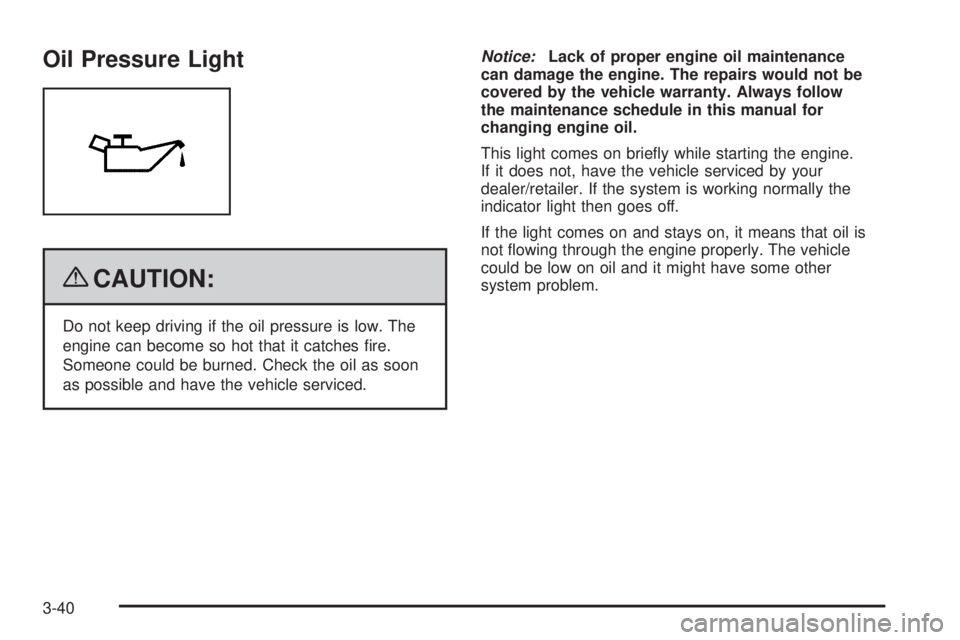
Oil Pressure Light
{CAUTION:
Do not keep driving if the oil pressure is low. The
engine can become so hot that it catches fire.
Someone could be burned. Check the oil as soon
as possible and have the vehicle serviced.Notice:Lack of proper engine oil maintenance
can damage the engine. The repairs would not be
covered by the vehicle warranty. Always follow
the maintenance schedule in this manual for
changing engine oil.
This light comes on briefly while starting the engine.
If it does not, have the vehicle serviced by your
dealer/retailer. If the system is working normally the
indicator light then goes off.
If the light comes on and stays on, it means that oil is
not flowing through the engine properly. The vehicle
could be low on oil and it might have some other
system problem.
3-40