lock GMC SAVANA 2010 Owner's Manual
[x] Cancel search | Manufacturer: GMC, Model Year: 2010, Model line: SAVANA, Model: GMC SAVANA 2010Pages: 424, PDF Size: 2.4 MB
Page 1 of 424
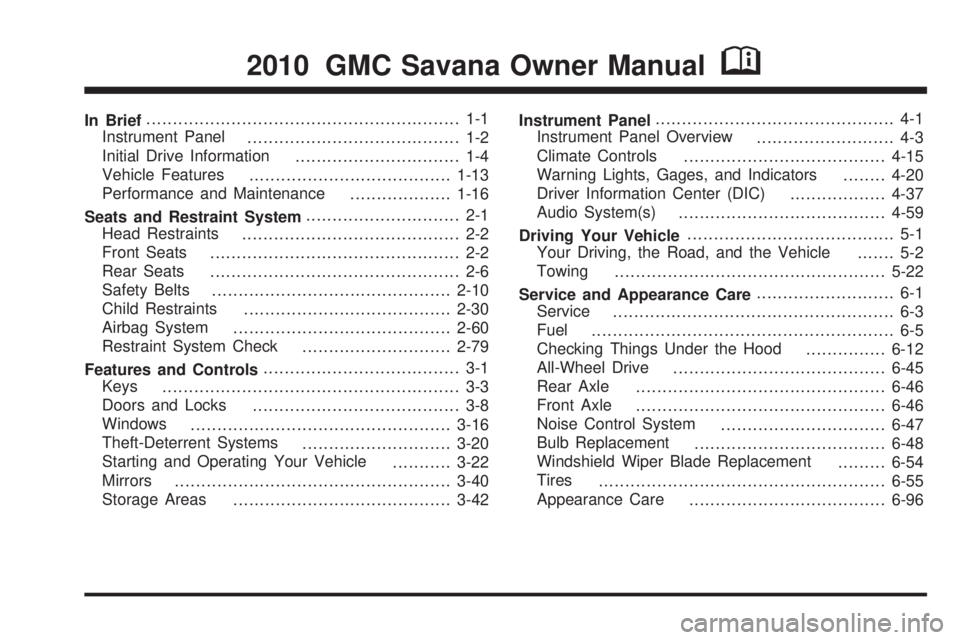
In Brief........................................................... 1-1
Instrument Panel
........................................ 1-2
Initial Drive Information
............................... 1-4
Vehicle Features
......................................1-13
Performance and Maintenance
...................1-16
Seats and Restraint System............................. 2-1
Head Restraints
......................................... 2-2
Front Seats
............................................... 2-2
Rear Seats
............................................... 2-6
Safety Belts
.............................................2-10
Child Restraints
.......................................2-30
Airbag System
.........................................2-60
Restraint System Check
............................2-79
Features and Controls..................................... 3-1
Keys
........................................................ 3-3
Doors and Locks
....................................... 3-8
Windows
.................................................3-16
Theft-Deterrent Systems
............................3-20
Starting and Operating Your Vehicle
...........3-22
Mirrors
....................................................3-40
Storage Areas
.........................................3-42Instrument Panel............................................. 4-1
Instrument Panel Overview
.......................... 4-3
Climate Controls
......................................4-15
Warning Lights, Gages, and Indicators
........4-20
Driver Information Center (DIC)
..................4-37
Audio System(s)
.......................................4-59
Driving Your Vehicle....................................... 5-1
Your Driving, the Road, and the Vehicle
....... 5-2
Towing
...................................................5-22
Service and Appearance Care.......................... 6-1
Service
..................................................... 6-3
Fuel
......................................................... 6-5
Checking Things Under the Hood
...............6-12
All-Wheel Drive
........................................6-45
Rear Axle
...............................................6-46
Front Axle
...............................................6-46
Noise Control System
...............................6-47
Bulb Replacement
....................................6-48
Windshield Wiper Blade Replacement
.........6-54
Tires
......................................................6-55
Appearance Care
.....................................6-96
2010 GMC Savana Owner ManualM
Page 4 of 424
Safety Warnings and Symbols
Warning Messages found on vehicle labels and in this
manual describe hazards and what to do to avoid
or reduce them.
Dangerindicates a hazard with a high level of risk
which will result in serious injury or death.
WarningorCautionindicates a hazard that could result
in injury or death.
{WARNING:
These mean there is something that could hurt
you or other people.
Notice:This means there is something that could
result in property or vehicle damage. This would not
be covered by the vehicle’s warranty.
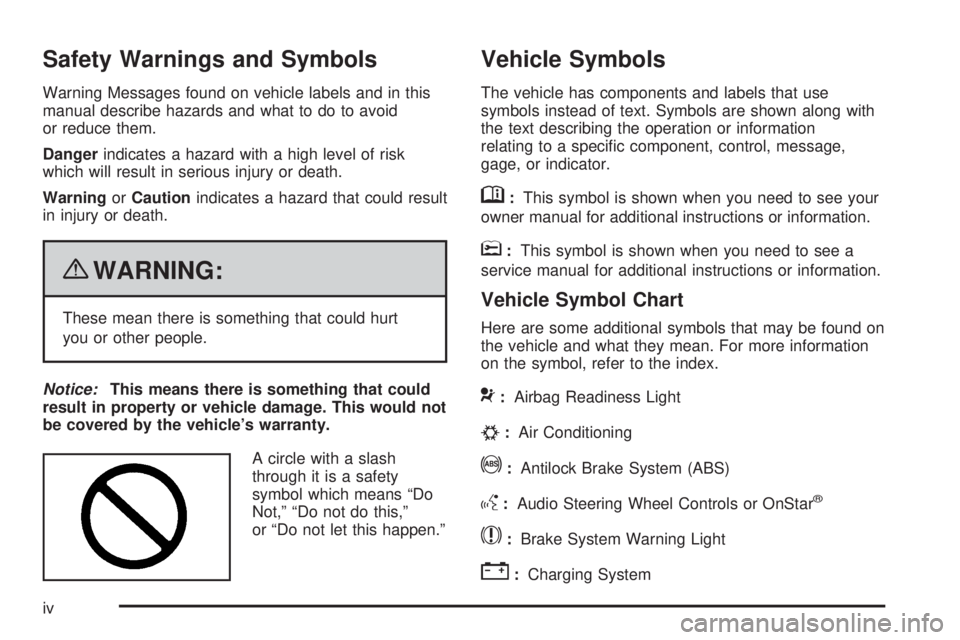
A circle with a slash
through it is a safety
symbol which means “Do
Not,” “Do not do this,”
or “Do not let this happen.”
Vehicle Symbols
The vehicle has components and labels that use
symbols instead of text. Symbols are shown along with
the text describing the operation or information
relating to a specific component, control, message,
gage, or indicator.
M:This symbol is shown when you need to see your
owner manual for additional instructions or information.
*:This symbol is shown when you need to see a
service manual for additional instructions or information.
Vehicle Symbol Chart
Here are some additional symbols that may be found on
the vehicle and what they mean. For more information
on the symbol, refer to the index.
9:Airbag Readiness Light
#:Air Conditioning
!:Antilock Brake System (ABS)
g:Audio Steering Wheel Controls or OnStar®
$:Brake System Warning Light
":Charging System
iv
Page 7 of 424
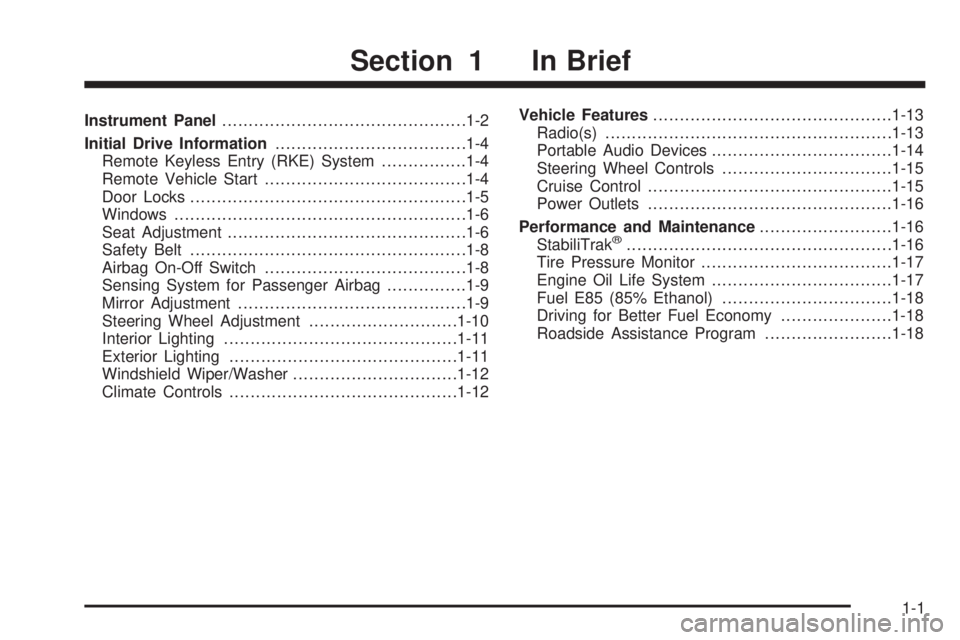
Instrument Panel..............................................1-2
Initial Drive Information....................................1-4
Remote Keyless Entry (RKE) System................1-4
Remote Vehicle Start......................................1-4
Door Locks....................................................1-5
Windows.......................................................1-6
Seat Adjustment.............................................1-6
Safety Belt....................................................1-8
Airbag On-Off Switch......................................1-8
Sensing System for Passenger Airbag...............1-9
Mirror Adjustment...........................................1-9
Steering Wheel Adjustment............................1-10
Interior Lighting............................................1-11
Exterior Lighting...........................................1-11
Windshield Wiper/Washer...............................1-12
Climate Controls...........................................1-12Vehicle Features.............................................1-13
Radio(s)......................................................1-13
Portable Audio Devices..................................1-14
Steering Wheel Controls................................1-15
Cruise Control..............................................1-15
Power Outlets..............................................1-16
Performance and Maintenance.........................1-16
StabiliTrak
®..................................................1-16
Tire Pressure Monitor....................................1-17
Engine Oil Life System..................................1-17
Fuel E85 (85% Ethanol)................................1-18
Driving for Better Fuel Economy.....................1-18
Roadside Assistance Program........................1-18
Section 1 In Brief
1-1
Page 10 of 424
Initial Drive Information
This section provides a brief overview about some of
the important features that may or may not be on your
specific vehicle.
For more detailed information, refer to each of the
features which can be found later in this owner manual.
Remote Keyless Entry (RKE)
System
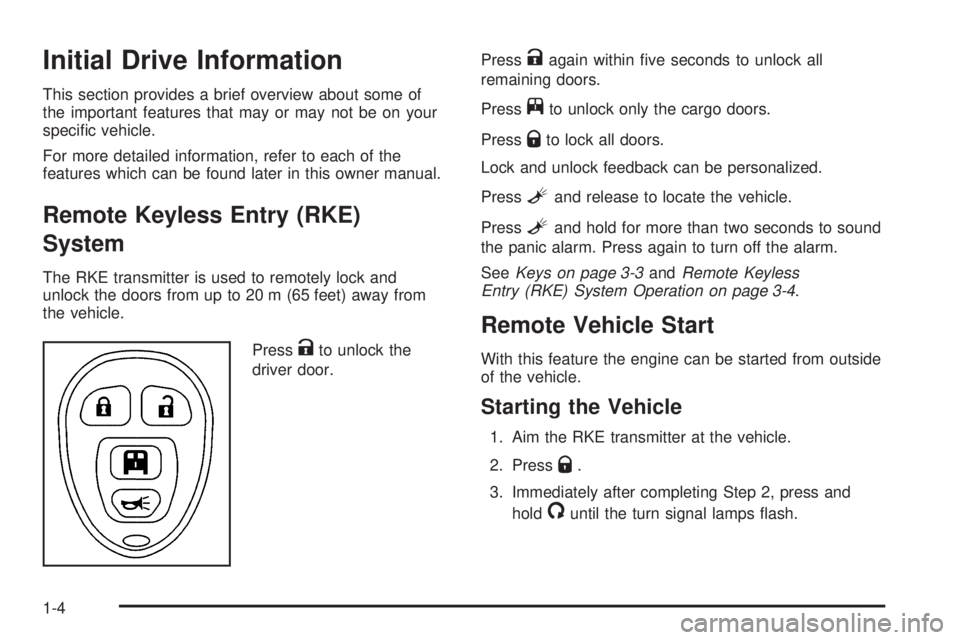
The RKE transmitter is used to remotely lock and
unlock the doors from up to 20 m (65 feet) away from
the vehicle.
Press
Kto unlock the
driver door.Press
Kagain within five seconds to unlock all
remaining doors.
Press
jto unlock only the cargo doors.
Press
Qto lock all doors.
Lock and unlock feedback can be personalized.
Press
Land release to locate the vehicle.
Press
Land hold for more than two seconds to sound
the panic alarm. Press again to turn off the alarm.
SeeKeys on page 3-3andRemote Keyless
Entry (RKE) System Operation on page 3-4.
Remote Vehicle Start
With this feature the engine can be started from outside
of the vehicle.
Starting the Vehicle
1. Aim the RKE transmitter at the vehicle.
2. Press
Q.
3. Immediately after completing Step 2, press and
hold
/until the turn signal lamps flash.
1-4
Page 11 of 424
When the vehicle starts, the parking lamps will turn on
and remain on as long as the engine is running. The
doors will be locked and the climate control system may
come on.
The engine will continue to run for 10 minutes. Repeat
the steps for a 10-minute time extension. Remote
start can be extended only once.
Canceling a Remote Start
To cancel a remote start:
•Aim the RKE transmitter at the vehicle and press
and hold
/until the parking lamps turn off.
•Turn on the hazard warning flashers.
•Turn the ignition switch to ON/RUN and then back
to LOCK/OFF.
SeeRemote Vehicle Start on page 3-6.
Door Locks
Manual Door Locks
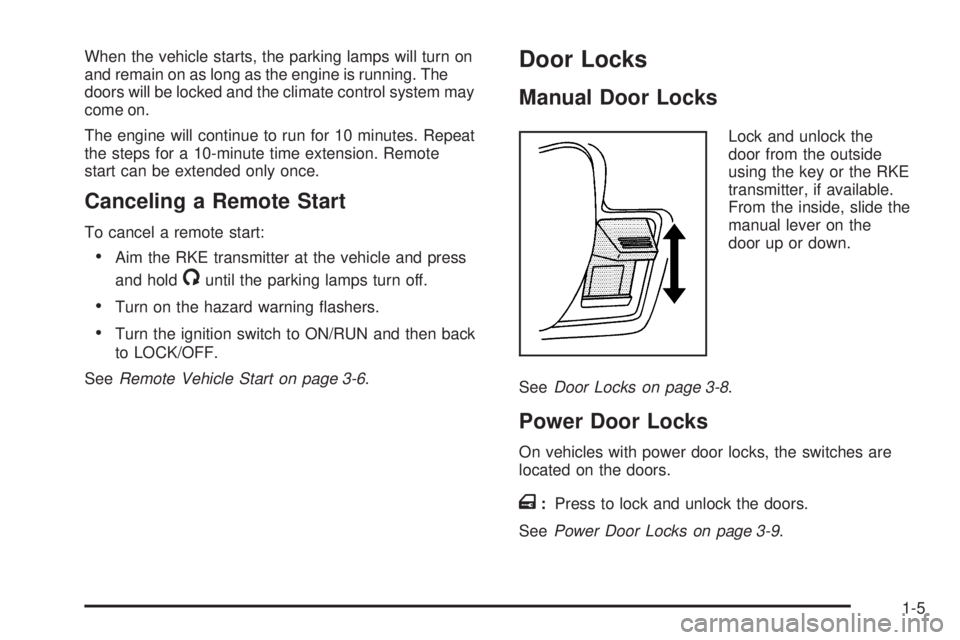
Lock and unlock the
door from the outside
using the key or the RKE
transmitter, if available.
From the inside, slide the
manual lever on the
door up or down.
SeeDoor Locks on page 3-8.
Power Door Locks
On vehicles with power door locks, the switches are
located on the doors.
T:Press to lock and unlock the doors.
SeePower Door Locks on page 3-9.
1-5
Page 12 of 424
Windows
Manual Windows
Operate the manual windows by turning the hand crank
on each door to raise or lower the side door windows.
SeeManual Windows on page 3-17.
Power Windows
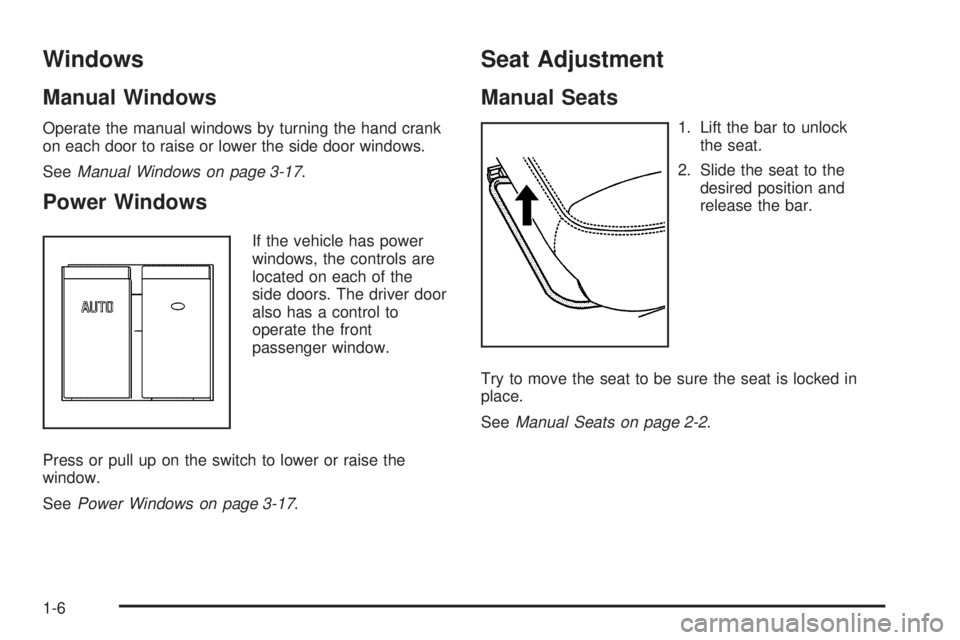
If the vehicle has power
windows, the controls are
located on each of the
side doors. The driver door
also has a control to
operate the front
passenger window.
Press or pull up on the switch to lower or raise the
window.
SeePower Windows on page 3-17.
Seat Adjustment
Manual Seats
1. Lift the bar to unlock
the seat.
2. Slide the seat to the
desired position and
release the bar.
Try to move the seat to be sure the seat is locked in
place.
SeeManual Seats on page 2-2.
1-6
Page 13 of 424
Power Seats
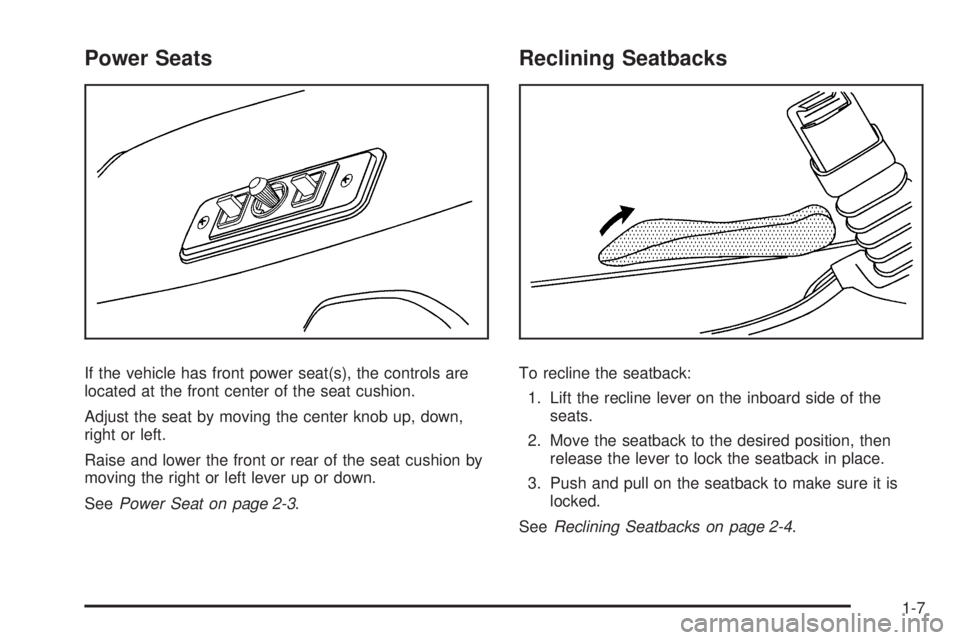
If the vehicle has front power seat(s), the controls are
located at the front center of the seat cushion.
Adjust the seat by moving the center knob up, down,
right or left.
Raise and lower the front or rear of the seat cushion by
moving the right or left lever up or down.
SeePower Seat on page 2-3.
Reclining Seatbacks
To recline the seatback:
1. Lift the recline lever on the inboard side of the
seats.
2. Move the seatback to the desired position, then
release the lever to lock the seatback in place.
3. Push and pull on the seatback to make sure it is
locked.
SeeReclining Seatbacks on page 2-4.
1-7
Page 15 of 424
Sensing System for Passenger
Airbag
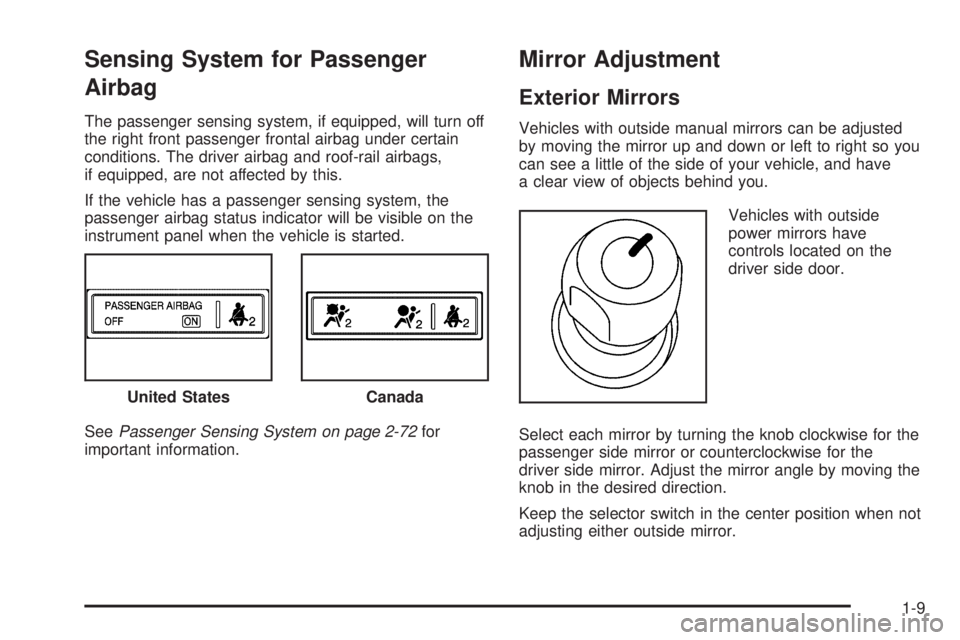
The passenger sensing system, if equipped, will turn off
the right front passenger frontal airbag under certain
conditions. The driver airbag and roof-rail airbags,
if equipped, are not affected by this.
If the vehicle has a passenger sensing system, the
passenger airbag status indicator will be visible on the
instrument panel when the vehicle is started.
SeePassenger Sensing System on page 2-72for
important information.
Mirror Adjustment
Exterior Mirrors
Vehicles with outside manual mirrors can be adjusted
by moving the mirror up and down or left to right so you
can see a little of the side of your vehicle, and have
a clear view of objects behind you.
Vehicles with outside
power mirrors have
controls located on the
driver side door.
Select each mirror by turning the knob clockwise for the
passenger side mirror or counterclockwise for the
driver side mirror. Adjust the mirror angle by moving the
knob in the desired direction.
Keep the selector switch in the center position when not
adjusting either outside mirror. United States
Canada
1-9
Page 16 of 424
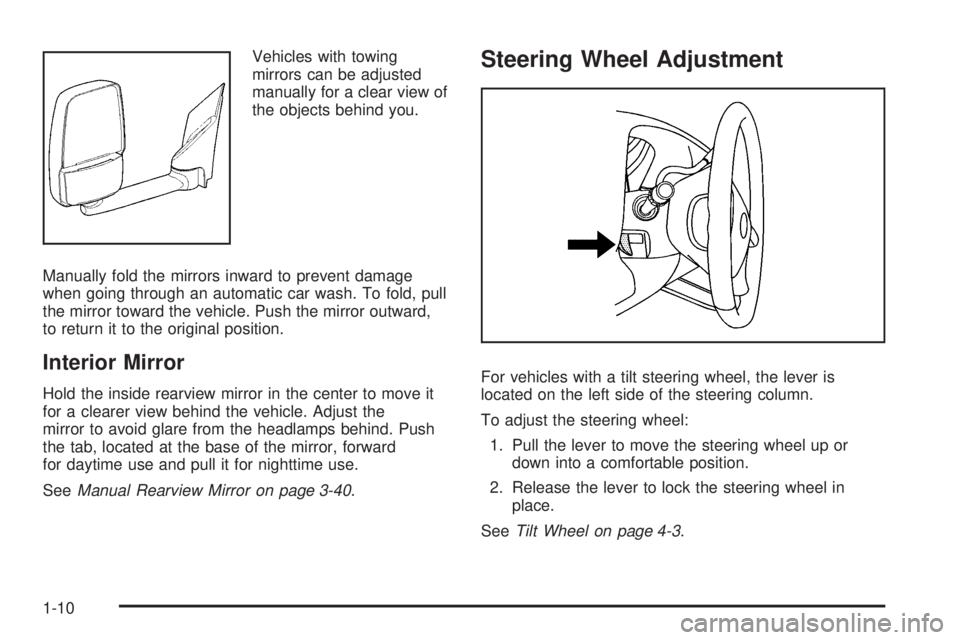
Vehicles with towing
mirrors can be adjusted
manually for a clear view of
the objects behind you.
Manually fold the mirrors inward to prevent damage
when going through an automatic car wash. To fold, pull
the mirror toward the vehicle. Push the mirror outward,
to return it to the original position.
Interior Mirror
Hold the inside rearview mirror in the center to move it
for a clearer view behind the vehicle. Adjust the
mirror to avoid glare from the headlamps behind. Push
the tab, located at the base of the mirror, forward
for daytime use and pull it for nighttime use.
SeeManual Rearview Mirror on page 3-40.
Steering Wheel Adjustment
For vehicles with a tilt steering wheel, the lever is
located on the left side of the steering column.
To adjust the steering wheel:
1. Pull the lever to move the steering wheel up or
down into a comfortable position.
2. Release the lever to lock the steering wheel in
place.
SeeTilt Wheel on page 4-3.
1-10
Page 17 of 424
Interior Lighting
Dome Lamp
The dome lamps come on when any door is opened.
They turn off after all the doors are closed.
To manually turn on the dome lamps, turn the instrument
panel brightness knob, located on the instrument
panel to the left of the steering column, clockwise to the
farthest position. In this position, the dome lamps
remain on whether a door is opened or closed.
E:The dome lamp override button is located next to
the exterior lamps control.
Press the button in and the dome lamps remain off
when a door is opened. Press the button again to return it
to the extended position so that the dome lamps come on
when a door is opened.
Reading Lamps
For vehicles with reading lamps, press the button
located next to each lamp to turn it on or off.
The vehicle may also have reading lamps in other
locations. The lamps cannot be adjusted.
For more information on interior lighting, see:
•Instrument Panel Brightness on page 4-12.
•Entry/Exit Lighting on page 4-13.
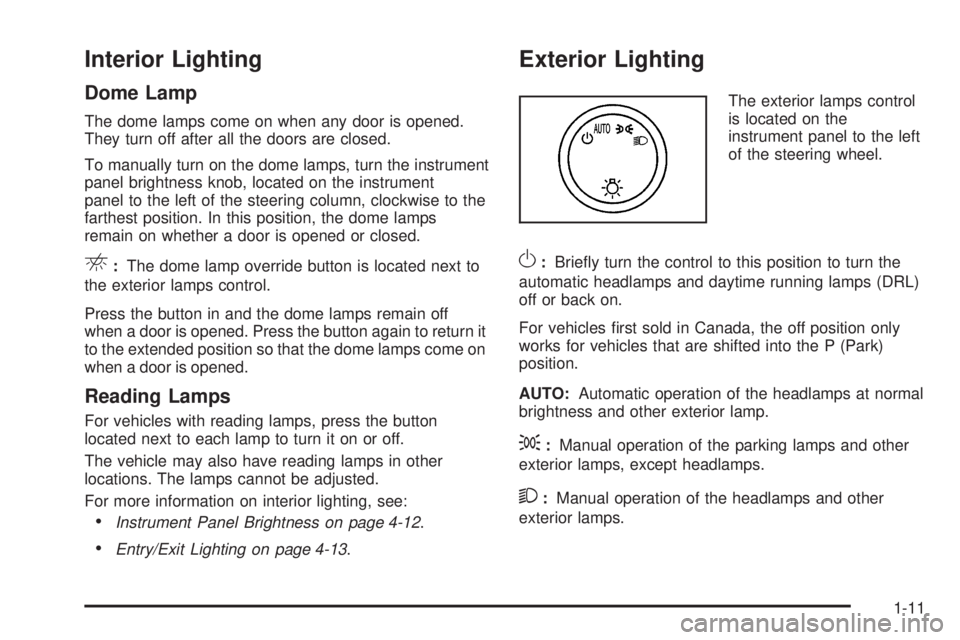
Exterior Lighting
The exterior lamps control
is located on the
instrument panel to the left
of the steering wheel.
O:Briefly turn the control to this position to turn the
automatic headlamps and daytime running lamps (DRL)
off or back on.
For vehicles first sold in Canada, the off position only
works for vehicles that are shifted into the P (Park)
position.
AUTO:Automatic operation of the headlamps at normal
brightness and other exterior lamp.
;:Manual operation of the parking lamps and other
exterior lamps, except headlamps.
2:Manual operation of the headlamps and other
exterior lamps.
1-11