towing GMC SIERRA 1994 Owners Manual
[x] Cancel search | Manufacturer: GMC, Model Year: 1994, Model line: SIERRA, Model: GMC SIERRA 1994Pages: 404, PDF Size: 20.91 MB
Page 72 of 404
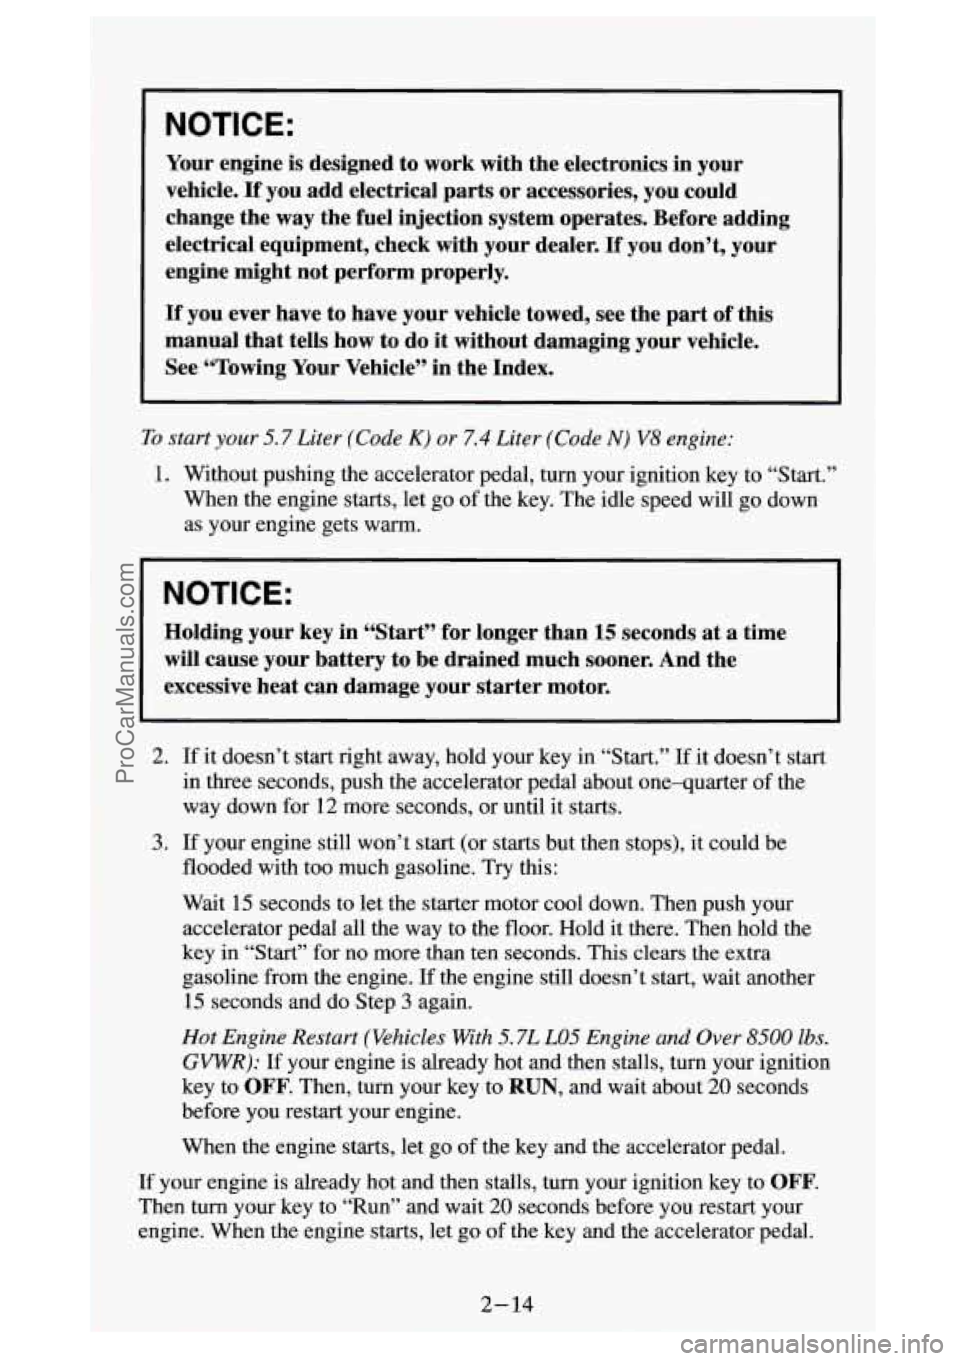
NOTICE:
Your engine is designed to work with the electronics in your
vehicle.
If you add electrical parts or accessories, you could
change the
way the fuel injection system operates. Before adding
electrical equipment, check with your dealer.
If you don’t, your
engine might not perform properly.
If you ever have to have your vehicle towed, see the part of this
manual that tells how to do it without damaging your vehicle.
See “Towing Your Vehicle” in the Index.
To start your 5.7 Liter (Code K) or 7.4 Liter (Code N) V8 engine:
1. Without pushing the accelerator pedal, turn your ignition key t\
o “Start.”
When the engine starts, let go of the key. The idle speed will go down
as your engine gets warm.
NOTICE:
I
Holding your key in “Start” for longer than 15 seconds at a time
will cause your battery to be drained much sooner. And the
excessive heat can damage your starter motor.
2. If it doesn’t start right away, hold your key in “Start.” If it doesn’t start
in three seconds, push the accelerator pedal about one-quarter
of the
way down for 12 more seconds, or until it starts.
3. If your engine still won’t start (or starts but then stops), \
it could be
flooded with too much gasoline. Try this:
Wait
15 seconds to let the starter motor cool down. Then push your
accelerator pedal all the way to the floor. Hold it there. Then hold the
key in “Start” for no more than ten seconds. This
clears the extra
gasoline from the engine. If the engine still doesn’t start, wait another
15 seconds and do Step
3 again.
Hot Engine Restart (Vehicles With 5.7L LO5 Engine and Over 8500 lbs.
GVWR): If your engine is already hot and then stalls, turn your ignition
key to
OFF. Then, turn your key to RUN, and wait about 20 seconds
before you restart your engine.
When the engine starts, let go of the key and the accelerator pedal.
If your engine is already hot and then stalls, turn your ignition\
key to
OFF.
Then turn your key to “Run” and wait 20 seconds before you restart your
engine. When the engine starts, let go of the key and the accelerator pedal.
2-14
ProCarManuals.com
Page 73 of 404
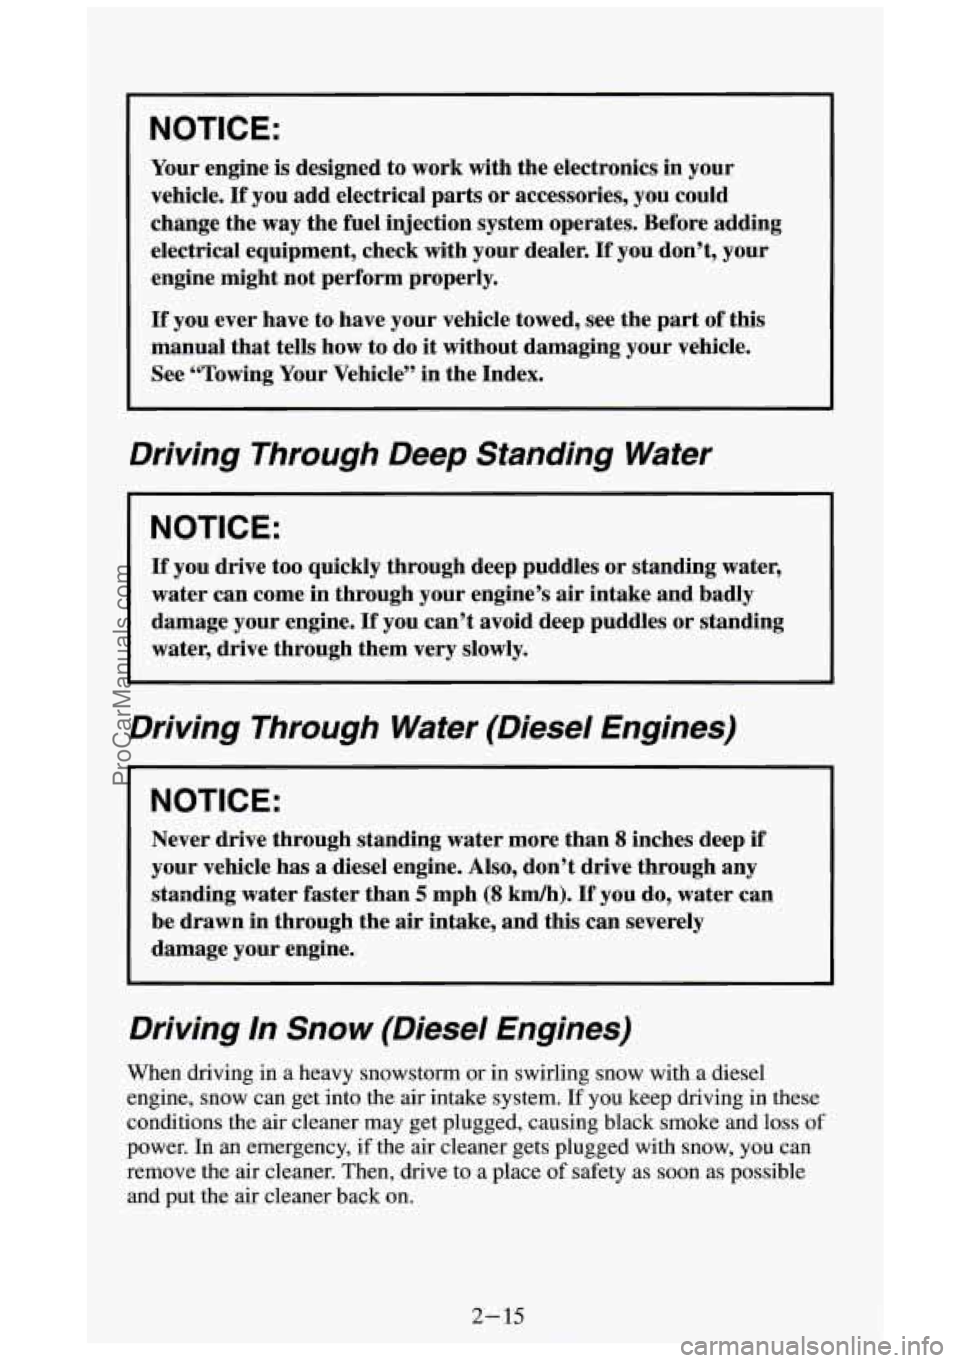
NOTICE:
Your engine is designed to work with the electronics in your
vehicle.
If you add electrical parts or accessories, you could
change the
way the fuel injection system operates. Before adding
electrical equipment, check with your dealer.
If you don’t, your
engine might not perform properly.
If you ever have to have your vehicle towed, see the part of this
manual
that tells how to do it without damaging your vehicle.
See “Towing Your Vehicle” in the Index.
Driving Through Deep Standing Water
NOTICE:
If you drive too quickly through deep puddles or standing water,
water can come in through your engine’s air intake and badly
damage your engine.
If you can’t avoid deep puddles or standing
water, drive through them very slowly.
Driving Through Water (Diesel Engines)
NOTICE:
Never drive through standing water more than 8 inches deep if
your vehicle has a diesel engine. Also, don’t drive through any
standing water faster than
5 mph (8 km/h). If you do, water can
be drawn in through the
air intake, and this can severely
damage your engine.
Driving In Snow (Diesel Engines)
When driving in a heavy snowstorm or in swirling snow with a diesel
engine, snow can get into the
air intake system. If you keep driving in these
conditions the air cleaner may get plugged, causing black smoke and loss of
power. In an emergency,
if the air cleaner gets plugged with snow, you can
remove the air cleaner. Then, drive
to a place of safety as soon as possible
and put the air cleaner back on.
2- 15
ProCarManuals.com
Page 81 of 404
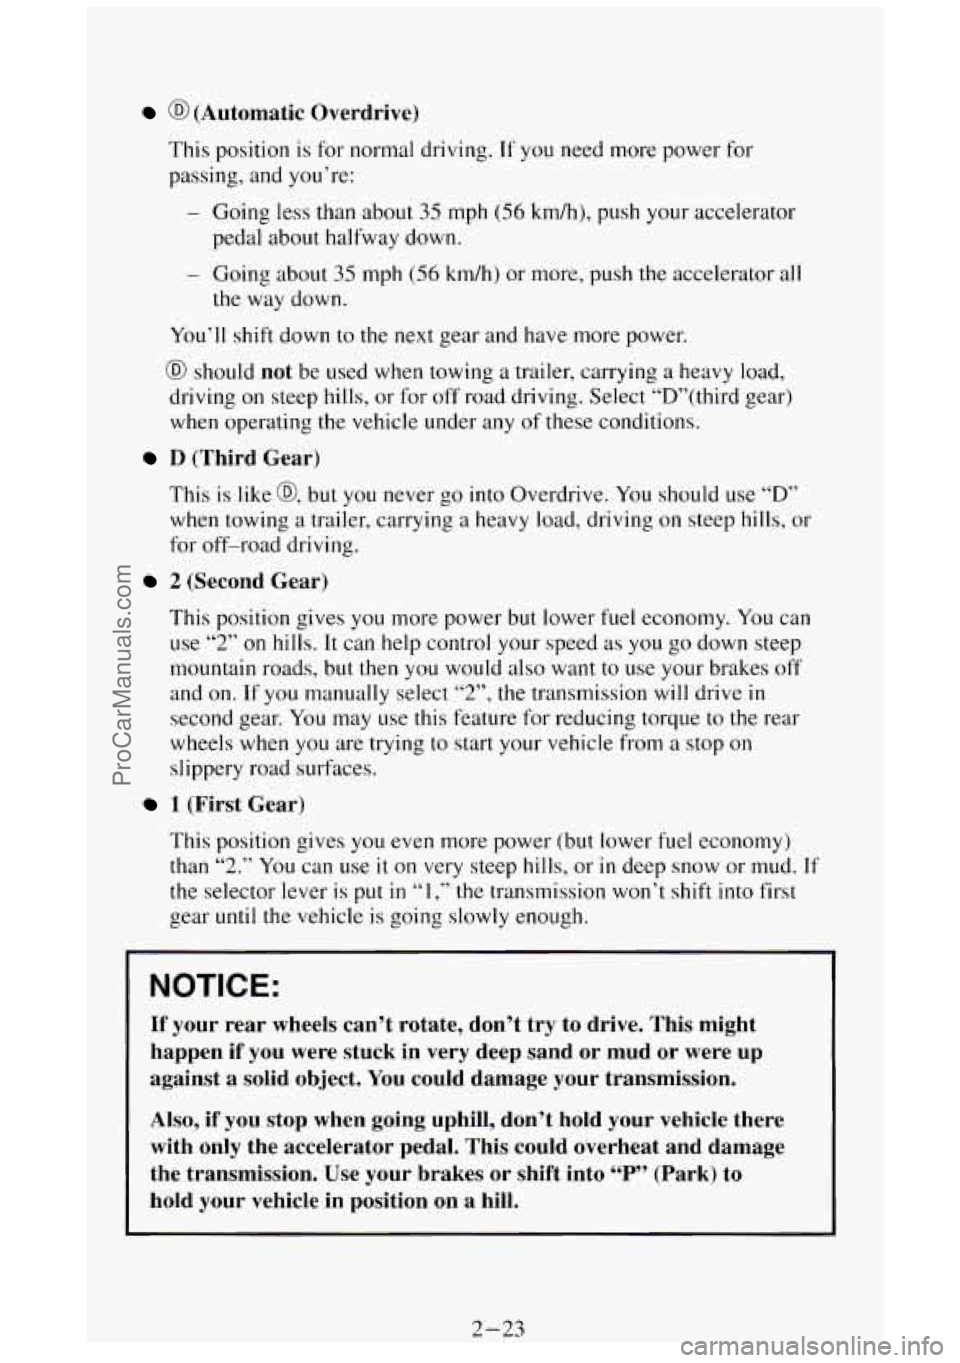
@ (Automatic Overdrive)
This position is for normal driving. If you need more power for
passing, and you’re:
- Going less than about 35 mph (56 km/h), push your accelerator
pedal about halfway down.
- Going about 35 mph (56 kdh) or more, push the accelerator all
the way down.
You’ll shift down to the next gear and have more power.
@ should not be used when towing a trailer, carrying a heavy load,
driving
on steep hills, or for off road driving. Select “D”(third gear)
when operating the vehicle under any
of these conditions.
D (Third Gear)
This is like @, but you never go into Overdrive. You should use “D”
when towing a trailer, carrying a heavy load, driving on steep hills, or
for off-road driving.
2 (Second Gear)
This position gives you more power but lower fuel economy. You can
use
“2” on hills. It can help control your speed as you go down steep
mountain roads, but then you would
also want to use your brakes off
and
on. If you manually select “2”, the transmission will drive in
second gear. You may use this feature for reducing torque to the rear
wheels when
you are trying to start your vehicle from a stop on
slippery road surfaces.
1 (First Gear)
This position gives you even more power (but lower fuel economy)
than
“2.” You can use it on very steep hills, or in deep snow or mud. If
the selector lever is put in “1 ,” the transmission won’t shift into first
gear
until the vehicle is going slowly enough.
b
NOTICE:
If your rear wheels can’t rotate, don’t try to drive. This might
happen if you were stuck in very deep sand or mud or were up
against
a solid object. You could damage your transmission.
Also,
if you stop when going uphill, don’t hold your vehicle there
with only the accelerator pedal. This could overheat and damage
the transmission. Use your brakes
or shift into “P” (Park) to
hold your vehicle in position on a hill.
2-23
ProCarManuals.com
Page 87 of 404
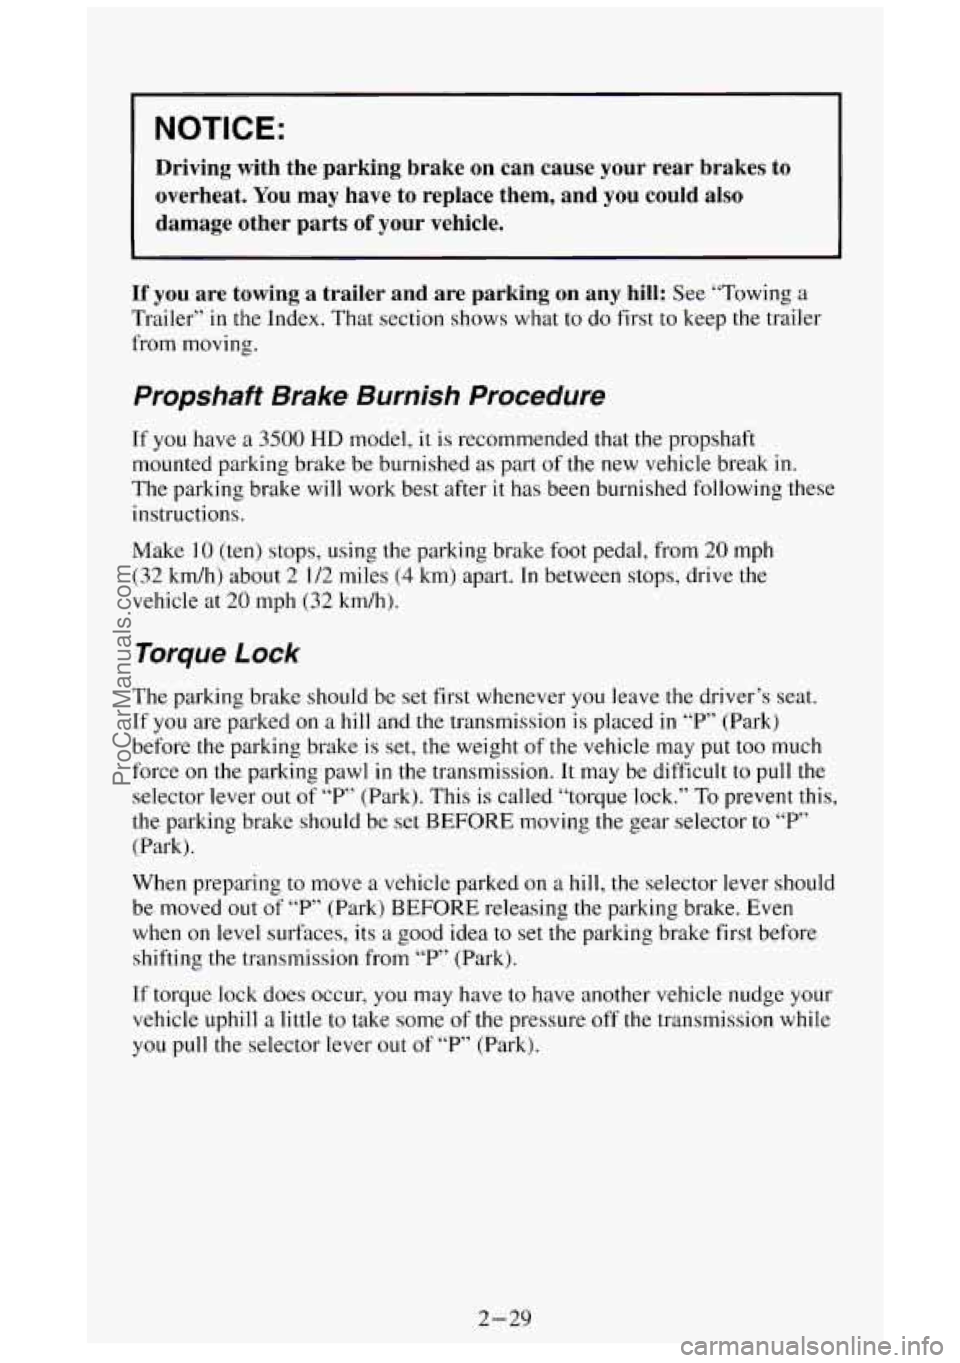
NOTICE:
Driving with the parking brake on can cause your rear brakes to
overheat. You may have
to replace them, and you could also
damage other parts of your vehicle.
If you are towing a trailer and are parking on any hill: See “Towing a
Trailer” in the Index. That section shows what to do first to keep the trailer
from moving.
Propshaft Brake Burnish Procedure
If you have a 3500 HD model, it is recommended that the propshaft
mounted parking brake be burnished
as part of the new vehicle break in.
The parking brake will work best after it has been burnished following these
instructions.
Make
10 (ten) stops, using the parking brake foot pedal, from 20 mph
(32 kdh) about
2 1/2 miles (4 km) apart. In between stops, drive the
vehicle at
20 mph (32 km/h).
Torque Lock
The parking brake should be set first whenever you leave the driver’s seat.
If you are parked on
a hill and the transmission is placed in “P” (Park)
before
the parking brake is set, the weight of the vehicle may put too much
force
on the parking pawl in the transmission. It may be difficult to pull the
selector lever out
of “P’ (Park). This is called “torque lock.” To prevent this,
the parking brake should be set
BEFORE moving the gear selector to “P’
(Park).
When preparing to move
a vehicle parked on a hill, the selector lever should
be moved out of
“P’ (Park) BEFORE releasing the parking brake. Even
when
on level surfaces, its a good idea to set the parking brake first before
shifting
the transmission from “P” (Park).
If torque lock does occur, you may have to have another vehicle nudge your
vehicle uphill a little to take some
of the pressure off the transmission while
you pull the selector lever out of “P” (Park).
2-29
ProCarManuals.com
Page 90 of 404
Parking Your Vehicle
(Manual Transmission Models
Only)
Before you get out of your vehicle, put your manual transmission in “R”
(Reverse), turn off the engine, and firmly apply the parking brake.
If you have four-wheel drive, be sure your transfer case is in a drive gear.
Your vehicle could roll
if it isn’t.
If
you are parking on a hill, or if your pulling a trailer, see “Parking on
Hills” or “Towing a Trailer” in the Index.
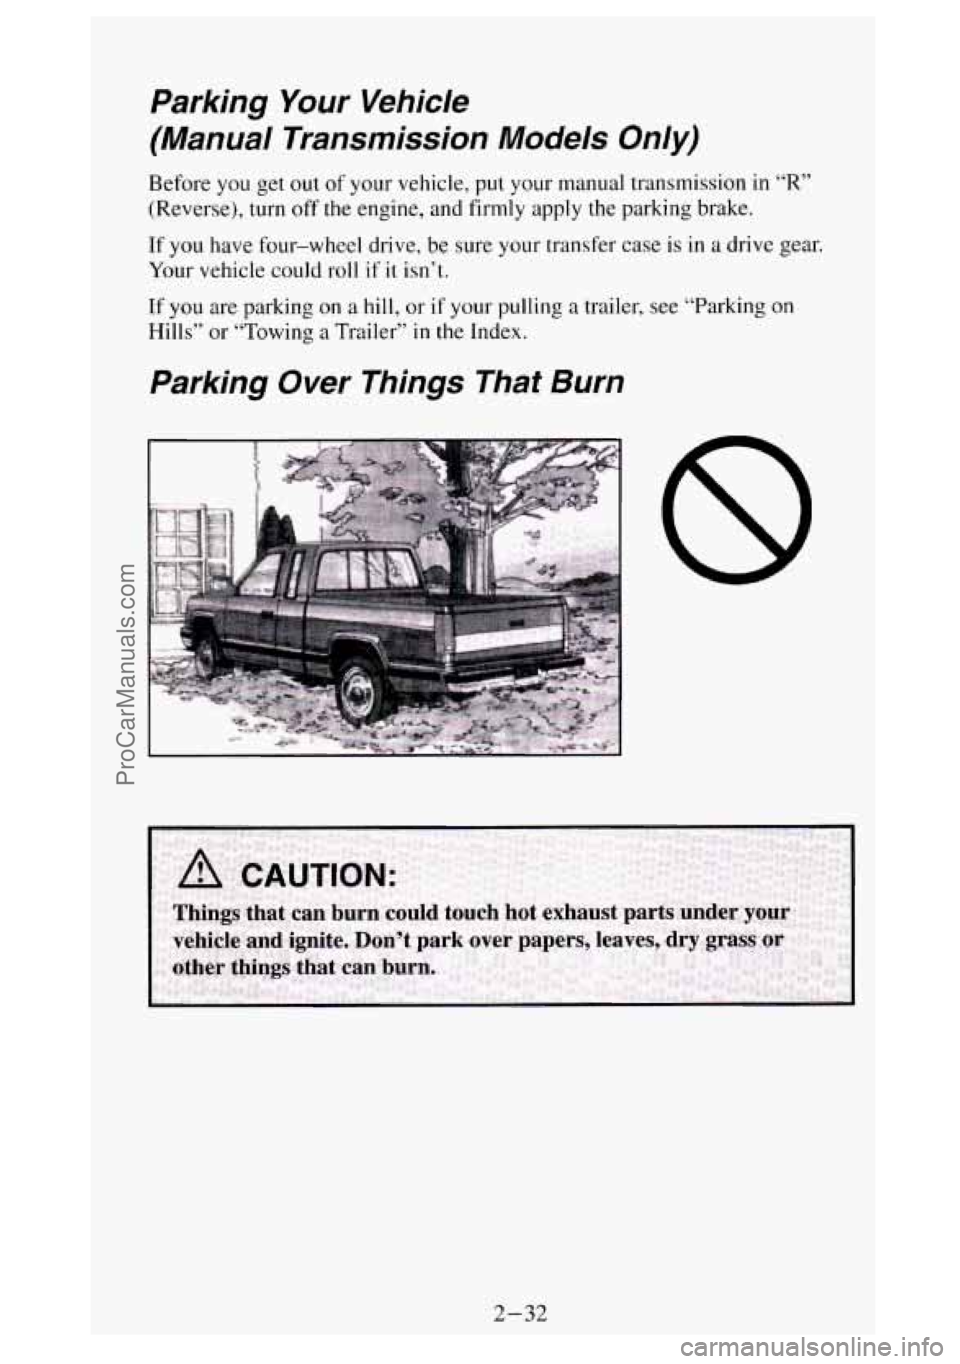
Parking Over Things That Burn
2-32
ProCarManuals.com
Page 92 of 404
If you have four-wheel drive and your transfer case is in “N” (Neutral),
your vehicle will be free to roll, even
if your shift lever is in “P” (Park). So,
be sure the transfer case is in a drive gear - not in “N” (Neutral). Follow
the proper steps to be sure your vehicle won’t move. See “Shifting Into
‘P’
(Park)’’ in the Index.
If you’re pulling a trailer, see “Towing a Trailer” in the Index.
Four- Wheel Drive
If your vehicle has four-wheel drive, you can send your engine’s driving
power to all four wheels for extra traction.
To get the most satisfixtion out
of four-wheel drive, you must be familiar with it’s operation. Read
the part
that follows before using four-wheel drive.
You should use 2H for most
normal driving conditions.
Rear-wheel antilock brakes
do not work when you shift into four-wheel
drive. Your regular brakes
will still work. When you shift back into
two-wheel drive, your rear-wheel antilock brakes will take over again.
2-34
ProCarManuals.com
Page 128 of 404
Gages can indicate when there may be or is a problem with one of your
vehicle’s functions. Often gages and warning lights work together to let
you
know when there’s a problem with your vehicle.
When one of the warning lights comes on and stays on when you are
driving,
or when one of the gages shows there may be a problem, check the
section that tells you what to do about
it. Please follow the manual’s advice.
Waiting
to do repairs can be costly - and even dangerous. So please get to
know your warning lights and gages. They’re
a big help.
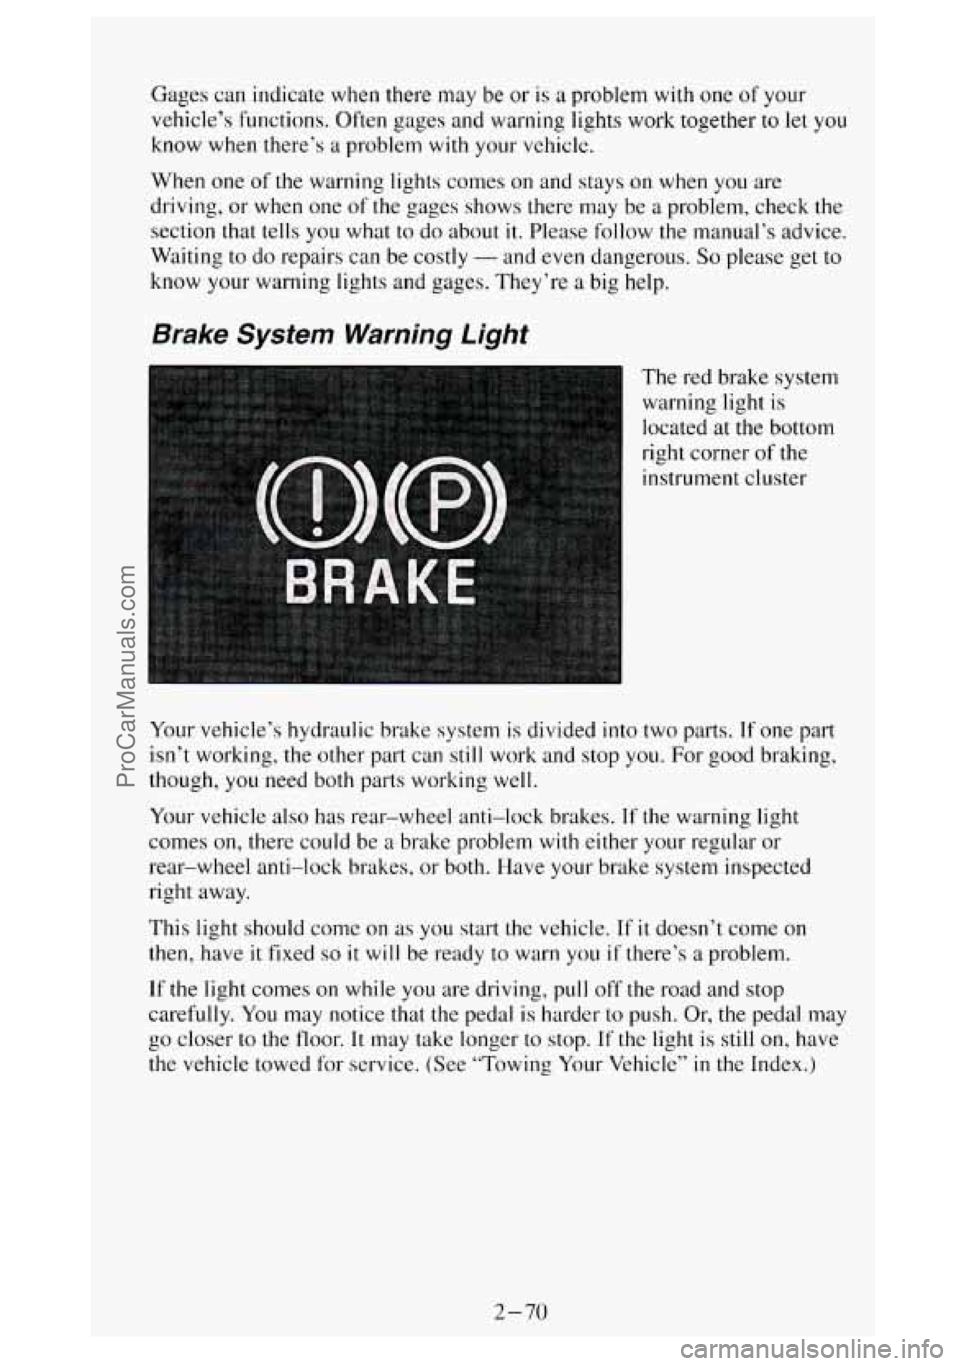
Brake System Warning Light
The red brake system
warning light is
located at the bottom
right corner
of the
instrument cluster
Your vehicle’s hydraulic brake system
is divided into two parts. If one part
isn’t working, the other part can still work and stop you. For good braking,
though, you need both parts working well.
Your vehicle also has rear-wheel anti-lock brakes.
If the warning light
comes on, there could be
a brake problem with either your regular or
rear-wheel anti-lock brakes, or both. Have your brake system inspected
right away.
This light should come on
as you start the vehicle. If it doesn’t come on
then, have it fixed so it will be ready to warn you if there’s a problem.
If the light comes on while you are driving, pull off the road and stop
carefully.
You may notice that the pedal is harder to push. Or, the pedal may
go closer
to the floor. It may take longer to stop. If the light is still on, have
the vehicle towed for service. (See “Towing Your Vehicle”
in the Index.)
2-70
ProCarManuals.com
Page 165 of 404
Your Driving and the Road
Section
Here you’ll find information about driving on different kinds of roads and in
varying weather conditions . We’ve also included many other useful tips on
driving .
Defensive Driving .......................................... 4-2
DrunkenDriving
........................................... 4-2
Control of
a Vehicle
Braking
................................................ 4-5
Steering
................................................ 4-8
Steering Tips
............................................ 4-8
Passing
............................................... 4-10
Lossofcontrol
......................................... 4-11
Off-Road Driving With Your Four-wheel Drive Vehicle
.......... 4-13
DrivingatNight
........................................... 4-24
Driving
in the Rain ........................................ 4-26
CityDriving
.............................................. 4-28
Freeway Driving
.......................................... 4-29
Hill and Mountain Roads ....................... ......... 4-31
WinterDriving
............................................ 4-33
Power Winches
........................................... 4-36
PowerTake-Off
........................................... 4-37
TowingaTrailer
........................................... 4-38
4-1
ProCarManuals.com
Page 202 of 404
If you are going to drive the vehicle, shift the transmission into th\
e gear
you want. Then shift the transfer case into the range you want, apply
the regular brakes and release the parking brake.
When you release the clutch, the power take-off will start.
5. Release the clutch (and the regular brakes) as you normally \
would.
Using a Transfer Case Mounted Power Take-Off
(Automatic Transmission)
1. Set the parking brake.
2. Shift the transfer case into “N’ (Neutral).
3. Shift the transmission into “N’ (Neutral).
4. Engage the power take-off.
If you are going to drive the vehicle, shift the transfer case into \
the
range you want. Then apply the regular brakes and release
the parking
brake.
5. Shift the transmission to “D” (Drive) to start the powe\
r take-off.
6. Release the regular brakes to drive the vehicle.
Towing a Trailer
NOTICE:
Pulling a trailer improperly can damage your vehicle and result\
in costly repairs not covered by your warranty.
To pull a trailer
correctly, follow the advice in this section, and see your Veh\
icle
dealer for important information about towing a trailer with
your vehicle.
ProCarManuals.com
Page 203 of 404
Every vehicle is ready for some trailer towing. If it was built with trailering
options,
as many are, it’s ready for heavier trailers. But trailering is different
than just driving your vehicle by itself. Trailering means changes
in
handling, durability, and fuel economy. Successful, safe trailering takes
correct equipment, and
it has to be used properly.
That’s the reason for this section. In it are many time-tested, important
trailering tips and safety rules. Many
of these are important for your safety
and that of your passengers.
So please read this section carefully before you
pull
a trailer.
If You Do Decide To Pull A Trailer
If you do, here are some important points.
There are many different laws having to do with trailering. Make sure
your rig will be legal,
not only where you live but also where you’ll be
driving. A good source for this information can be state or provincial
police.
Consider using a sway control if your trailer will weigh 4,000 pounds
(1 800 kg) or less. You should always use a sway control if your trailer
will weigh more than 4,000 pounds (I 800 kg).
You can
ask a hitch dealer about sway controls.
0 Don’t tow a trailer at all during the first 500 miles (800 km) your new
vehicle is driven. Your engine, axle or other parts could be damaged.
Then, during the first 500 miles (800 km) that you tow a trailer, don’t
drive over
50 mph (80 kdh) and don’t make starts at full throttle. This
helps your engine and other parts
of your vehicle wear in at the heavier
loads.
Three important considerations have
to do with weight:
Weight of the Trailer
How heavy can a trailer safely be?
It depends on how you plan to use your rig. For example, speed, altitude,
road grades, outside temperature and how much
your vehicle is used to pull
a trailer are all important. And, it can also depend on any special equipment
that
you have on your vehicle.
You can ask your dealer for our trailering information or advice,
or you can
write us at
the address listed in your Warranty and Owner Assistance
Information Booklet.
In Canada, write to General Motors
of Canada Limited, Customer
Assistance Center,
1908 Colonel Sam Drive, Oshawa, Ontario LlH 8P7.
4-39
ProCarManuals.com