parking brake GMC SIERRA 1997 Owner's Manual
[x] Cancel search | Manufacturer: GMC, Model Year: 1997, Model line: SIERRA, Model: GMC SIERRA 1997Pages: 436, PDF Size: 23.38 MB
Page 236 of 436
When You Are Ready to Leave After
Parkine
on a Hill
1. Apply your regular brakes and hold the pedal down
while you:
Start your engine;
Shift into a gear; and
Release the parking brake.
2. Let up on the brake pedal.
3. Drive slowly until the trailer is clear of the chocks.
4. Stop and have someone pick up and store the chocks.
Maintenance When Trailer Towing
Your vehicle will need service more often when you’re
pulling a trailer. See the Maintenance Schedule for more
on this. Things that are especially important
in trailer
operation are automatic transmission fluid (don’t
overfill), engine oil, axle lubricant, belt, cooling system
and brake adjustment. Each
of these is covered in this
manual, and
the Index will help you find them quickly.
If you’re trailering, it’s a good idea to review these
sections before you start your trip.
Trailer Wiring Harness
A seven-wire harness is stored under the rear end of
your vehicle, between
the frame rails. An electrical
connector will need to be installed at the trailer end of
the harness, by a qualified electrical technician. For
additional trailer wiring and towing information please
consult your
GM dealer. Securely attach the harness to
the trailer, then tape or strap
it to your vehicle’s frame
rail. Be sure you leave it loose enough
so the wiring
won’t bind or break when turning with the trailer, but
not
so loose that it drags on the ground. Store the
harness in its original position. Wrap the harness
together and tie
it neatly so it won’t be damaged. If you
tow
a trailer, your Center High-Mounted Stoplamp
(CHMSL) may not be properly visible from behind.
You
should select a trailer with a CHMSL on it or, if one is
not available, have one installed. See your
GM dealer
about how to connect your vehicle’s wiring
to a
trailer CHMSL.
Check periodically to see that all hitch nuts and bolts
are tight.
4-58
ProCarManuals.com
Page 237 of 436
Power Winches
If you wish to use a power winch on your vehicle, only
use it when your vehicle is stationary or anchored.
I NOTICE:
Using a power winch with the transmission in
gear may damage the transmission. When
operating a power winch, always leave the
transmission in NEUTRAL
(N).
Use the regular brakes, set the parking brake, or block
the wheels
to keep your vehicle from rolling.
Power Take-Off (PTO) (Manual Tkansmission)
NOTICE:
If you have a PTO that will exceed 35 hp installed
on your vehicle, it could damage the transfer case
or transmission. When having
a PTO installed
on
your vehicle, make sure that it will not exceed
35 hp. Before using
a PTO, refer to the manufacturer’s
or
installer’s instructions.
I NOTICE:
Using a PTO while operating in one place before
the vehicle has reached normal operating
temperature can damage the transfer case or
transmission. If you will be using the
PTO while
operating in one place, drive and warm up the
vehicle before using the
PTO.
To engage a PTO:
1. Hold the clutch pedal down.
2. Set the parking brake.
3. Shift the transmission into NEUTRAL (N).
4. Engage the PTO.
4-59
ProCarManuals.com
Page 238 of 436
NOTICE:
Using a PTO for more than four hours without
driving your vehicle can damage the transfer case
or transmission. If using a
PTO for more than
four hours without driving your vehicle, drive your vehicle for a while
to allow the transfer case
and transmission
to cool.
If you are going to drive the vehicle, shift the
transfer case into the range you want (if
you have
four-wheel drive). Then shift the transmission into
the' gear you want, apply the regular brakes and
release the parking brake.
5. Release the clutch (and the regular brakes) as you
normally would. When you release the clutch, the
PTO will start.
To engage a PTO while the vehicle is moving:
1. Hold the clutch pedal down.
2. Shift the transmission into NEUTRAL (N).
3. Engage the PTO.
4. Shift the transmission into the gear you want.
5. Release the clutch as you normally would. When you
release the clutch, the PTO will start.
Using a Transfer Case Mounted Power
Take-Off (Manual Transmission)
1.
2.
3.
4.
5.
6.
Hold the clutch pedal down.
Set the parking brake.
Shift the transfer case into NEUTRAL
(N).
If the vehicle will remain in the same place, shift the
transmission into the highest gear.
Engage
the PTO.
If you are going to drive the vehicle, shift the
transmission into the gear you want. Then shift the
transfer case into
the range you want, apply the
regular brakes and release
the parking brake.
Release the clutch (and the regular brakes) as you
normally would. When you release
the clutch, the
PTO will start.
4-60
ProCarManuals.com
Page 239 of 436
Using a Transfer Case Mounted Power
Take-Off (Automatic Transmission)
1. Set the parking brake.
2. Turn the ignition off.
3. Shift the transfer case into NEUTRAL (N).
4. Shift the transmission into NEUTRAL (N).
5. Engage the PTO.
If you are going to drive the vehicle, shift the
transfer case into the range you want. Turn the
ignition to START. Then apply the regular brakes
and release the parking brake.
6. Shift the transmission to THIRD (3) to start the PTO.
7. Release the regular brakes to drive the vehicle.
Disengaging a Power Take-OFF
1. Turn the ignition off.
2. Put the transmission in PARK (P).
3. Release the PTO
4. Restart the engine.
Step-Bumper Pad
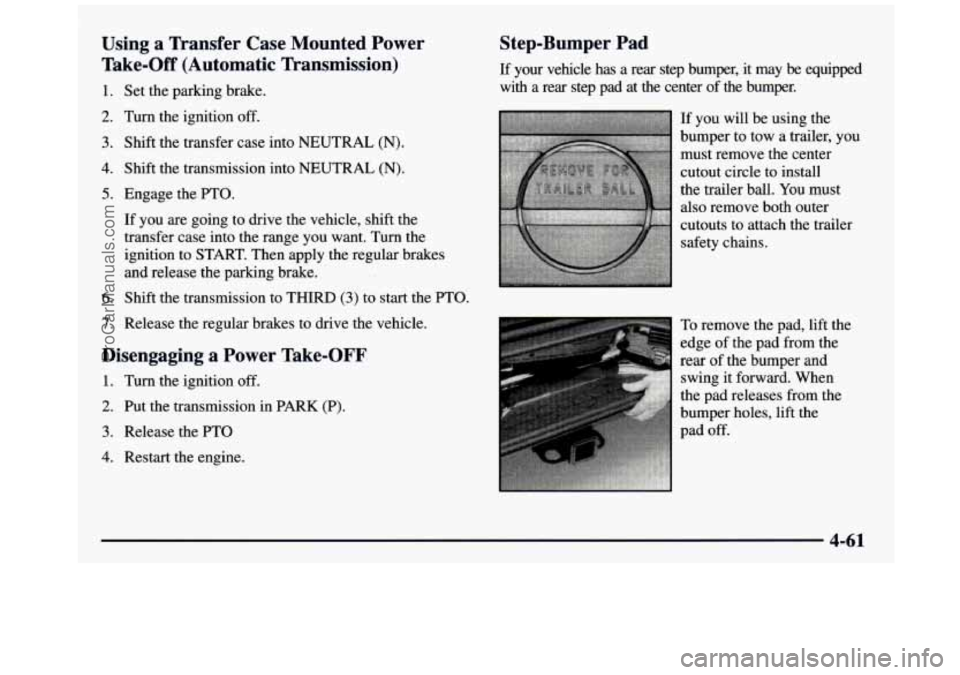
If your vehicle has a rear step bumper, it may be equipped
with a rear step pad at the center of the bumper.
If you will be using the
bumper to tow a trailer, you
must remove the center
cutout circle to install
the trailer ball. You must
also remove both outer
cutouts to attach the trailer
safety chains.
To remove the pad, lift the
edge
of the pad from the
rear of the bumper and
the pad releases from the
bumper holes, lift the
pad
off.
swing it forward. When
4-61
ProCarManuals.com
Page 244 of 436
2. Get the vehicles close enough so the jumper cables
can reach, but be
sure the vehicles aren’t touching
each other. If they are, it could cause a ground connection you don’t want. You wouldn’t be able to
start your vehicle, and the bad grounding could
damage the electrical systems.
To avoid the possibility of the vehicles rolling, set the
parking brake
fmly on both vehicles involved in the
jump stat procedure. Put an automatic transmission in
PARK (P) or a manual transmission in NEUTRAL (N).
If you have a four-wheel-drive vehicle, be sure the
transfer case is not
in NEUTRAL (N).
3. Turn off the ignition on both vehicles. Unplug
unnecessary accessories plugged into the cigarette
lighter or accessory power outlets. Turn
off all lamps
that aren’t needed as well
as radios. This will avoid
sparks and help save both batteries.
In addition, it
could save your radio!
I NOTICE:
If you leave your radio on, it could be badly
damaged. The repairs wouldn’t be covered by
your warranty.
4. Open the hoods and locate the batteries. Find the
positive
(+) and negative (-) terminals on each battery.
If your vehicle has air conditioning, the auxiliary
electric fan under the hood can start
up even
when the engine is not running and can injure
you. Keep hands, clothing and tools away
from
any underhood electric fan.
5-4
ProCarManuals.com
Page 250 of 436
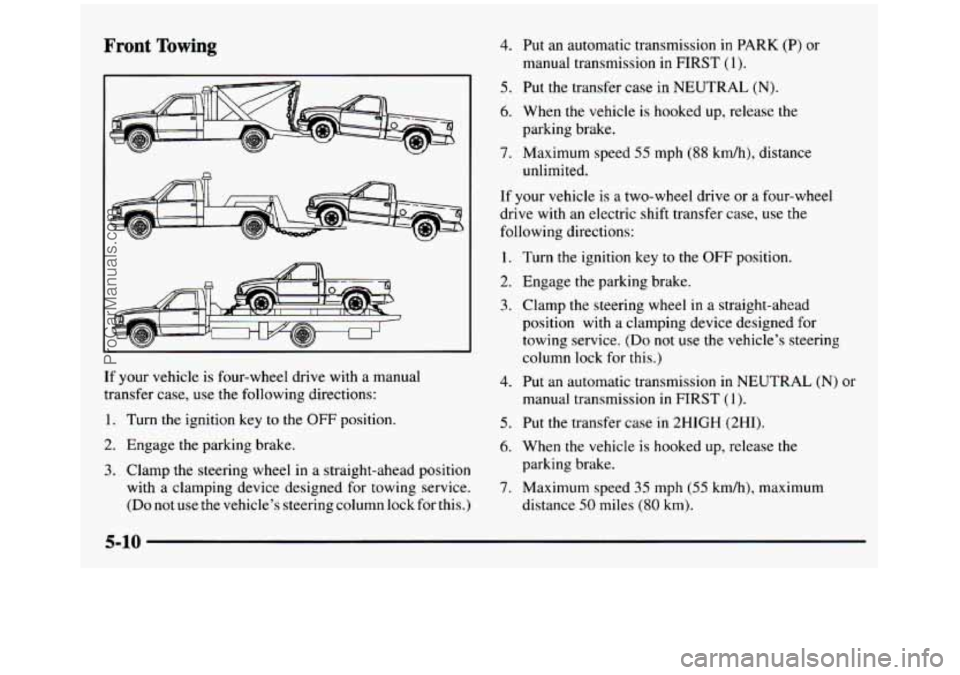
Front Towing 4. Put an automatic transmission in PARK (P) or
manual transmission in FIRST
(1).
5. Put the transfer case in NEUTRAL (N).
6. When the vehicle is hooked up, release the
7. Maximum speed 55 mph (88 kmh), distance
If your vehicle is a two-wheel drive or a four-wheel
drive with an electric shift transfer case,
use the
following directions: parking brake.
unlimited.
1.
2.
3.
If your vehicle is four-wheel drive with a manual transfer case, use the following directions:
1. Turn the ignition key to the OFF position.
2. Engage the parking brake.
3. Clamp the steering wheel in a straight-ahead position
with a clamping device designed for towing service.
(Do not use the vehicle’s steering column lock for this.)
4.
5.
6.
7.
Turn the ignition key to the OFF position.
Engage the parking brake.
Clamp the steering wheel in a straight-ahead
position with
a clamping device designed for
towing service.
(Do not use the vehicle’s steering
column lock
for this.)
Put an automatic transmission
in NEUTRAL (N) or
manual transmission in FIRST (1).
Put the transfer case
in 2HIGH (2HI).
When
the vehicle is hooked up, release the
parking brake.
Maximum speed
35 mph (55 km/h), maximum
distance
50 miles (80 km).
5-10
ProCarManuals.com
Page 262 of 436
Changing a Flat Tire
If a tire goes flat, avoid further tire and wheel damage
by driving slowly to a level place. Turn on your hazard
warning flashers.
I A CAUTION:
Changing a tire can cause an injury. The vehicle
can slip
off the jack and roll over you or other
people. You and they could be badly injured.
Find a level place
to change your tire. To help
prevent the vehicle from moving:
1. Set the parking brake firmly.
2. Put an automatic transmission shift
lever in
PARK (P) or shift a manual
transmission to
FIRST (1) or
REVERSE (R).
3. If you have a four-wheel-drive vehicle,
be
sure the transfer case is in a drive
gear
-- not in NEUTRAL (N).
4. Turn off the engine.
CAUTION: (Continued)
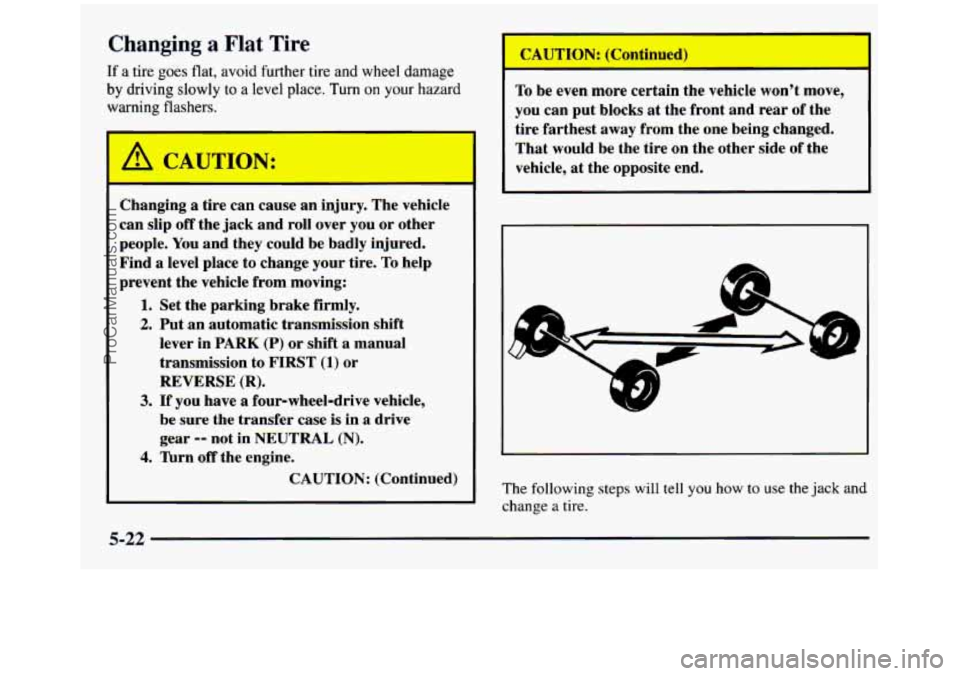
To be even more certain the vehicle won’t move,
you can put blocks at the front and rear of the
tire farthest away from the one being changed.
That would be the tire on the other side
of the
vehicle, at the opposite end.
The following steps will tell
you how to use the jack and
change
a tire.
5-22
ProCarManuals.com
Page 299 of 436
Checking the Fluid Hot or Cold
Park your vehicle on a level place. Keep the
engine running.
With the parking brake applied, place the shift lever
in PARK
(P).
0 With your foot on the brake pedal, move the shift
lever through each gear range, pausing
for about
three seconds in each range. Then, position the shift
lever in PARK (P). Then, without shutting
off the engine, follow these steps:
0 Let the
engine run at idle for three minutes or more.
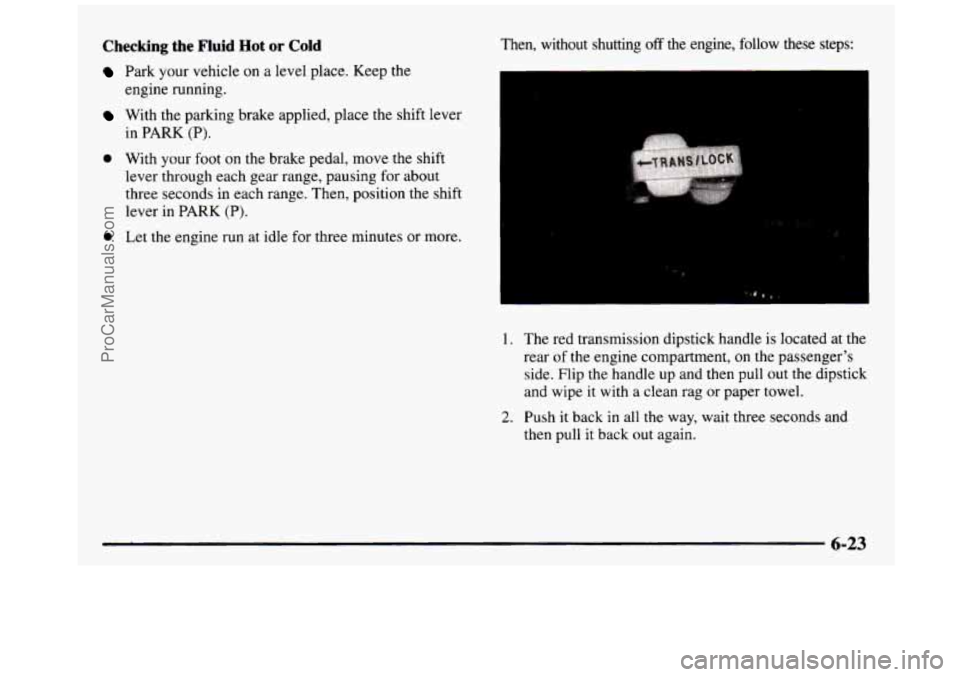
1. The red transmission dipstick handle is located at the
rear
of the engine compartment, on the passenger's
side. Flip the handle
up and then pull out the dipstick
and wipe
it with a clean rag or paper towel.
2. Push it back in all the way, wait three seconds and
then
pull it back out again.
ProCarManuals.com
Page 361 of 436
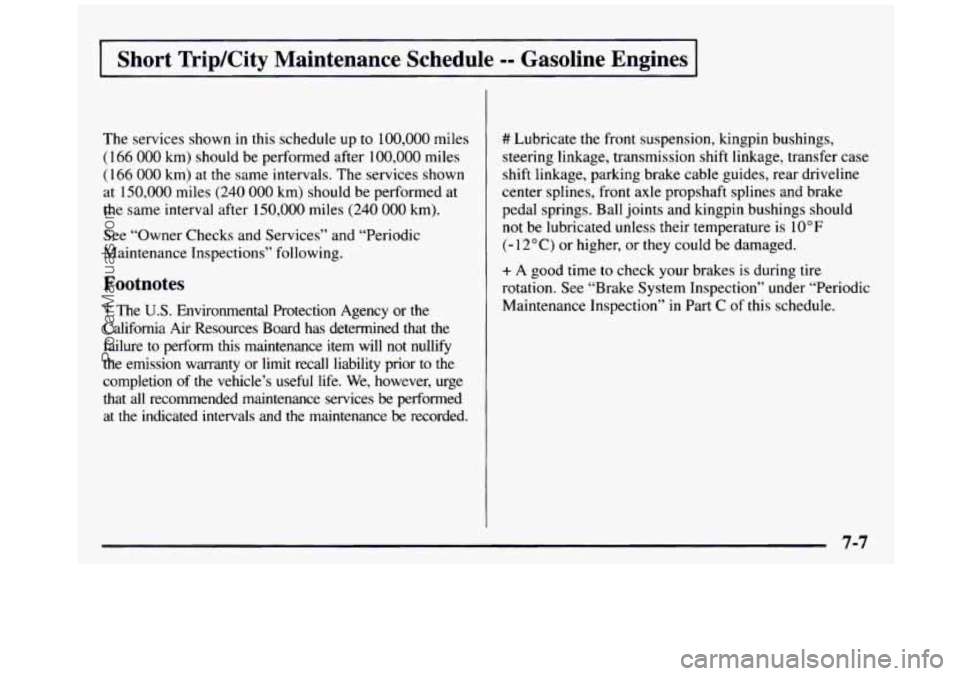
Short TripKity Maintenance Schedule =- Gasoline Engines
The services shown in this schedule up to 100,000 miles
(166 000 km) should be performed after 100,000 miles
(166 000 km) at the same intervals. The services shown
at 150,000 miles (240 000 km) should be performed at
the same interval after 150,000 miles (240 000 km).
See “Owner Checks and Services” and “Periodic
Maintenance Inspections” following.
Footnotes
The U.S. Environmental Protection Agency or the
California
Air Resources Board has determined that the
failure to perform this maintenance item will not nullify
the emission warranty or limit recall liability prior to the
completion of the vehicle’s useful life. We, however, urge
that all recommended maintenance services
be performed
at the indicated intervals and the maintenance be recorded.
# Lubricate the front suspension, kingpin bushings,
steering linkage, transmission shift linkage, transfer case
shift linkage, parking brake cable guides, rear driveline
center splines, front axle propshaft splines and brake
pedal springs. Ball joints and kingpin bushings should
not be lubricated unless their temperature
is 10°F
(- 12°C) or higher, or they could be damaged.
+ A good time to check your brakes is during tire
rotation. See “Brake System Inspection’’ under “Periodic
Maintenance Inspection”
in Part C of this schedule.
ProCarManuals.com
Page 385 of 436
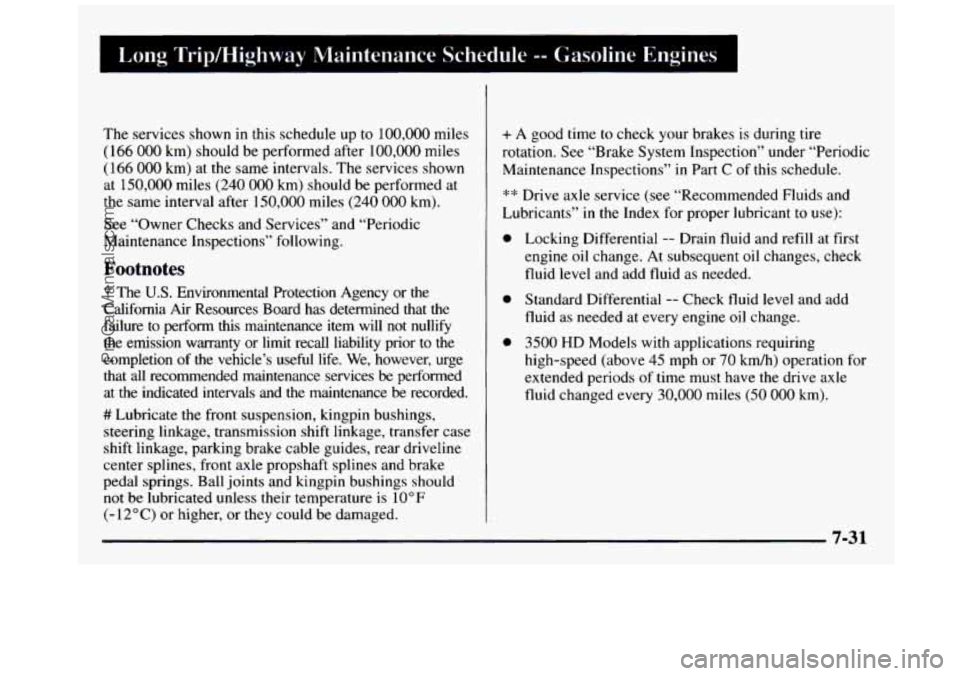
Long Tripmighway Maintenance Schedule -- Gasdin-
The services shown in this schedule up to 100,000 miles
( 166 000 km) should be performed after 100,000 miles
(166
000 km) at the same intervals. The services shown
at
150,000 miles (240 000 km) should be performed at
the same interval after 150,000 miles (240
000 km).
See “Owner Checks and Services” and “Periodic
Maintenance Inspections’’ following.
Footnotes
The U.S. Environmental Protection Agency or the
California
Air Resources Board has determined that the
failure to perform this maintenance item will not nullify
the emission warranty or limit recall liability prior to the
completion
of the vehicle’s useful life. We, however, urge
that
all recommended maintenance services be performed
at the indicated intervals and the maintenance be recorded.
# Lubricate the front suspension, kingpin bushings,
steering linkage, transmission shift linkage, transfer case
shift linkage, parking brake cable guides, rear driveline
center splines, front axle propshaft splines and brake
pedal springs. Ball joints and kingpin bushings should
not be lubricated unless their temperature is 10 OF
(- 12°C) or higher, or they could be damaged.
+ A good time to check your brakes is during tire
rotation. See “Brake System Inspection” under “Periodic
Maintenance Inspections” in Part
C of this schedule.
** Drive axle service (see “Recommended Fluids and
Lubricants”
in the Index for proper lubricant to use):
0
0
0
Locking Differential -- Drain fluid and refill at first
engine oil change. At subsequent oil changes, check
fluid level and add fluid as needed.
Standard Differential
-- Check fluid level and add
fluid as needed at every engine oil change.
3500 HD Models with applications requiring
high-speed (above
45 mph or 70 kmh) operation for
extended periods of time must have the drive axle
fluid changed every
30,000 miles (50 000 km).
7-31
ProCarManuals.com