GMC SIERRA 1998 Owners Manual
Manufacturer: GMC, Model Year: 1998,
Model line: SIERRA,
Model: GMC SIERRA 1998
Pages: 452, PDF Size: 23.65 MB
GMC SIERRA 1998 Owners Manual
SIERRA 1998
GMC
GMC
https://www.carmanualsonline.info/img/44/57862/w960_57862-0.png
GMC SIERRA 1998 Owners Manual
Trending: service interval, park assist, ground clearance, wiper blades, wheel, oil reset, tow
Page 331 of 452
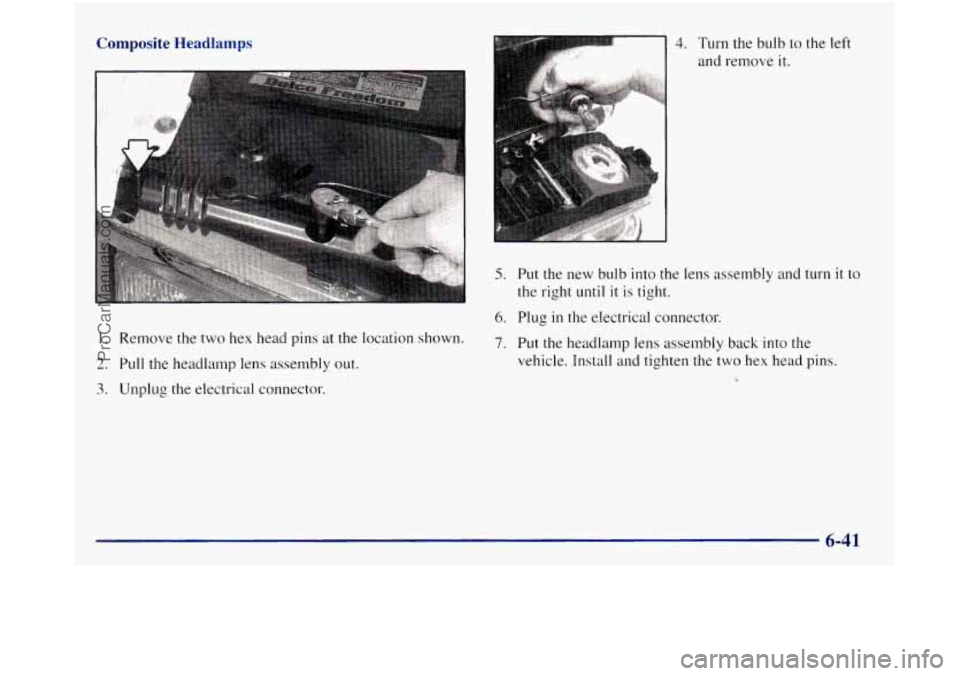
Composite Headlamps
1. Remove the two hex head pins at the location shown.
2. Pull the headlamp lens assembly out.
3. Unplug the electrical connector.
4. Turn the bulb to the left
and remove it.
5. Put the new bulb into the lens assembly and turn it to
the right
until it is tight.
6. Plug in the electrical connector.
7. Put the headlamp lens assembly back into the
vehicle. Install and tighten the two hex head pins.
6-41
ProCarManuals.com
Page 332 of 452
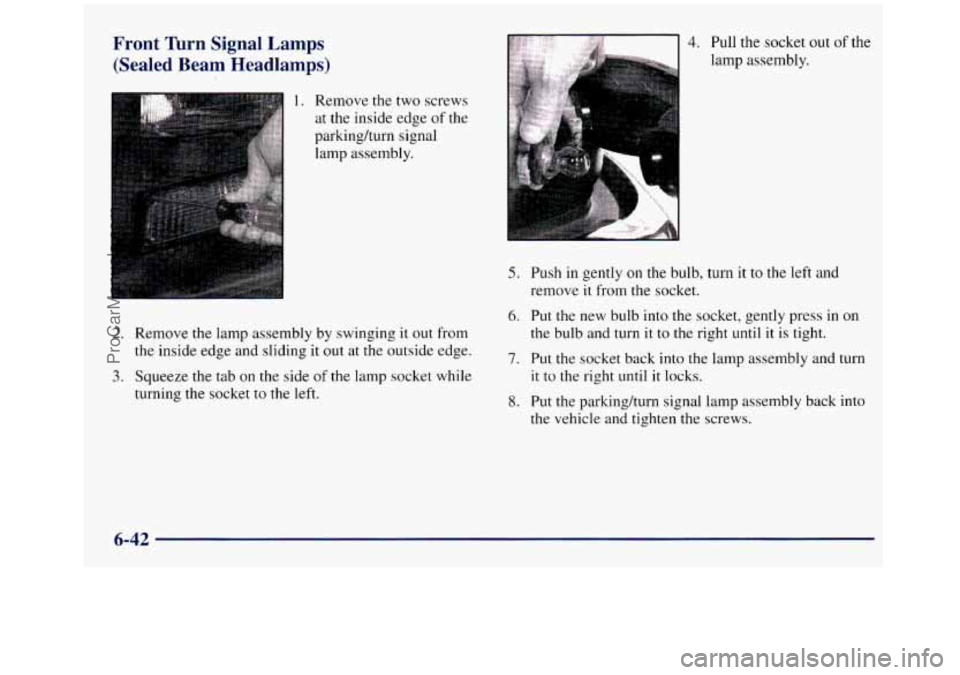
Front Turn Signal Lamps
/c
1. Remove the two screws at the inside edge
of the
parkinghurn signal lamp assembly.
2. Remove the lamp assembly by swinging it out from
the inside edge and sliding
it out at the outside edge.
3. Squeeze the tab on the side of the lamp socket while
turning the socket to the left.
4. Pull the socket out of the
lamp assembly.
5. Push in gently on the bulb, turn it to the left and
remove
it from the socket.
6. Put the new bulb into the socket, gently press in on
the bulb and
turn it to the right until it is tight.
7. Put the socket back into the lamp assembly and turn
it to the right until it locks.
8. Put the parkinghrn signal lamp assembly back into
the vehicle and tighten the screws.
6-42
ProCarManuals.com
Page 333 of 452
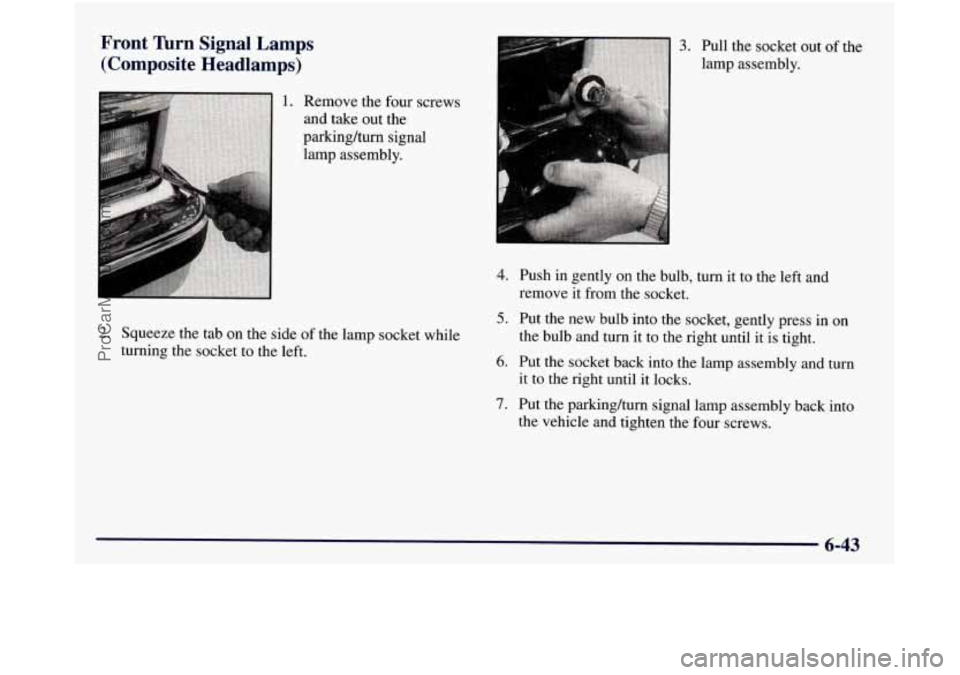
Front Turn Signal Lamps
(Composite Headlamps)
1. Remove the four screws
and take out the
parking/turn signal
lamp assembly.
2. Squeeze the tab on the side of the lamp socket while
turning the socket
to the left.
4. Push in gently on the bulb, turn it to the left and
remove
it from the socket.
5. Put the new bulb into the socket, gently press in on
the bulb and turn it to the right until it
is tight.
6. Put the socket back into the lamp assembly and turn
it to the right until it locks.
7. Put the parkinghrn signal lamp assembly back into
the vehicle and tighten the four screws.
6-43
ProCarManuals.com
Page 334 of 452
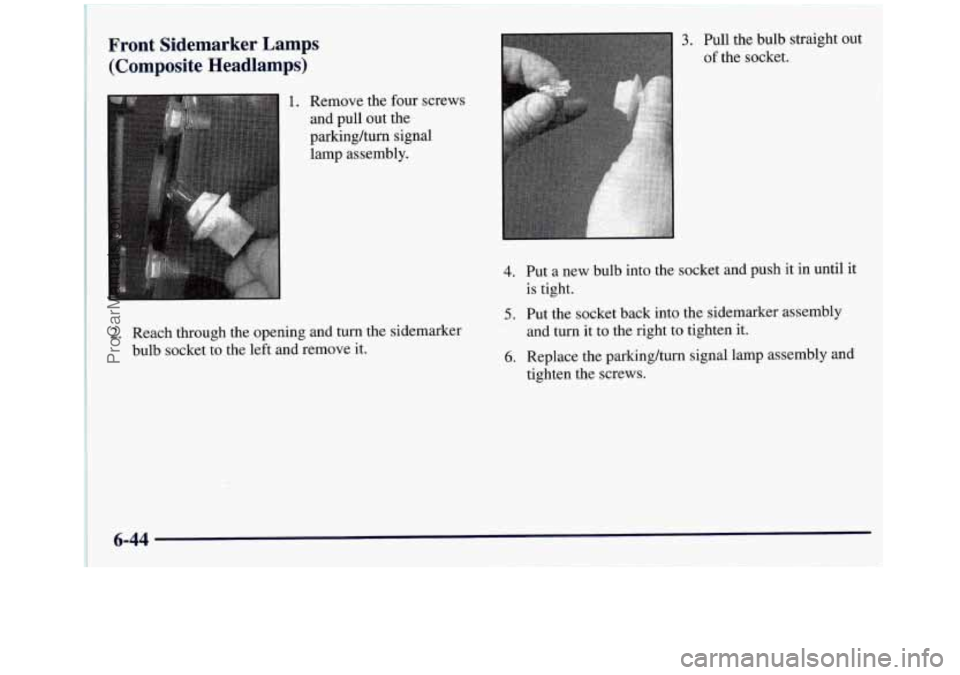
Front Sidemarker Lamps (Composite Headlamps)
1. Remove the four screws
and pull out the
parkinghrn signal
lamp assembly.
2. Reach through the opening and turn the sidemarker
bulb socket to the left and remove it.
3.
4. Put a new bulb into the socket and push it in until it
5. Put the socket back into the sidemarker assembly
is
tight.
and turn it to the right to tighten it.
6. Replace the parkinghrn signal lamp assembly and
tighten the screws.
ProCarManuals.com
Page 335 of 452
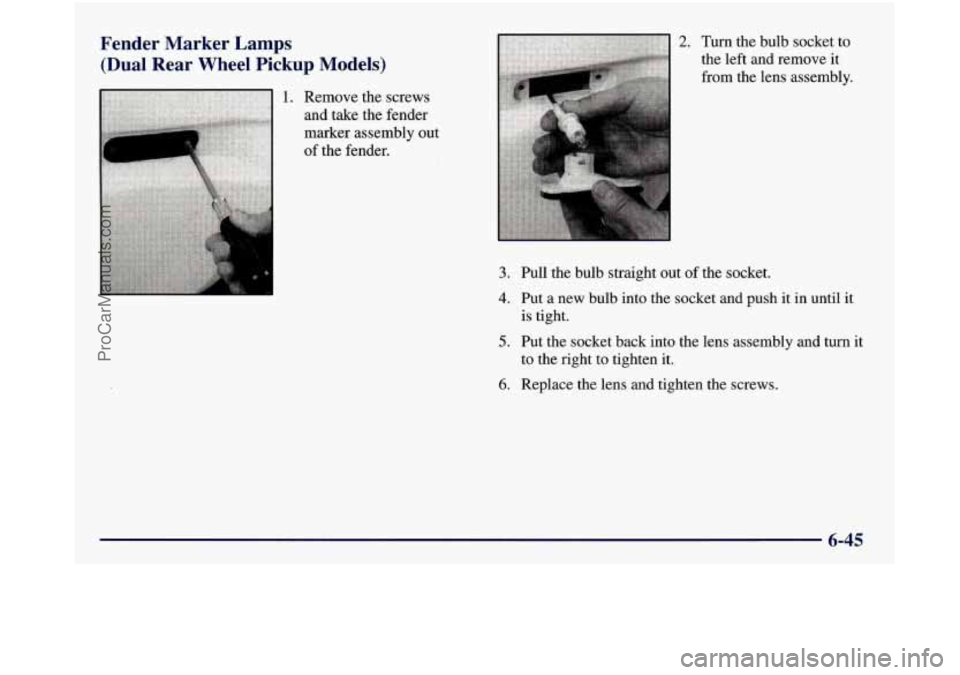
Fender Marker Lamps (Dual Rear Wheel Pickup Models)
1. Remove the screws
and take the fender
marker assembly out
of the fender.
2. Turn the bulb socket to
the left and remove it
from
the lens assembly.
3. Pull the bulb straight out of the socket.
4. Put a new bulb into the socket and push it in until it
is tight.
5. Put the socket back into the lens assembly and turn it
to the right to tighten it.
6. Replace the lens and tighten the screws.
6-45
ProCarManuals.com
Page 336 of 452
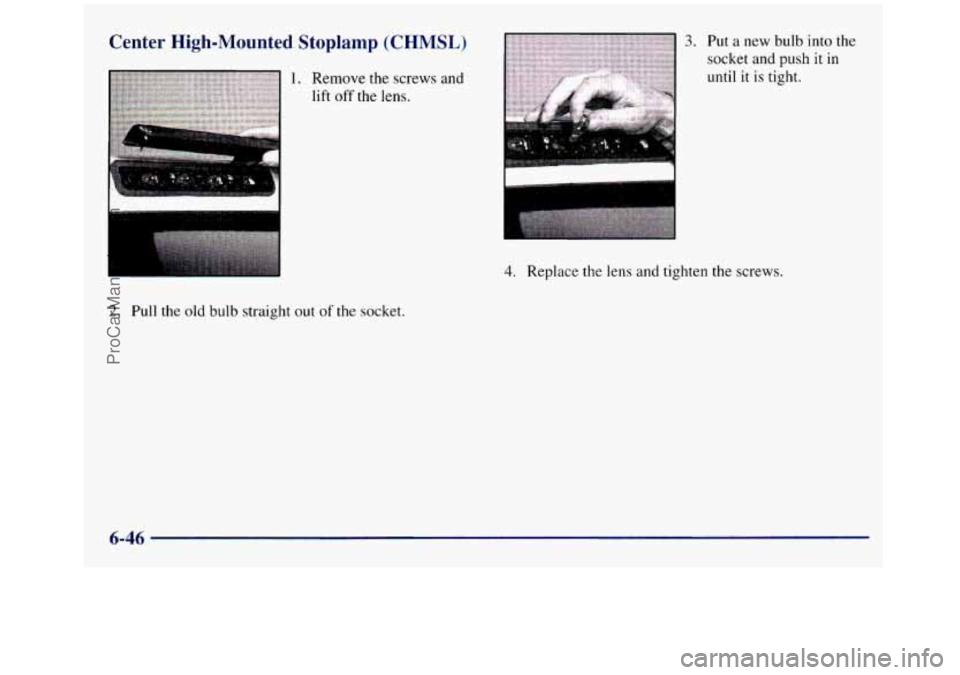
Center High-Mounted Stoplamp (CHMSL)
.......
L%rnwa?r::;; .............................................. .*....* I
I I
I
2. Pull the old bulb straight out of the socket.
I
3. Put a new bulb into the
socket
and push it in
until it is tight.
4. Replace the lens and tighten the screws.
6-46
ProCarManuals.com
Page 337 of 452
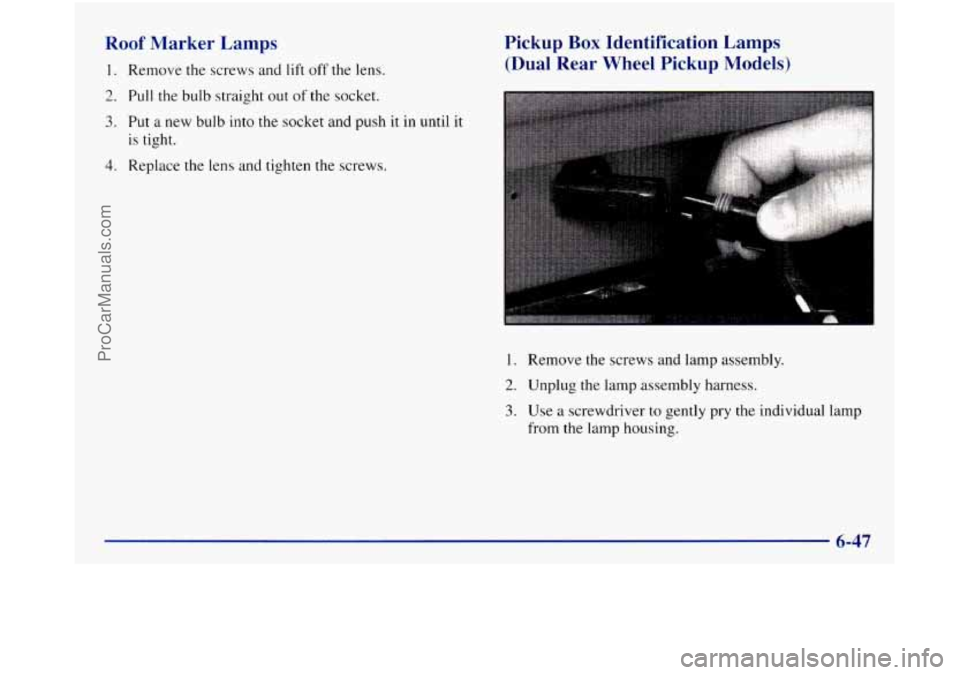
Roof Marker Lamps
1. Remove the screws and lift off the lens.
2. Pull the bulb straight out of the socket.
3. Put a new bulb into the socket and push it in until it
is tight.
4. Replace the lens and tighten the screws.
Pickup Box Identification Lamps
(Dual Rear Wheel Pickup Models)
1. Remove the screws and lamp assembly.
2. Unplug the lamp assembly harness.
3. Use a screwdriver to gently pry the individual lamp
from the lamp housing.
6-47
ProCarManuals.com
Page 338 of 452
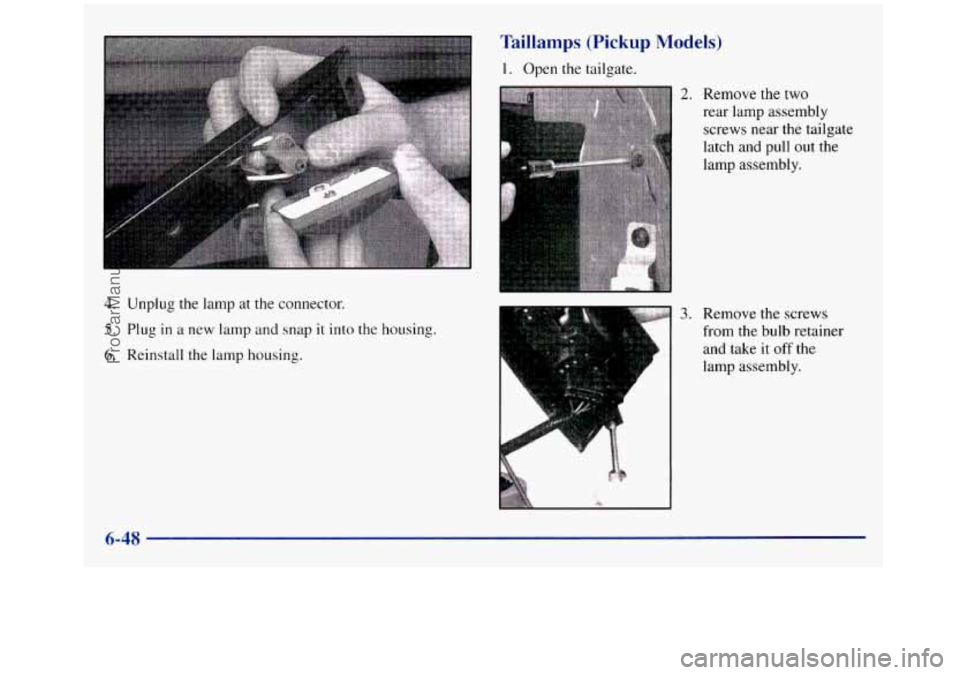
4. Unplug the lamp at the connector.
5. Plug in a new lamp and snap it into the housing.
6. Reinstall the lamp housing.
Taillamps (Pickup Models)
1. Open the tailgate.
2. Remove the two
rear lamp assembly
screws near
the tailgate
latch
and pull out the
lamp assembly.
3. Remove the screws
from the bulb retainer
and take
it off the
lamp assembly.
c
6-48
ProCarManuals.com
Page 339 of 452
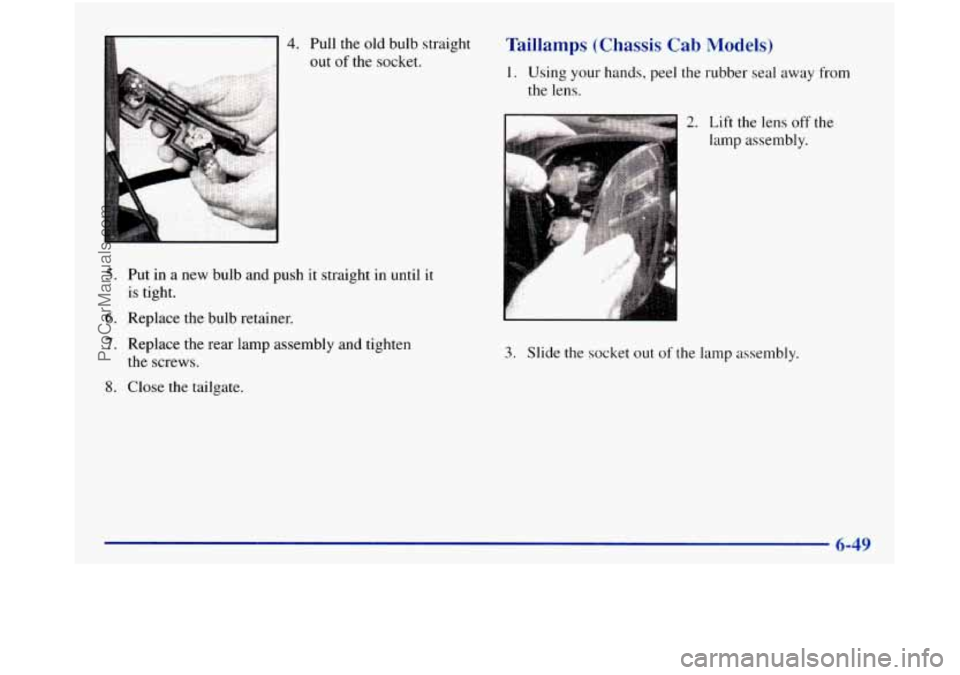
4. Pull the old bulb straight
out
of the socket.
5. Put in a new bulb and push it straight in until it
is tight.
6. Replace the bulb retainer.
7. Replace the rear lamp assembly and tighten
the screws.
8. Close the tailgate.
Taillamps (Chassis Cab Models)
1. Using your hands, peel the rubber seal away from
the lens.
2. Lift the lens off the
lamp assembly.
3. Slide the socket out of the lamp assembly.
6-49
ProCarManuals.com
Page 340 of 452
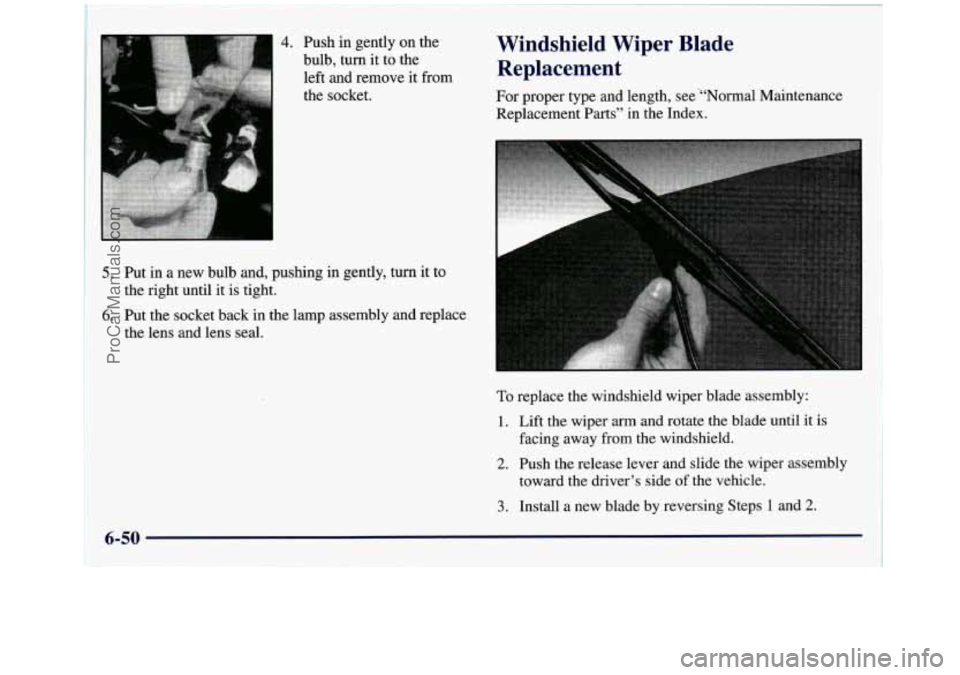
4. Push in gently on the
bulb, turn it to the
left and remove it from
the socket. Windshield Wiper Blade Replacement
For proper type and length, see “‘Normal Maintenance 1 I
Replacement Parts” in the Index. I i
i
5. Put in a new bulb and, pushing in gently, turn it to
the right until it is tight.
6. Put the socket back in the lamp assembly and replace
the lens and lens seal.
To replace the windshield wiper blade assembly:
1. Lift the wiper arm and rotate the blade until it is
2. Push the release lever and slide the wiper assembly
3. Install a new blade by reversing Steps 1 and 2.
facing away from the windshield.
toward the driver’s side
of the vehicle.
ProCarManuals.com
Trending: gas mileage, octane, heating, spare tire location, engine oil, height adjustment, automatic transmission fluid
