remote start GMC SIERRA 2004 Owner's Manual
[x] Cancel search | Manufacturer: GMC, Model Year: 2004, Model line: SIERRA, Model: GMC SIERRA 2004Pages: 588, PDF Size: 3.74 MB
Page 95 of 588
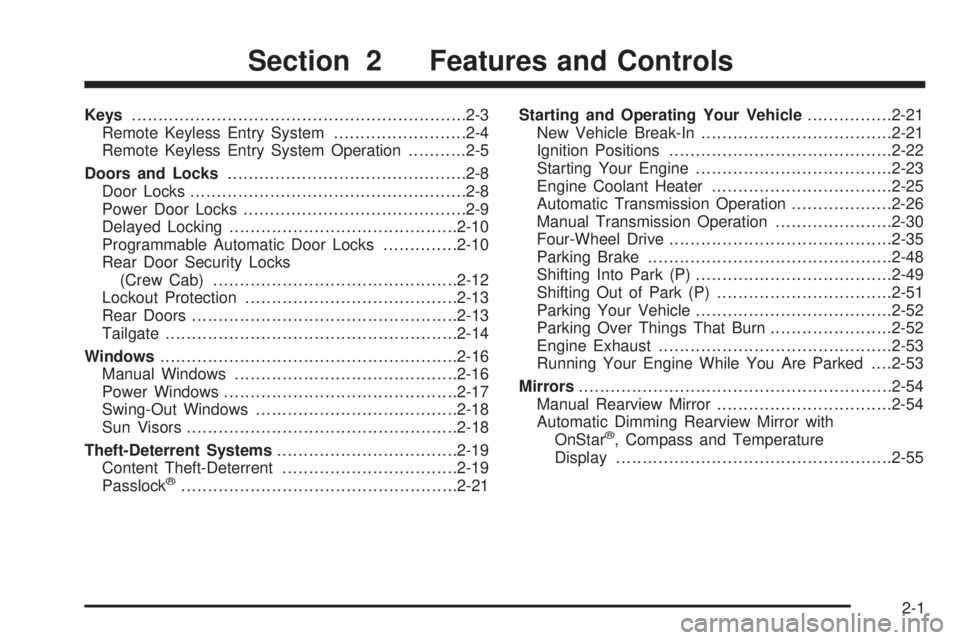
Keys...............................................................2-3
Remote Keyless Entry System.........................2-4
Remote Keyless Entry System Operation...........2-5
Doors and Locks.............................................2-8
Door Locks....................................................2-8
Power Door Locks..........................................2-9
Delayed Locking...........................................2-10
Programmable Automatic Door Locks..............2-10
Rear Door Security Locks
(Crew Cab)..............................................2-12
Lockout Protection........................................2-13
Rear Doors..................................................2-13
Tailgate.......................................................2-14
Windows........................................................2-16
Manual Windows..........................................2-16
Power Windows............................................2-17
Swing-Out Windows......................................2-18
Sun Visors...................................................2-18
Theft-Deterrent Systems..................................2-19
Content Theft-Deterrent.................................2-19
Passlock
ž....................................................2-21Starting and Operating Your Vehicle................2-21
New Vehicle Break-In....................................2-21
Ignition Positions..........................................2-22
Starting Your Engine.....................................2-23
Engine Coolant Heater..................................2-25
Automatic Transmission Operation...................2-26
Manual Transmission Operation......................2-30
Four-Wheel Drive..........................................2-35
Parking Brake..............................................2-48
Shifting Into Park (P).....................................2-49
Shifting Out of Park (P).................................2-51
Parking Your Vehicle.....................................2-52
Parking Over Things That Burn.......................2-52
Engine Exhaust............................................2-53
Running Your Engine While You Are Parked. . . .2-53
Mirrors...........................................................2-54
Manual Rearview Mirror.................................2-54
Automatic Dimming Rearview Mirror with
OnStar
ž, Compass and Temperature
Display....................................................2-55
Section 2 Features and Controls
2-1
Page 100 of 588
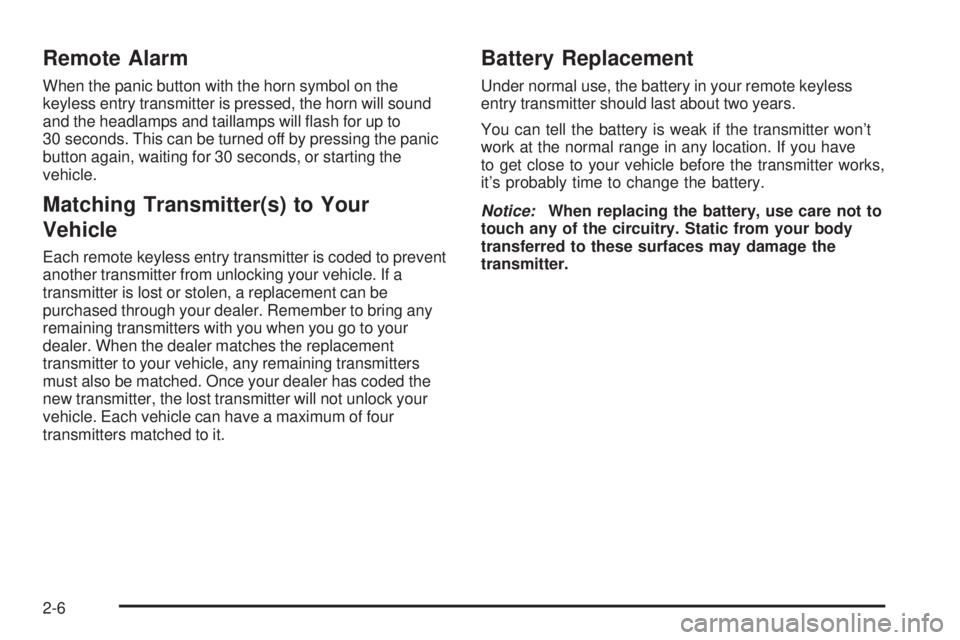
Remote Alarm
When the panic button with the horn symbol on the
keyless entry transmitter is pressed, the horn will sound
and the headlamps and taillamps will ¯ash for up to
30 seconds. This can be turned off by pressing the panic
button again, waiting for 30 seconds, or starting the
vehicle.
Matching Transmitter(s) to Your
Vehicle
Each remote keyless entry transmitter is coded to prevent
another transmitter from unlocking your vehicle. If a
transmitter is lost or stolen, a replacement can be
purchased through your dealer. Remember to bring any
remaining transmitters with you when you go to your
dealer. When the dealer matches the replacement
transmitter to your vehicle, any remaining transmitters
must also be matched. Once your dealer has coded the
new transmitter, the lost transmitter will not unlock your
vehicle. Each vehicle can have a maximum of four
transmitters matched to it.
Battery Replacement
Under normal use, the battery in your remote keyless
entry transmitter should last about two years.
You can tell the battery is weak if the transmitter won't
work at the normal range in any location. If you have
to get close to your vehicle before the transmitter works,
it's probably time to change the battery.
Notice:When replacing the battery, use care not to
touch any of the circuitry. Static from your body
transferred to these surfaces may damage the
transmitter.
2-6
Page 114 of 588
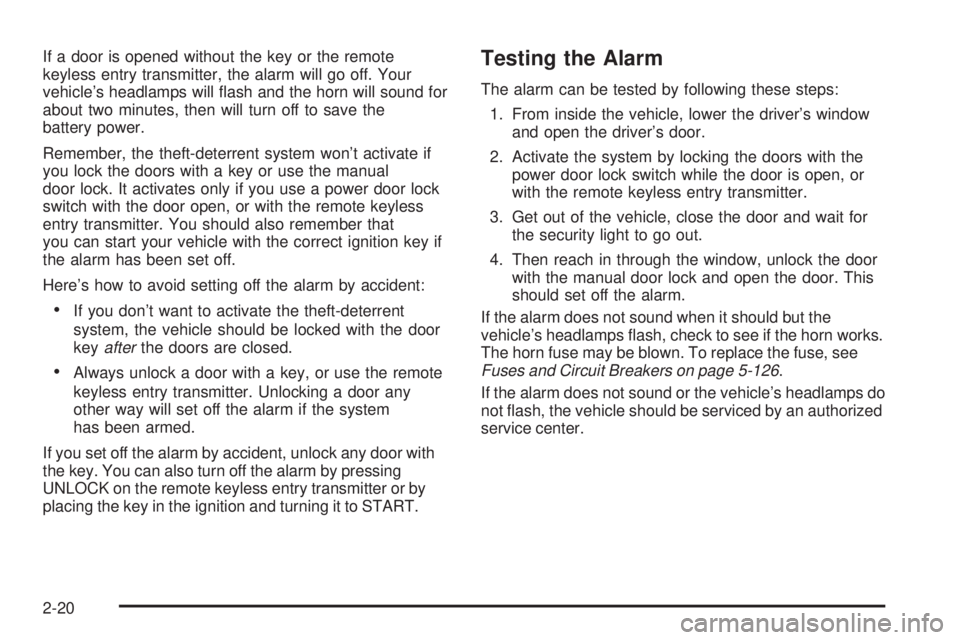
If a door is opened without the key or the remote
keyless entry transmitter, the alarm will go off. Your
vehicle's headlamps will ¯ash and the horn will sound for
about two minutes, then will turn off to save the
battery power.
Remember, the theft-deterrent system won't activate if
you lock the doors with a key or use the manual
door lock. It activates only if you use a power door lock
switch with the door open, or with the remote keyless
entry transmitter. You should also remember that
you can start your vehicle with the correct ignition key if
the alarm has been set off.
Here's how to avoid setting off the alarm by accident:
·If you don't want to activate the theft-deterrent
system, the vehicle should be locked with the door
key
afterthe doors are closed.
·Always unlock a door with a key, or use the remote
keyless entry transmitter. Unlocking a door any
other way will set off the alarm if the system
has been armed.
If you set off the alarm by accident, unlock any door with
the key. You can also turn off the alarm by pressing
UNLOCK on the remote keyless entry transmitter or by
placing the key in the ignition and turning it to START.
Testing the Alarm
The alarm can be tested by following these steps:
1. From inside the vehicle, lower the driver's window
and open the driver's door.
2. Activate the system by locking the doors with the
power door lock switch while the door is open, or
with the remote keyless entry transmitter.
3. Get out of the vehicle, close the door and wait for
the security light to go out.
4. Then reach in through the window, unlock the door
with the manual door lock and open the door. This
should set off the alarm.
If the alarm does not sound when it should but the
vehicle's headlamps ¯ash, check to see if the horn works.
The horn fuse may be blown. To replace the fuse, see
Fuses and Circuit Breakers on page 5-126.
If the alarm does not sound or the vehicle's headlamps do
not ¯ash, the vehicle should be serviced by an authorized
service center.
2-20
Page 281 of 588
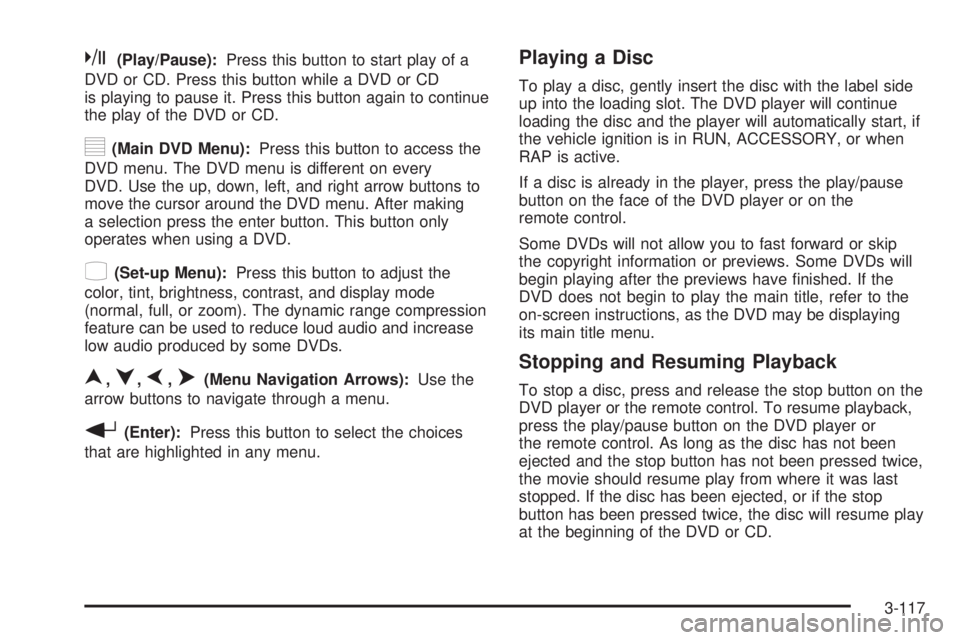
k(Play/Pause):Press this button to start play of a
DVD or CD. Press this button while a DVD or CD
is playing to pause it. Press this button again to continue
the play of the DVD or CD.
y(Main DVD Menu):Press this button to access the
DVD menu. The DVD menu is different on every
DVD. Use the up, down, left, and right arrow buttons to
move the cursor around the DVD menu. After making
a selection press the enter button. This button only
operates when using a DVD.
z(Set-up Menu):Press this button to adjust the
color, tint, brightness, contrast, and display mode
(normal, full, or zoom). The dynamic range compression
feature can be used to reduce loud audio and increase
low audio produced by some DVDs.
n,q,p,o(Menu Navigation Arrows):Use the
arrow buttons to navigate through a menu.
r(Enter):Press this button to select the choices
that are highlighted in any menu.
Playing a Disc
To play a disc, gently insert the disc with the label side
up into the loading slot. The DVD player will continue
loading the disc and the player will automatically start, if
the vehicle ignition is in RUN, ACCESSORY, or when
RAP is active.
If a disc is already in the player, press the play/pause
button on the face of the DVD player or on the
remote control.
Some DVDs will not allow you to fast forward or skip
the copyright information or previews. Some DVDs will
begin playing after the previews have ®nished. If the
DVD does not begin to play the main title, refer to the
on-screen instructions, as the DVD may be displaying
its main title menu.
Stopping and Resuming Playback
To stop a disc, press and release the stop button on the
DVD player or the remote control. To resume playback,
press the play/pause button on the DVD player or
the remote control. As long as the disc has not been
ejected and the stop button has not been pressed twice,
the movie should resume play from where it was last
stopped. If the disc has been ejected, or if the stop
button has been pressed twice, the disc will resume play
at the beginning of the DVD or CD.
3-117
Page 284 of 588
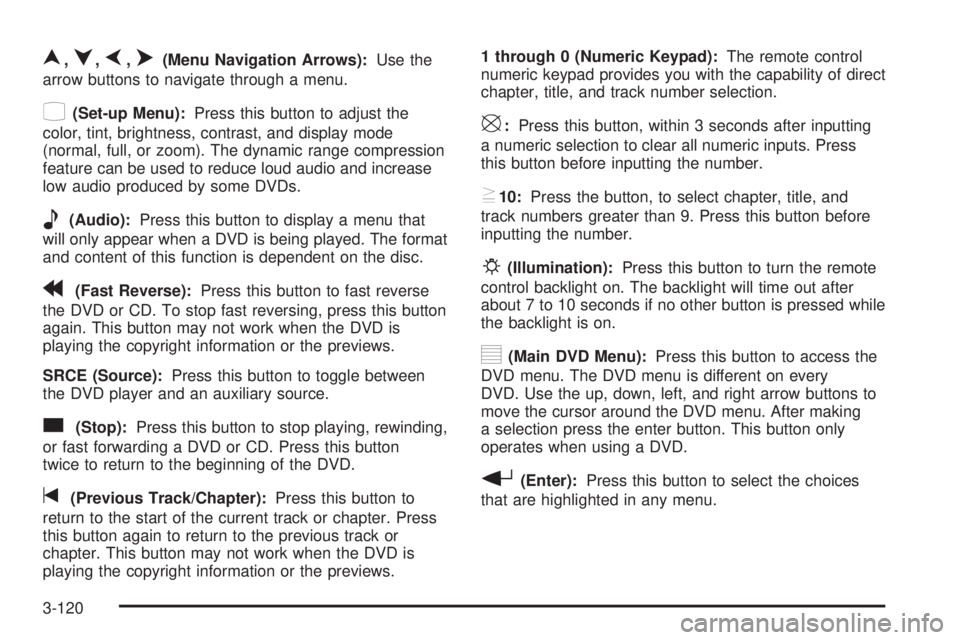
n,q,p,o(Menu Navigation Arrows):Use the
arrow buttons to navigate through a menu.
z(Set-up Menu):Press this button to adjust the
color, tint, brightness, contrast, and display mode
(normal, full, or zoom). The dynamic range compression
feature can be used to reduce loud audio and increase
low audio produced by some DVDs.
e(Audio):Press this button to display a menu that
will only appear when a DVD is being played. The format
and content of this function is dependent on the disc.
r(Fast Reverse):Press this button to fast reverse
the DVD or CD. To stop fast reversing, press this button
again. This button may not work when the DVD is
playing the copyright information or the previews.
SRCE (Source):Press this button to toggle between
the DVD player and an auxiliary source.
c(Stop):Press this button to stop playing, rewinding,
or fast forwarding a DVD or CD. Press this button
twice to return to the beginning of the DVD.
t(Previous Track/Chapter):Press this button to
return to the start of the current track or chapter. Press
this button again to return to the previous track or
chapter. This button may not work when the DVD is
playing the copyright information or the previews.1 through 0 (Numeric Keypad):The remote control
numeric keypad provides you with the capability of direct
chapter, title, and track number selection.
\:Press this button, within 3 seconds after inputting
a numeric selection to clear all numeric inputs. Press
this button before inputting the number.
}10:Press the button, to select chapter, title, and
track numbers greater than 9. Press this button before
inputting the number.
P(Illumination):Press this button to turn the remote
control backlight on. The backlight will time out after
about 7 to 10 seconds if no other button is pressed while
the backlight is on.
y(Main DVD Menu):Press this button to access the
DVD menu. The DVD menu is different on every
DVD. Use the up, down, left, and right arrow buttons to
move the cursor around the DVD menu. After making
a selection press the enter button. This button only
operates when using a DVD.
r(Enter):Press this button to select the choices
that are highlighted in any menu.
3-120
Page 285 of 588
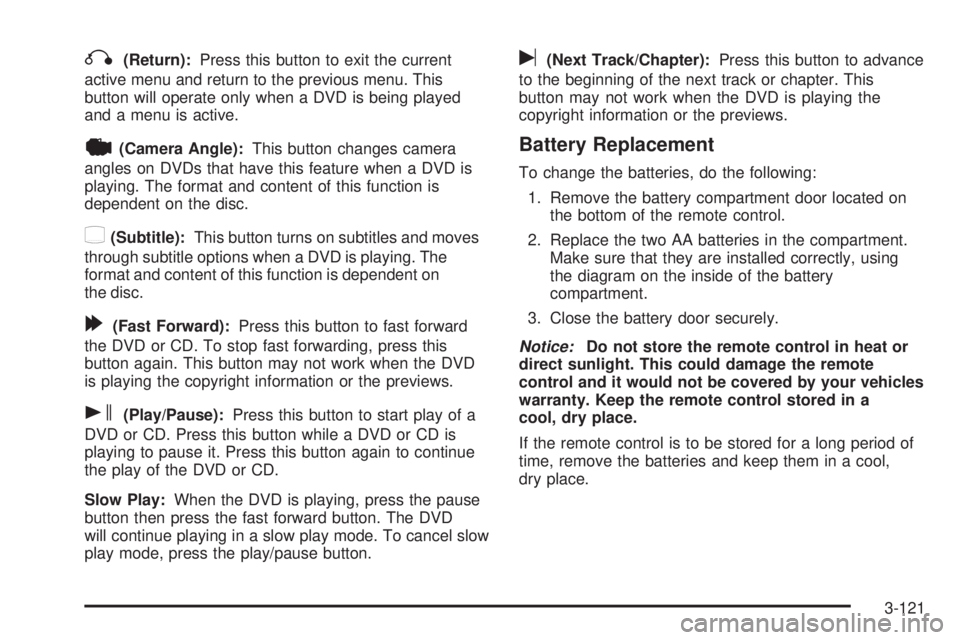
q(Return):Press this button to exit the current
active menu and return to the previous menu. This
button will operate only when a DVD is being played
and a menu is active.
|(Camera Angle):This button changes camera
angles on DVDs that have this feature when a DVD is
playing. The format and content of this function is
dependent on the disc.
{(Subtitle):This button turns on subtitles and moves
through subtitle options when a DVD is playing. The
format and content of this function is dependent on
the disc.
[(Fast Forward):Press this button to fast forward
the DVD or CD. To stop fast forwarding, press this
button again. This button may not work when the DVD
is playing the copyright information or the previews.
s(Play/Pause):Press this button to start play of a
DVD or CD. Press this button while a DVD or CD is
playing to pause it. Press this button again to continue
the play of the DVD or CD.
Slow Play:When the DVD is playing, press the pause
button then press the fast forward button. The DVD
will continue playing in a slow play mode. To cancel slow
play mode, press the play/pause button.
u(Next Track/Chapter):Press this button to advance
to the beginning of the next track or chapter. This
button may not work when the DVD is playing the
copyright information or the previews.
Battery Replacement
To change the batteries, do the following:
1. Remove the battery compartment door located on
the bottom of the remote control.
2. Replace the two AA batteries in the compartment.
Make sure that they are installed correctly, using
the diagram on the inside of the battery
compartment.
3. Close the battery door securely.
Notice:Do not store the remote control in heat or
direct sunlight. This could damage the remote
control and it would not be covered by your vehicles
warranty. Keep the remote control stored in a
cool, dry place.
If the remote control is to be stored for a long period of
time, remove the batteries and keep them in a cool,
dry place.
3-121
Page 289 of 588
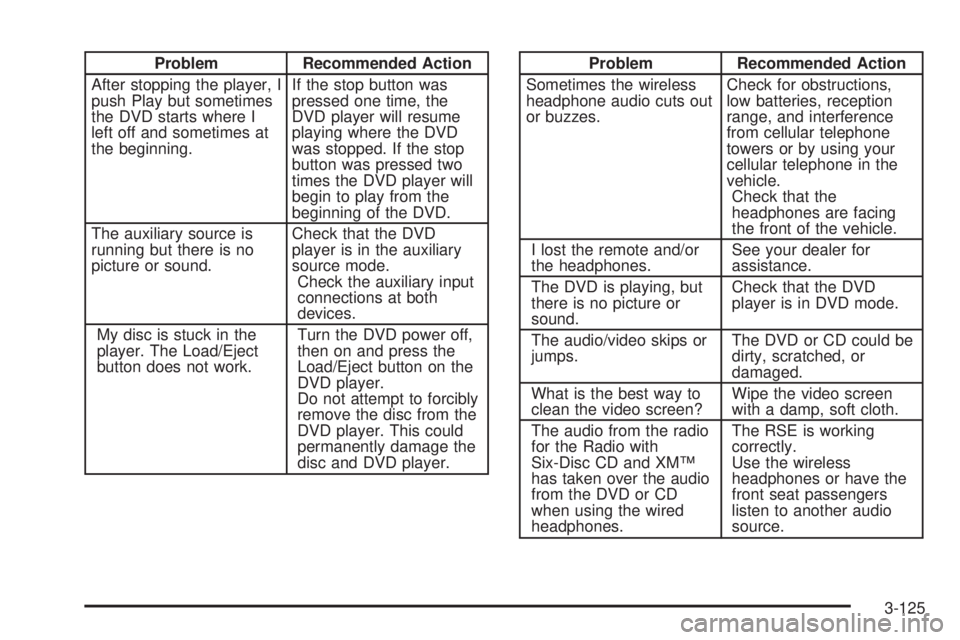
Problem Recommended Action
After stopping the player, I
push Play but sometimes
the DVD starts where I
left off and sometimes at
the beginning.If the stop button was
pressed one time, the
DVD player will resume
playing where the DVD
was stopped. If the stop
button was pressed two
times the DVD player will
begin to play from the
beginning of the DVD.
The auxiliary source is
running but there is no
picture or sound.Check that the DVD
player is in the auxiliary
source mode.
Check the auxiliary input
connections at both
devices.
My disc is stuck in the
player. The Load/Eject
button does not work.Turn the DVD power off,
then on and press the
Load/Eject button on the
DVD player.
Do not attempt to forcibly
remove the disc from the
DVD player. This could
permanently damage the
disc and DVD player.Problem Recommended Action
Sometimes the wireless
headphone audio cuts out
or buzzes.Check for obstructions,
low batteries, reception
range, and interference
from cellular telephone
towers or by using your
cellular telephone in the
vehicle.
Check that the
headphones are facing
the front of the vehicle.
I lost the remote and/or
the headphones.See your dealer for
assistance.
The DVD is playing, but
there is no picture or
sound.Check that the DVD
player is in DVD mode.
The audio/video skips or
jumps.The DVD or CD could be
dirty, scratched, or
damaged.
What is the best way to
clean the video screen?Wipe the video screen
with a damp, soft cloth.
The audio from the radio
for the Radio with
Six-Disc CD and XMŸ
has taken over the audio
from the DVD or CD
when using the wired
headphones.The RSE is working
correctly.
Use the wireless
headphones or have the
front seat passengers
listen to another audio
source.
3-125
Page 413 of 588
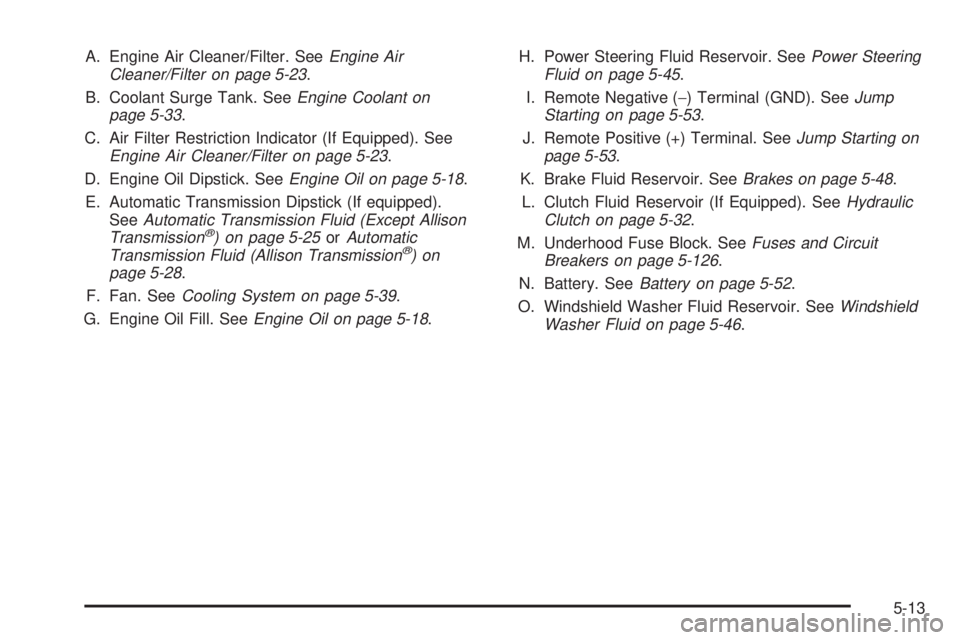
A. Engine Air Cleaner/Filter. SeeEngine Air
Cleaner/Filter on page 5-23.
B. Coolant Surge Tank. See
Engine Coolant on
page 5-33.
C. Air Filter Restriction Indicator (If Equipped). See
Engine Air Cleaner/Filter on page 5-23.
D. Engine Oil Dipstick. See
Engine Oil on page 5-18.
E. Automatic Transmission Dipstick (If equipped).
See
Automatic Transmission Fluid (Except Allison
Transmissionž) on page 5-25orAutomatic
Transmission Fluid (Allison Transmissionž)on
page 5-28.
F. Fan. See
Cooling System on page 5-39.
G. Engine Oil Fill. See
Engine Oil on page 5-18.H. Power Steering Fluid Reservoir. See
Power Steering
Fluid on page 5-45.
I. Remote Negative (-) Terminal (GND). See
Jump
Starting on page 5-53.
J. Remote Positive (+) Terminal. See
Jump Starting on
page 5-53.
K. Brake Fluid Reservoir. See
Brakes on page 5-48.
L. Clutch Fluid Reservoir (If Equipped). See
Hydraulic
Clutch on page 5-32.
M. Underhood Fuse Block. See
Fuses and Circuit
Breakers on page 5-126.
N. Battery. See
Battery on page 5-52.
O. Windshield Washer Fluid Reservoir. See
Windshield
Washer Fluid on page 5-46.
5-13
Page 415 of 588
A. Engine Air Cleaner/Filter. SeeEngine Air
Cleaner/Filter on page 5-23.
B. Coolant Surge Tank. See
Engine Coolant on
page 5-33.
C. Air Filter Restriction Indicator (If Equipped). See
Engine Air Cleaner/Filter on page 5-23.
D. Engine Oil Dipstick. See
Engine Oil on page 5-18.
E. Automatic Transmission Dipstick (If Equipped).
See
Automatic Transmission Fluid (Except Allison
Transmissionž) on page 5-25orAutomatic
Transmission Fluid (Allison Transmissionž)on
page 5-28.
F. Engine Oil Fill. See
Engine Oil on page 5-18.
G. Fan. See
Cooling System on page 5-39.H. Remote Negative (-) Terminal (GND). See
Jump
Starting on page 5-53.
I. Power Steering Fluid Reservoir. See
Power Steering
Fluid on page 5-45.
J. Remote Positive (+) Terminal. See
Jump Starting on
page 5-53.
K. Brake Fluid Reservoir. See
Brakes on page 5-48.
L. Clutch Fluid Reservoir (If Equipped). See
Hydraulic
Clutch on page 5-32.
M. Underhood Fuse Block. See
Fuses and Circuit
Breakers on page 5-126.
N. Battery. See
Battery on page 5-52.
O. Windshield Washer Fluid Reservoir. See
Windshield
Washer Fluid on page 5-46.
5-15
Page 417 of 588
A. Engine Air Cleaner/Filter. SeeEngine Air
Cleaner/Filter on page 5-23.
B. Coolant Surge Tank. See
Engine Coolant on
page 5-33.
C. Air Filter Restriction Indicator (If Equipped). See
Engine Air Cleaner/Filter on page 5-23.
D. Engine Oil Dipstick. See
Engine Oil on page 5-18.
E. Automatic Transmission Dipstick (If Equipped).
See
Automatic Transmission Fluid (Except Allison
Transmissionž) on page 5-25orAutomatic
Transmission Fluid (Allison Transmissionž)on
page 5-28.
F. Engine Oil Fill. See
Engine Oil on page 5-18.
G. Fan. See
Cooling System on page 5-39.H. Remote Negative (-) Terminal (GND). See
Jump
Starting on page 5-53.
I. Remote Positive (+) Terminal. See
Jump Starting on
page 5-53.
J. Power Steering Fluid Reservoir. See
Power Steering
Fluid on page 5-45.
K. Brake Fluid Reservoir. See
Brakes on page 5-48.
L. Clutch Fluid Reservoir (If Equipped). See
Hydraulic
Clutch on page 5-32.
M. Underhood Fuse Block. See
Fuses and Circuit
Breakers on page 5-126.
N. Battery. See
Battery on page 5-52.
O. Windshield Washer Fluid Reservoir. See
Windshield
Washer Fluid on page 5-46.
5-17