brakes GMC SIERRA 2005 Owner's Manual
[x] Cancel search | Manufacturer: GMC, Model Year: 2005, Model line: SIERRA, Model: GMC SIERRA 2005Pages: 574, PDF Size: 2.95 MB
Page 118 of 574
DRIVE (D):This position is for normal driving. If you
need more power for passing, and you are:
Going less than about 35 mph (55 km/h), push your
accelerator pedal about halfway down.
Going about 35 mph (55 km/h) or more, push the
accelerator all the way down.
You will shift down to the next gear and have more
power.
DRIVE (D) can be used when towing a trailer, carrying a
heavy load, driving on steep hills or for off-road
driving. You may want to shift the transmission to
THIRD (3) or, if necessary, a lower gear selection if the
transmission shifts too often.
If your vehicle is equipped with the Allison
Transmission
®, it will initially attain �rst range when
DRIVE (D) is selected. As vehicle speed increases, the
transmission will upshift automatically through each
available range up to FIFTH (5). As the vehicle slows,
the transmission will downshift automatically.
The Allison Transmission
®uses a shift stabilization
feature to adjust the transmission shift schedule to the
current driving situation to reduce rapid upshifts and
downshifts. This shift stabilization feature is designed to
determine before making an upshift if the engine will
be able to maintain vehicle speed by analyzing
things such as throttle position, vehicle load, and hill
grade. If the shift stabilization feature determinesthat current vehicle speed cannot be maintained, the
transmission does not upshift and instead holds
the current gear. In some cases, this may appear to be
a hanging shift, however the transmission is operating
normally.
The Allison Transmission
®also uses adaptive shift
controls. Adaptive shift controls continually compares
key shift parameters to pre-programmed ideal shift
conditions. The Allison Transmission
®constantly makes
adjustments to improve vehicle performance according
to the way the vehicle is being used, such as with a
heavy load. During this adaptive shift controls process,
some shifts may feel different as the transmission
determines optimum settings for a particular shift.
By using shift stabilization and adaptive shift controls,
the Allison Transmission
®shift schedule is variable and
adjusts to how the vehicle is being used, providing
improved vehicle performance.
THIRD (3):This position is also used for normal driving,
however it offers more power and lower fuel economy
than DRIVE (D).
SECOND (2):This position gives you more power but
lower fuel economy. You can use SECOND (2) on
hills. It can help control your speed as you go down
steep mountain roads, but then you would also want to
use your brakes off and on.
2-28
Page 119 of 574
If you manually select SECOND (2) in a light duty
automatic transmission, the transmission will drive in
second gear. You may use this feature for reducing the
speed of the rear wheels when you are trying to start
your vehicle from a stop on slippery road surfaces.
FIRST (1):This position gives you even more power
(but lower fuel economy) than SECOND (2). You
can use it on very steep hills, or in deep snow or mud.
If the selector lever is put in FIRST (1) while the
vehicle is moving forward, the transmission will not shift
into �rst gear until the vehicle is going slowly enough.
Notice:Spinning the tires or holding the vehicle in
one place on a hill using only the accelerator
pedal may damage the transmission. If you are
stuck, do not spin the tires. When stopping on a hill,
use the brakes to hold the vehicle in place.
On cold days, approximately 32°F (0°C) or colder, your
transmission is designed to shift differently. The
transmission uses a warm-up mode shift schedule until
the engine reaches normal operating temperature.
While the transmission is in warm-up mode it is normal
for transmission upshifts to be delayed or held longer.
This feature improves heater performance by giving
quicker vehicle warm-ups.Tow/Haul Mode
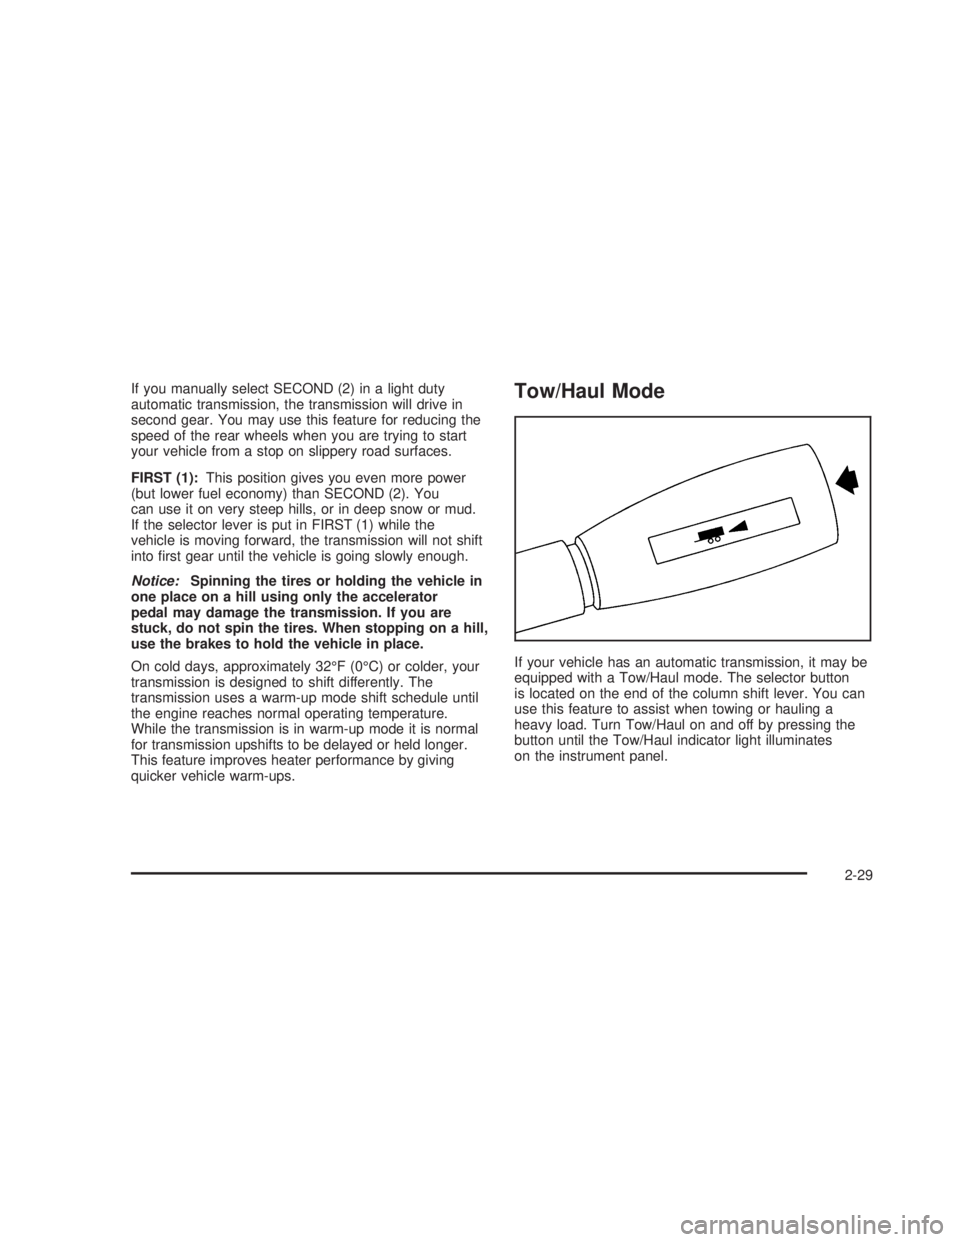
If your vehicle has an automatic transmission, it may be
equipped with a Tow/Haul mode. The selector button
is located on the end of the column shift lever. You can
use this feature to assist when towing or hauling a
heavy load. Turn Tow/Haul on and off by pressing the
button until the Tow/Haul indicator light illuminates
on the instrument panel.
2-29
Page 120 of 574
Tow/Haul is a feature on automatic transmission
equipped vehicles that assists when pulling a heavy
trailer or large or heavy load. Tow/Haul mode adjusts the
transmission’s shift pattern to reduce shift cycling,
providing increased performance, vehicle control, and
transmission cooling when towing or hauling heavy loads.
If your vehicle is equipped with an Allison
®transmission,
you may have both Tow/Haul mode and overdrive
disable. See “Tow/Haul Mode” underTowing a Trailer
on page 4-68for more information.
Grade Braking
(Allison Transmission®Only)
Grade braking uses the engine and transmission to slow
a loaded vehicle on hills in addition to using the
brakes, saving on brake wear and increasing vehicle
stability. The Allison Transmission
®, when sensing
the driver’s desire to slow down while driving downhill,
will automatically shift to the next lower gear range
to assist in slowing down the vehicle. Grade braking is
active and automatic both in Tow/Haul mode and
normal shift mode. Grade braking is more aggressive
when in Tow/Haul mode and can automatically downshift
to SECOND (2), which is different than grade braking
while in normal shift mode where automatic downshifts
are limited to FOURTH (4).The tachometer for both the diesel and gasoline engine
shows a dashed red zone and a solid red zone. The
dashed red zone indicates where a transmission
shift occurs for full engine power. When using grade
braking, the transmission’s shift point is adjusted to just
prior to the solid red zone, providing the bene�t of
additional engine braking.
Grade braking driving within the dashed red zone is
normal, both the diesel and gasoline engine have been
designed for this grade braking feature. Do not allow
the engine to go into the solid red zone. Apply the
vehicle’s brakes for a short time to slow down if you are
driving on a long hill and the tachometer needle
enters the solid red zone. SeeTowing a Trailer on
page 4-68for more information.
2-30
Page 126 of 574
Shift Speeds
{CAUTION:
If you skip a gear when you downshift, you
could lose control of your vehicle. You could
injure yourself or others. Don’t shift down
more than one gear at a time when you
downshift.
Do not allow the engine rpm to overspeed and enter the
tachometer red lines. Engine overspeed occurs when
downshifting, or descending a grade, at too high a
vehicle speed. When going down steep grades, always
select a gear at least one position lower than you
would use on climbing a grade. This will allow the
vehicle’s engine to provide some braking and help to
slow the vehicle as it goes down the grade. Monitor your
vehicle speed, acceleration and engine rpm while
applying the brakes as you go down the grade to ensure
you have complete control over the vehicle.If your engine speed drops below 600 rpm, or if the
engine is not running smoothly, you should downshift to
the next lower gear. When operating on slippery
surfaces, downshift at lower than normal vehicle speeds
to prevent the tires from slipping.
In bench seat equipped vehicles, move the tallest
beverage containers to the right cupholder to provide
additional clearance for the shift lever.
For vehicles equipped with a center console, the front cup
holder pulls out and turns 180° to provide additional
clearance between tall beverage containers and the shift
lever.
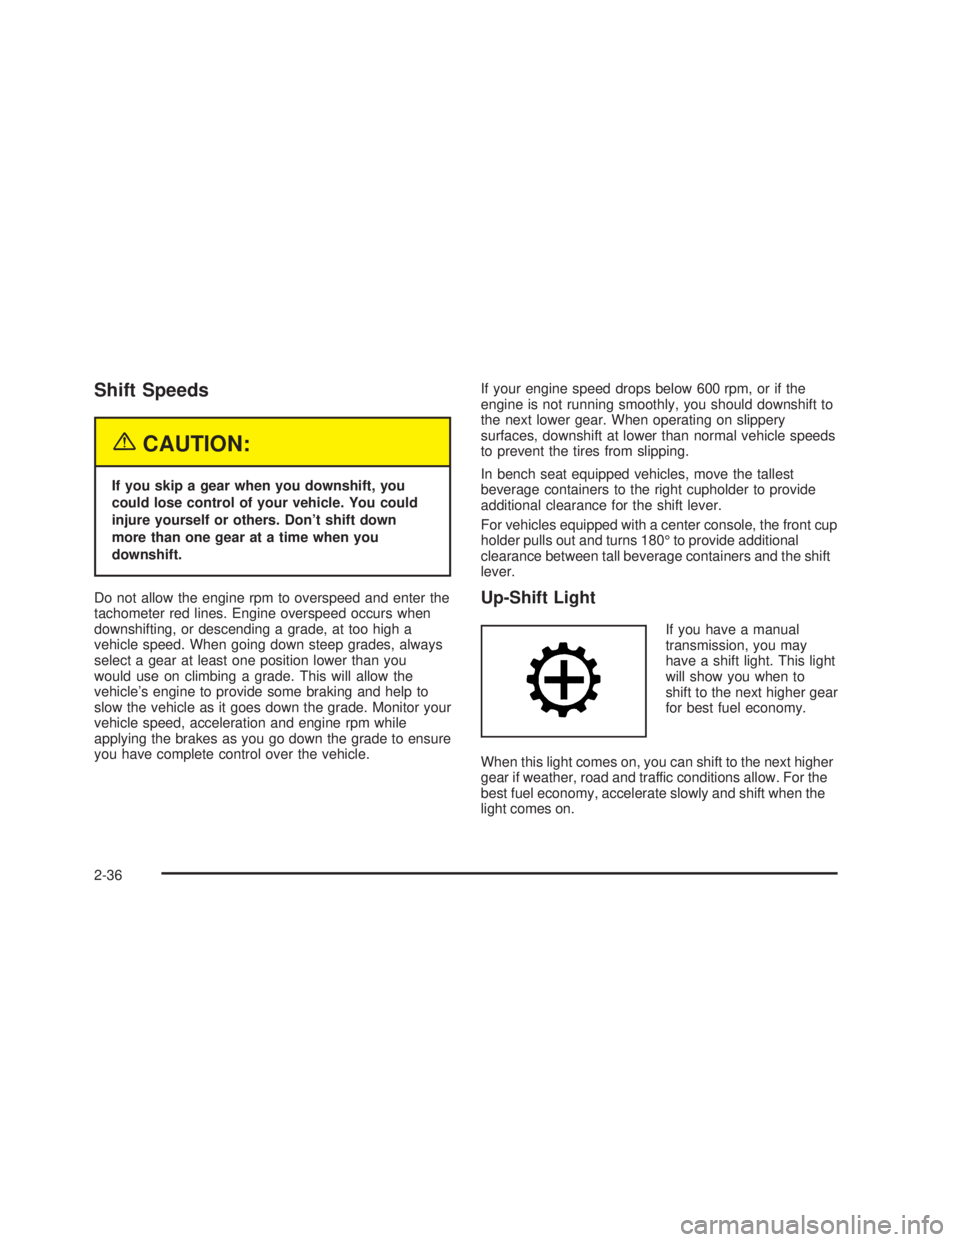
Up-Shift Light
If you have a manual
transmission, you may
have a shift light. This light
will show you when to
shift to the next higher gear
for best fuel economy.
When this light comes on, you can shift to the next higher
gear if weather, road and traffic conditions allow. For the
best fuel economy, accelerate slowly and shift when the
light comes on.
2-36
Page 141 of 574
Shifting Out of Park (P)
(Automatic Transmission)
Your vehicle has an automatic transmission shift lock
control system which locks the shift lever in PARK (P)
when the ignition is in the LOCK position. You have
to fully apply your regular brakes before you can shift
from PARK (P) when the ignition is in RUN. See
Automatic Transmission Operation on page 2-26.
If your vehicle has an Allison Transmission
®, the
transmission is equipped with a park pawl designed to
hold the higher weight of commercial medium duty
trucks. Therefore, the Allison Transmission
®uses larger
parts than other automatic transmissions. These
larger parts may sometimes make a clunk noise when
the selector lever is moved from DRIVE (D) or
REVERSE (R) to PARK (P). This is normal and there is
no damage occurring during these shifts.
If you cannot shift out of PARK (P), ease pressure on
the shift lever and push the shift lever all the way up into
PARK (P) as you maintain brake application. Then,
move the shift lever into the gear you want.If you ever hold the brake pedal down but still can’t shift
out of PARK (P), try this:
1. Turn the key to ACCESSORY. There is no shift
interlock in this key position.
2. Apply and hold the brake until the end of Step 4.
3. Shift the transmission to NEUTRAL (N).
4. Start the vehicle and then shift to the gear
you want.
5. Have the system �xed as soon as you can.
2-51
Page 177 of 574
If you apply your brakes, the cruise control will shut off.
{CAUTION:
Cruise control can be dangerous where you
cannot drive safely at a steady speed. So, do
not use your cruise control on winding roads
or in heavy traffic.
Cruise control can be dangerous on slippery
roads. On such roads, fast changes in tire
traction can cause needless wheel spinning,
and you could lose control. Do not use cruise
control on slippery roads.
Setting Cruise Control
{CAUTION:
If you leave your cruise control on when you
are not using cruise, you might hit a button
and go into cruise when you do not want to.
You could be startled and even lose control.
Keep the cruise control switch off until you
want to use cruise control.
1. Move the cruise control switch to on.
2. Get up to the speed you want.
3. Press in the set button at the end of the lever and
release it.
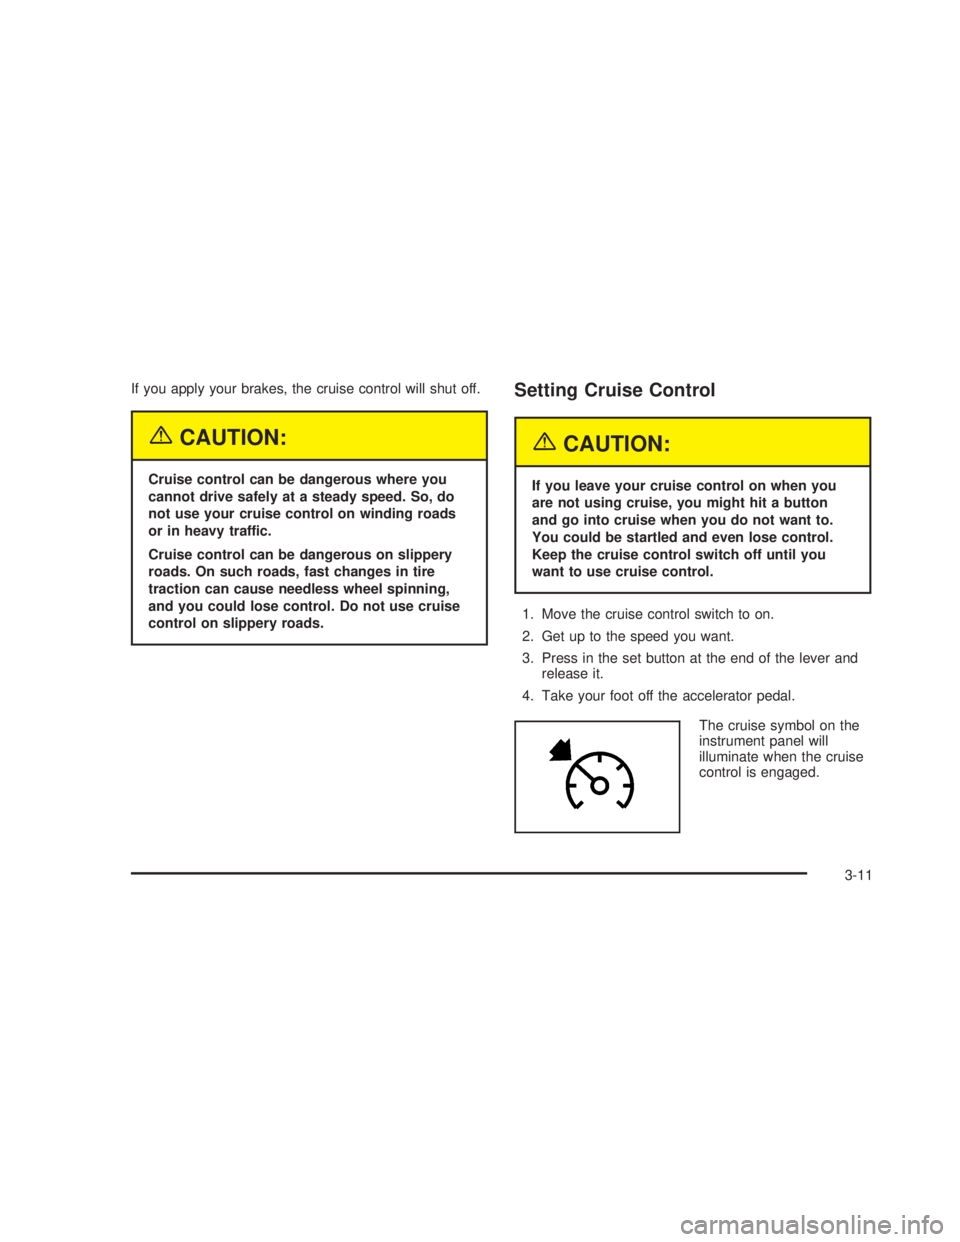
4. Take your foot off the accelerator pedal.
The cruise symbol on the
instrument panel will
illuminate when the cruise
control is engaged.
3-11
Page 207 of 574
Anti-Lock Brake System
Warning Light
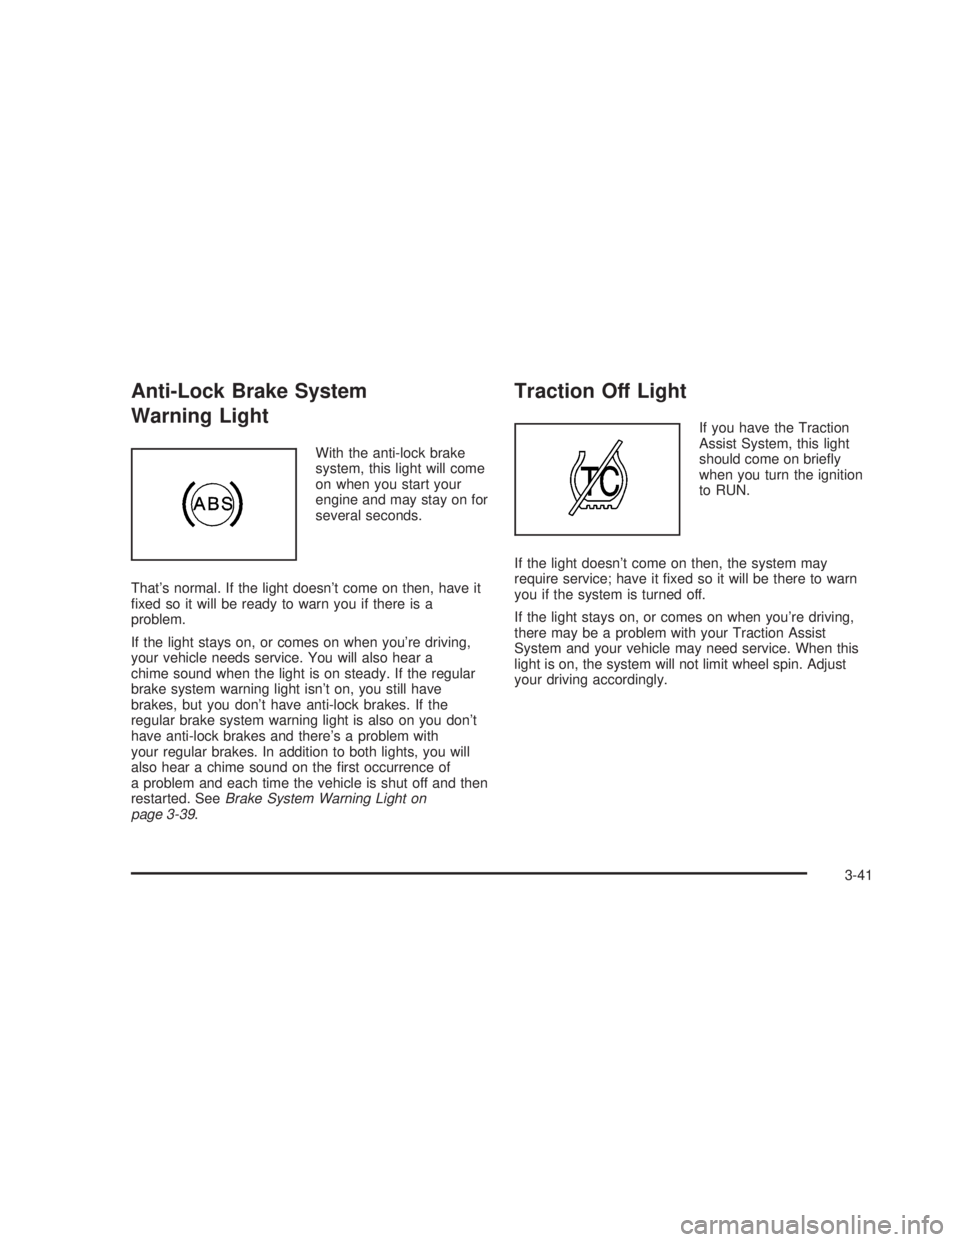
With the anti-lock brake
system, this light will come
on when you start your
engine and may stay on for
several seconds.
That’s normal. If the light doesn’t come on then, have it
�xed so it will be ready to warn you if there is a
problem.
If the light stays on, or comes on when you’re driving,
your vehicle needs service. You will also hear a
chime sound when the light is on steady. If the regular
brake system warning light isn’t on, you still have
brakes, but you don’t have anti-lock brakes. If the
regular brake system warning light is also on you don’t
have anti-lock brakes and there’s a problem with
your regular brakes. In addition to both lights, you will
also hear a chime sound on the �rst occurrence of
a problem and each time the vehicle is shut off and then
restarted. SeeBrake System Warning Light on
page 3-39.
Traction Off Light
If you have the Traction
Assist System, this light
should come on brie�y
when you turn the ignition
to RUN.
If the light doesn’t come on then, the system may
require service; have it �xed so it will be there to warn
you if the system is turned off.
If the light stays on, or comes on when you’re driving,
there may be a problem with your Traction Assist
System and your vehicle may need service. When this
light is on, the system will not limit wheel spin. Adjust
your driving accordingly.
3-41
Page 226 of 574
SERVICE AIRBAG
If there is a problem with the airbag system, this
message will be displayed on the DIC. Have your
GM dealer inspect the system for problems. SeeAirbag
Readiness Light on page 3-34andAirbag System on
page 1-66for more information. Pressing any of the
four DIC buttons, if equipped, will acknowledge
the message and clear it from the DIC display. If your
vehicle is not equipped with the four DIC buttons,
pressing the trip odometer reset stem will acknowledge
the message and clear it from the DIC display.
SERVICE BRAKE BOOSTER
If your vehicle has vacuum assist power brakes, this
message will be displayed on the DIC when there is a
problem with the Supplemental Brake Assist system.
If the message is displayed immediately after starting
the vehicle or the message appears while driving,
your Supplemental Brake Assist system needs service.
See your GM dealer. SeeBrake System Warning
Light on page 3-39for additional information.
{CAUTION:
Your brake system may not be working
properly if the SERVICE BRAKE BOOSTER
message is displayed.
If the brake system warning light is also on,
you should have the vehicle towed for service.
SeeBrake System Warning Light on page 3-39.
If the brake system warning light is not on, you
still have brakes, but the supplemental brake
assist system on vehicles with rear disc
brakes may not operate properly. In the event
of a vacuum loss, you may not have vacuum
power assist for braking. The brake pedal will
be harder to push and it will take longer to
stop. If you continue to drive with this
message displayed it can lead to a crash.
Have the brake system serviced as soon
as possible.
3-60
Page 299 of 574
{CAUTION:
Drinking and then driving is very dangerous.
Your re�exes, perceptions, attentiveness,
and judgment can be affected by even a
small amount of alcohol. You can have a
serious — or even fatal — collision if you drive
after drinking. Please do not drink and drive or
ride with a driver who has been drinking. Ride
home in a cab; or if you are with a group,
designate a driver who will not drink.
Control of a Vehicle
You have three systems that make your vehicle go where
you want it to go. They are the brakes, the steering, and
the accelerator. All three systems have to do their work at
the places where the tires meet the road.
Sometimes, as when you are driving on snow or ice, it
is easy to ask more of those control systems than
the tires and road can provide. That means you can lose
control of your vehicle. SeeTraction Assist System
(TAS) on page 4-8.
Braking
Braking action involves perception time and
reaction time.
First, you have to decide to push on the brake pedal.
That is perception time. Then you have to bring up your
foot and do it. That is reaction time.
Average reaction time is about three-fourths of a
second. But that is only an average. It might be less
with one driver and as long as two or three seconds or
more with another. Age, physical condition, alertness,
coordination and eyesight all play a part. So do alcohol,
drugs and frustration. But even in three-fourths of a
second, a vehicle moving at 60 mph (100 km/h) travels
66 feet (20 m). That could be a lot of distance in an
emergency, so keeping enough space between
your vehicle and others is important.
4-5
Page 300 of 574
And, of course, actual stopping distances vary greatly
with the surface of the road (whether it is pavement
or gravel); the condition of the road (wet, dry, icy); tire
tread; the condition of your brakes; the weight of
the vehicle and the amount of brake force applied.
Avoid needless heavy braking. Some people drive
in spurts — heavy acceleration followed by heavy
braking — rather than keeping pace with traffic. This is
a mistake. Your brakes may not have time to cool
between hard stops. Your brakes will wear out much
faster if you do a lot of heavy braking.
If you keep pace with the traffic and allow realistic
following distances, you will eliminate a lot of
unnecessary braking. That means better braking and
longer brake life.
If your engine ever stops while you are driving, brake
normally but do not pump your brakes. If you do,
the pedal may get harder to push down. If your engine
stops, you will still have some power brake assist.
But you will use it when you brake. Once the power
assist is used up, it may take longer to stop and
the brake pedal will be harder to push.Anti-Lock Brake System (ABS)
Your vehicle has anti-lock brakes. ABS is an advanced
electronic braking system that will help prevent a
braking skid.
When you start your engine and begin to drive away,
your anti-lock brake system will check itself. You
may hear a momentary motor or clicking noise while
this test is going on. This is normal.
If there is a problem with
the anti-lock brake system,
this warning light will
stay on. SeeAnti-Lock
Brake System Warning
Light on page 3-41.
Along with ABS, your vehicle has a Dynamic Rear
Proportioning (DRP) system. If there is a DRP problem,
both the brake and ABS warning lights will come on
accompanied by a 10-second chime. The lights
and chime will come on each time the ignition is turned
on until the problem is repaired. See your dealer
for service.
4-6