display GMC SIERRA 2009 Get To Know Guide
[x] Cancel search | Manufacturer: GMC, Model Year: 2009, Model line: SIERRA, Model: GMC SIERRA 2009Pages: 24, PDF Size: 1.4 MB
Page 18 of 24

Getting to Know Your Sierra18
Power Sliding Rear Window
(if equipped)
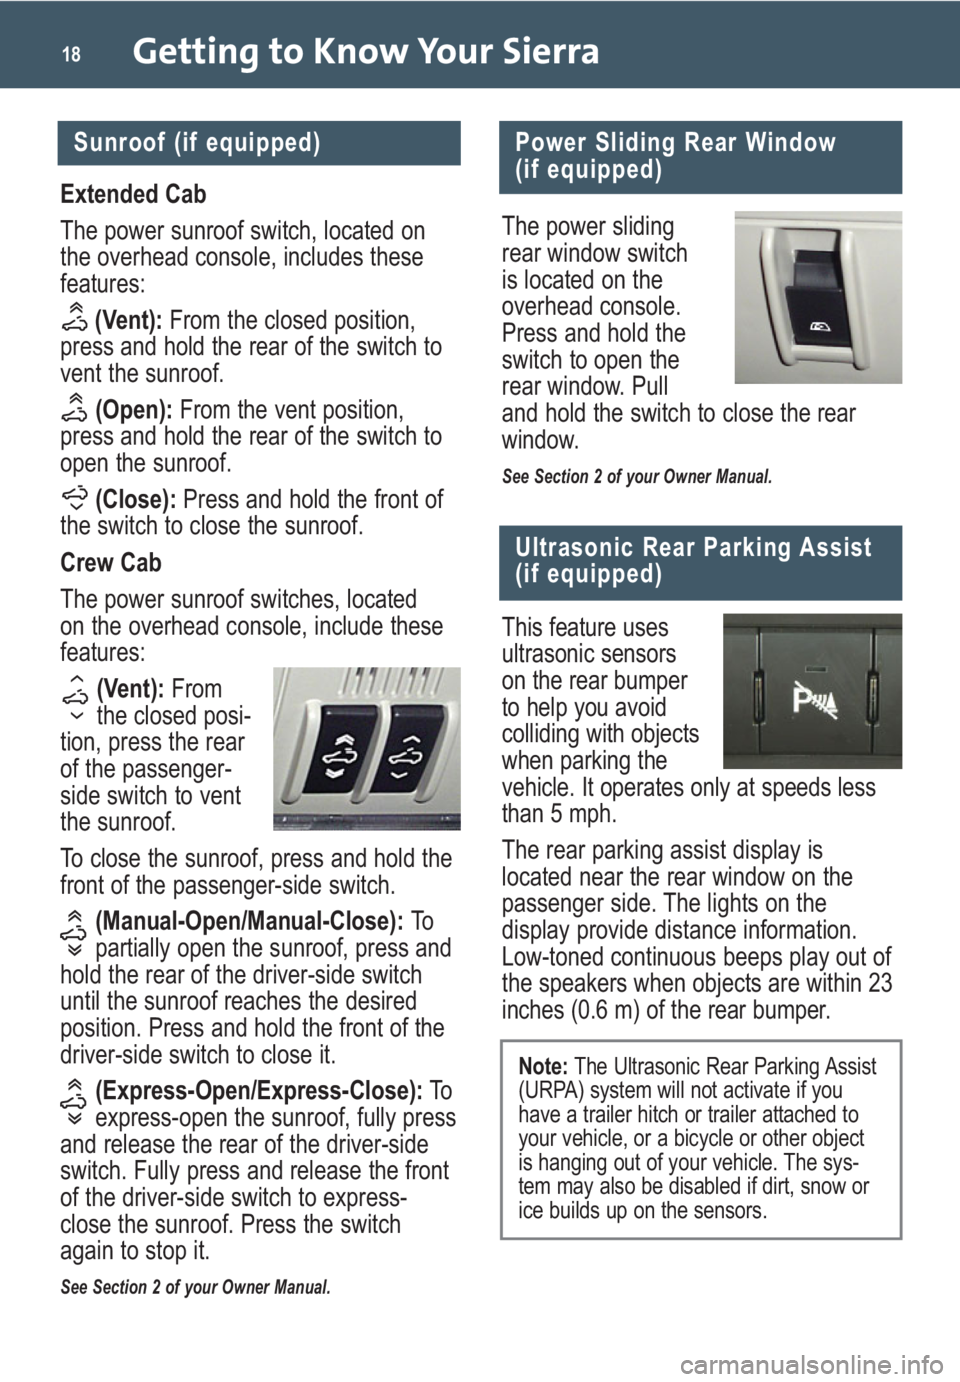
The power sliding
rear window switch
is located on the
overhead console.
Press and hold the
switch to open the
rear window. Pull
and hold the switch to close the rear
window.
See Section 2 of your Owner Manual.
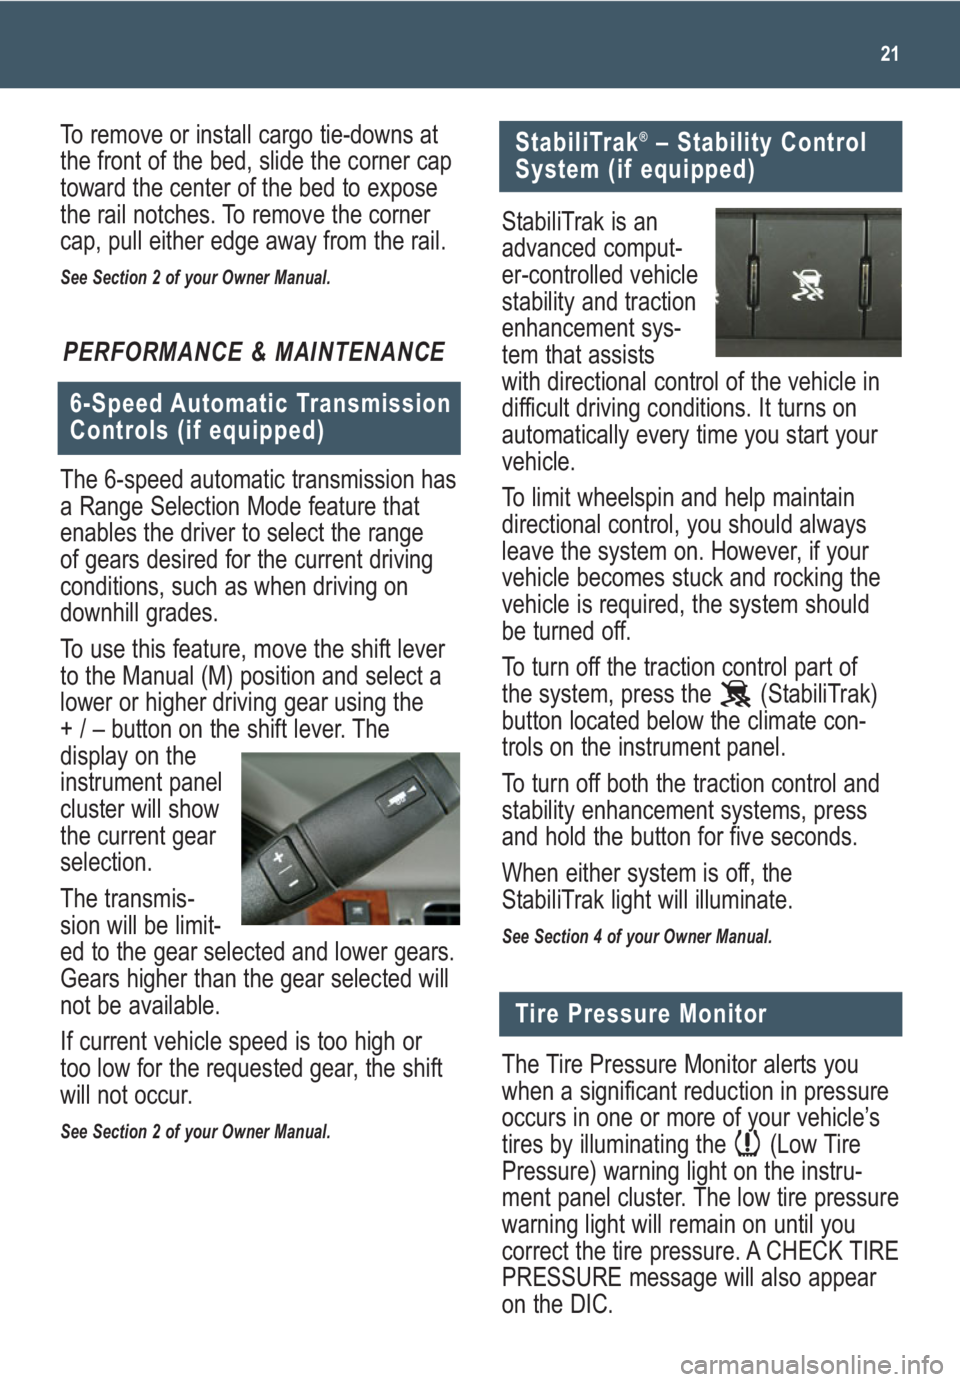
This feature uses
ultrasonic sensors
on the rear bumper
to help you avoid
colliding with objects
when parking the
vehicle. It operates only at speeds less
than 5 mph.
The rear parking assist display is
located near the rear window on the
passenger side. The lights on the
display provide distance information.
Low-toned continuous beeps play out of
the speakers when objects are within 23
inches (0.6 m) of the rear bumper.
Ultrasonic Rear Parking Assist
(if equipped)
Extended Cab
The power sunroof switch, located on
the overhead console, includes these
features:
(Vent):From the closed position,
press and hold the rear of the switch to
vent the sunroof.
(Open):From the vent position,
press and hold the rear of the switch to
open the sunroof.
(Close):Press and hold the front of
the switch to close the sunroof.
Crew Cab
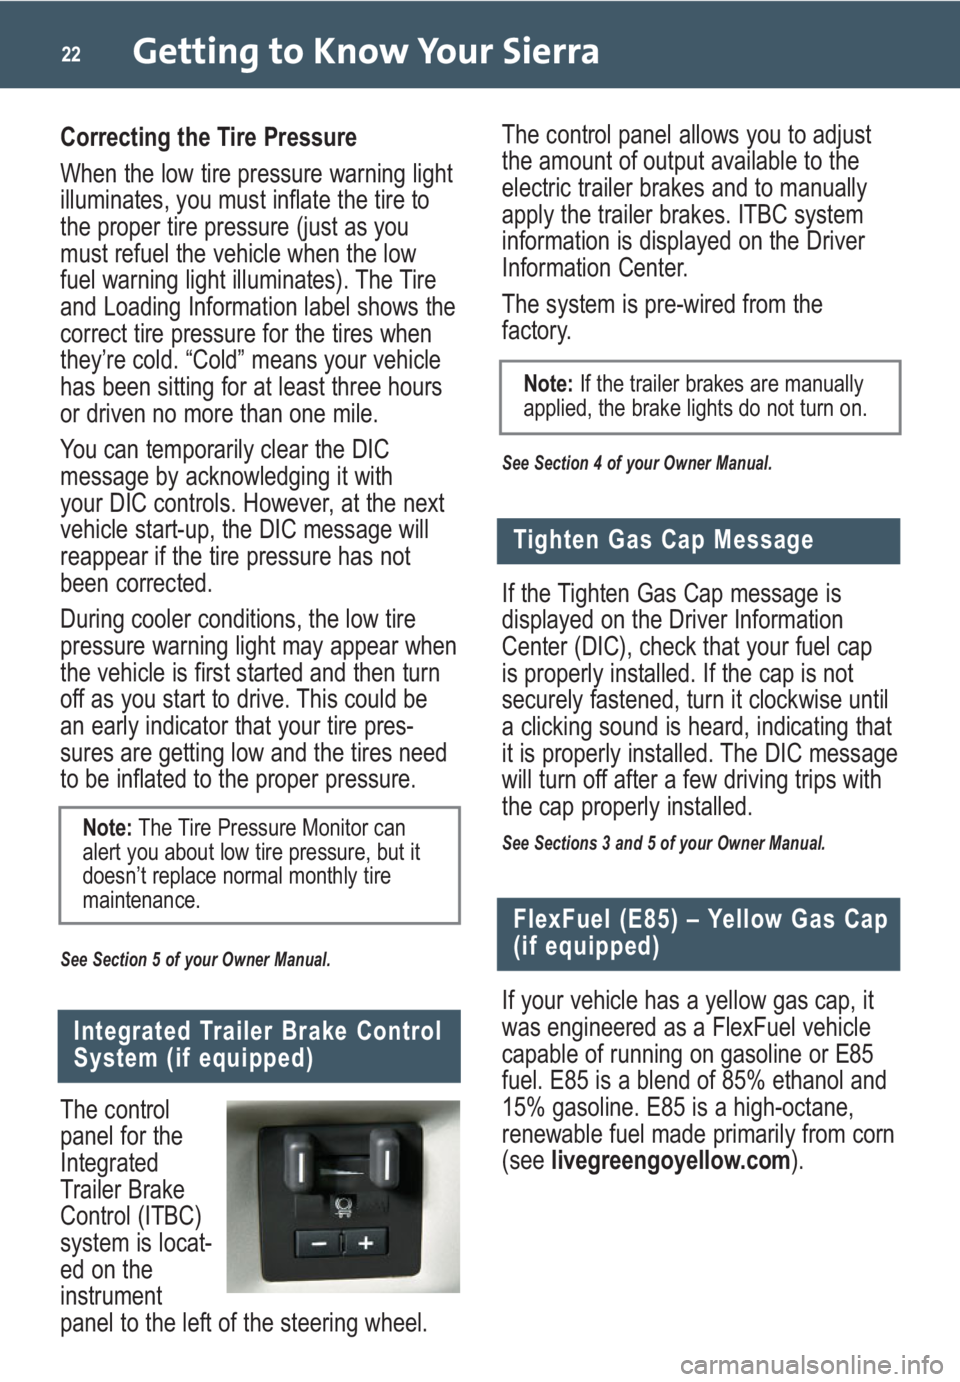
The power sunroof switches, located
on the overhead console, include these
features:
(Vent): From
the closed posi-
tion, press the rear
of the passenger-
side switch to vent
the sunroof.
To close the sunroof, press and hold the
front of the passenger-side switch.
(Manual-Open/Manual-Close): To
partially open the sunroof, press and
hold the rear of the driver-side switch
until the sunroof reaches the desired
position. Press and hold the front of the
driver-side switch to close it.
(Express-Open/Express-Close):To
express-open the sunroof, fully press
and release the rear of the driver-side
switch. Fully press and release the front
of the driver-side switch to express-
close the sunroof. Press the switch
again to stop it.
See Section 2 of your Owner Manual.
Sunroof (if equipped)
Note: The Ultrasonic Rear Parking Assist
(URPA) system will not activate if you
have a trailer hitch or trailer attached to
your vehicle, or a bicycle or other object
is hanging out of your vehicle. The sys-
tem may also be disabled if dirt, snow or
ice builds up on the sensors.
Page 20 of 24

Getting to Know Your Sierra20
Folding the Rear Seat
(if equipped)
60/40 Split-Bench Seat
To fold either side of the split-bench
seat, pull up the seat cushion.
To unfold the seat, pull down the seat
cushion.
Cargo Management System
(if equipped)
The cargo management system is com-
posed of three rails located on the front
and sides of the truck bed. It includes
four adjustable cargo tie-downs that can
be placed on the upper and lower slides
of the rail.
To adjust a tie-down, pull out the locator
pin and move the tie-down to another
location. Make sure the locator pin lines
up with a locator hole on the rail. Once
the pin is inside the hole, the tie-down
will not move side to side.
The rails are notched at each end to
allow the tie-downs to be removed and
placed on another rail. To remove, pull
out the locator pin and slide the tie-down
to the end of the rail and pull back.
Trailer-Tow Mirrors (if equipped)
The trailer-tow mirrors can be extended
manually to provide better visibility when
towing a trailer. The lower portion of the
mirror has a convex (spotter) mirror that
also can be adjusted manually to pro-
vide a better viewing angle.
See Section 2 of your Owner Manual.
Rear Vision Camera (if equipped)
When the vehicle is shifted into
Reverse, a view of the area behind the
vehicle is displayed on the inside
rearview mirror or the navigation system
screen (if equipped).
The camera is located near the tailgate
handle. Clean the camera lens with
water and a soft cloth.
See Section 2 of your Owner Manual.
Full-Bench Seat
To fold up the full-bench seat, push
down on the front of the seat cushion
while pulling down on the release strap
located under the seat cushion. Pull up
the seat cushion until it latches with the
seatback.
To fold down the full bench seat, push
on the seat cushion and pull the release
strap. Pull down the seat cushion until it
latches in place.
See Section 1 of your Owner Manual.
Page 21 of 24

21
PERFORMANCE & MAINTENANCE
The 6-speed automatic transmission has
a Range Selection Mode feature that
enables the driver to select the range
of gears desired for the current driving
conditions, such as when driving on
downhill grades.
To use this feature, move the shift lever
to the Manual (M) position and select a
lower or higher driving gear using the
+ / – button on the shift lever. The
display on the
instrument panel
cluster will show
the current gear
selection.
The transmis-
sion will be limit-
ed to the gear selected and lower gears.
Gears higher than the gear selected will
not be available.
If current vehicle speed is too high or
too low for the requested gear, the shift
will not occur.
See Section 2 of your Owner Manual.
6-Speed Automatic Transmission
Controls (if equipped)
StabiliTrak®– Stability Control
System (if equipped)
Tire Pressure Monitor
The Tire Pressure Monitor alerts you
when a significant reduction in pressure
occurs in one or more of your vehicle’s
tires by illuminating the (Low Tire
Pressure) warning light on the instru-
ment panel cluster. The low tire pressure
warning light will remain on until you
correct the tire pressure. A CHECK TIRE
PRESSURE message will also appear
on the DIC.
StabiliTrak is an
advanced comput-
er-controlled vehicle
stability and traction
enhancement sys-
tem that assists
with directional control of the vehicle in
difficult driving conditions. It turns on
automatically every time you start your
vehicle.
To limit wheelspin and help maintain
directional control, you should always
leave the system on. However, if your
vehicle becomes stuck and rocking the
vehicle is required, the system should
be turned off.
To turn off the traction control part of
the system, press the (StabiliTrak)
button located below the climate con-
trols on the instrument panel.
To turn off both the traction control and
stability enhancement systems, press
and hold the button for five seconds.
When either system is off, the
StabiliTrak light will illuminate.
See Section 4 of your Owner Manual.
To remove or install cargo tie-downs at
the front of the bed, slide the corner cap
toward the center of the bed to expose
the rail notches. To remove the corner
cap, pull either edge away from the rail.
See Section 2 of your Owner Manual.
Page 22 of 24

The control panel allows you to adjust
the amount of output available to the
electric trailer brakes and to manually
apply the trailer brakes. ITBC system
information is displayed on the Driver
Information Center.
The system is pre-wired from the
factory.
See Section 4 of your Owner Manual.
Getting to Know Your Sierra22
Correcting the Tire Pressure
When the low tire pressure warning light
illuminates, you must inflate the tire to
the proper tire pressure (just as you
must refuel the vehicle when the low
fuel warning light illuminates). The Tire
and Loading Information label shows the
correct tire pressure for the tires when
they’re cold. “Cold” means your vehicle
has been sitting for at least three hours
or driven no more than one mile.
You can temporarily clear the DIC
message by acknowledging it with
your DIC controls. However, at the next
vehicle start-up, the DIC message will
reappear if the tire pressure has not
been corrected.
During cooler conditions, the low tire
pressure warning light may appear when
the vehicle is first started and then turn
off as you start to drive. This could be
an early indicator that your tire pres-
sures are getting low and the tires need
to be inflated to the proper pressure.
See Section 5 of your Owner Manual.
Note:The Tire Pressure Monitor can
alert you about low tire pressure, but it
doesn’t replace normal monthly tire
maintenance.
Integrated Trailer Brake Control
System (if equipped)
The control
panel for the
Integrated
Trailer Brake
Control (ITBC)
system is locat-
ed on the
instrument
panel to the left of the steering wheel.If the Tighten Gas Cap message is
displayed on the Driver Information
Center (DIC), check that your fuel cap
is properly installed. If the cap is not
securely fastened, turn it clockwise until
a clicking sound is heard, indicating that
it is properly installed. The DIC message
will turn off after a few driving trips with
the cap properly installed.
See Sections 3 and 5 of your Owner Manual.
Tighten Gas Cap Message
If your vehicle has a yellow gas cap, it
was engineered as a FlexFuel vehicle
capable of running on gasoline or E85
fuel. E85 is a blend of 85% ethanol and
15% gasoline. E85 is a high-octane,
renewable fuel made primarily from corn
(see livegreengoyellow.com).
FlexFuel (E85) – Yellow Gas Cap
(if equipped)
Note:If the trailer brakes are manually
applied, the brake lights do not turn on.
Page 23 of 24

Your FlexFuel vehicle automatically
detects the current fuel mixture in the
fuel tank and adjusts engine settings
accordingly. You can fill up with gasoline
or E85, regardless of which fuel is
already in the tank.
E85 is not yet available at all gas sta-
tions. E85 holds less energy per gallon
than gasoline, so drivers will experience
lower miles per gallon and cruising
range when running on E85.
See Section 5 of your Owner Manual.
23
Note: If your vehicle does not have the
yellow gas cap, do not use E85.
The Oil Life System calculates engine oil
life based on vehicle use and displays
CHANGE ENGINE OIL SOON on the
Driver Information Center (DIC) when it’s
necessary to change your engine oil and
filter. The Oil Life System should be
reset to 100% only following an oil
change.
To reset the Oil Life System:
1. Turn on the ignition.
2. Press the (Vehicle Information)
button until the DIC displays OIL LIFE
REMAINING.
3. Press and hold the (Set/Reset)
button until 100% is displayed.
4. Turn off the ignition.
See Section 5 of your Owner Manual.
Resetting the Oil Life System
OWNER INFORMATION
Sierra Accessories
A variety of GM accessories, such as
tubular assist steps, larger wheels and
tires, bedliners and bed extenders,
have been designed exclusively for
your Sierra to enhance its style and
functionality.
Accessories also are available for use
with the cargo management system,
including an overhead rack, sliding
metal toolbox, sliding metal bed divider,
and sliding metal side storage boxes.
Visit www.gmc.com, or see your GMC
dealer for information about the avail-
ability and installation of select Sierra
accessories.