ABS GMC SIERRA DENALI 2003 Owners Manual
[x] Cancel search | Manufacturer: GMC, Model Year: 2003, Model line: SIERRA DENALI, Model: GMC SIERRA DENALI 2003Pages: 428, PDF Size: 20.35 MB
Page 216 of 428
Anti-lock Brake System
Your vehicle has anti-lock brakes. ABS is an advanced
electronic braking system that will help prevent a
braking skid.
When you start your engine and begin to drive away,
your anti-lock brake system will check itself. You
may hear a momentary motor or clicking noise while
this test is going on. This is normal.
If there’s a problem with
the anti-lock brake system,
this warning light will stay on. See
Anti-Lock
Brake
System Warning
Light on page
3-35.
Along with ABS, your vehicle has a Dynamic Rear
Proportioning (DRP) system.
If there’s a DRP problem,
both the Brake and ABS warning lights will come on
accompanied by a 10-second chime. The lights
and chime will come on each time the ignition is turned
on until the problem
is repaired. See your dealer for
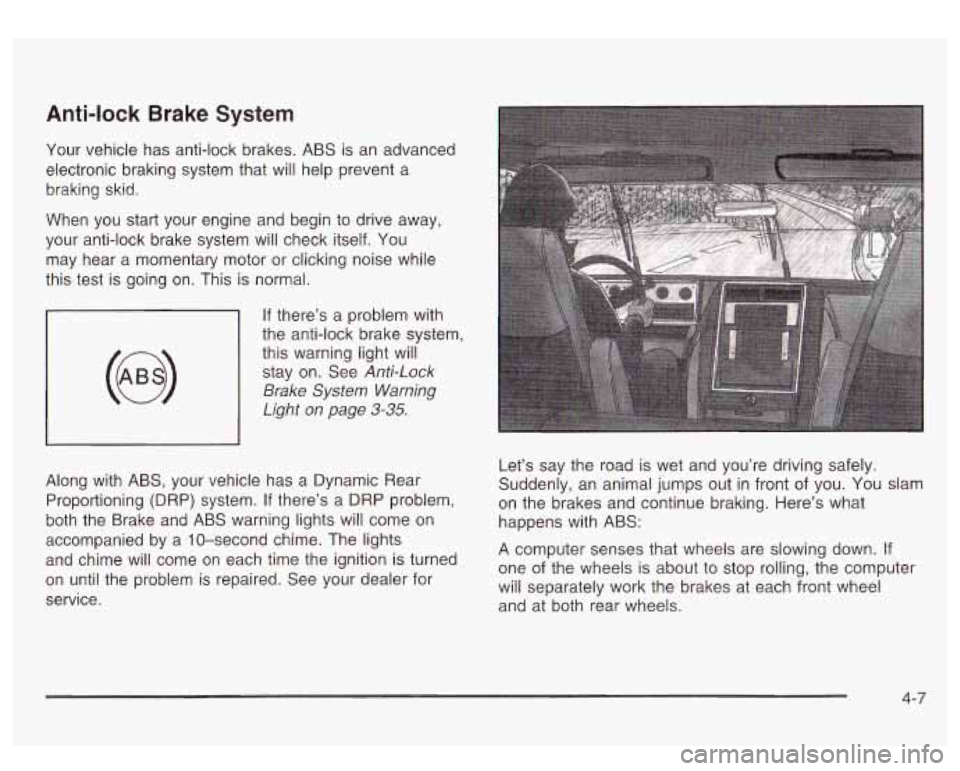
service. Let’s
say the road is wet and you’re driving safely.
Suddenly, an animal jumps out in front of you.
You slam
on the brakes and continue braking. Here’s what
happens with ABS:
A computer senses that wheels are slowing down.
If
one of the wheels is about to stop rolling, the computer
will separately work the brakes at each front wheel
and at both rear wheels.
4-7
Page 225 of 428
While driving on a surface with reduced traction, try
your best to avoid sudden steering, acceleration
or braking (including engine braking by shifting to a
lower gear). Any sudden changes could cause the tires
to slide. You may not realize the surface is slippery
until your vehicle
is skidding. Learn to recognize warning
clues
- such as enough water, ice or packed snow
on the road to make a “mirrored surface”
- and slow
down when you have any doubt.
Remember: Any anti-lock brake system (ABS) helps
avoid only the braking skid.
Operating Your All-Wheel-Drive
Vehicle
Off Paved Roads
Many of the same design features that help make your
vehicle responsive on paved roads during poor
weather conditions
- features like the locking rear axle
and all-wheel drive
- help make it much better
suited for off-road use than a conventional passenger
car. Its higher ground clearance also helps your vehicle
step over some off-road obstacles. But your vehicle
doesn’t have features like special underbody shielding
and a transfer case low gear range, things that are
usually thought necessary for extended or sever off-road
service. This guide
is for operating your vehicle off
paved roads.
Also, see Braking on page 4-6.
Off-road driving can be great fun. But it does have
some definite hazards. The greatest of these is
the terrain itself.
“Off-roading” means you’ve left the great North American\
road system behind. Traffic lanes aren’t marked.
Curves aren’t banked. There are no road signs.
Surfaces can be slippery, rough, uphill or downhill. In
short, you’ve gone right back to nature.
Off-road driving involves some new skills. And that’s
why it’s very important that
you read this guide.
You’ll find many driving tips and suggestions. These will
help make your off-road driving safer and more
enjoyable.
Before You Go Off-Roading
There are some things to do before you go out. For
example, be sure to have all necessary maintenance
and service work done. Check to make sure all
underbody shields (if
so equipped) are properly
attached.
Is there enough fuel? Is the spare tire fully
inflated? Are the fluid levels up where they should be?
What are the local laws that apply to off-roading
where you’ll be driving?
If you don’t know, you should
check with law enforcement people in the area. Will you
be on someone’s private land? If
so, be sure to get
the necessary permission.
4-1 6
Page 267 of 428
Driving On Grades
Reduce speed and shift to a lower gear before you start
down a long or steep downgrade.
If you don’t shift
down, you might have to use your brakes
so much that
they would get hot and no longer work well.
You can tow in DRIVE
(5). You may want to shift the
transmission to THIRD
(3) or, if necessary, a lower gear
selection
if the transmission shifts too often (e.g.,
under heavy loads and/or hilly conditions).
You may also want to activate the tow/haul mode
if the
transmission shifts too often. See “Tow/Haul Mode”
earlier in this section.
When towing at high altitude on steep uphill grades,
consider the following: Engine coolant will boil at a lower
temperature than at normal altitudes.
If you turn your
engine
off immediately after towing at high altitude
on steep uphill grades, your vehicle may show signs
similar
to engine overheating. To avoid this, let the
engine run while parked (preferably on level ground)
with the automatic transmission in PARK (P) for a
few minutes before turning the engine
off. If you do get
the overheat warning, see
Engine Overheating on
page
5-27.
Parking on Hills
m
You really should not park your vehicle, with a
trailer attached, on a hill.
If something goes
wrong, your rig could start to move. People
can be injured, and both your vehicle and the
trailer can be damaged.
But
if you ever have to park your rig on a hill, here’s
how to do it:
1. Apply your regular brakes, but don’t shift into
PARK
(P) yet.
2. Have someone place chocks under the trailer
wheels.
3. When the wheel chocks are in place, release the
regular brakes until the chocks absorb the load.
4. Reapply the regular brakes. Then apply your
parking brake and shift into PARK (P).
5. Release the regular brakes.
4-58
Page 326 of 428
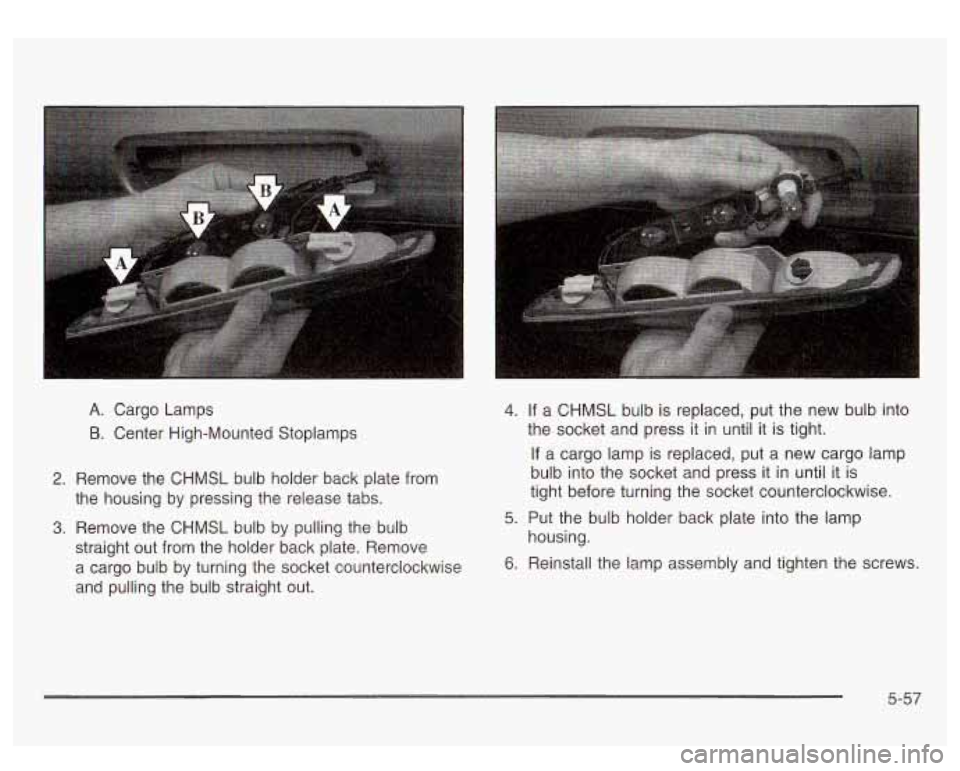
A. Cargo Lamps
B. Center High-Mounted Stoplamps
2. Remove the CHMSL bulb holder back plate from
the housing by pressing the release tabs.
3. Remove the CHMSL bulb by pulling the bulb
straight out from the holder back plate. Remove
a cargo bulb by turning the socket counterclockwise
and pulling the bulb straight out.
4. If a CHMSL bulb is replaced, put the new bulb into
the socket and press it in until
it is tight.
If a cargo lamp is replaced, put a new cargo lamp
bulb into the socket and press it in until it is
tight before turning the socket counterclockwise.
5. Put the bulb holder back plate into the lamp
housing.
6. Reinstall the lamp assembly and tighten the screws.
5-57
Page 346 of 428
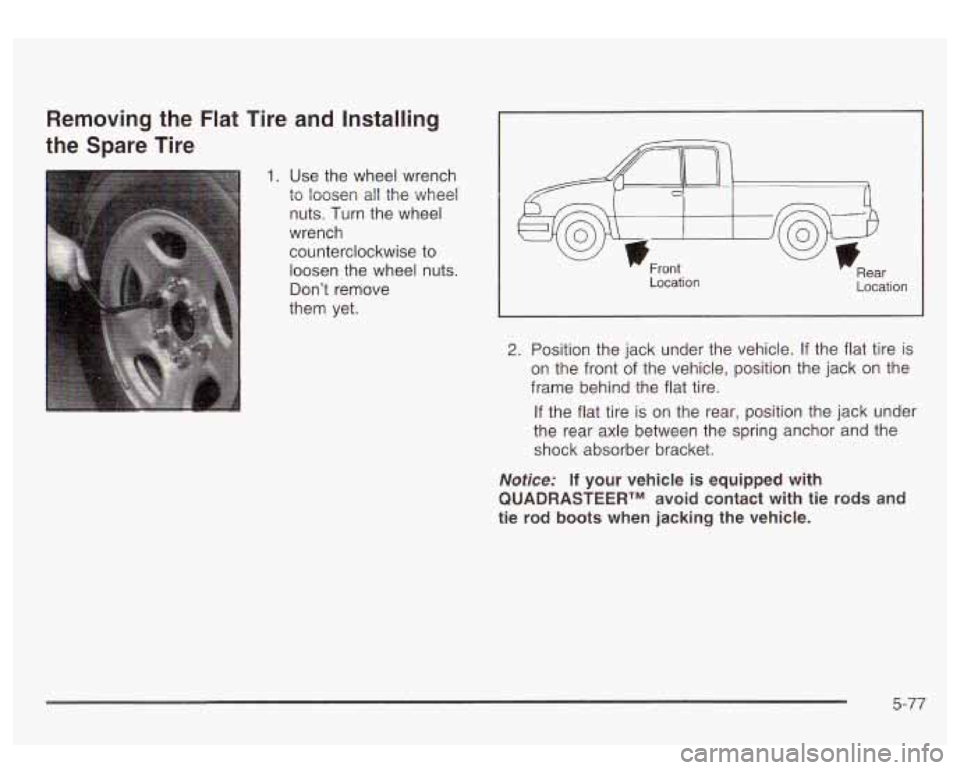
Removing the Flat Tire and Installing
the Spare Tire
1. Use the wheel wrench
to loosen all the wheel
nuts. Turn the wheel
wrench
counterclockwise to
loosen the wheel nuts.
Don’t remove
them yet.
la r Front Location RL.
Location
2. Position the jack under the vehicle. If the flat tire is
on the front of the vehicle, position the jack on the
frame behind the flat tire.
If the flat tire is on the rear, position the jack under
the rear axle between the spring anchor and the
shock absorber bracket.
Notice: If your vehicle is equipped with
QUADRASTEERTM avoid contact with tie rods and
tie rod boots when jacking the vehicle.
5-77