brake light GMC SIERRA DENALI 2003 Owners Manual
[x] Cancel search | Manufacturer: GMC, Model Year: 2003, Model line: SIERRA DENALI, Model: GMC SIERRA DENALI 2003Pages: 428, PDF Size: 20.35 MB
Page 103 of 428
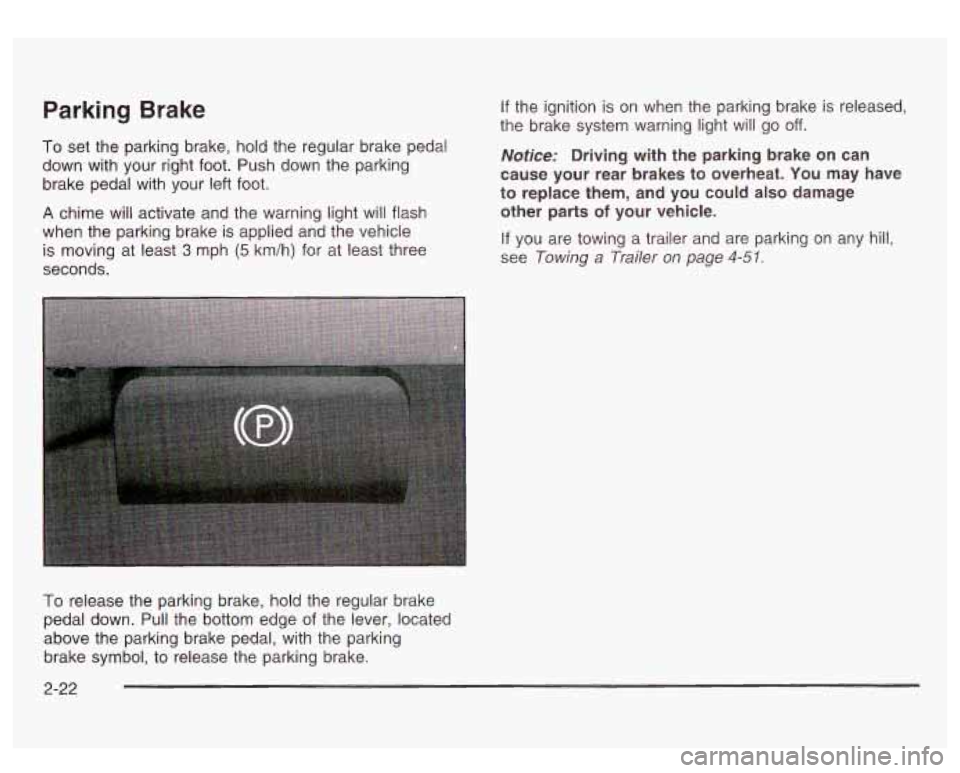
Parking Brake
To set the parking brake, hold the regular brake pedal
down with your right foot. Push down the parking
brake pedal with your left foot.
A chime will activate and the warning light will flash
when the parking brake is applied and the vehicle
is moving at least
3 mph (5 km/h) for at least three
seconds.
If the ignition is on when the parking brake is released,
the brake system warning light will go
off.
Notice: Driving with the parking brake on can
cause your rear brakes
to overheat. You may have
to replace them, and you could also damage
other parts
of your vehicle.
If you are towing a trailer and are parking on any hill,
see
Towing a Trailer on page 4-51.
To release the parking brake, hold the regular brake
pedal down. Pull the bottom edge
of the lever, located
above the parking brake pedal, with the parking
brake symbol, to release the parking brake.
2-22
Page 126 of 428
Section 3 Instrument Panel
I~s~Pu~~~IP Panel OWWV~~W ............................... 3.2
Hazard Warning Flashers
................................ 3.3
Other Warning Devices ................................... 3.4
Horn
............................................................. 3.4
Tilt Wheel
..................................................... 3.4
Turn SignaVMultifunction Lever
......................... 3.5
Exterior Lamps
............................................. 3.11
Interior Lamps
.............................................. 3.15
Accessory Power Outlets
............................... 3.16
Ashtrays and Cigarette Lighter
........................ 3.17
Climate Controls
............................................ 3.18
Dual Automatic Climate Control System
........... 3.18
Warning Lights, Gages and Indicators
............. 3.24
Instrument Panel Cluster
................................ 3.25
Speedometer and Odometer
........................... 3.26
Tachometer
................................................ -3-26
Safety Belt Reminder Light
............................. 3.26
Air Bag Readiness Light
................................ 3-27
Passenger Air Bag Status Indicator
................. 3.30
Battery Warning Light
.................................... 3.33
Brake System Warning Light
.......................... 3.34
Anti-Lock Brake System Warning Light
............. 3.35
Air
Bag
Off Light .......................................... 3-28
Voltmeter Gage
............................................ 3-33
Engine Coolant Temperature Gage
..... ..... 3.36 Transmission Temperature
Gage
..................... 3.36
Malfunction Indicator Lamp
............................. 3.38
Oil Pressure Gage
........................................ 3-40
Cruise Control Light
...................................... 3.41
Tow/Haul Mode Light
.................................... 3-41
Fuel Gage
................................................... 3.42
Driver Information Center (DIC)
....................... 3.43
DIC Operation and Displays
........................... 3.43
DIC Warnings and Messages
......................... 3.53
Audio System(s)
............................................. 3.61
Setting the Time
...................... .......... 3.6 1
Radio with Cassette and CD ..... .............. 3.62
Rear Seat Audio (RSA)
............................. 3.76
CD Changer
................................................ 3-78
Theft-Deterrent Feature
................................. -3-81
Audio Steering Wheel Controls
....................... 3.81
Understanding Radio Reception
...................... 3-82
Care of Your Cassette Tape Player
................ -3-83
Care of Your CDs
......................................... 3.84
Care of Your CD Player
................................ 3.84
Fixed Mast Antenna
...................................... 3.84
XMTM Satellite Radio Antenna System
............. 3.84
DAB Radio Antenna System
........................... 3.84
Low Fuel Warning Light
................................. 3-42
Page 134 of 428
Setti- - Yruise Control
If you leave your cruise control on when you’re
not using cruise, you might hit a button and
go
into cruise when you don’t want to. You could
be startled and even lose control. Keep the
cruise control switch
off until you want to use
cruise control.
1. Move the cruise control switch to on
2. Get up to the speed you want.
3. Press in the set button at the end of the lever and
4. Take your foot off the accelerator pedal.
release it. The cruise light
on the instrument panel will illuminate
when the cruise control is engaged.
Resuming a Set Speed
Suppose you set your cruise control at a desired speed
and then you apply the brake or press the clutch
pedal (if equipped). This, of course, disengages the
cruise control. But you don’t need to reset it.
Once you’re going about 25 mph
(40 km/h) or more,
you can move the cruise control switch from on to
resume/accelerate briefly.
You’ll go right back up to your chosen speed and stay
there.
If you hold the switch at resume/accelerate briefly, the
vehicle will keep going faster until you release the switch
or apply the brake.
So unless you want to go faster,
don’t hold the switch at resume/accelerate.
3-9
Page 135 of 428
Increasing Speed While Using Cruise
Control
There are two ways to go to a higher speed:
0
0
Use the accelerator pedal to get to the higher
speed. Press the set button at the end of the lever,
then release the button and the accelerator
pedal. You’ll now cruise at the higher speed.
Move the cruise switch from on to
resume/accelerate. Hold it there until you get up to
the speed you want, and then release the switch.
To increase your speed in very small amounts,
move the switch to resume/accelerate briefly. Each
time you do this, your vehicle will go about
1 mph (1.6 km/h) faster.
Reducing Speed While Using Cruise
Control
Press and hold the set button at the end of the
lever until you reach the lower speed you want, then
release it.
To slow down in very small amounts, press the set
button briefly. Each time you do this, you’ll go
about
1 mph (1.6 km/h) slower.
Passing Another Vehicle While Using
Cruise Control
Use the accelerator pedal to increase your speed.
When you take your foot
off the pedal, your vehicle will
slow down to the cruise control speed you set earlier.
Using Cruise Control on Hills
How well your cruise control will work on hills depends
upon your speed, load and the steepness of the
hills. When going up steep hills, you may want to step
on the accelerator pedal to maintain your speed.
When going downhill, you may have to brake or shift to
a lower gear to keep your speed down. Of course,
applying the brake takes you out of cruise control. Many
drivers find this to be too much trouble and don’t use
cruise control on steep hills.
Ending Cruise Control
There are two ways to turn off the cruise control:
Step lightly on the brake pedal.
Step lightly on the clutch pedal (if equipped).
0 Move the cruise control switch to off.
Erasing Speed Memory
When you turn off the cruise control or the ignition, your
cruise control set speed memory is erased.
3-1 0
Page 138 of 428
Daytime Running Lamps
Daytime Running Lamps (DRL) can make it easier for
others to see the front of your vehicle during the
day. DRL can be helpful
in many different driving
conditions, but they can be especially helpful in the short
periods after dawn and before sunset. Fully functional
daytime running lamps are required on all vehicles
first sold in Canada.
The DRL system will come on when the following
conditions are met:
The ignition is on,
0 the exterior lamp control is in AUTO
0 the automatic transmission is not in PARK (P), and
0 the light sensor determines it is daytime.
When the
DRL are on, only your DRL lamps will be on.
The taillamps, sidemarker and other lamps won’t be
on. The instrument panel won’t be lit up either. When
it begins to
get dark, the automatic headlamp
system will switch from DRL to the headlamps or the last
chosen headlamp setting that was used.
W-hen you turn the exterior iamp controi
to off, the
headlamps will go off, and your DRL lamps will
illuminate, provided it is not dark outside.
Shifting the transmission into PARK
(P) will allow you to
idle the vehicle with the DRL off. The DRL will stay
off until you release the parking brake or shift the
transmission out of PARK (P).
Puddle Lamps
Your vehicle is equipped with puddle lamps to help you
see the area near the base
of the front doors when it
is dark out. The puddle lamps will illuminate when a door
is opened or when you press the UNLOCK button on
the keyless entry transmitter.
3-1 3
Page 159 of 428
You can only drive for a short time with the reading in
either warning zone.
If you must drive, turn off all
unnecessary accessories.
Readings in either warning zone indicate a possible
problem in the electrical system. Have the vehicle
serviced as soon as possible.
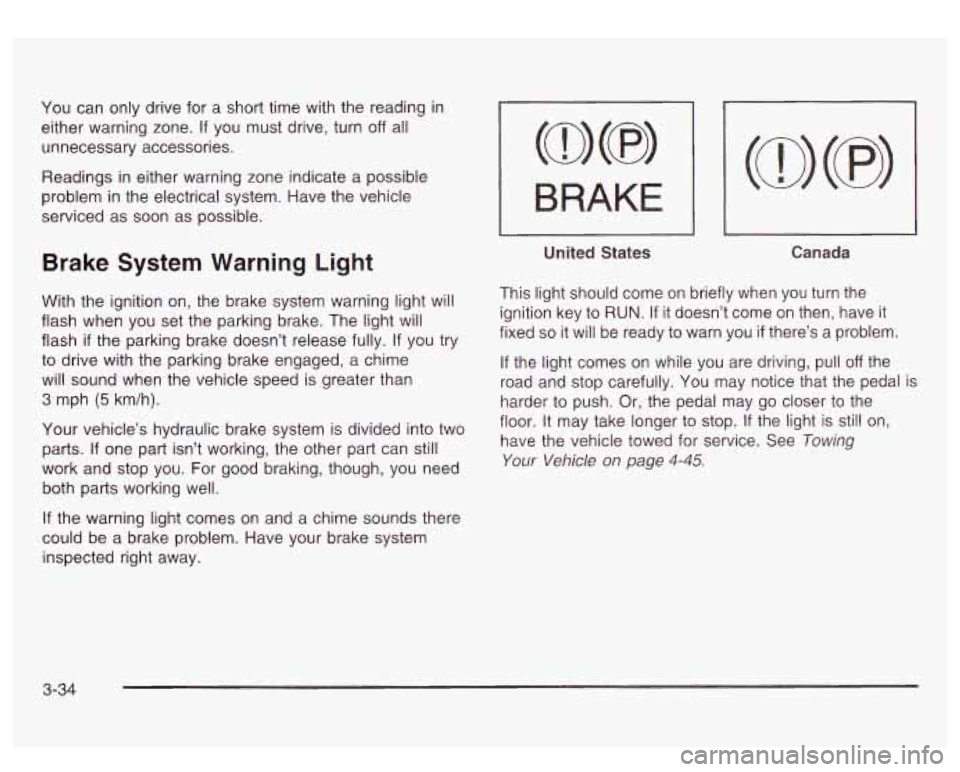
Brake System Warning Light
With the ignition on, the brake system warning light will
flash when you set the parking brake. The light will
flash
if the parking brake doesn’t release fully. If you try
to drive with the parking brake engaged, a chime
will sound when the vehicle speed is greater than
3 mph (5 km/h).
Your vehicle’s hydraulic brake system is divided into two
parts.
If one part isn’t working, the other part can still
work and stop you. For good braking, though, you need
both parts working well.
If the warning light comes on and a chime sounds there
could be a brake problem. Have your brake system
inspected right away.
I BRAKE I
-
United States Canada
This light should come on briefly when you turn the
ignition key
to RUN. If it doesn’t come on then, have it
fixed
so it will be ready to warn you if there’s a problem.
If the light comes on while you are driving, pull off the
road and stop carefully. You may notice that the pedal is
harder
to push. Or, the pedal may go closer to the
floor. It may take longer
to stop. If the light is still on,
have the vehicle towed for service. See Towing
Your Vehicle on page 4-45.
3-34
Page 160 of 428
Your brake system may not be working
properly
if the brake system warning light is
on. Driving with the brake system warning light
on can lead to an accident.
If the light is still
on after you’ve pulled
off the road and stopped
carefully, have the vehicle towed for service.
~
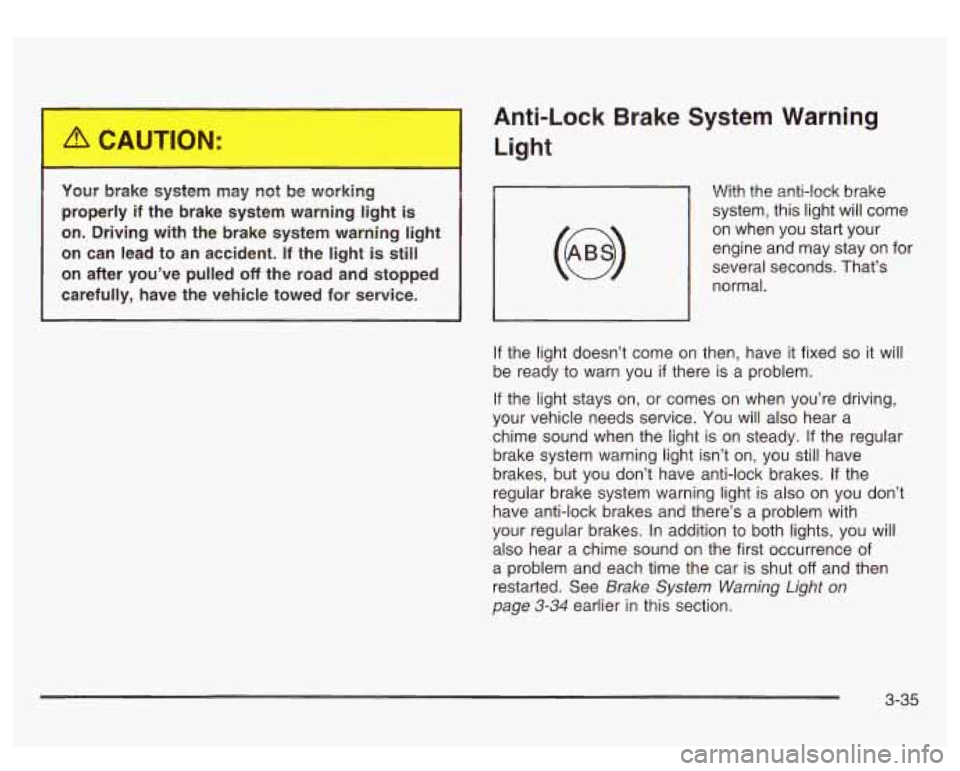
Anti-Lock Brake System Warning
Light
With the anti-lock brake
system, this light will come
on when you start your
engine and may stay on for
several seconds. That’s
normal.
, I
If the light doesn’t come on then, have it fixed so it will
be ready to warn you
if there is a problem.
If the light stays on, or comes on when you’re driving,
your vehicle needs service.
You will also hear a
chime sound when the light
is on steady. If the regular
brake system warning light isn’t on, you still have
brakes, but you don’t have anti-lock brakes. If the
regular brake system warning light is also on you don’t
have anti-lock brakes and there’s a problem with
your regular brakes.
In addition to both lights, you will
also hear a chime sound on the first occurrence of
a problem and each time the car is shut
off and then
restarted. See
Brake System Warning Light on
page 3-34 earlier in this section.
3-35
Page 180 of 428
SERVICE AIRBAG
If there is a problem with the air bag system, this
message will be displayed on the
DIC. Have a qualified
technician inspect the system for problems. Pressing
the select button will acknowledge this message
and clear it from the
DIC display.
SERVICE BRAKE SYSTEM
If there is a problem with the brake system, this
message will be displayed on the
DIC. If this message
appears, stop as soon as possible and turn
off the
vehicle. Restart the vehicle and check for the message
on the
DIC display. If the message is still displayed,
or appears again when you begin driving, the brake
system needs service.
SERVICE BRAKE BOOSTER
If your vehicle has vaccum assist power brakes, this
message will be displayed on the
DIC when there is a
problem with the Supplemental Brake Assist system.
If the message is displayed immediately after starting
the vehicle or the message appears while driving,
your Supplemental Brake Assist system needs service.
See
Brake System Warning Light on page 3-34.
Your brake system may not be working
properly if the SERVICE BRAKE BOOSTER
message is displayed.
If the brake system warning light is also on,
you should have the vehicle towed for service. See “Brake System Warning Light”
in the
Index.
If the brake system warning light
isn’t on, you
still have brakes, but the supplemental brake
assist system may not operate properly.
In the
event of a vacuum
loss, you may not have
vacuum power assist for braking. The brake pedal will
be harder to push and it will take
longer to stop.
If you continue to drive with
this message displayed it can lead to a crash.
Have the brake system serviced as soon as
possible.
3-55
Page 182 of 428
REDUCED BRAKE POWER
If your vehicle has vacuum assist power brakes, this
message will be displayed and you may notice that the
brake pedal is harder to push and it will take longer
to stop. You may also hear a motor running and feel a
slight vibration in the brake pedal or steering wheel
when you apply or release the brake pedal even
if your
foot is not on the brake pedal. This indicates that the
Supplemental Brake Assist system is working to
maintain braking power.
If you are braking lightly, you
may not notice any difference in the operation
of
your brakes.
This message may also be displayed for brief periods
if
you are driving at higher elevations and are pumping
your brakes or braking hard. The message may
clear after you’ve lifted your foot from the accelerator
pedal an allowed the vehicle to coast
in gear or after you
have driven down to a lower elevation. This is a
normal operation of your brake system and does not
require that the brake system be serviced. However,
if
the message does not clear, your brake system
needs service. While the message is displayed you will
notice that the brake pedal is harder to push and
it
will take longer to stop. See Brake System Warning
Light
on page 3-34.
Your brake system may not be working
properly if the REDUCED BRAKE POWER
message is displayed. If this message comes
on and stays on while driving, pull
off the road
and stop carefully. The brake pedal will be
harder to push and
it will take longer to stop.
If the message is no longer displayed after you
have pulled
off the road and stopped, you can
continue driving.
However, if the message is still displayed, or if
it comes on again when you are driving, there
is a problem with your brake system. If you
continue to drive with this message displayed
it can lead to an accident. You should have the
vehicle towed for service. Also, see Brake
System Warning Light in the Index.
3-57
Page 216 of 428
Anti-lock Brake System
Your vehicle has anti-lock brakes. ABS is an advanced
electronic braking system that will help prevent a
braking skid.
When you start your engine and begin to drive away,
your anti-lock brake system will check itself. You
may hear a momentary motor or clicking noise while
this test is going on. This is normal.
If there’s a problem with
the anti-lock brake system,
this warning light will stay on. See
Anti-Lock
Brake
System Warning
Light on page
3-35.
Along with ABS, your vehicle has a Dynamic Rear
Proportioning (DRP) system.
If there’s a DRP problem,
both the Brake and ABS warning lights will come on
accompanied by a 10-second chime. The lights
and chime will come on each time the ignition is turned
on until the problem
is repaired. See your dealer for
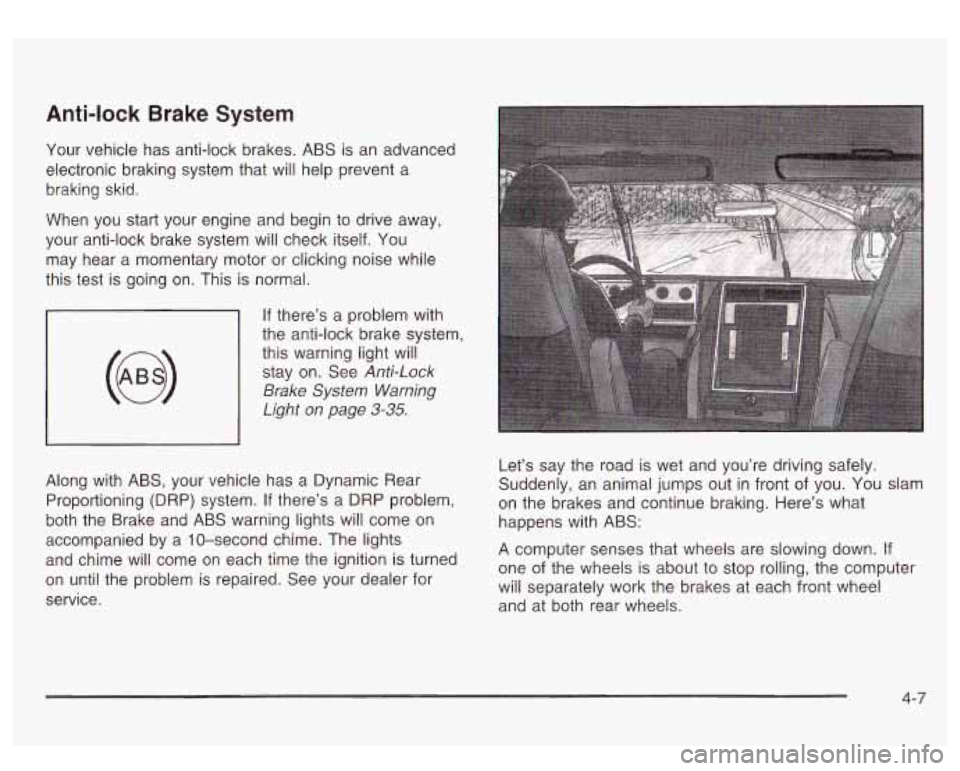
service. Let’s
say the road is wet and you’re driving safely.
Suddenly, an animal jumps out in front of you.
You slam
on the brakes and continue braking. Here’s what
happens with ABS:
A computer senses that wheels are slowing down.
If
one of the wheels is about to stop rolling, the computer
will separately work the brakes at each front wheel
and at both rear wheels.
4-7