turn signal GMC SONOMA 2004 Owner's Manual
[x] Cancel search | Manufacturer: GMC, Model Year: 2004, Model line: SONOMA, Model: GMC SONOMA 2004Pages: 412, PDF Size: 4.16 MB
Page 69 of 412
The following instructions detail how to program your
door locks. Choose one of the programming options
before entering the programming mode.
To enter the program mode, do the following:
1. Begin with the ignition in OFF. Then pull the turn
signal/multifunction lever all the way toward you
and hold it while you perform the next step.
2. Turn your key to RUN and OFF twice. Then, with
the key in OFF, release the turn signal/multifunction
lever. Once you do this, you will hear the lock
switch lock and unlock.3. You are now ready to program the automatic door
locks. Select one of the previous four programming
options and follow the instructions. You will have
30 seconds to begin programming. If you exceed
the 30 second limit, the locks will automatically lock
and unlock to indicate you have left the program
mode. If this occurs, repeat the procedure beginning
with Step 1. You can exit the program mode any
time by turning the ignition to RUN. The locks
will automatically lock and unlock to indicate you
are leaving the program mode. If the lock/unlock
switches are not pressed while in the programming
mode, the auto lock/unlock setting will not be
modified.
2-9
Page 105 of 412
Instrument Panel Overview...............................3-2
Hazard Warning Flashers................................3-4
Other Warning Devices...................................3-5
Horn.............................................................3-5
Tilt Wheel.....................................................3-5
Turn Signal/Multifunction Lever.........................3-6
Exterior Lamps.............................................3-11
Interior Lamps..............................................3-15
Accessory Power Outlets...............................3-16
Ashtrays and Cigarette Lighter........................3-17
Climate Controls............................................3-18
Climate Control System.................................3-18
Outlet Adjustment.........................................3-20
Warning Lights, Gages and Indicators.............3-21
Instrument Panel Cluster................................3-22
Speedometer and Odometer...........................3-24
Trip Odometer..............................................3-24
Tachometer.................................................3-24
Safety Belt Reminder Light.............................3-24
Air Bag Readiness Light................................3-25
Charging System Light..................................3-26
Voltmeter Gage............................................3-26
Brake System Warning Light..........................3-27
Anti-Lock Brake System Warning Light.............3-28
Engine Coolant Temperature Gage..................3-28Malfunction Indicator Lamp.............................3-29
Oil Pressure Gage........................................3-32
Security Light...............................................3-33
Service Four-Wheel Drive Warning Light..........3-33
Check Gages Warning Light...........................3-34
Fuel Gage...................................................3-34
Low Fuel Warning Light.................................3-35
Audio System(s).............................................3-35
Setting the Time for Radios without Radio
Data Systems (RDS)..................................3-35
Setting the Time for Radios with Radio
Data Systems (RDS)..................................3-36
AM-FM Radio...............................................3-36
Radio with CD..............................................3-39
Radio with Cassette and CD..........................3-49
Radio with Six-Disc CD.................................3-59
Theft-Deterrent Feature (Non-RDS Radios).......3-73
Theft-Deterrent Feature (RDS Radios).............3-73
Understanding Radio Reception......................3-74
Care of Your Cassette Tape Player.................3-74
Care of Your CDs.........................................3-75
Care of Your CD Player................................3-76
Fixed Mast Antenna......................................3-76
XM™ Satellite Radio Antenna System
(48 Contiguous US States).........................3-76
Section 3 Instrument Panel
3-1
Page 107 of 412
The main components of your vehicle’s instrument panel are the following:
A. Air Outlets. SeeOutlet Adjustment on page 3-20for
more information.
B. Instrument Panel Cluster. SeeInstrument Panel
Cluster on page 3-22for more information.
C. Electronic Transfer Case Switch. See “Transfer
Case” underFour-Wheel Drive on page 5-46
for more information.
D. Lamp Controls. SeeExterior Lamps on page 3-11
for more information.
E. Fog Lamp Button. See “Fog Lamps” underExterior
Lamps on page 3-11for more information.
F. Brake Release. SeeParking Brake on page 2-25for
more information.
G. Turn Signal/Multifunction Lever. SeeTurn
Signal/Multifunction Lever on page 3-6for more
information.H. Horn. SeeHorn on page 3-5for more information.
I. Ashtray. SeeAshtrays and Cigarette Lighter on
page 3-17for more information.
J. Climate Controls. SeeClimate Control System on
page 3-18for more information.
K. Accessory Power Outlets. SeeAccessory Power
Outlets on page 3-16for more information.
L. Heated Outside Rearview Mirror Button (If
Equipped). SeeOutside Heated Mirrors on
page 2-32for more information.
M. Audio System. SeeAudio System(s) on page 3-35
for more information.
N. Glove Box. SeeGlove Box on page 2-33for more
information.
3-3
Page 108 of 412
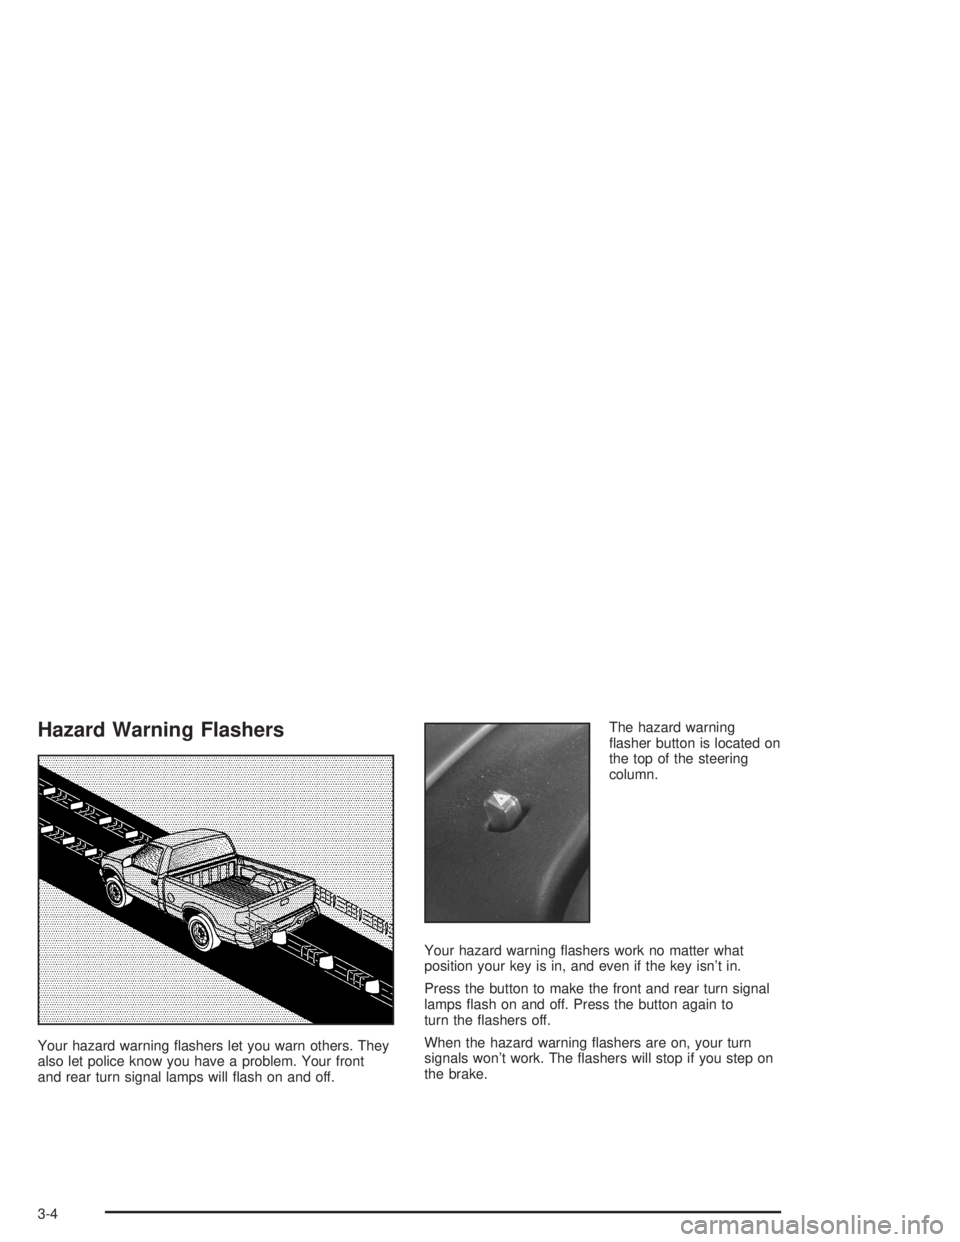
Hazard Warning Flashers
Your hazard warning flashers let you warn others. They
also let police know you have a problem. Your front
and rear turn signal lamps will flash on and off.The hazard warning
flasher button is located on
the top of the steering
column.
Your hazard warning flashers work no matter what
position your key is in, and even if the key isn’t in.
Press the button to make the front and rear turn signal
lamps flash on and off. Press the button again to
turn the flashers off.
When the hazard warning flashers are on, your turn
signals won’t work. The flashers will stop if you step on
the brake.
3-4
Page 109 of 412
Other Warning Devices
If you carry reflective triangles, you can set one up at
the side of the road about 300 feet (100 m) behind your
vehicle.
Horn
To sound the horn, press the horn symbol on the
steering wheel pad.
Tilt Wheel
A tilt wheel allows you to adjust the steering wheel
before you drive. If you have the tilt steering wheel, you
can raise it to the highest level to allow more room
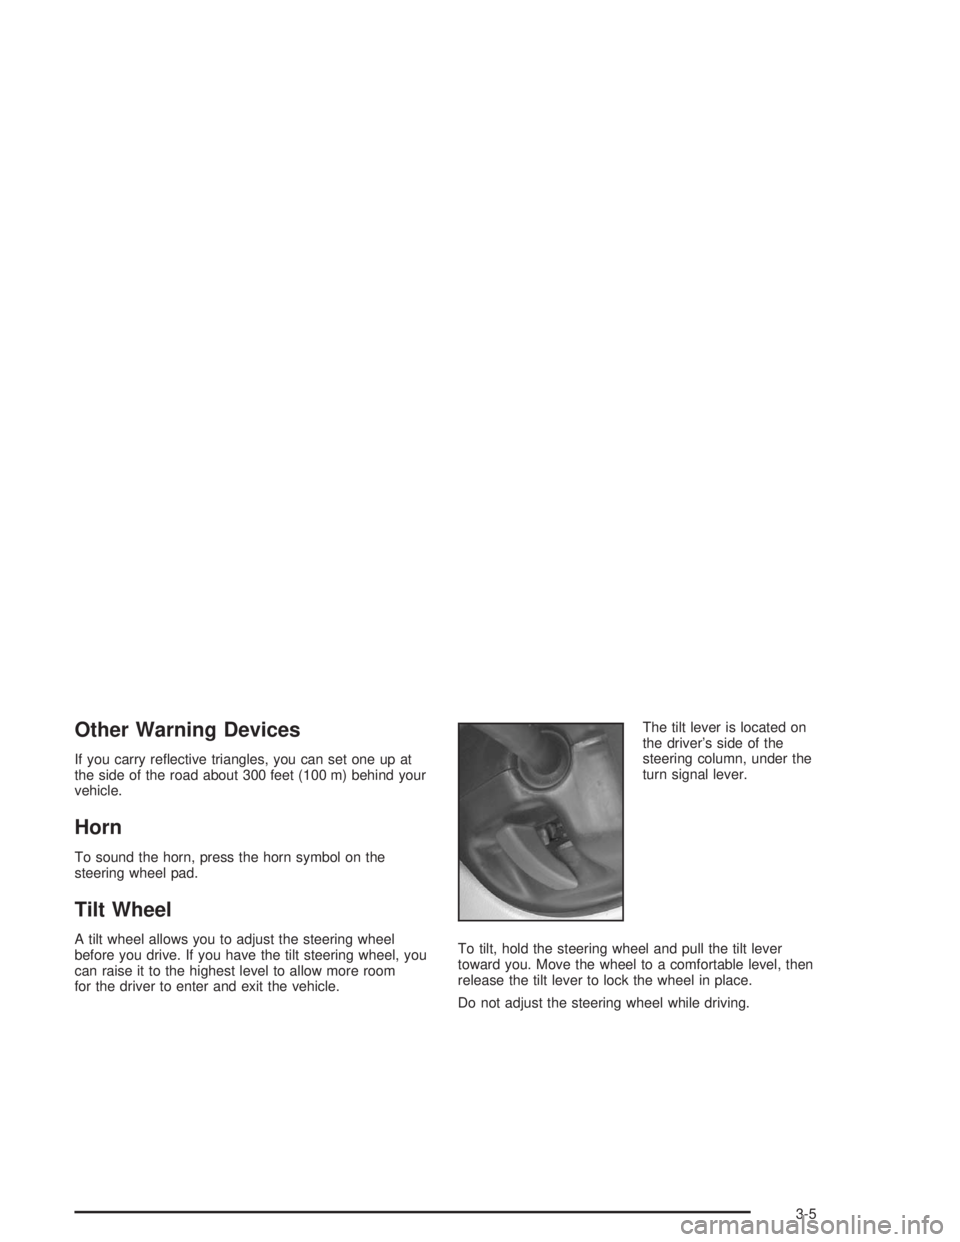
for the driver to enter and exit the vehicle.The tilt lever is located on
the driver’s side of the
steering column, under the
turn signal lever.
To tilt, hold the steering wheel and pull the tilt lever
toward you. Move the wheel to a comfortable level, then
release the tilt lever to lock the wheel in place.
Do not adjust the steering wheel while driving.
3-5
Page 110 of 412
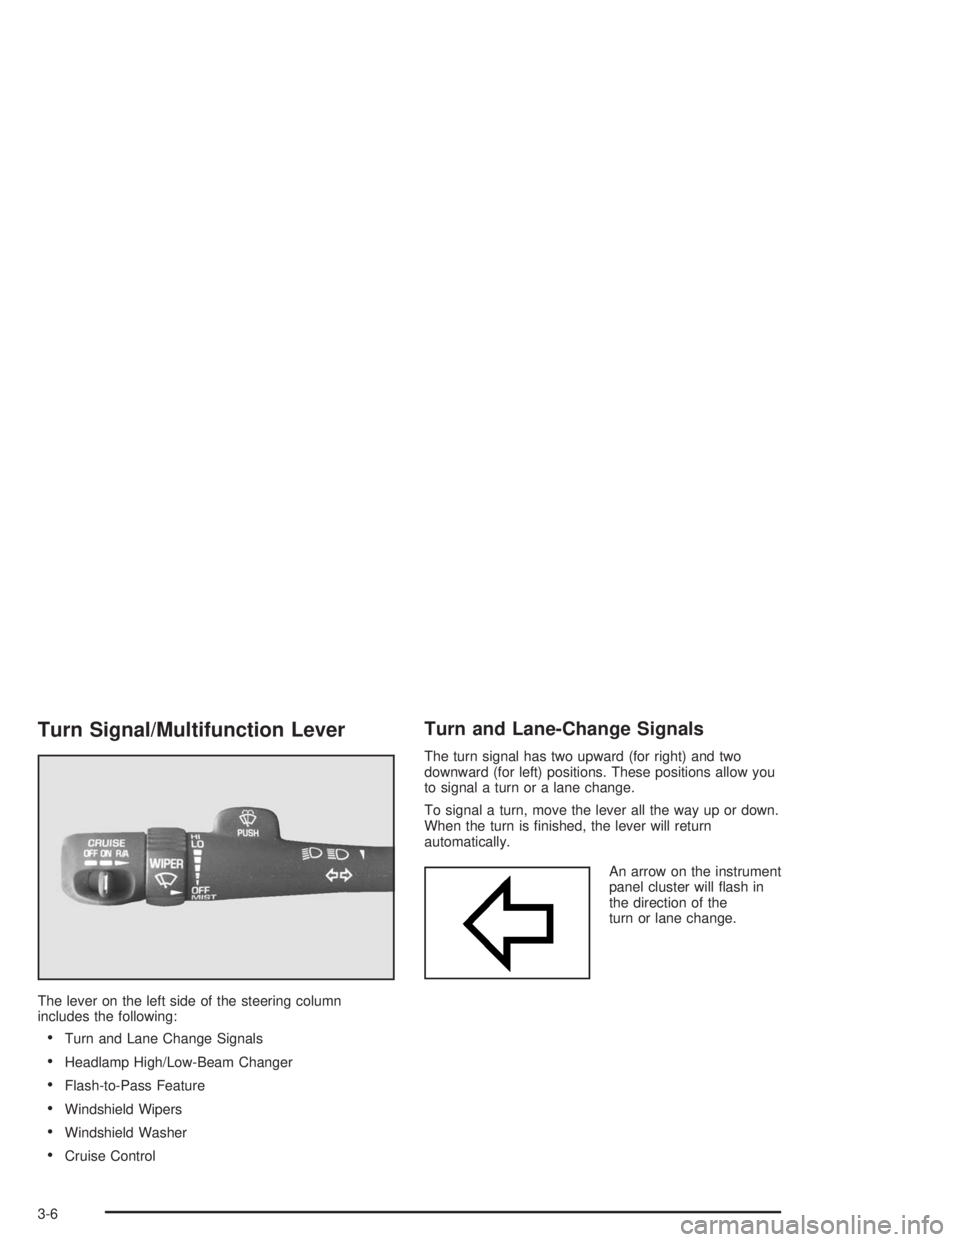
Turn Signal/Multifunction Lever
The lever on the left side of the steering column
includes the following:
•Turn and Lane Change Signals
•Headlamp High/Low-Beam Changer
•Flash-to-Pass Feature
•Windshield Wipers
•Windshield Washer
•Cruise Control
Turn and Lane-Change Signals
The turn signal has two upward (for right) and two
downward (for left) positions. These positions allow you
to signal a turn or a lane change.
To signal a turn, move the lever all the way up or down.
When the turn is finished, the lever will return
automatically.
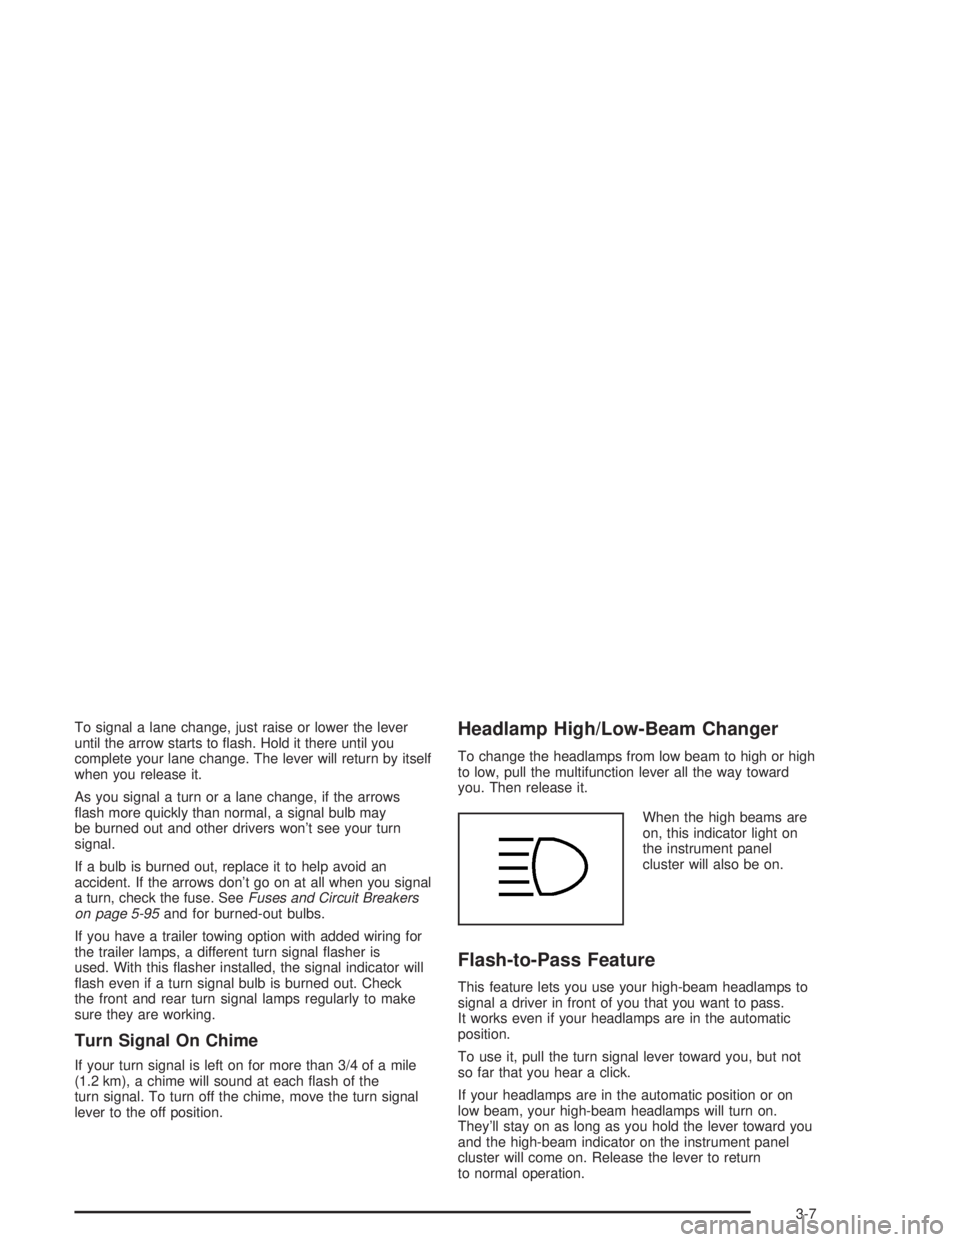
An arrow on the instrument
panel cluster will flash in
the direction of the
turn or lane change.
3-6
Page 111 of 412
To signal a lane change, just raise or lower the lever
until the arrow starts to flash. Hold it there until you
complete your lane change. The lever will return by itself
when you release it.
As you signal a turn or a lane change, if the arrows
flash more quickly than normal, a signal bulb may
be burned out and other drivers won’t see your turn
signal.
If a bulb is burned out, replace it to help avoid an
accident. If the arrows don’t go on at all when you signal
a turn, check the fuse. SeeFuses and Circuit Breakers
on page 5-95and for burned-out bulbs.
If you have a trailer towing option with added wiring for
the trailer lamps, a different turn signal flasher is
used. With this flasher installed, the signal indicator will
flash even if a turn signal bulb is burned out. Check
the front and rear turn signal lamps regularly to make
sure they are working.
Turn Signal On Chime
If your turn signal is left on for more than 3/4 of a mile
(1.2 km), a chime will sound at each flash of the
turn signal. To turn off the chime, move the turn signal
lever to the off position.
Headlamp High/Low-Beam Changer
To change the headlamps from low beam to high or high
to low, pull the multifunction lever all the way toward
you. Then release it.
When the high beams are
on, this indicator light on
the instrument panel
cluster will also be on.
Flash-to-Pass Feature
This feature lets you use your high-beam headlamps to
signal a driver in front of you that you want to pass.
It works even if your headlamps are in the automatic
position.
To use it, pull the turn signal lever toward you, but not
so far that you hear a click.
If your headlamps are in the automatic position or on
low beam, your high-beam headlamps will turn on.
They’ll stay on as long as you hold the lever toward you
and the high-beam indicator on the instrument panel
cluster will come on. Release the lever to return
to normal operation.
3-7
Page 113 of 412
Cruise Control
With cruise control, you can maintain a speed of about
25 mph (40 km/h) or more without keeping your foot
on the accelerator. This can really help on long
trips. Cruise control does not work at speeds below
about 25 mph (40 km/h).
If you apply your brakes, the cruise control will shut off.
{CAUTION:
Cruise control can be dangerous where
you can not drive safely at a steady speed.
So, do not use your cruise control on
winding roads or in heavy traffic.
Cruise control can be dangerous on
slippery roads. On such roads, fast
changes in tire traction can cause
needless wheel spinning, and you could
lose control. Do not use cruise control on
slippery roads.
Setting Cruise Control
{CAUTION:
If you leave your cruise control on when you
are not using cruise, you might hit a button
and go into cruise when you do not want to.
You could be startled and even lose control.
Keep the cruise control switch off until you
want to use cruise control.
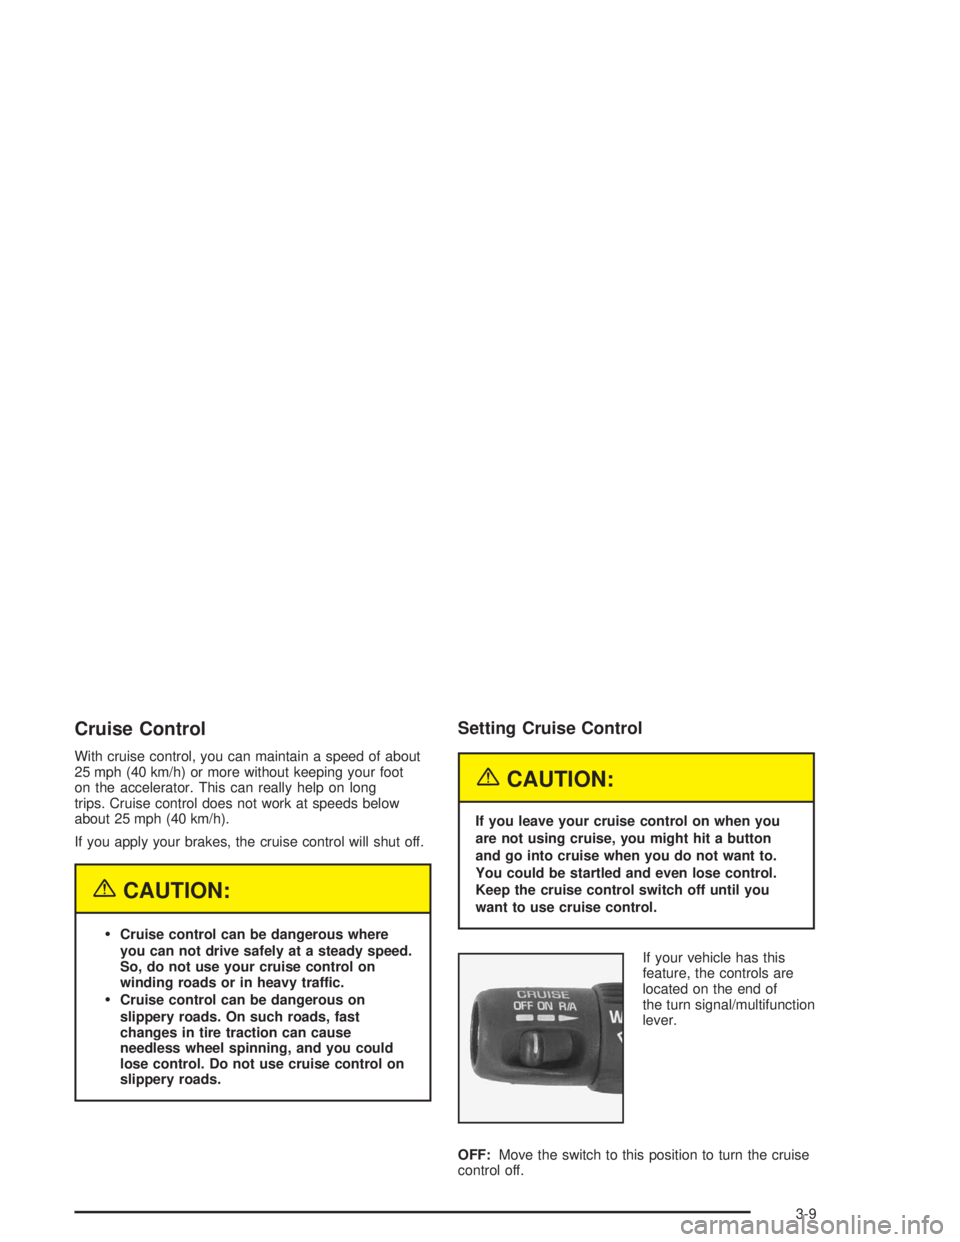
If your vehicle has this
feature, the controls are
located on the end of
the turn signal/multifunction
lever.
OFF:Move the switch to this position to turn the cruise
control off.
3-9
Page 117 of 412
Lamps On Reminder
A reminder chime will sound when your headlamps or
parking lamps are manually turned on, the driver’s door
is opened and your ignition is in OFF, LOCK or
ACCESSORY. To turn the chime off, turn the control
counterclockwise or turn the instrument panel brightness
thumbwheel down to the fully dimmed position. In the
automatic mode, the headlamps turn off once the ignition
key is in OFF.
Daytime Running Lamps
Daytime Running Lamps (DRL) can make it easier for
others to see the front of your vehicle during the
day. DRL can be helpful in many different driving
conditions, but they can be especially helpful in the short
periods after dawn and before sunset. Fully functional
daytime running lamps are required on all vehicles
first sold in Canada.The DRL system will make your headlamps come on
at reduced brightness when the following conditions
are met:
•The ignition is on,
•the exterior lamp control is in OFF,
•the sensor detects daytime light,
•an automatic transmission is not in PARK (P), and
•the parking brake is released.
When the DRL are on, only your headlamps will be on.
The taillamps, sidemarker and other lamps won’t be
on. The instrument panel won’t be lit up either.
When it begins to get dark, the headlamps will
automatically switch from DRL to the regular headlamps.
The DRL system on some vehicles may turn off
temporarily while the turn signals are activated.
To idle an automatic transmission vehicle with the DRL
off, put the transmission in PARK (P). To idle a
manual transmission vehicle with the DRL off, set the
parking brake. The DRL will stay off until you shift out of
PARK (P) or release the parking brake.
The following does not apply to vehicles sold in Canada.
3-13
Page 141 of 412
Finding a Station
AM FM:Press this button to switch between FM1, FM2,
or AM. The display will show your selection.
TUNE:Turn this knob to select radio stations.
oSEEKp:Press the right or the left arrow to go to
the next or to the previous station and stay there.
To scan stations, press and hold either SEEK arrow for
two seconds until you hear a beep. The radio will go
to a station, play for a few seconds, then go on to
the next station. Press either SEEK arrow again to stop
scanning.
To scan preset stations, press and hold either SEEK
arrow for more than four seconds until you hear
two beeps. The radio will go to the first preset station
stored on the pushbuttons, play for a few seconds, then
go on to the next preset station. Press either SEEK
arrow again to stop scanning presets.
The radio will seek and scan only to stations that are in
the selected band and only to those with a strong
signal.
Setting Preset Stations
The six numbered pushbuttons let you return to your
favorite stations. You can set up to 18 stations
(six FM1, six FM2, and six AM) by performing the
following steps:
1. Turn the radio on.
2. Press AM FM to select FM1, FM2, or AM.
3. Tune in the desired station.
4. Press and hold one of the six numbered
pushbuttons until you hear a beep. Whenever you
press that numbered pushbutton, the station
you set will return.
5. Repeat the steps for each pushbutton.
Setting the Tone (Bass/Treble)
AUDIO:To adjust bass and treble, press and release
AUDIO until BAS or TRE appears on the display.
Then press and hold the up or the down arrow to
increase or to decrease. If a station is weak or noisy,
you may want to decrease the treble.
3-37