check engine light GMC TERRAIN 2017 User Guide
[x] Cancel search | Manufacturer: GMC, Model Year: 2017, Model line: TERRAIN, Model: GMC TERRAIN 2017Pages: 330, PDF Size: 4.54 MB
Page 179 of 330
GMC Terrain/Terrain Denali Owner Manual (GMNA-Localizing-U.S./Canada/
Mexico-9919509) - 2017 - crc - 8/16/16
178 Driving and Operating
vehicle wheel brakes to assist the
driver in keeping the vehicle on the
intended path.
If cruise control is being used and
traction control or StabiliTrak begins
to limit wheel spin, cruise control will
disengage. Cruise control may be
turned back on when road
conditions allow.
Both systems come on
automatically when the vehicle is
started and begins to move. The
systems may be heard or felt while
they are operating or while
performing diagnostic checks. This
is normal and does not mean there
is a problem with the vehicle.
It is recommended to leave both
systems on for normal driving
conditions, but it may be necessary
to turn TCS off if the vehicle gets
stuck in sand, mud, ice, or snow.
SeeIf the Vehicle Is Stuck 0160
and “Turning the Systems Off and
On” later in this section.
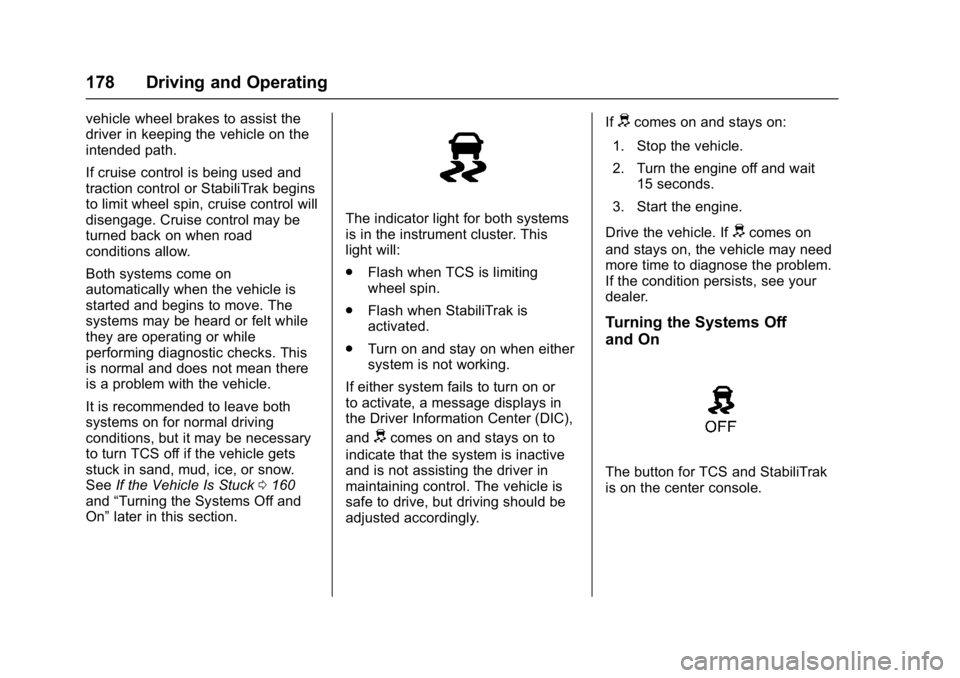
The indicator light for both systems
is in the instrument cluster. This
light will:
.
Flash when TCS is limiting
wheel spin.
. Flash when StabiliTrak is
activated.
. Turn on and stay on when either
system is not working.
If either system fails to turn on or
to activate, a message displays in
the Driver Information Center (DIC),
and
dcomes on and stays on to
indicate that the system is inactive
and is not assisting the driver in
maintaining control. The vehicle is
safe to drive, but driving should be
adjusted accordingly. If
dcomes on and stays on:
1. Stop the vehicle.
2. Turn the engine off and wait 15 seconds.
3. Start the engine.
Drive the vehicle. If
dcomes on
and stays on, the vehicle may need
more time to diagnose the problem.
If the condition persists, see your
dealer.
Turning the Systems Off
and On
The button for TCS and StabiliTrak
is on the center console.
Page 193 of 330
GMC Terrain/Terrain Denali Owner Manual (GMNA-Localizing-U.S./Canada/
Mexico-9919509) - 2017 - crc - 8/16/16
192 Driving and Operating
may not pass a smog-check test.
SeeMalfunction Indicator Lamp
(Check Engine Light) 0107. If this
occurs, return to your authorized
dealer for diagnosis. If it is
determined that the condition is
caused by the type of fuel used,
repairs may not be covered by the
vehicle warranty.
Fuels in Foreign
Countries
The U.S., Canada, and Mexico post
fuel octane ratings in anti-knock
index (AKI). For fuel not to use in a
foreign country, see “Prohibited
Fuels” inFuel 0191.
Fuel Additives
To keep fuel systems clean, TOP
TIER®detergent gasoline is
recommended. See Fuel0191.
If TOP TIER detergent gasoline is
not available, one bottle of GM Fuel
System Treatment Cleaner added to
the fuel tank at every engine oil
change, can help. GM Fuel System
Treatment Cleaner is the only gasoline additive recommended by
General Motors. It is available at
your dealer.
If your vehicle is able to use E85 or
FlexFuel, GM Fuel System
Treatment Cleaner - FlexFuel is the
only recommended additive for use.
Do not use any other additives with
an E85 or FlexFuel vehicle. See
E85 or FlexFuel
0192.
E85 or FlexFuel
Vehicles marked as “E85”or
FlexFuel can use either unleaded
gasoline or ethanol fuel containing
up to 85% ethanol (E85). All other
vehicles should use only the
unleaded gasoline as described in
Fuel 0191.
The use of E85 or FlexFuel is
encouraged when the vehicle is
designed to use it. E85 or FlexFuel
is made from renewable sources.
Many fuel stations will not have an
85% ethanol fuel (E85) pump
available. Those stations that do
have E85 should have a label indicating the FlexFuel ethanol
content. Do not use the fuel if the
ethanol content is greater than 85%.
The starting characteristics of E85
or FlexFuel make it unsuitable for
use when temperatures fall below
−18 °C (0 °F). Use gasoline or add
gasoline to the E85 or FlexFuel.
Because E85 or FlexFuel has less
energy per liter (gallon) than
gasoline, the vehicle will need to be
refilled more often. See
Filling the
Tank 0193.
Caution
Some additives are not
compatible with E85 or FlexFuel
and can harm the vehicle's fuel
system. Do not add anything to
E85 or FlexFuel. Damage caused
by additives would not be covered
by the vehicle warranty.
Page 194 of 330

GMC Terrain/Terrain Denali Owner Manual (GMNA-Localizing-U.S./Canada/
Mexico-9919509) - 2017 - crc - 8/16/16
Driving and Operating 193
Caution
Do not use fuel containing
methanol. It can corrode metal
parts in the fuel system and also
damage plastic and rubber parts.
That damage would not be
covered under the vehicle
warranty.
Filling the Tank
{Warning
Fuel vapors and fuel fires burn
violently and can cause injury or
death.. To help avoid injuries to you
and others, read and follow
all the instructions on the
fuel pump island.
. Turn off the engine when
refueling.
. Keep sparks, flames, and
smoking materials away
from fuel.
(Continued)
Warning (Continued)
.Do not leave the fuel pump
unattended.
. Do not use a cell phone
while refueling.
. Do not re-enter the vehicle
while pumping fuel.
. Keep children away from
the fuel pump and never let
children pump fuel.
. Fuel can spray out if the fuel
cap is opened too quickly.
This spray can happen if the
tank is nearly full, and is
more likely in hot weather.
Open the fuel cap slowly
and wait for any hiss noise
to stop, then unscrew the
cap all the way.
The fuel cap is behind the fuel door
on the passenger side of the
vehicle. To open the fuel door, push
and release the rearward center
edge of the door.
Turn the fuel cap counterclockwise
to remove. Do not release the cap
too soon or it will spring back.
Reinstall the cap by turning it
clockwise until it clicks.
If the cap is not properly installed,
the malfunction indicator lamp may
come on. See Malfunction Indicator
Lamp (Check Engine Light) 0107.
Page 195 of 330

GMC Terrain/Terrain Denali Owner Manual (GMNA-Localizing-U.S./Canada/
Mexico-9919509) - 2017 - crc - 8/16/16
194 Driving and Operating
{Warning
Overfilling the fuel tank by more
than three clicks of a standard fill
nozzle may cause:. Vehicle performance issues,
including engine stalling and
damage to the fuel system.
. Fuel spills.
. Potential fuel fires.
Be careful not to spill fuel. Wait a
few seconds before removing the
nozzle. Clean fuel from painted
surfaces as soon as possible. See
Exterior Care 0269.
{Warning
If a fire starts while you are
refueling, do not remove the
nozzle. Shut off the flow of fuel by
shutting off the pump or by
notifying the station attendant.
Leave the area immediately.
Caution
If a new fuel cap is needed, be
sure to get the right type of cap
from your dealer. The wrong type
of fuel cap may not fit properly,
may cause the malfunction
indicator lamp to light, and could
damage the fuel tank and
emissions system. See
Malfunction Indicator Lamp
(Check Engine Light) 0107.
Filling a Portable Fuel
Container
{Warning
Filling a portable fuel container
while it is in the vehicle can cause
fuel vapors that can ignite either
by static electricity or other
means. You or others could be
badly burned and the vehicle
could be damaged. Always:
(Continued)
Warning (Continued)
.Use approved fuel
containers.
. Remove the container from
the vehicle, trunk, or pickup
bed before filling.
. Place the container on the
ground.
. Place the nozzle inside the
fill opening of the container
before dispensing fuel, and
keep it in contact with the fill
opening until filling is
complete.
. Fill the container no more
than 95% full to allow for
expansion.
. Do not smoke, light
matches, or use lighters
while pumping fuel.
. Avoid using cell phones or
other electronic devices.
Page 202 of 330
GMC Terrain/Terrain Denali Owner Manual (GMNA-Localizing-U.S./Canada/
Mexico-9919509) - 2017 - crc - 8/16/16
Driving and Operating 201
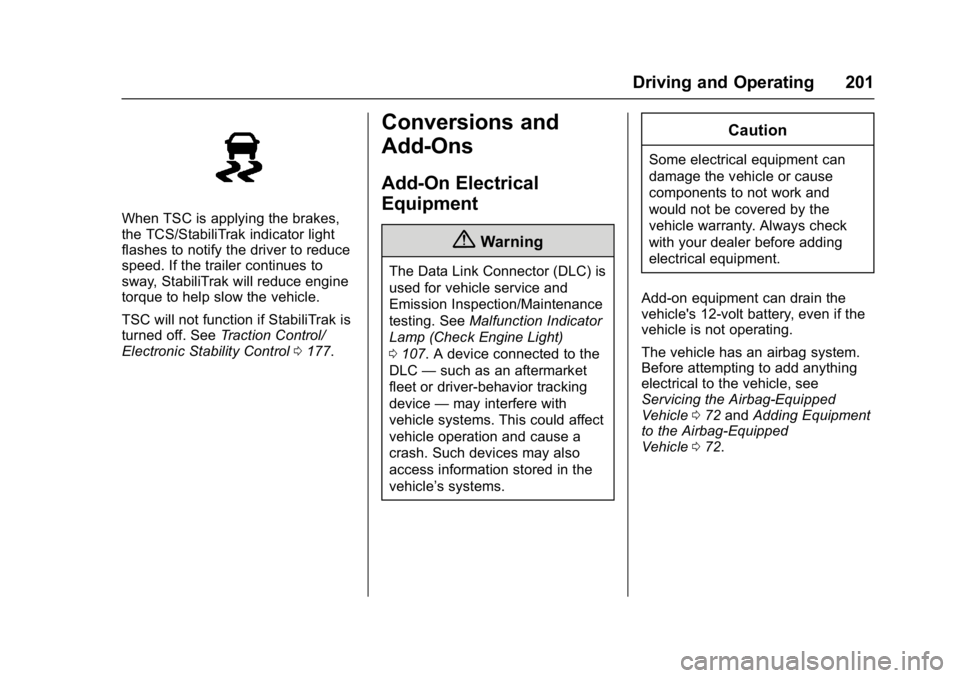
When TSC is applying the brakes,
the TCS/StabiliTrak indicator light
flashes to notify the driver to reduce
speed. If the trailer continues to
sway, StabiliTrak will reduce engine
torque to help slow the vehicle.
TSC will not function if StabiliTrak is
turned off. SeeTraction Control/
Electronic Stability Control 0177.
Conversions and
Add-Ons
Add-On Electrical
Equipment
{Warning
The Data Link Connector (DLC) is
used for vehicle service and
Emission Inspection/Maintenance
testing. See Malfunction Indicator
Lamp (Check Engine Light)
0 107. A device connected to the
DLC —such as an aftermarket
fleet or driver-behavior tracking
device —may interfere with
vehicle systems. This could affect
vehicle operation and cause a
crash. Such devices may also
access information stored in the
vehicle’s systems.
Caution
Some electrical equipment can
damage the vehicle or cause
components to not work and
would not be covered by the
vehicle warranty. Always check
with your dealer before adding
electrical equipment.
Add-on equipment can drain the
vehicle's 12-volt battery, even if the
vehicle is not operating.
The vehicle has an airbag system.
Before attempting to add anything
electrical to the vehicle, see
Servicing the Airbag-Equipped
Vehicle 072 and Adding Equipment
to the Airbag-Equipped
Vehicle 072.
Page 214 of 330
GMC Terrain/Terrain Denali Owner Manual (GMNA-Localizing-U.S./Canada/
Mexico-9919509) - 2017 - crc - 8/16/16
Vehicle Care 213
The system is reset when the
CHANGE ENGINE OIL SOON
message goes off.
If the CHANGE ENGINE OIL SOON
message comes back on when the
vehicle is started, the engine oil life
system has not been reset. Repeat
the procedure.
Automatic Transmission
Fluid
How to Check Automatic
Transmission Fluid
It is not necessary to check the
transmission fluid level.
A transmission fluid leak is the only
reason for fluid loss. If a leak
occurs, take the vehicle to your
dealer and have it repaired as soon
as possible.
There is a special procedure for
checking and changing the
transmission fluid. Because this
procedure is difficult, this should be
done at your dealer. Contact your
dealer for additional information or
the procedure can be found in the
service manual. To purchase aservice manual, see
Service
Publications Ordering
Information 0304.
Change the fluid at the intervals
listed in Maintenance Schedule
0 280, and be sure to use the fluid
listed in Recommended Fluids and
Lubricants 0289.
Engine Air Cleaner/Filter
The engine air cleaner/filter is in the
engine compartment on the
passenger side of the vehicle. See
Engine Compartment
Overview 0206.
When to Inspect the Engine Air
Cleaner/Filter
For intervals on changing and
inspecting the engine air cleaner/
filter, see Maintenance
Schedule 0280.
How to Inspect the Engine Air
Cleaner/Filter
Do not start the engine or have the
engine running with the engine air
cleaner/filter housing open. Before
removing the engine air cleaner/ filter, make sure that the engine air
cleaner/filter housing and nearby
components are free of dirt and
debris. Remove the engine air
cleaner/filter. Lightly tap and shake
the engine air cleaner/filter (away
from the vehicle), to release loose
dust and dirt. Inspect the engine air
cleaner/filter for damage, and
replace if damaged. Do not clean
the engine air cleaner/filter or
components with water or
compressed air.
To inspect or replace the engine air
cleaner/filter:
1. Open the hood. See Hood 0205.
2. Locate the air cleaner/filter housing on the passenger side
of the engine compartment.
See Engine Compartment
Overview 0206.
Page 220 of 330
GMC Terrain/Terrain Denali Owner Manual (GMNA-Localizing-U.S./Canada/
Mexico-9919509) - 2017 - crc - 8/16/16
Vehicle Care 219
Engine Overheating
The vehicle has an indicator to warn
of engine overheating. There is an
engine coolant temperature warning
light on the vehicle's instrument
panel. SeeEngine Coolant
Temperature Gauge 0104.
The decision may be made not to lift
the hood when this warning
appears, but instead get service
help right away. See Roadside
Assistance Program 0299.
If the decision to lift the hood is
made, make sure the vehicle is
parked on a level surface.
Then check to see if the engine
cooling fan(s) are running. If the
engine is overheating, the fan(s)
should be running. If they are not,
do not continue to run the engine
and have the vehicle serviced.
Caution
Running the engine without
coolant may cause damage or a
fire. Vehicle damage would not be
covered by the vehicle warranty.
If Steam is Coming from the
Engine Compartment
{Warning
Steam from an overheated engine
can burn you badly, even if you
just open the hood. Stay away
from the engine if you see or hear
steam coming from it. Just turn it
off and get everyone away from
the vehicle until it cools down.
Wait until there is no sign of
steam or coolant before you open
the hood.
If you keep driving when the
engine is overheated, the liquids
in it can catch fire. You or others
could be badly burned. Stop the
engine if it overheats, and get out
of the vehicle until the engine
is cool.
If No Steam is Coming from
the Engine Compartment
If an engine overheat warning is
displayed but no steam can be seen
or heard, the problem may not be too serious. Sometimes the engine
can get a little too hot when the
vehicle:
.
Climbs a long hill on a hot day.
. Stops after high-speed driving.
. Idles for long periods in traffic.
. Tows a trailer.
If the overheat warning is displayed
with no sign of steam: 1. Turn the air conditioning off.
2. Turn the heater on to the highest temperature and to the
highest fan speed. Open the
windows as necessary.
3. When it is safe to do so, pull off the road, shift to P (Park) or
N (Neutral) and let the
engine idle.
If the temperature overheat gauge is
no longer in the overheat zone or an
overheat warning no longer
displays, the vehicle can be driven.
Continue to drive the vehicle slowly
for about 10 minutes. Keep a safe
vehicle distance from the vehicle in
front. If the warning does not come
Page 223 of 330
GMC Terrain/Terrain Denali Owner Manual (GMNA-Localizing-U.S./Canada/
Mexico-9919509) - 2017 - crc - 8/16/16
222 Vehicle Care
Caution
Continuing to drive with worn-out
brake pads could result in costly
brake repair.
Some driving conditions or climates
can cause a brake squeal when the
brakes are first applied or lightly
applied. This does not mean
something is wrong with the brakes.
Properly torqued wheel nuts are
necessary to help prevent brake
pulsation. When tires are rotated,
inspect brake pads for wear and
evenly tighten wheel nuts in the
proper sequence to torque
specifications. See Capacities and
Specifications 0293.
Brake pads should be replaced as
complete sets.
Brake Pedal Travel
See your dealer if the brake pedal
does not return to normal height,
or if there is a rapid increase in
pedal travel. This could be a sign
that brake service may be required.
Replacing Brake System Parts
Always replace brake system parts
with new, approved replacement
parts. If this is not done, the brakes
may not work properly. The braking
performance expected can change
in many other ways if the wrong
replacement brake parts are
installed or if parts are improperly
installed.
Brake Fluid
The brake master cylinder reservoir
is filled with GM approved DOT 3
brake fluid as indicated on the
reservoir cap. See Engine
Compartment Overview 0206 for
the location of the reservoir. Checking Brake Fluid
With the vehicle in P (Park) on a
level surface, the brake fluid level
should be between the minimum
and maximum marks on the brake
fluid reservoir.
There are only two reasons why the
brake fluid level in the reservoir may
go down:
.
Normal brake lining wear. When
new linings are installed, the
fluid level goes back up.
. A fluid leak in the brake
hydraulic system. Have the
brake hydraulic system fixed.
With a leak, the brakes will not
work well.
Always clean the brake fluid
reservoir cap and the area around
the cap before removing it.
Do not top off the brake fluid.
Adding fluid does not correct a leak.
If fluid is added when the linings are
worn, there will be too much fluid
when new brake linings are
installed. Add or remove fluid, as
necessary, only when work is done
on the brake hydraulic system.
Page 288 of 330
GMC Terrain/Terrain Denali Owner Manual (GMNA-Localizing-U.S./Canada/
Mexico-9919509) - 2017 - crc - 8/16/16
Service and Maintenance 287
.To avoid break-down or failure to
start the vehicle, maintain a
battery with full cranking power.
. Trained dealer technicians have
the diagnostic equipment to test
the battery and ensure that the
connections and cables are
corrosion-free.
Belts
. Belts may need replacing if they
squeak or show signs of
cracking or splitting.
. Trained dealer technicians have
access to tools and equipment
to inspect the belts and
recommend adjustment or
replacement when necessary.
Brakes
Brakes stop the vehicle and are
crucial to safe driving.
. Signs of brake wear may include
chirping, grinding, or squealing
noises, or difficulty stopping. .
Trained dealer technicians have
access to tools and equipment
to inspect the brakes and
recommend quality parts
engineered for the vehicle.
Fluids
Proper fluid levels and approved
fluids protect the vehicle’s systems
and components. See
Recommended Fluids and
Lubricants 0289 for GM approved
fluids.
. Engine oil and windshield
washer fluid levels should be
checked at every fuel fill.
. Instrument cluster lights may
come on to indicate that fluids
may be low and need to be
filled.
Hoses
Hoses transport fluids and should
be regularly inspected to ensure
that there are no cracks or leaks.
With a multi-point inspection, your
dealer can inspect the hoses and
advise if replacement is needed. Lamps
Properly working headlamps,
taillamps, and brake lamps are
important to see and be seen on
the road.
.
Signs that the headlamps need
attention include dimming, failure
to light, cracking, or damage.
The brake lamps need to be
checked periodically to ensure
that they light when braking.
. With a multi-point inspection,
your dealer can check the lamps
and note any concerns.
Shocks and Struts
Shocks and struts help aid in control
for a smoother ride.
. Signs of wear may include
steering wheel vibration, bounce/
sway while braking, longer
stopping distance, or uneven
tire wear.
. As part of the multi-point
inspection, trained dealer
technicians can visually inspect
the shocks and struts for signs
Page 320 of 330

GMC Terrain/Terrain Denali Owner Manual (GMNA-Localizing-U.S./Canada/
Mexico-9919509) - 2017 - crc - 8/16/16
Index 319
IndexA
Accessories andModifications . . . . . . . . . . . . . . . . . . 204
Accessory Power . . . . . . . . . . . . . . . 168
Add-On Electrical Equipment . . . 201
Additional Information OnStar
®. . . . . . . . . . . . . . . . . . . . . . 314
Additional Maintenance and Care . . . . . . . . . . . . . . . . . . . . . . 286
Adjustments
Lumbar, Front Seats . . . . . . . . . . . . 48
Air Cleaner/Filter, Engine . . . . . . . 213
Air Conditioning . . . . . . . . . . . 142, 144
Air Filter, Passenger Compartment . . . . . . . . . . . . . . . . . 147
Air Vents . . . . . . . . . . . . . . . . . . . . . . . 147
Airbag System Check . . . . . . . . . . . . . . . . . . . . . . . . . . 73
How Does an AirbagRestrain? . . . . . . . . . . . . . . . . . . . . . 66
Passenger Sensing System . . . . 67
What Makes an Airbag Inflate? . . . . . . . . . . . . . . . . . . . . . . . . 65
What Will You See after an
Airbag Inflates? . . . . . . . . . . . . . . . 66
When Should an Airbag Inflate? . . . . . . . . . . . . . . . . . . . . . . . . 65
Where Are the Airbags? . . . . . . . . 63 Airbags
Adding Equipment to the
Vehicle . . . . . . . . . . . . . . . . . . . . . . . . 72
Passenger Status Indicator . . . 106
Readiness Light . . . . . . . . . . . . . . 105
Servicing Airbag-Equipped Vehicles . . . . . . . . . . . . . . . . . . . . . . . 72
System Check . . . . . . . . . . . . . . . . . . 62
Alarm Vehicle Security . . . . . . . . . . . . . . . . 37
Alert
Side Blind Zone (SBZA) . . . . . . 187
All-Season Tires . . . . . . . . . . . . . . . . 236
All-Wheel Drive . . . . . . . . . . . . 175, 224
Antilock Brake System (ABS) . . . 175 Warning Light . . . . . . . . . . . . . . . . . .110
Appearance Care Exterior . . . . . . . . . . . . . . . . . . . . . . . 269
Interior . . . . . . . . . . . . . . . . . . . . . . . . 274
Assistance Program, Roadside . . . . . . . . . . . . . . . . . . . . . . 299
Automatic Climate Control System . . . . . . . 144
Door Locks . . . . . . . . . . . . . . . . . . . . . 32
Headlamp System . . . . . . . . . . . . 136
Transmission . . . . . . . . . . . . . . . . . 172
Transmission Fluid . . . . . . . . . . . 213