key GMC TERRAIN 2021 Owner's Guide
[x] Cancel search | Manufacturer: GMC, Model Year: 2021, Model line: TERRAIN, Model: GMC TERRAIN 2021Pages: 377, PDF Size: 9.13 MB
Page 26 of 377
GMC Terrain/Terrain Denali Owner Manual(GMNA-Localizing-U.S./Canada/
Mexico-14420055) - 2021 - CRC - 11/13/20
Keys, Doors, and Windows 25
Heated Mirrors
If equipped, the heated outside mirrors turn
on when the rear window defogger is on
and help to clear fog or frost from the
surface of the mirrors.
K:This button is on the climate control
panel.
See “Rear Window Defogger” underDual
Automatic Climate Control System 0180.
Automatic Dimming Mirror
If the vehicle has the automatic dimming
mirror, the driver outside mirror
automatically adjusts for the glare of
headlamps behind you.
Reverse Tilt Mirrors
If equipped with reverse tilt mirrors and
memory seats, the passenger and/or driver
mirror tilts to a preselected position when
the vehicle is in R (Reverse). This allows the
curb to be seen when parallel parking.
The mirror(s) may move from their tilted
position when:
.The vehicle is shifted out of R (Reverse),
or remains in R (Reverse) for about
30 seconds.
.The vehicle is turned off.
.The vehicle is driven in R (Reverse) above
a set speed.
To turn this feature on or off, see Vehicle
Personalization 0108.
Interior Mirrors
Interior Rearview Mirrors
Adjust the rearview mirror for a clear view
of the area behind the vehicle.
Do not spray glass cleaner directly on the
mirror. Use a soft towel dampened with
water.
Manual Rearview Mirror
If equipped, push the tab forward for
daytime use and pull it rearward for
nighttime use to avoid glare of the
headlamps from behind.
Automatic Dimming Rearview
Mirror
If equipped, automatic dimming reduces the
glare of headlamps from behind. The
dimming feature comes on when the vehicle
is started.
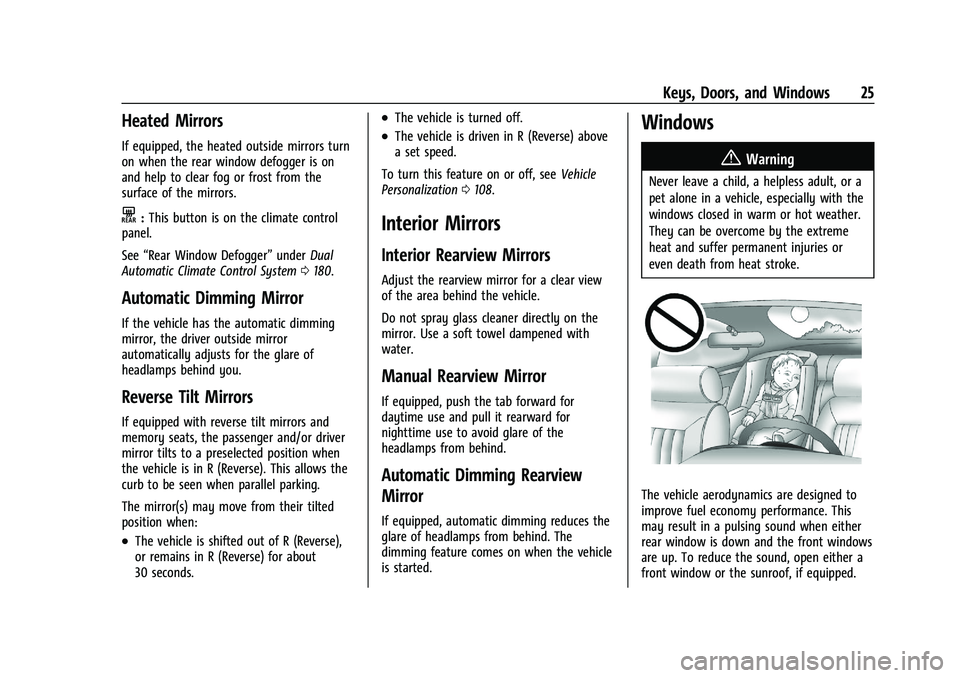
Windows
{
Warning
Never leave a child, a helpless adult, or a
pet alone in a vehicle, especially with the
windows closed in warm or hot weather.
They can be overcome by the extreme
heat and suffer permanent injuries or
even death from heat stroke.
The vehicle aerodynamics are designed to
improve fuel economy performance. This
may result in a pulsing sound when either
rear window is down and the front windows
are up. To reduce the sound, open either a
front window or the sunroof, if equipped.
Page 27 of 377
GMC Terrain/Terrain Denali Owner Manual(GMNA-Localizing-U.S./Canada/
Mexico-14420055) - 2021 - CRC - 11/13/20
26 Keys, Doors, and Windows
Power Windows
{Warning
Children could be seriously injured or
killed if caught in the path of a closing
window. Never leave the Remote Keyless
Entry (RKE) transmitter in a vehicle with
children. When there are children in the
rear seat, use the window lockout switch
to prevent operation of the windows. See
Keys06.
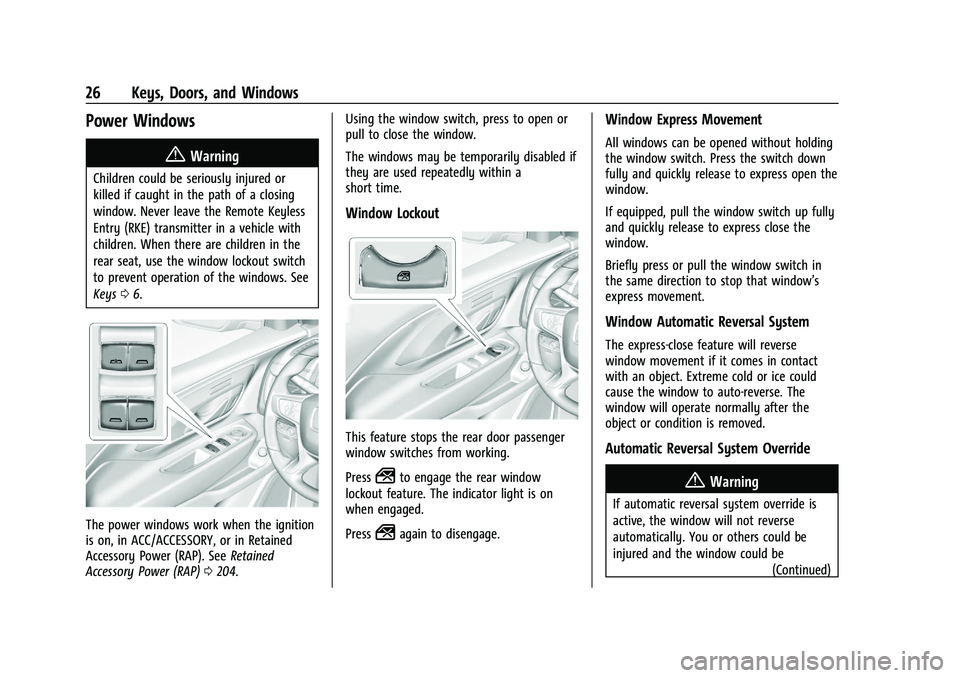
The power windows work when the ignition
is on, in ACC/ACCESSORY, or in Retained
Accessory Power (RAP). See Retained
Accessory Power (RAP) 0204. Using the window switch, press to open or
pull to close the window.
The windows may be temporarily disabled if
they are used repeatedly within a
short time.
Window Lockout
This feature stops the rear door passenger
window switches from working.
Press
2to engage the rear window
lockout feature. The indicator light is on
when engaged.
Press
2again to disengage.
Window Express Movement
All windows can be opened without holding
the window switch. Press the switch down
fully and quickly release to express open the
window.
If equipped, pull the window switch up fully
and quickly release to express close the
window.
Briefly press or pull the window switch in
the same direction to stop that window’s
express movement.
Window Automatic Reversal System
The express-close feature will reverse
window movement if it comes in contact
with an object. Extreme cold or ice could
cause the window to auto-reverse. The
window will operate normally after the
object or condition is removed.
Automatic Reversal System Override
{Warning
If automatic reversal system override is
active, the window will not reverse
automatically. You or others could be
injured and the window could be
(Continued)
Page 28 of 377
GMC Terrain/Terrain Denali Owner Manual(GMNA-Localizing-U.S./Canada/
Mexico-14420055) - 2021 - CRC - 11/13/20
Keys, Doors, and Windows 27
Warning (Continued)
damaged. Before using automatic reversal
system override, make sure that all
people and obstructions are clear of the
window path.
When the engine is on, override the
automatic reversal system by pulling and
holding the window switch if conditions
prevent it from closing.
Programming the Power Windows
Programming may be necessary if the
vehicle’s battery has been disconnected or
discharged. If the window will not express
close, program each express-close window: 1. Close all doors.
2. Turn the ignition on or to ACC/ ACCESSORY.
3. Partially open the window to be programmed. Then close it and continue
to pull the switch briefly after the
window has fully closed.
4. Open the window and continue to press the switch briefly after the window has
fully opened.
Remote Window Operation
If equipped, this feature allows all the
windows to be opened remotely.
If enabled in vehicle personalization, press
and hold
Kon the RKE transmitter. See
Vehicle Personalization 0108.
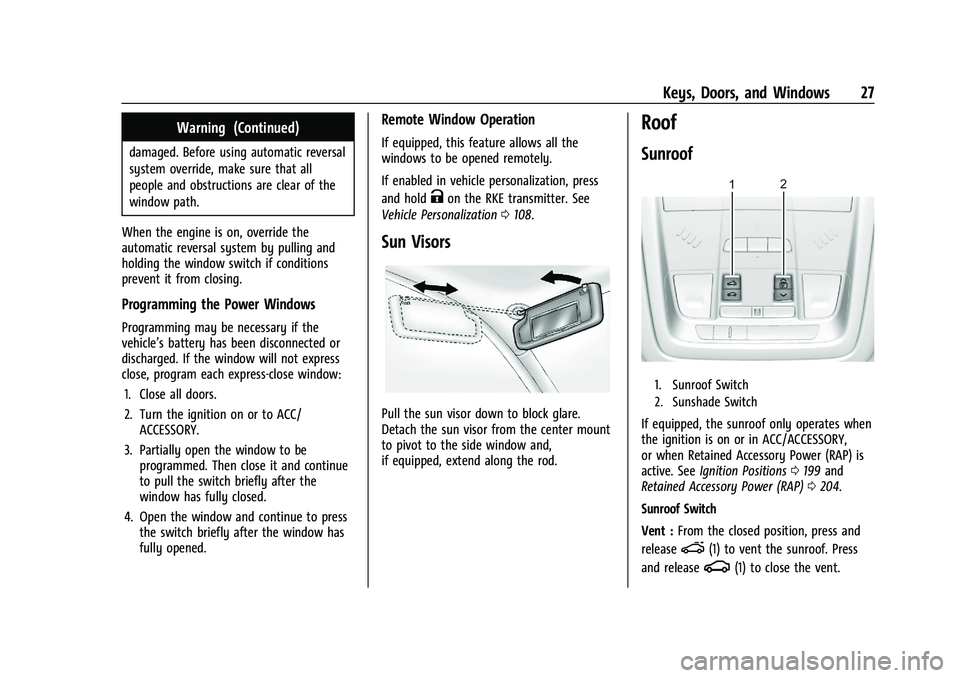
Sun Visors
Pull the sun visor down to block glare.
Detach the sun visor from the center mount
to pivot to the side window and,
if equipped, extend along the rod.
Roof
Sunroof
1. Sunroof Switch
2. Sunshade Switch
If equipped, the sunroof only operates when
the ignition is on or in ACC/ACCESSORY,
or when Retained Accessory Power (RAP) is
active. See Ignition Positions 0199 and
Retained Accessory Power (RAP) 0204.
Sunroof Switch
Vent : From the closed position, press and
release
e(1) to vent the sunroof. Press
and release
g(1) to close the vent.
Page 29 of 377
GMC Terrain/Terrain Denali Owner Manual(GMNA-Localizing-U.S./Canada/
Mexico-14420055) - 2021 - CRC - 11/13/20
28 Keys, Doors, and Windows
Express-Open/Express-Close :To
express-open the sunroof, press and release
e(1). Press and releasee(1) at any
time to stop movement. To express-close the
sunroof, press and release
g(1). Press
and release
g(1) at any time to stop
movement.
Open/Close (Manual Mode) : To open the
sunroof, press and hold
e(1) until the
sunroof reaches the desired position. To
close the sunroof, press and hold
g(1).
Comfort Stop : The sunroof has a comfort
stop feature that stops the sunroof from
opening fully. Press and release the rear of
gto move the sunroof to the partially
opened comfort stop position. Pressing the
rear of
gagain will open the sunroof
fully. If the sunshade is not fully open when
the comfort stop feature is pressed the
second time, the sunshade will open fully.
Sunshade Switch
Express-open/Express-close : To express-open
the sunshade, press and release
r(2).
Press and release
r(2) at any time to
stop movement. To express-close the sunshade, press and release
Q(2). Press
and release
Q(2) at any time to stop
movement.
Open/Close (Manual Mode) : To open the
sunshade, press and hold
r(2) until the
sunshade reaches the desired position. To
close the sunshade, press and hold
Q(2).
When the sunroof is opened, an air deflector
will automatically raise. The air deflector will
retract when the sunroof is closed.
The sunroof cannot be opened or closed if
the vehicle has an electrical failure.
Automatic Reversal System
The sunroof has an automatic reversal
system that is only active when the sunroof
is operated in express-close mode.
If an object is in the path while express
closing, the reversal system will detect the
object, stop, and open the sunroof slightly.
If frost or other conditions prevent closing,
override the feature by closing the sunroof
in manual mode. To stop movement, release
the switch.
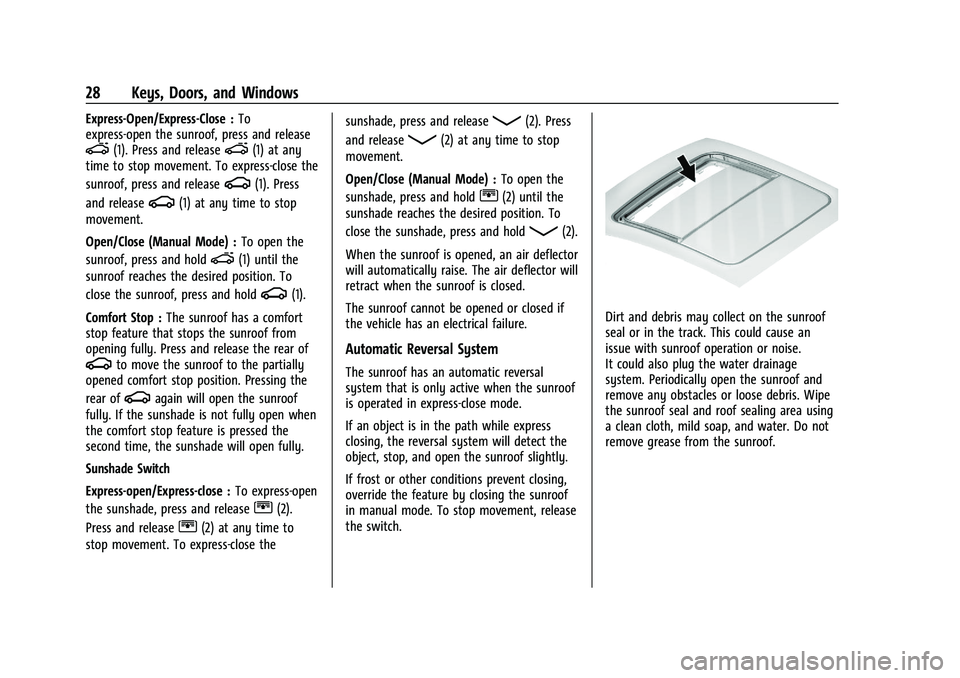
Dirt and debris may collect on the sunroof
seal or in the track. This could cause an
issue with sunroof operation or noise.
It could also plug the water drainage
system. Periodically open the sunroof and
remove any obstacles or loose debris. Wipe
the sunroof seal and roof sealing area using
a clean cloth, mild soap, and water. Do not
remove grease from the sunroof.
Page 34 of 377
GMC Terrain/Terrain Denali Owner Manual(GMNA-Localizing-U.S./Canada/
Mexico-14420055) - 2021 - CRC - 11/13/20
Seats and Restraints 33
2. Move the seatback to the desiredposition, and then release the lever to
lock the seatback in place.
3. Push and pull on the seatback to make sure it is locked.
To return the seatback to the upright
position: 1. Lift the lever fully without applying pressure to the seatback, and the
seatback will return to the upright
position.
2. Push and pull on the seatback to make sure it is locked.
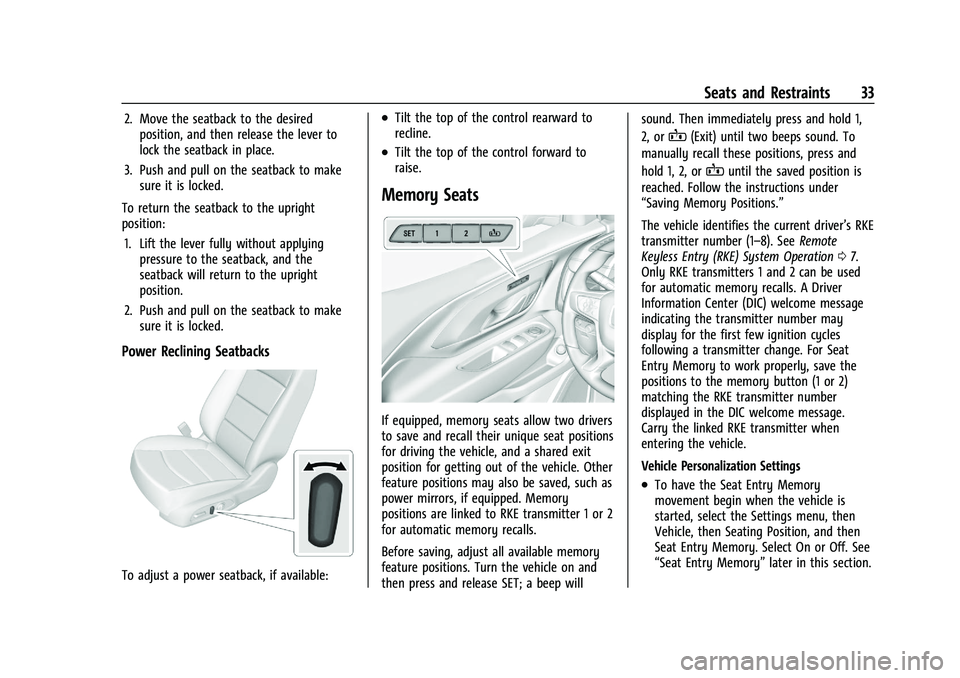
Power Reclining Seatbacks
To adjust a power seatback, if available:
.Tilt the top of the control rearward to
recline.
.Tilt the top of the control forward to
raise.
Memory Seats
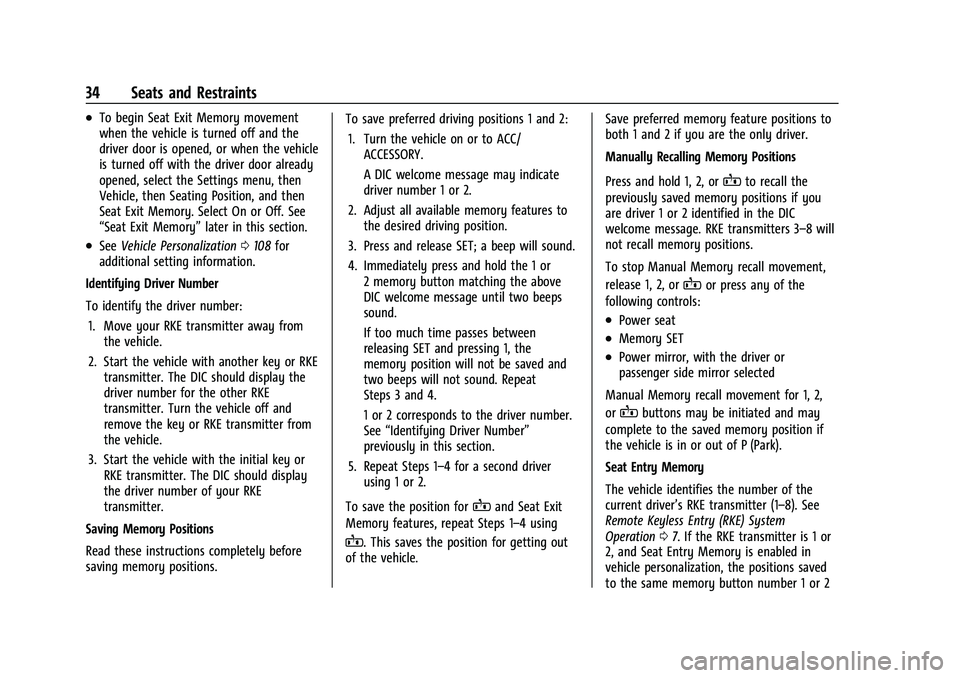
If equipped, memory seats allow two drivers
to save and recall their unique seat positions
for driving the vehicle, and a shared exit
position for getting out of the vehicle. Other
feature positions may also be saved, such as
power mirrors, if equipped. Memory
positions are linked to RKE transmitter 1 or 2
for automatic memory recalls.
Before saving, adjust all available memory
feature positions. Turn the vehicle on and
then press and release SET; a beep will sound. Then immediately press and hold 1,
2, or
B(Exit) until two beeps sound. To
manually recall these positions, press and
hold 1, 2, or
Buntil the saved position is
reached. Follow the instructions under
“Saving Memory Positions.”
The vehicle identifies the current driver’s RKE
transmitter number (1–8). See Remote
Keyless Entry (RKE) System Operation 07.
Only RKE transmitters 1 and 2 can be used
for automatic memory recalls. A Driver
Information Center (DIC) welcome message
indicating the transmitter number may
display for the first few ignition cycles
following a transmitter change. For Seat
Entry Memory to work properly, save the
positions to the memory button (1 or 2)
matching the RKE transmitter number
displayed in the DIC welcome message.
Carry the linked RKE transmitter when
entering the vehicle.
Vehicle Personalization Settings
.To have the Seat Entry Memory
movement begin when the vehicle is
started, select the Settings menu, then
Vehicle, then Seating Position, and then
Seat Entry Memory. Select On or Off. See
“Seat Entry Memory” later in this section.
Page 35 of 377
GMC Terrain/Terrain Denali Owner Manual(GMNA-Localizing-U.S./Canada/
Mexico-14420055) - 2021 - CRC - 11/13/20
34 Seats and Restraints
.To begin Seat Exit Memory movement
when the vehicle is turned off and the
driver door is opened, or when the vehicle
is turned off with the driver door already
opened, select the Settings menu, then
Vehicle, then Seating Position, and then
Seat Exit Memory. Select On or Off. See
“Seat Exit Memory”later in this section.
.SeeVehicle Personalization 0108 for
additional setting information.
Identifying Driver Number
To identify the driver number: 1. Move your RKE transmitter away from the vehicle.
2. Start the vehicle with another key or RKE transmitter. The DIC should display the
driver number for the other RKE
transmitter. Turn the vehicle off and
remove the key or RKE transmitter from
the vehicle.
3. Start the vehicle with the initial key or RKE transmitter. The DIC should display
the driver number of your RKE
transmitter.
Saving Memory Positions
Read these instructions completely before
saving memory positions. To save preferred driving positions 1 and 2:
1. Turn the vehicle on or to ACC/ ACCESSORY.
A DIC welcome message may indicate
driver number 1 or 2.
2. Adjust all available memory features to the desired driving position.
3. Press and release SET; a beep will sound.
4. Immediately press and hold the 1 or 2 memory button matching the above
DIC welcome message until two beeps
sound.
If too much time passes between
releasing SET and pressing 1, the
memory position will not be saved and
two beeps will not sound. Repeat
Steps 3 and 4.
1 or 2 corresponds to the driver number.
See “Identifying Driver Number”
previously in this section.
5. Repeat Steps 1–4 for a second driver using 1 or 2.
To save the position for
Band Seat Exit
Memory features, repeat Steps 1–4 using
B. This saves the position for getting out
of the vehicle. Save preferred memory feature positions to
both 1 and 2 if you are the only driver.
Manually Recalling Memory Positions
Press and hold 1, 2, or
Bto recall the
previously saved memory positions if you
are driver 1 or 2 identified in the DIC
welcome message. RKE transmitters 3–8 will
not recall memory positions.
To stop Manual Memory recall movement,
release 1, 2, or
Bor press any of the
following controls:
.Power seat
.Memory SET
.Power mirror, with the driver or
passenger side mirror selected
Manual Memory recall movement for 1, 2,
or
Bbuttons may be initiated and may
complete to the saved memory position if
the vehicle is in or out of P (Park).
Seat Entry Memory
The vehicle identifies the number of the
current driver’s RKE transmitter (1–8). See
Remote Keyless Entry (RKE) System
Operation 07. If the RKE transmitter is 1 or
2, and Seat Entry Memory is enabled in
vehicle personalization, the positions saved
to the same memory button number 1 or 2
Page 47 of 377
GMC Terrain/Terrain Denali Owner Manual(GMNA-Localizing-U.S./Canada/
Mexico-14420055) - 2021 - CRC - 11/13/20
46 Seats and Restraints
Seat Belt Use During Pregnancy
Seat belts work for everyone, including
pregnant women. Like all occupants, they
are more likely to be seriously injured if
they do not wear seat belts.
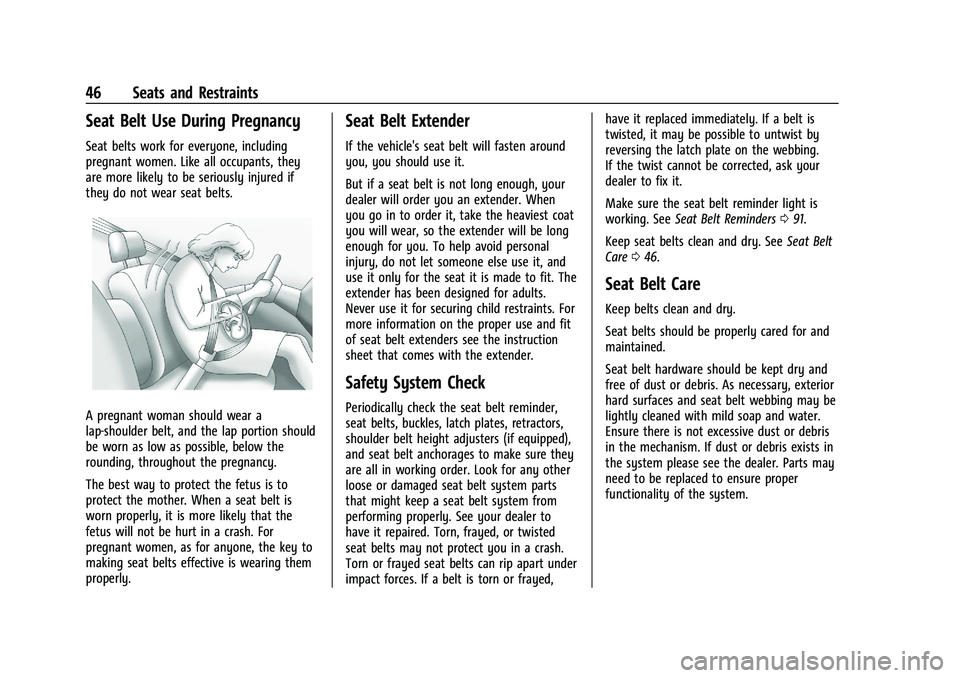
A pregnant woman should wear a
lap-shoulder belt, and the lap portion should
be worn as low as possible, below the
rounding, throughout the pregnancy.
The best way to protect the fetus is to
protect the mother. When a seat belt is
worn properly, it is more likely that the
fetus will not be hurt in a crash. For
pregnant women, as for anyone, the key to
making seat belts effective is wearing them
properly.
Seat Belt Extender
If the vehicle's seat belt will fasten around
you, you should use it.
But if a seat belt is not long enough, your
dealer will order you an extender. When
you go in to order it, take the heaviest coat
you will wear, so the extender will be long
enough for you. To help avoid personal
injury, do not let someone else use it, and
use it only for the seat it is made to fit. The
extender has been designed for adults.
Never use it for securing child restraints. For
more information on the proper use and fit
of seat belt extenders see the instruction
sheet that comes with the extender.
Safety System Check
Periodically check the seat belt reminder,
seat belts, buckles, latch plates, retractors,
shoulder belt height adjusters (if equipped),
and seat belt anchorages to make sure they
are all in working order. Look for any other
loose or damaged seat belt system parts
that might keep a seat belt system from
performing properly. See your dealer to
have it repaired. Torn, frayed, or twisted
seat belts may not protect you in a crash.
Torn or frayed seat belts can rip apart under
impact forces. If a belt is torn or frayed,have it replaced immediately. If a belt is
twisted, it may be possible to untwist by
reversing the latch plate on the webbing.
If the twist cannot be corrected, ask your
dealer to fix it.
Make sure the seat belt reminder light is
working. See
Seat Belt Reminders 091.
Keep seat belts clean and dry. See Seat Belt
Care 046.
Seat Belt Care
Keep belts clean and dry.
Seat belts should be properly cared for and
maintained.
Seat belt hardware should be kept dry and
free of dust or debris. As necessary, exterior
hard surfaces and seat belt webbing may be
lightly cleaned with mild soap and water.
Ensure there is not excessive dust or debris
in the mechanism. If dust or debris exists in
the system please see the dealer. Parts may
need to be replaced to ensure proper
functionality of the system.
Page 84 of 377
GMC Terrain/Terrain Denali Owner Manual(GMNA-Localizing-U.S./Canada/
Mexico-14420055) - 2021 - CRC - 11/13/20
Instruments and Controls 83
of the system is capable of charging at a
rate up to 3 amp (19.5W), as requested by
the compatible smartphone. SeeRadio
Frequency Statement 0354.
{Warning
Wireless charging can affect the
operation of an implanted pacemaker or
other medical devices. If you have one, it
is recommended to consult with your
doctor before using the wireless charging
system.
The vehicle must be on, in ACC/ACCESSORY,
or in Retained Accessory Power (RAP). The
wireless charging feature may not correctly
indicate charging when the vehicle is in RAP.
See Retained Accessory Power (RAP) 0204.
The operating temperature is −20 °C (−4 °F)
to 60 °C (140 °F) for the charging system
and 0 °C (32 °F) to 35 °C (95 °F) for the
smartphone.
{Warning
Remove all objects from the charging pad
before charging your compatible
smartphone. Objects, such as coins, keys,
(Continued)
Warning (Continued)
rings, paper clips, or cards, between the
smartphone and charging pad will
become very hot. On the rare occasion
that the charging system does not detect
an object, and the object gets wedged
between the smartphone and charger,
remove the smartphone and allow the
object to cool before removing it from
the charging pad, to prevent burns.
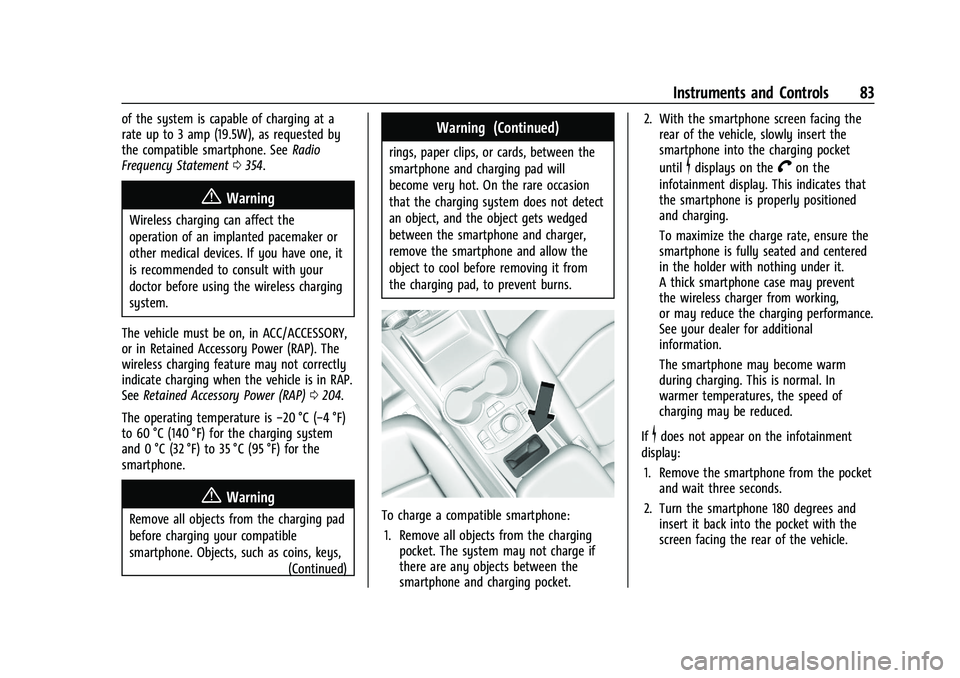
To charge a compatible smartphone:
1. Remove all objects from the charging pocket. The system may not charge if
there are any objects between the
smartphone and charging pocket. 2. With the smartphone screen facing the
rear of the vehicle, slowly insert the
smartphone into the charging pocket
until
$displays on theVon the
infotainment display. This indicates that
the smartphone is properly positioned
and charging.
To maximize the charge rate, ensure the
smartphone is fully seated and centered
in the holder with nothing under it.
A thick smartphone case may prevent
the wireless charger from working,
or may reduce the charging performance.
See your dealer for additional
information.
The smartphone may become warm
during charging. This is normal. In
warmer temperatures, the speed of
charging may be reduced.
If
$does not appear on the infotainment
display:
1. Remove the smartphone from the pocket and wait three seconds.
2. Turn the smartphone 180 degrees and insert it back into the pocket with the
screen facing the rear of the vehicle.
Page 112 of 377
GMC Terrain/Terrain Denali Owner Manual(GMNA-Localizing-U.S./Canada/
Mexico-14420055) - 2021 - CRC - 11/13/20
Instruments and Controls 111
Touch Off or On.
Extended Hill Start Assist
This allows the duration of the Hill Start
Assist to be changed.
Touch Extended Hold or Standard Hold.
Lighting
Touch and the following may display:
.Vehicle Locator Lights
.Exit Lighting
Vehicle Locator Lights
This feature will flash the exterior lamps and
allows some of the exterior lamps and most
of the interior lamps to turn on briefly
when
Kon the Remote Keyless Entry (RKE)
transmitter is pressed to locate the vehicle.
Touch Off or On.
Exit Lighting
This allows the selection of how long the
exterior lamps stay on when leaving the
vehicle when it is dark outside.
Touch Off, 30 Seconds, 60 Seconds,
or 120 Seconds.
Power Door Locks
Touch and the following may display:
.Open Door Anti Lockout
.Auto Door Unlock
.Delayed Door Lock
Open Door Anti Lock Out
This setting prevents the driver door from
locking when the door is open. If this
setting is on, the Delayed Door Lock menu
will not be available.
Touch Off or On.
Auto Door Unlock
This allows selection of which of the doors
will automatically unlock when the vehicle is
shifted into P (Park).
Touch Off, All Doors, or Driver Door.
Delayed Door Lock
This setting delays the locking of the
vehicle’s doors.
Touch Off or On.
Remote Lock, Unlock, and Start
Touch and the following may display:
.Remote Unlock Light Feedback
.Remote Lock Feedback
.Remote Door Unlock
.Remote Start Auto Cool Seats
.Remote Start Auto Heat Seats
.Remote Window Operation
.Passive Door Unlock
.Passive Door Lock
.Remote Left in Vehicle Alert
Remote Unlock Light Feedback
This setting flashes the exterior lamps when
the vehicle is unlocked with the RKE
transmitter.
Touch Off or Flash Lights.
Remote Lock Feedback
This setting specifies how the vehicle
responds when the vehicle is locked with
the RKE transmitter.
Touch Off, Lights and Horn, Lights Only,
or Horn Only.
Remote Door Unlock
This setting specifies whether all doors,
or just the driver door, unlock when pressing
Kon the RKE transmitter.
Touch All Doors or Driver Door.
Page 113 of 377
GMC Terrain/Terrain Denali Owner Manual(GMNA-Localizing-U.S./Canada/
Mexico-14420055) - 2021 - CRC - 11/13/20
112 Instruments and Controls
Remote Start Auto Cool Seats
If equipped and turned on, this feature will
turn on the ventilated seats when using
remote start on warm days. SeeHeated and
Ventilated Front Seats 035 and
Remote Vehicle Start 013.
Touch Off or On.
Remote Start Auto Heat Seats
If equipped and turned on, this feature will
turn on the heated seats when using remote
start on cold days. See Heated and
Ventilated Front Seats 035 and
Remote Vehicle Start 013.
Touch Off or On.
Remote Window Operation
This allows the windows to be opened when
pressing and holding
Kon the RKE
transmitter. See Remote Keyless Entry (RKE)
System Operation 07.
Touch Off or On.
Passive Door Unlock
This setting specifies which doors unlock
when using the button on the driver door
handle to unlock the vehicle.
Touch All Doors or Driver Door Only. Passive Door Lock
This setting specifies if the vehicle will
automatically lock, or lock and provide an
alert after all the doors are closed, and you
walk away from the vehicle with the remote
key. See
Remote Keyless Entry (RKE) System
Operation 07.
Touch Off, On with Horn Chirp, or On.
Remote Left in Vehicle Alert
This feature sounds an alert when the RKE
transmitter is left in the vehicle. This menu
also enables the Remote No Longer In
Vehicle Alert.
Touch Off or On.
Seating Position
Touch and the following may display:
.Seat Entry Memory
.Seat Exit Memory
Seat Entry Memory
This feature automatically recalls the
previously stored 1 or 2 button positions
when the ignition is changed from off to on
or ACC/ACCESSORY. See Memory Seats033.
Touch Off or On. Seat Exit Memory
This feature automatically recalls the
previously stored exit button positions when
the ignition is changed from on or ACC/
ACCESSORY to off if the driver door is open
or opened. See
Memory Seats033.
Touch Off or On.
Teen Driver
See Teen Driver 0167.
Valet Mode
This will lock the infotainment system and
steering wheel controls. It may also limit
access to vehicle storage locations,
if equipped.
To enable valet mode:
1. Enter a four-digit code on the keypad.
2. Select Enter to go to the confirmation screen.
3. Re-enter the four-digit code.
Touch Lock or Unlock to lock or unlock the
system. Touch Back to go back to the
previous menu.
Universal Remote System
See Radio Frequency Statement 0354.