maintenance GMC YUKON 2009 Get To Know Guide
[x] Cancel search | Manufacturer: GMC, Model Year: 2009, Model line: YUKON, Model: GMC YUKON 2009Pages: 24, PDF Size: 1.31 MB
Page 1 of 24

Congratulations on your purchase of a GMC Yukon or Yukon Denali. Please read this information about your vehicle’s
features and your Owner Manual to ensure an outstanding ownership experience. Note that your vehicle may not
include all the features described in this booklet. Keep this booklet with your Owner Manual for easy reference.
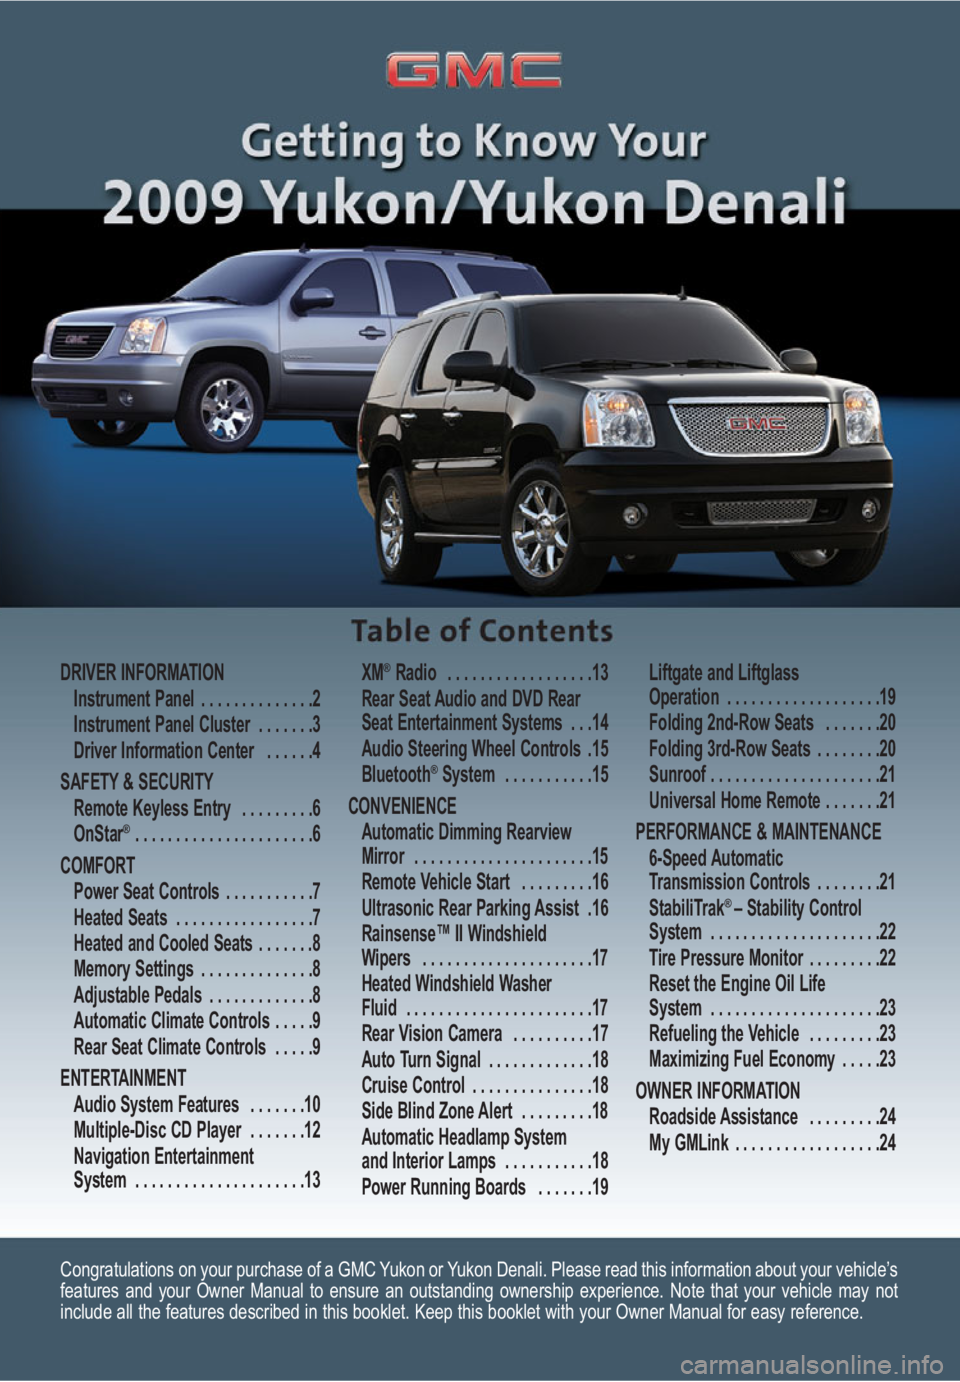
DRIVER INFORMATION
Instrument Panel . . . . . . . . . . . . . .2
Instrument Panel Cluster . . . . . . .3
Driver Information Center . . . . . .4
SAFETY & SECURITY
Remote Keyless Entry . . . . . . . . .6
OnStar
® . . . . . . . . . . . . . . . . . . . . . .6
COMFORT
Power Seat Controls . . . . . . . . . . .7
Heated Seats . . . . . . . . . . . . . . . . .7
Heated and Cooled Seats . . . . . . .8
Memory Settings . . . . . . . . . . . . . .8
Adjustable Pedals . . . . . . . . . . . . .8
Automatic Climate Controls . . . . .9
Rear Seat Climate Controls . . . . .9
ENTERTAINMENT
Audio System Features . . . . . . .10
Multiple-Disc CD Player . . . . . . .12
Navigation Entertainment
System . . . . . . . . . . . . . . . . . . . . .13XM
®Radio . . . . . . . . . . . . . . . . . .13
Rear Seat Audio and DVD Rear
Seat Entertainment Systems . . .14
Audio Steering Wheel Controls .15
Bluetooth
®System . . . . . . . . . . .15
CONVENIENCE
Automatic Dimming Rearview
Mirror . . . . . . . . . . . . . . . . . . . . . .15
Remote Vehicle Start . . . . . . . . .16
Ultrasonic Rear Parking Assist .16
Rainsense™ II Windshield
Wipers . . . . . . . . . . . . . . . . . . . . .17
Heated Windshield Washer
Fluid . . . . . . . . . . . . . . . . . . . . . . .17
Rear Vision Camera . . . . . . . . . .17
Auto Turn Signal . . . . . . . . . . . . .18
Cruise Control . . . . . . . . . . . . . . .18
Side Blind Zone Alert . . . . . . . . .18
Automatic Headlamp System
and Interior Lamps . . . . . . . . . . .18
Power Running Boards . . . . . . .19Liftgate and Liftglass
Operation . . . . . . . . . . . . . . . . . . .19
Folding 2nd-Row Seats . . . . . . .20
Folding 3rd-Row Seats . . . . . . . .20
Sunroof . . . . . . . . . . . . . . . . . . . . .21
Universal Home Remote . . . . . . .21
PERFORMANCE & MAINTENANCE
6-Speed Automatic
Transmission Controls . . . . . . . .21
StabiliTrak
® – Stability Control
System . . . . . . . . . . . . . . . . . . . . .22
Tire Pressure Monitor . . . . . . . . .22
Reset the Engine Oil Life
System . . . . . . . . . . . . . . . . . . . . .23
Refueling the Vehicle . . . . . . . . .23
Maximizing Fuel Economy . . . . .23
OWNER INFORMATION
Roadside Assistance . . . . . . . . .24
My GMLink . . . . . . . . . . . . . . . . . .24
Page 21 of 24

21
Sunroof (if equipped)
2. Pull down the seat until it latches to
the floor.
3. Lift up the seatback until it locks in
place. Pull on the seatback to make
sure it is locked.
To remove the seat:
• With the seat folded down, pull rear-
ward on the handle located in the
center of the seat. The latches will
become disengaged, allowing the
seat to be easily pulled rearward.
To install the seat:
1. Align the rollers on the bottom of the
seat track with the latches on the
floor.
2. Push the seat forward until it latches.
Make sure the seat is locked in place.
See Section 1 of your Owner Manual.
The open/close and vent switches for
the power sunroof are located on the
overhead console. The open/close
switch has two detents.
(Express-Open):Press the rear of
this switch completely (to the second
detent) to express-open the sunroof. To
stop the sunroof, press the switch again.
To partially open the sunroof, lightly
press and hold the rear of the switch (to
the first detent) until the sunroof reaches
the desired position.
(Express-Close):Press the front of
this switch completely (to the second
detent) to express-close the sunroof. To
stop the sunroof, press the switch again.
To partially close the sunroof, lightly
press and hold the front of the switch (to
the first detent) until the sunroof reaches
the desired position.
(Vent): Press the rear of this switch
to vent the sunroof. Press the switch
again to stop the sunroof.
Press and hold the front of the switch
to close the sunroof.
See Section 2 of your Owner Manual.
The Universal Home Remote is a com-
bined universal transmitter and receiver
that can activate up to three devices,
such as garage door openers, entry
door locks, gates and security systems.
It’s recommended that you read the
instructions in your Owner Manual com-
pletely before attempting to program any
of the three channels on the Universal
Home Remote. The engine should be
turned off when programming the
remote.
See Section 2 of your Owner Manual.
Universal Home Remote
(if equipped)
Note: Do not use the Universal Home
Remote with any garage door opener that
does not have the “stop and reverse” fea-
ture or any opener manufactured before
April 1, 1982.
PERFORMANCE & MAINTENANCE
6-Speed Automatic Transmission
Controls (if equipped)
The 6-speed automatic transmission has
a unique gear range selection mode
called Driver Shift Control that enables
the driver to select the range of gears
desired for the current driving conditions,
such as when driving on downhill grades.
Page 22 of 24

Getting to Know Your Yukon/Yukon Denali22
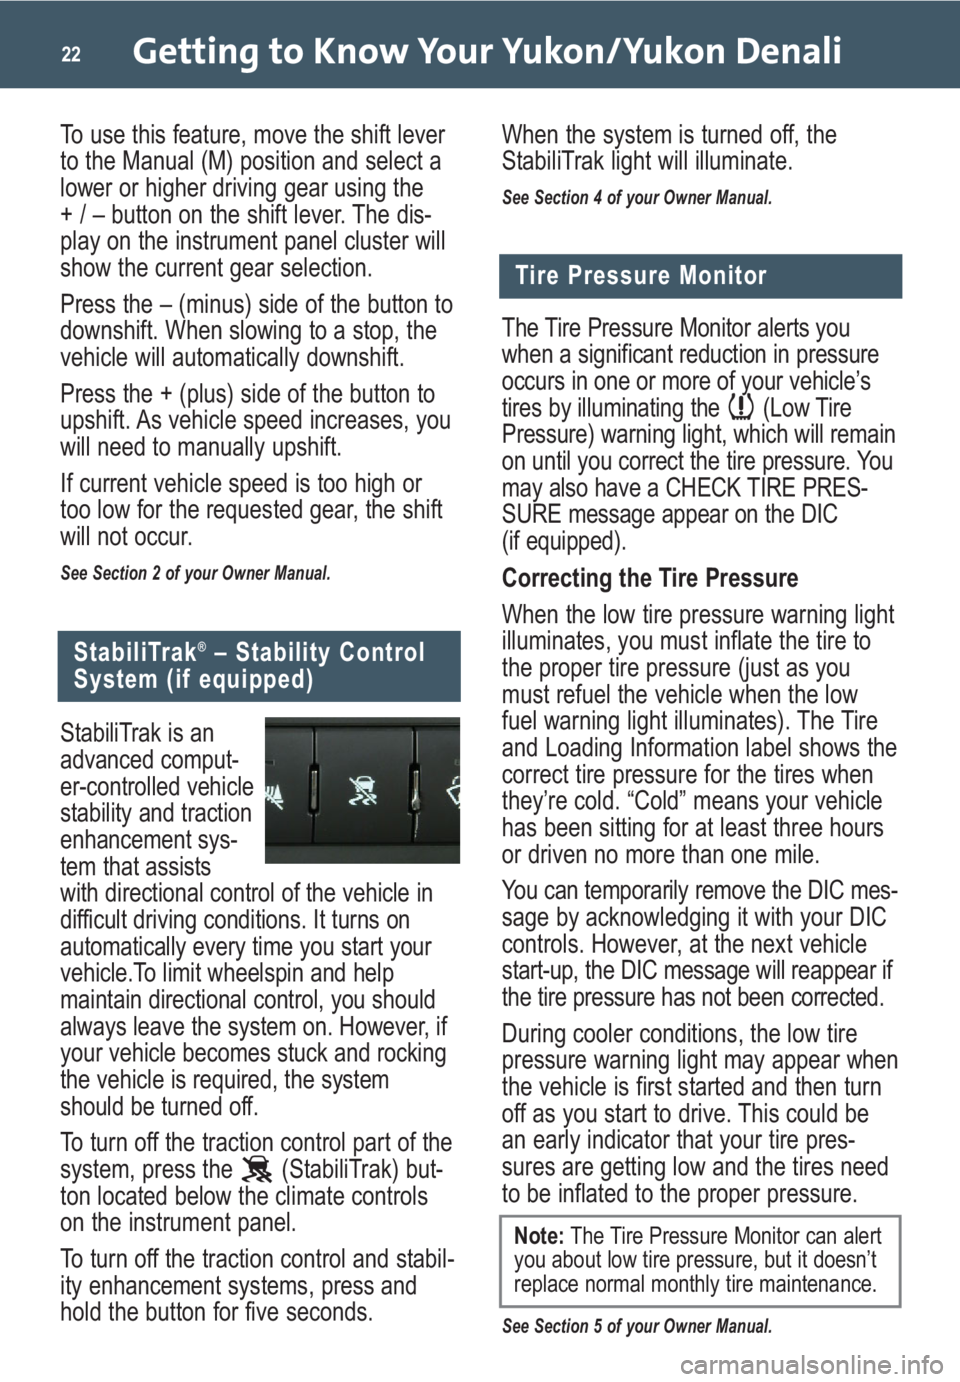
StabiliTrak is an
advanced comput-
er-controlled vehicle
stability and traction
enhancement sys-
tem that assists
with directional control of the vehicle in
difficult driving conditions. It turns on
automatically every time you start your
vehicle.To limit wheelspin and help
maintain directional control, you should
always leave the system on. However, if
your vehicle becomes stuck and rocking
the vehicle is required, the system
should be turned off.
To turn off the traction control part of the
system, press the (StabiliTrak) but-
ton located below the climate controls
on the instrument panel.
To turn off the traction control and stabil-
ity enhancement systems, press and
hold the button for five seconds.
StabiliTrak®– Stability Control
System (if equipped)
The Tire Pressure Monitor alerts you
when a significant reduction in pressure
occurs in one or more of your vehicle’s
tires by illuminating the (Low Tire
Pressure) warning light, which will remain
on until you correct the tire pressure. You
may also have a CHECK TIRE PRES-
SURE message appear on the DIC
(if equipped).
Correcting the Tire Pressure
When the low tire pressure warning light
illuminates, you must inflate the tire to
the proper tire pressure (just as you
must refuel the vehicle when the low
fuel warning light illuminates). The Tire
and Loading Information label shows the
correct tire pressure for the tires when
they’re cold. “Cold” means your vehicle
has been sitting for at least three hours
or driven no more than one mile.
You can temporarily remove the DIC mes-
sage by acknowledging it with your DIC
controls. However, at the next vehicle
start-up, the DIC message will reappear if
the tire pressure has not been corrected.
During cooler conditions, the low tire
pressure warning light may appear when
the vehicle is first started and then turn
off as you start to drive. This could be
an early indicator that your tire pres-
sures are getting low and the tires need
to be inflated to the proper pressure.
See Section 5 of your Owner Manual.
Tire Pressure Monitor
Note:The Tire Pressure Monitor can alert
you about low tire pressure, but it doesn’t
replace normal monthly tire maintenance.
When the system is turned off, the
StabiliTrak light will illuminate.
See Section 4 of your Owner Manual.
To use this feature, move the shift lever
to the Manual (M) position and select a
lower or higher driving gear using the
+ / – button on the shift lever. The dis-
play on the instrument panel cluster will
show the current gear selection.
Press the – (minus) side of the button to
downshift. When slowing to a stop, the
vehicle will automatically downshift.
Press the + (plus) side of the button to
upshift. As vehicle speed increases, you
will need to manually upshift.
If current vehicle speed is too high or
too low for the requested gear, the shift
will not occur.
See Section 2 of your Owner Manual.