ECU GMC YUKON 2009 Service Manual
[x] Cancel search | Manufacturer: GMC, Model Year: 2009, Model line: YUKON, Model: GMC YUKON 2009Pages: 576, PDF Size: 3.06 MB
Page 182 of 576
To prevent damage or loss of cargo while driving,
periodically stop and check to make sure cargo is still
securely fastened.
If small heavy objects are placed on the roof, cut a
piece of 3/8 inch plywood to �t inside the crossrails
and siderails to spread the load. Tie the plywood
to the siderail supports.
Tie the load and secure it to the crossrails or the
siderail supports. Use the crossrails only to keep
the load from sliding. To move a crossrail, lift
the release lever up, on both sides of the rail. Then
slide the crossrail to the desired position balancing
the force side to side. Press the release lever
down on both sides of the rail, down to tighten it.
Try to slide the crossrail back and forth slightly
to make sure it is tight.
To carry long items, move the crossrails as far
apart as possible. Tie the load to the crossrails and
the siderails or siderail supports. Also tie the
load to the bumpers, but do not tie the load so
tightly that the crossrails or siderails are damaged.
After moving a crossrail, be sure it is securely
locked into the siderail.A Center High-Mounted Stoplamp (CHMSL) is located
above the rear window glass.
Make sure items loaded on the roof of the vehicle do
not block or damage the CHMSL.
Rear Storage Area
For vehicles with a rear storage area, it is located in the
rear cargo area of the vehicle on the driver’s side
trim panel.
Turn the knobs and swing the storage door to access
the storage compartment. The door can be removed.
Rear Seat Armrest
For vehicle with a rear seat armrest, pull the loop at the
top of the armrest down to access the cupholders.
2-76
Page 183 of 576
Cargo Cover
{CAUTION:
An improperly stored cargo cover could be thrown
about the vehicle during a collision or sudden
maneuver. Someone could be injured. If the cover
is removed, always store it in the proper storage
location. When it is replaced, always be sure that
it is securely reattached.
To use the cover cover, for vehicles that have it:
1. Pull the cover handle toward the rear of the vehicle.
2. Latch the cover posts into the retaining sockets
on the cargo area trim panels.
To return the cover to the retracted position:
1. Pull up on the cover handle to release the cover
posts from the retaining sockets.
2. Let the cover move forward to the full retracted
position.To remove the cover, from a regular wheelbase model:
1. Let the cover go all the way into the holder.
2. Then, grasping the driver’s side cover end cap,
push the cover end cap toward the passenger
side of the vehicle.
3. Swing the cover rearward and take it out of the
vehicle.
To put the cover in the vehicle:
1. Make sure the cover slot in the holder faces
rearward with the round surface facing down.
2. Then, hold the cover at an angle and place the
cover end cap into the slot in the passenger side
trim panel.
3. Move the other end of the cover forward and hold it
next to the driver’s side trim panel slot.
4. Press the end caps in, to allow the cover to �t into
the trim slot.
5. Pull lightly on the cover holder to make sure it is
secure.
On extended wheelbase models there are two
cover positions. The slots furthest forward allow the
cover to be used if the third seat is removed or
folded down. The cover can be installed and
removed from either side.
2-77
Page 188 of 576
Oil Pressure Gage........................................3-46
Oil Pressure Light.........................................3-48
Security Light...............................................3-48
Fog Lamp Light............................................3-49
Cruise Control Light......................................3-49
Highbeam On Light.......................................3-49
Tow/Haul Mode Light....................................3-49
Fuel Gage...................................................3-50
Low Fuel Warning Light.................................3-51
Driver Information Center (DIC).......................3-51
DIC Operation and Displays
(With DIC Buttons)....................................3-52
DIC Operation and Displays (Without
DIC Buttons).............................................3-57
DIC Compass..............................................3-61
DIC Warnings and Messages.........................3-64
DIC Vehicle Customization
(With DIC Buttons)....................................3-74Audio System(s).............................................3-83
Setting the Clock..........................................3-84
Radio(s)......................................................3-86
Using an MP3 (Radio with CD or
Six-Disc CD Player).................................3-102
Using an MP3 (Radio with CD and
DVD Player)...........................................3-107
XM Radio Messages...................................3-113
Navigation/Radio System..............................3-114
Bluetooth
®.................................................3-114
Rear Seat Entertainment (RSE) System.........3-125
Rear Seat Audio (RSA)................................3-134
Theft-Deterrent Feature................................3-136
Audio Steering Wheel Controls......................3-136
Radio Reception.........................................3-137
Rear Side Window Antenna..........................3-138
XM™ Satellite Radio Antenna System............3-138
Section 3 Instrument Panel
3-2
Page 234 of 576
Oil Pressure Light
{CAUTION:
Do not keep driving if the oil pressure is low. The
engine can become so hot that it catches �re.
Someone could be burned. Check the oil as soon
as possible and have the vehicle serviced.
Notice:Lack of proper engine oil maintenance can
damage the engine. The repairs would not be
covered by the vehicle warranty. Always follow the
maintenance schedule in this manual for changing
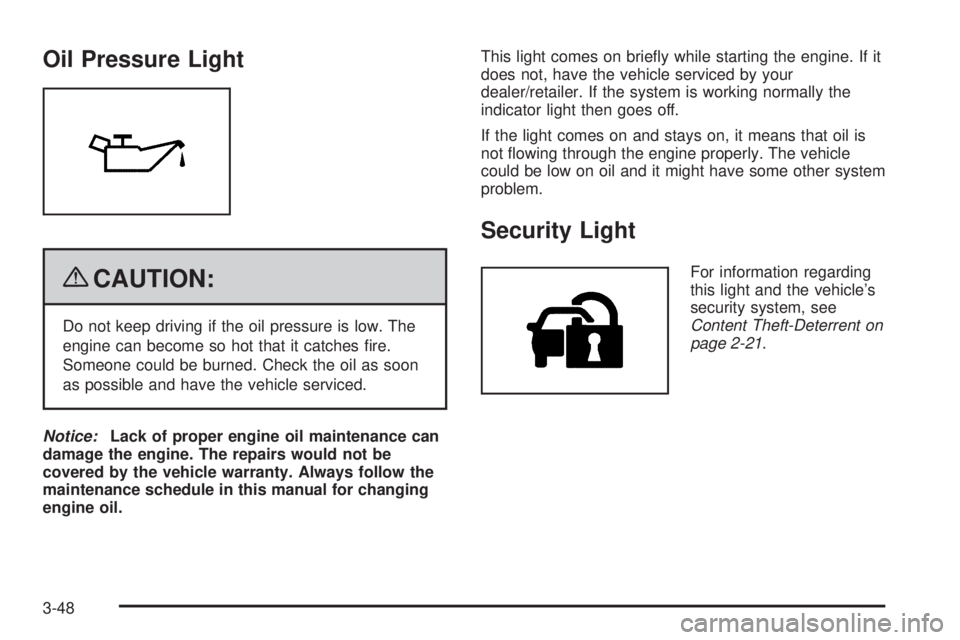
engine oil.This light comes on brie�y while starting the engine. If it
does not, have the vehicle serviced by your
dealer/retailer. If the system is working normally the
indicator light then goes off.
If the light comes on and stays on, it means that oil is
not �owing through the engine properly. The vehicle
could be low on oil and it might have some other system
problem.
Security Light
For information regarding
this light and the vehicle’s
security system, see
Content Theft-Deterrent on
page 2-21.
3-48
Page 299 of 576
XM Radio Messages
XL (Explicit Language Channels):These channels, or
any others, can be blocked at a customer’s request,
by calling 1-800-852-XMXM (9696).
XM Updating:The encryption code in the receiver is
being updated, and no action is required. This process
should take no longer than 30 seconds.
No XM Signal:The system is functioning correctly, but
the vehicle is in a location that is blocking the XM™
signal. When the vehicle is moved into an open area, the
signal should return.
Loading XM:The audio system is acquiring and
processing audio and text data. No action is needed.
This message should disappear shortly.
Channel Off Air:This channel is not currently in
service. Tune in to another channel.
Channel Unauth:This channel is blocked or cannot be
received with your XM Subscription package.
Channel Unavail:This previously assigned channel is
no longer assigned. Tune to another station. If this
station was one of the presets, choose another station
for that preset button.
No Artist Info:No artist information is available at this
time on this channel. The system is working properly.No Title Info:No song title information is available at
this time on this channel. The system is working properly.
No CAT Info:No category information is available at
this time on this channel. The system is working properly.
No Information:No text or informational messages are
available at this time on this channel. The system is
working properly.
CAT Not Found:There are no channels available for
the selected category. The system is working properly.
XM Theftlocked:The XM™ receiver in your vehicle
could have previously been in another vehicle. For
security purposes, XM™ receivers cannot be swapped
between vehicles. If this message is received after having
your vehicle serviced, check with your dealer/retailer.
XM Radio ID:If tuned to channel 0, this message
alternates with the XM™ Radio 8 digit radio ID label.
This label is needed to activate the service.
Unknown:If this message is received when tuned to
channel 0, there could be a receiver fault. Consult
with your dealer/retailer.
Check XM Receivr:If this message does not clear
within a short period of time, the receiver could have a
fault. Consult with your dealer/retailer.
XM Not Available:If this message does not clear
within a short period of time, the receiver could have a
fault. Consult with your dealer/retailer.
3-113
Page 338 of 576
Loading Your Vehicle for Off-Road
Driving
{CAUTION:
Cargo on the load �oor piled higher than the
seatbacks can be thrown forward during a
sudden stop. You or your passengers could
be injured. Keep cargo below the top of the
seatbacks.
Unsecured cargo on the load �oor can be
tossed about when driving over rough terrain.
You or your passengers can be struck by
�ying objects. Secure the cargo properly.
Heavy loads on the roof raise the vehicle’s
center of gravity, making it more likely to roll
over. You can be seriously or fatally injured if
the vehicle rolls over. Put heavy loads inside
the cargo area, not on the roof. Keep cargo in
the cargo area as far forward and low as
possible.There are some important things to remember about
how to load your vehicle.
The heaviest things should be on the �oor, forward
of the rear axle. Put heavier items as far forward
as you can.
Be sure the load is properly secured, so things are
not tossed around.
You will �nd other important information underLoading
the Vehicle on page 4-33andTires on page 5-62.
4-14
Page 363 of 576
Notice:Overloading your vehicle may cause
damage. Repairs would not be covered by your
warranty. Do not overload your vehicle.
The label will help you decide how much cargo
and installed equipment your truck can carry.
Using heavier suspension components to
get added durability might not change your weight
ratings. Ask your dealer to help you load your
vehicle the right way.
If you put things inside your vehicle — like
suitcases, tools, packages, or anything else — they
go as fast as the vehicle goes. If you have to stop or
turn quickly, or if there is a crash, they will keep
going.
{CAUTION:
Things you put inside your vehicle can strike
and injure people in a sudden stop or turn, or
in a crash.
Put things in the cargo area of your
vehicle. Try to spread the weight evenly.
Never stack heavier things, like
suitcases, inside the vehicle so that some
of them are above the tops of the seats.
Do not leave an unsecured child restraint
in your vehicle.
When you carry something inside the
vehicle, secure it whenever you can.
Do not leave a seat folded down unless
you need to.
There is also important loading information for
off-road driving in this manual. See “Loading Your
Vehicle for Off-Road Driving” underOff-Road
Driving on page 4-12.
4-39
Page 365 of 576
Here are some guidelines for safely carrying a snow
plow on your vehicle:
Make sure the weight on the front and rear axles
does not exceed the axle rating for each.
For the front axle, if more cargo or passengers
must be carried, appropriate counter ballast must be
installed rear of the rear axle. Counter ballast
must be properly secured so it will not move during
driving.
Follow the snow plow manufacturer’s
recommendations regarding rear ballast. Rear
ballast may be required to ensure a proper front and
rear weight distribution ratio, even though the
actual weight at the front axle may be less than the
front axle rating.
The snow plow manufacturer or installer can assist
you in determining the amount of rear ballast
required, to help make sure your snowplow/vehicle
combination does not exceed the GVW rating,
the front and rear axle ratings, and the front and
rear weight distribution ratio.
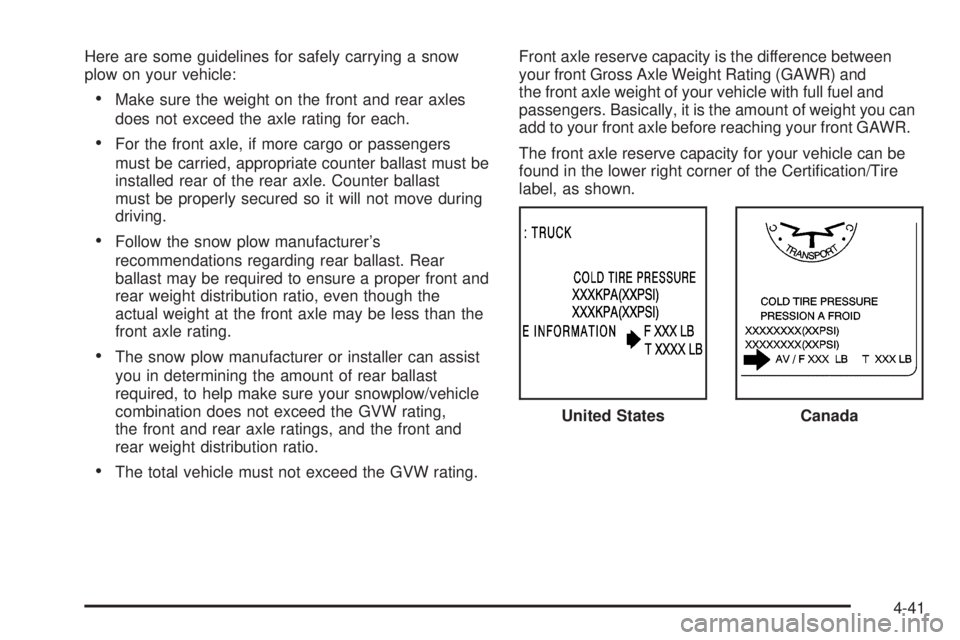
The total vehicle must not exceed the GVW rating.Front axle reserve capacity is the difference between
your front Gross Axle Weight Rating (GAWR) and
the front axle weight of your vehicle with full fuel and
passengers. Basically, it is the amount of weight you can
add to your front axle before reaching your front GAWR.
The front axle reserve capacity for your vehicle can be
found in the lower right corner of the Certi�cation/Tire
label, as shown.
United States
Canada
4-41
Page 370 of 576
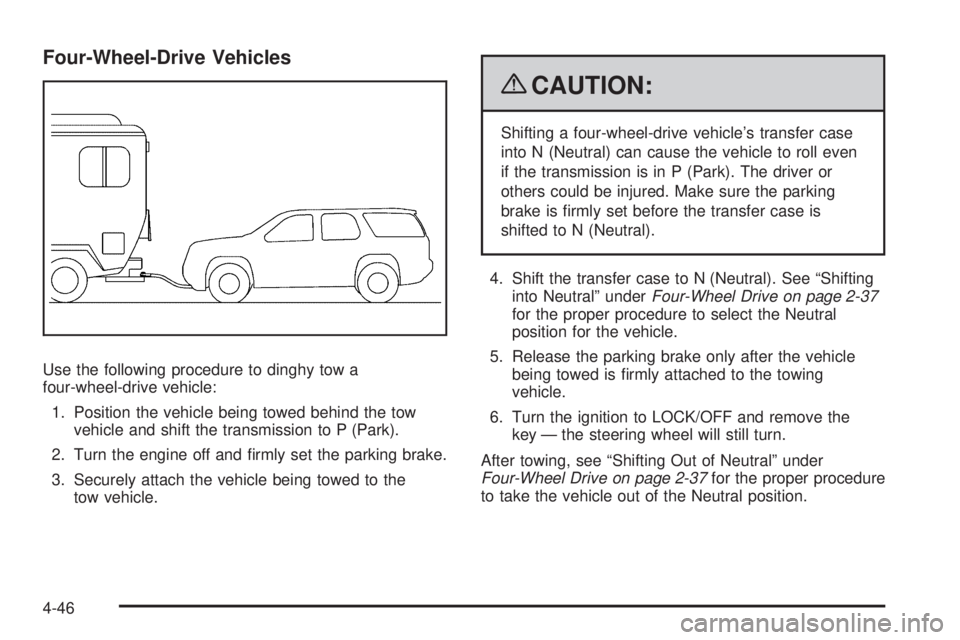
Four-Wheel-Drive Vehicles
Use the following procedure to dinghy tow a
four-wheel-drive vehicle:
1. Position the vehicle being towed behind the tow
vehicle and shift the transmission to P (Park).
2. Turn the engine off and �rmly set the parking brake.
3. Securely attach the vehicle being towed to the
tow vehicle.
{CAUTION:
Shifting a four-wheel-drive vehicle’s transfer case
into N (Neutral) can cause the vehicle to roll even
if the transmission is in P (Park). The driver or
others could be injured. Make sure the parking
brake is �rmly set before the transfer case is
shifted to N (Neutral).
4. Shift the transfer case to N (Neutral). See “Shifting
into Neutral” underFour-Wheel Drive on page 2-37
for the proper procedure to select the Neutral
position for the vehicle.
5. Release the parking brake only after the vehicle
being towed is �rmly attached to the towing
vehicle.
6. Turn the ignition to LOCK/OFF and remove the
key — the steering wheel will still turn.
After towing, see “Shifting Out of Neutral” under
Four-Wheel Drive on page 2-37for the proper procedure
to take the vehicle out of the Neutral position.
4-46
Page 372 of 576
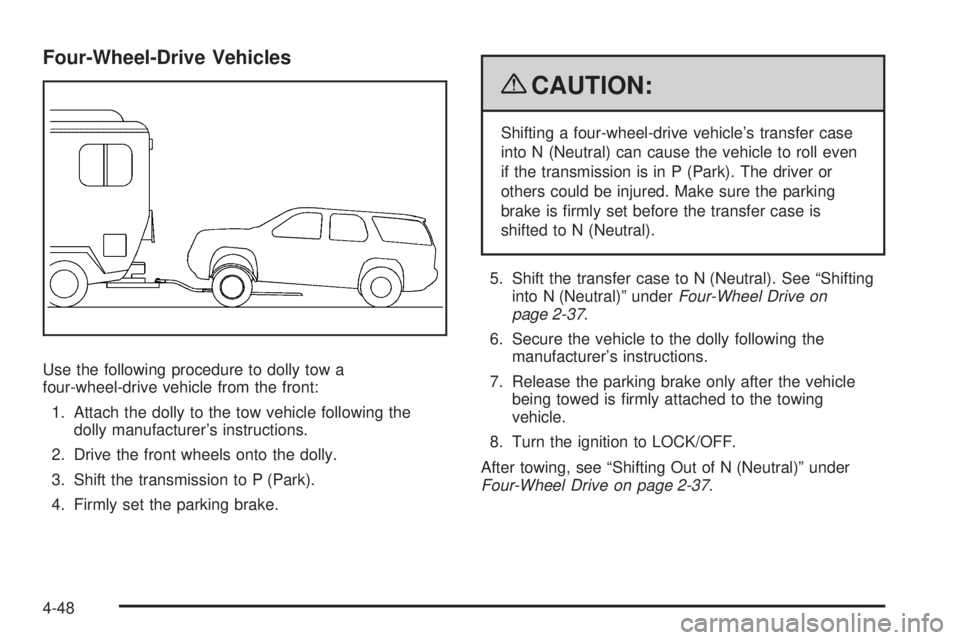
Four-Wheel-Drive Vehicles
Use the following procedure to dolly tow a
four-wheel-drive vehicle from the front:
1. Attach the dolly to the tow vehicle following the
dolly manufacturer’s instructions.
2. Drive the front wheels onto the dolly.
3. Shift the transmission to P (Park).
4. Firmly set the parking brake.
{CAUTION:
Shifting a four-wheel-drive vehicle’s transfer case
into N (Neutral) can cause the vehicle to roll even
if the transmission is in P (Park). The driver or
others could be injured. Make sure the parking
brake is �rmly set before the transfer case is
shifted to N (Neutral).
5. Shift the transfer case to N (Neutral). See “Shifting
into N (Neutral)” underFour-Wheel Drive on
page 2-37.
6. Secure the vehicle to the dolly following the
manufacturer’s instructions.
7. Release the parking brake only after the vehicle
being towed is �rmly attached to the towing
vehicle.
8. Turn the ignition to LOCK/OFF.
After towing, see “Shifting Out of N (Neutral)” under
Four-Wheel Drive on page 2-37.
4-48