seat memory GMC YUKON DENALI 2003 Owners Manual
[x] Cancel search | Manufacturer: GMC, Model Year: 2003, Model line: YUKON DENALI, Model: GMC YUKON DENALI 2003Pages: 447, PDF Size: 21.97 MB
Page 97 of 447
Section 2 Features and Controls
Mirrors ........................................................... 2-31
Automatic Dimming Rearview Mirror with
Onstar@. Compass and Temperature
Display
.................................................... 2.31
Outside Power Mirrors
................................... 2.34
Outside Convex Mirror
................................... 2.34
Outside Heated Mirrors
.................................. 2.35
Outside Automatic Dimming Mirror with Curb
View Assist
.............................................. 2.35
Onstar@ System ............................................. 2.36
HomeLink@ Transmitter ................................... 2.38
Programming the HomeLinkO Transmitter
......... 2.38
Storage Areas ................................................ 2.42
Glove Box
................................................... 2-42
Cupholder(s)
................................................ 2-42
Center Console Storage Area
......................... 2-42
Luggage Carrier
........................................... 2.42
Rear Storage Area
........................................ 2.44
Convenience
Net .......................................... 2.44
Cargo Cover
................................................ 2.45
Sunroof ......................................................... 2.46
Vehicle Personalization ............ ............... 2.47
Memory Seat
........................................... 2.47
2-2
Page 115 of 447
2. If your engine still won’t start (or starts but then
stops), it could be flooded with too much gasoline.
Try pushing your accelerator pedal all the way to the
floor and holding it there as you hold the key in START for about three seconds. When the engine
starts, let go of the key and accelerator. If the
vehicle starts briefly but then stops again, do the
same thing, but this time keep the pedal down
for five or six seconds. This clears the extra
gasoline from the engine.
Notice: Your engine is designed to work with the
electronics in your vehicle.
If you add electrical
parts or accessories, you could change the way the
engine operates. Before adding electrical equipment,
check with your dealer. If you don’t, your engine
might not perform properly.
Adjustable Throttle and Brake Pedal
If your vehicle has this feature, you can change the
position of the throttle and brake pedals. This feature is
designed for shorter drivers, since the pedals cannot
move farther away from the standard position, but can
move forward for better pedal reach. This feature
can be programmed to work with the memory function
(if equipped) on your vehicle. See Memory Seat on
page 2-47.
The vehicle must be in PARK (P) for this feature to
operate.
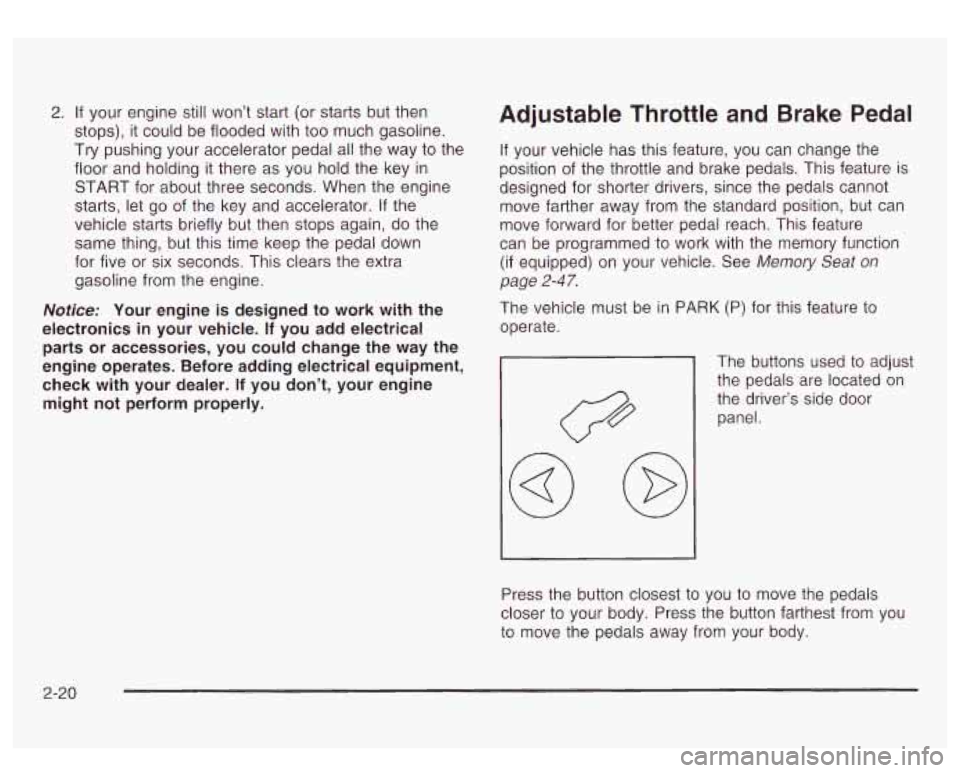
The buttons used to adjust
the pedals are located on
the driver’s side door panel.
Press the button closest to you to move the pedals
closer to your body. Press the button farthest from you
to move the pedals away from your body.
2-20
Page 129 of 447
Outside Power Mirrors
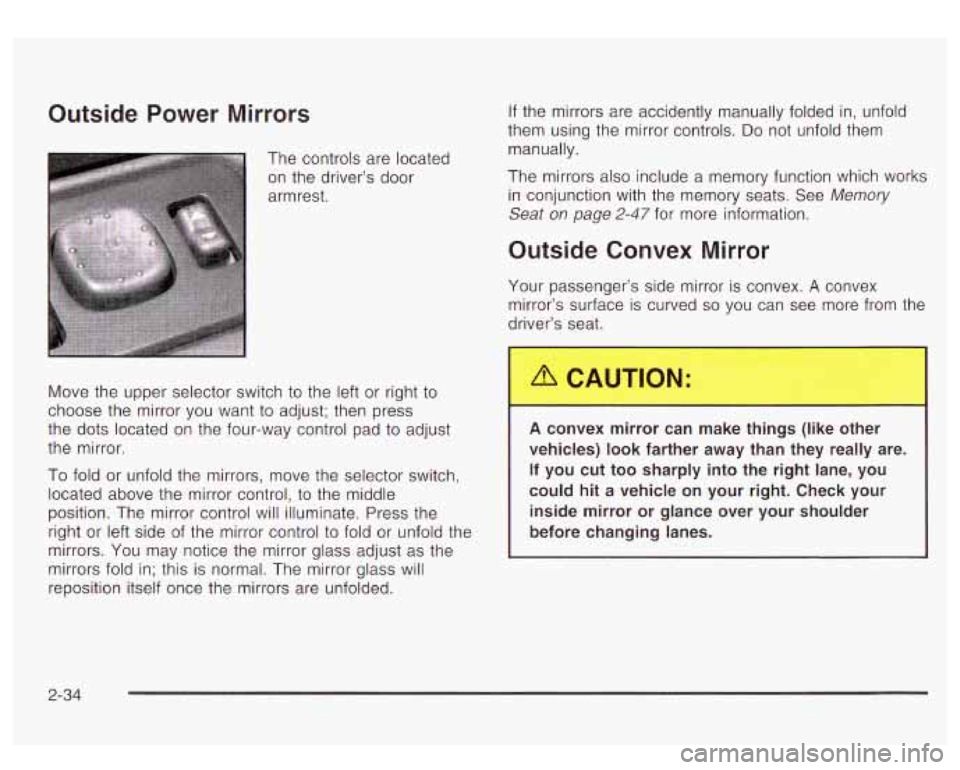
The controls are located
on the driver’s door
armrest.
If the mirrors are accidently manually folded in, unfold
them using the mirror controls.
Do not unfold them
manually.
The mirrors also include a memory function which works
in conjunction with the memory seats. See
Memory
Seat on page 2-47 for more information.
Move the upper selector switch
to the left or right to
choose the mirror you want to adjust; then press
the dots located on the four-way control pad to adjust
the mirror.
To fold or unfold the mirrors, move the selector switch,
located above the mirror control,
to the middle
position. The mirror control will illuminate. Press the
right or left side of the mirror control to fold or unfold the
mirrors. You may notice the mirror glass adjust as the
mirrors fold in; this is normal. The mirror glass will
reposition itself once the mirrors are unfolded.
Outside Convex Mirror
Your passenger’s side mirror is convex. A convex
mirror’s surface is curved
so you can see more from the
driver’s seat.
A convex mirror can make things (like other
vehicles) look farther away than they really are.
If you cut too sharply into the right lane, you
could hit a vehicle on your right. Check your
inside mirror or glance over your shoulder
before changing lanes.
2-34
Page 141 of 447
Sunroof
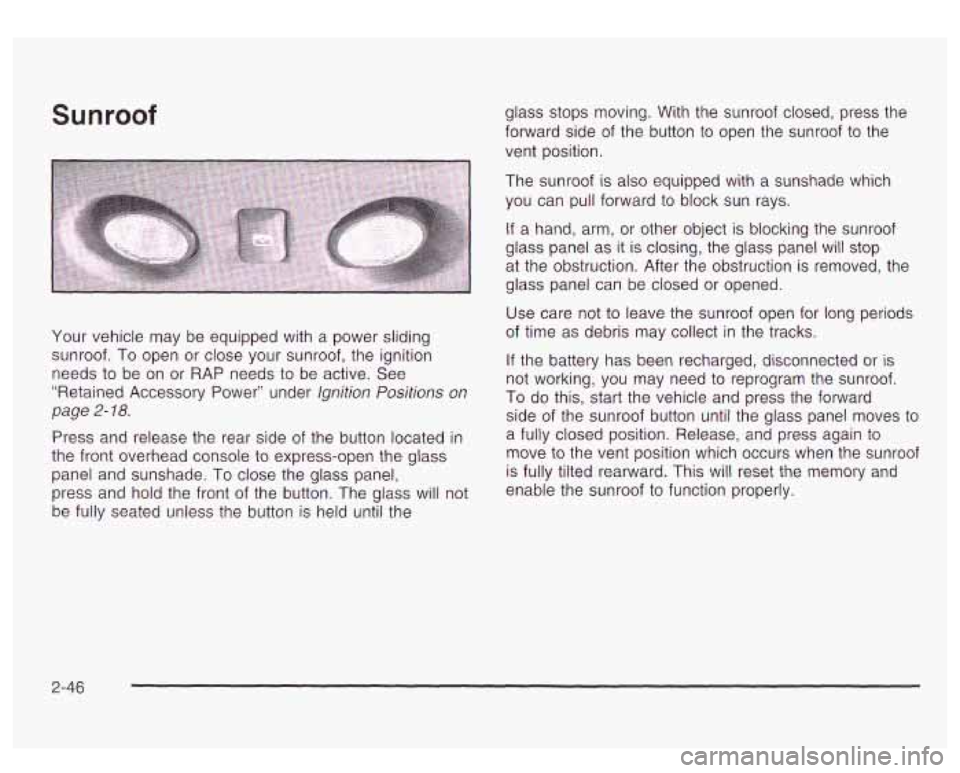
Your vehicle may be equipped with a power sliding
sunroof. To open or close your sunroof, the ignition
needs
to be on or RAP needs to be active. See
“Retained Accessory Power” under Ignition Positions on
page 2- 18.
Press and release the rear side of the button located in
the front overhead console to express-open the glass
panel and sunshade.
To close the glass panel,
press and hold the front of the button. The glass will not
be fully seated unless the button is held until the glass stops moving.
With the sunroof closed, press the
forward side of the button to open the sunroof
to the
vent position.
The sunroof
is also equipped with a sunshade which
you can pull forward to block sun rays.
If a hand, arm, or other object is blocking the sunroof
glass panel as
it is closing, the glass panel will stop
at the obstruction. After the obstruction
is removed, the
glass panel can be closed or opened.
Use care not to leave the sunroof open for long periods
of time as debris may collect in the tracks.
If the battery has been recharged, disconnected or is
not working, you may need to reprogram the sunroof.
To do this, start the vehicle and press the forward
side of the sunroof button until the glass panel moves
to
a fully closed position. Release, and press again to
move to the vent position which occurs when the sunroof
is fully tilted rearward. This will reset the memory and
enable the sunroof to function properly.
2-46
Page 142 of 447
Vehicle Personalization
Memory Seat
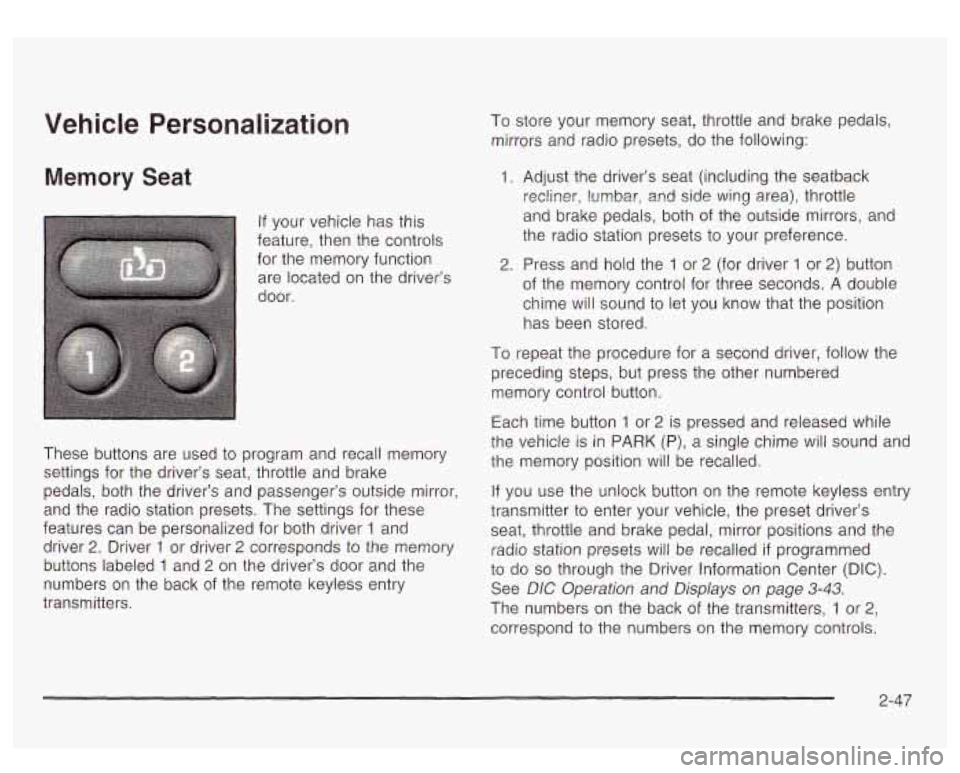
If your vehicle has this
feature, then the controls
for the memory function
are located on the driver’s
door.
These buttons are used
to program and recall memory
settings for the driver’s seat, throttle and brake
pedals, both the driver’s and passenger’s outside mirror,
and the radio station presets. The settings for these
features can be personalized for both driver
1 and
driver
2. Driver 1 or driver 2 corresponds to the memory
buttons labeled
1 and 2 on the driver’s door and the
numbers on the back of the remote keyless entry
transmitters. To store your memory seat, throttle and brake pedals,
mirrors and radio presets, do the following:
1. Adjust the driver’s seat (including the seatback
recliner, lumbar,
and side wing area), throttle
and brake pedals, both of the outside mirrors, and
the radio station presets to your preference.
2. Press and hold the 1 or 2 (for driver 1 or 2) button
of the memory control for three seconds. A double
chime will sound
to let you know that the position
has been stored.
To repeat the procedure for a second driver, follow the
preceding steps, but press the other numbered
memory control button.
Each time button
1 or 2 is pressed and released while
the vehicle
is in PARK (P), a single chime will sound and
the memory position will be recalled.
If you use the unlock button on the remote keyless entry
transmitter to enter your vehicle, the preset driver’s
seat, throttle and brake pedal, mirror positions and the
radio station presets will be recalled
if programmed
to do so through the Driver Information Center (DIC).
See DIC Operation and Displays on page
3-43.
The numbers on the back of the transmitters, 1 or 2,
correspond to the numbers on the memory controls.
2-47
Page 143 of 447
The seat, throttle and brake pedals and mirror positions
can also be recalled when placing the key in the
ignition
if programmed to do so through the Driver
Information Center (DIC). See
DIC Operation and
Displays on page
3-43.
To stop recall movement of the memory seat feature at
any time, press one
of the memory buttons or power
seat controls.
Easy Exit Seat
The controls for this memory function are located on the
driver's door.
ii! (Easy Exit Seat): This button is used to program
and recall the desired driver's seat position when
exiting/entering the vehicle. The seat position, can be
personalized for both driver
1 and driver 2.
To store the seat exit position for driver 1 or 2, do the
following:
1. Select the desired driver number by pressing and
releasing the
1 or 2 button or by pressing the
unlock button on the number
1 or 2 remote
keyless entry transmitter. The seat will move to the
stored memory position.
2. Adjust the seat to the desired exit position.
3. Press and hold the exit button of the memory
control for three seconds.
A double chime will sound
to let you know that the position has been stored
for the identified driver
(1 or 2).
To use the seat exit position, do one of the following:
Press the exit button on the memory control.
Or, if this feature is enabled (active) in the DIC,
then removing the key from the ignition will
cause the seat to move
to the exit position.
2-48
Page 190 of 447
Personalization Button
You can program certain features to a preferred setting
for up to two people. Press the personalization button
to scroll through the following personalization features.
All of the personalization options may not be available
on your vehicle. Only the options available will be
displayed on your DIC.
ALARM WARNING TYPE
AUTOMATIC LOCKING
AUTOMATIC UNLOCKING SEAT POSITION RECALL
PERIMETER LIGHTING
REMOTE LOCK FEEDBACK
REMOTE UNLOCK FEEDBACK
HEADLAMPS ON AT EXIT
CURB VIEW ASSIST EASY EXIT SEAT
DISPLAY UNITS (E/M)
DISPLAY LANGUAGE
The default options for the above features were set
when your vehicle left the factory. The default options
are noted in the text following, but may have been
changed from their default state since then. The driver’s preferences can
be recalled by pressing the
unlock button on the remote keyless entry transmitter
labeled
1 or 2 or by pressing the appropriate memory
button
1 or 2 located on the driver’s door.
Alarm Warning Type
Press the personalization button until ALARM
WARNING TYPE appears in the display. To select your
personalization for alarm warning type, press the
select button while ALARM WARNING TYPE is
displayed
on the DIC. Pressing the select button will
scroll through the following choices:
ALARM WARNING: BOTH (default): The headlamps
will flash and the horn will chirp when the alarm is
active.
ALARM WARNING: OFF: There will be no alarm
warning on activation.
ALARM WARNING: HORN: The horn will chirp when
the alarm is active.
ALARM WARNING: LAMPS: The headlamps will flash
when the alarm is active.
Choose one of the four options and press the
personalization button while your choice is displayed on
the DIC to select
it and move on to the next feature.
For more information on alarm warning type see
Content
Theft-Deterrent on page 2- 16.
3-4i
Page 191 of 447
Automatic Locking
Press the personalization button until AUTOMATIC
LOCKING appears in the display. To select your
personalization for automatic locking, press the select
button while AUTOMATIC LOCKING is displayed on the
DIC. Pressing the select button will scroll through the
following choices:
LOCK DOORS OUT OF PARK (default): The doors
will lock when the vehicle is shifted out of PARK (P).
LOCK DOORS MANUALLY: The doors will not
be locked automatically.
LOCK DOORS WITH SPEED: The doors will lock
when the vehicle speed is above
8 mph (13 km/h) for
three seconds.
Choose one of the three options and press the
personalization button while it is displayed on the DIC to
select it and move on to the next feature.
For more
information on automatic door locks see Programmable
Automatic
Door Locks on page 2- 10.
Automatic Unlocking
Press the personalization button until AUTOMATIC
UNLOCKING appears in the display.
To select
your personalization for automatic unlocking, press the
select button while AUTOMATIC UNLOCKING is
displayed on the DIC. Pressing the select button will
scroll through the following choices:
3-48
UNLOCK ALL IN PARK (default): All of the doors will
unlock when the vehicle is shifted into PARK
(P).
UNLOCK ALL AT KEY OUT: All of the doors will
unlock when the key is taken out of the ignition.
UNLOCK DOORS MANUALLY: The doors will not be
unlocked automatically.
UNLOCK DRIVER IN PARK: The driver’s door will be
unlocked when the vehicle is shifted into PARK
(P).
Choose one of the four options and press the
personalization button while it is displayed on the DIC to
select it and move on to the next feature. For more
information on automatic door locks see Programmable
Automatic Door
Locks on page 2- 10.
Seat Position Recall
Press the personalization button until SEAT POSITION
RECALL appears in the display. To select your
personalization for seat position recall, press the select
button while SEAT POSITION RECALL is displayed
on the DIC. Pressing the select button will scroll through
the following choices:
SEAT POSITION RECALL OFF (default): The memory
seat position you saved will only be recalled when the
memory button
1 or 2 is pressed.
SEAT POSITION RECALL AT KEY IN: The memory
seat position you saved will be recalled when you
put the key in the ignition.
Page 192 of 447
SEAT POSITION RECALL ON REMOTE: The memory
seat position you saved will be recalled when you
unlock the vehicle with the remote keyless entry
transmitter.
Choose one of the three options and press the
personalization button while it is displayed on the DIC to
select it and move on to the next feature. For more
information on seat position recall see Memory Seat
on
page 2-47.
Perimeter Lighting
Press the personalization button until PERIMETER
LIGHTING appears in the display. To select your
personalization for perimeter lighting, press the select
button while PERIMETER LIGHTING is displayed on the
DIC. Pressing the select button will scroll through the
following choices:
PERIMETER LIGHTING ON (default): The headlamps
and back-up lamps will come on for
40 seconds, if it
is dark enough outside, when you unlock the vehicle
with the remote keyless entry transmitter.
PERIMETER LIGHTING OFF: The perimeter lights will
not come on when you unlock the vehicle with the
remote keyless entry transmitter.
Choose one of the two options and press the
personalization button while it is displayed on the DIC
to
select it and move on to the next feature.
Remote Lock Feedback
Press the personalization button until REMOTE LOCK
FEEDBACK appears in the display. To select your
personalization fsr the feedback you will receive when
locking the vehicle with the remote keyless entry
transmitter, press the select button while REMOTE LOCK FEEDBACK is displayed on the DIC. Pressing
the select button will scroll through the following choices:
LOCK FEEDBACK: BOTH (default): The parking
lamps will flash each time you press the button with the lock symbol on the remote keyless entry transmitter
and the horn will chirp the second time you press the
lock button.
LOCK FEEDBACK: OFF: There will be no feedback
when locking the vehicle.
LOCK FEEDBACK: HORN: The horn will chirp the
second time you press the button with the lock symbol
on the remote keyless entry transmitter.
LOCK FEEDBACK: LAMPS: The parking lamps will
flash each time you press the button with the lock
symbol on the remote keyless entry transmitter.
Choose one of the four options and press the
personalization button while it is displayed on the DIC to
select
it and move on to the next feature.
3-49
Page 194 of 447
Curb View Assist
Press the personalization button until CURB VIEW
ASSIST appears in the display. To select your
personalization for curb view assist, press the select
button while CURB VIEW ASSIST is displayed on
the DIC. Pressing the select button will scroll through
the following choices:
CURB VIEW: OFF (default): Neither outside mirror will
be tilted down when the vehicle is shifted into
REVERSE
(R).
CURB VIEW: PASSE@NGER: The passenger’s outside
mirror will be tilted down when the vehicle is shifted
into REVERSE
(R).
CURB VIEW: DRIVER: The driver’s outside mirror will
be tilted down when the vehicle is shifted into
REVERSE (R).
CURB VIEW: BOTH: The driver’s and passenger’s
outside mirror will be tilted down when the vehicle
is shifted into REVERSE
(R).
Choose one of the four options and press the
personalization button while it is displayed on the DIC
to
select it and move on to the next feature. For more
information on tilt mirror in reverse see Outside
Automatic Dimming Mirror with Curb View Assist
on
page 2-35.
Easy Exit Seat
Press the personalization button until EASY EXIT SEAT
appears in the display. To select your personalization
for seat position exit, press the select button while SEAT
POSITION EXIT is displayed on the DIC. Pressing
the select button will scroll through the following choices:
SEAT POSITION EXIT OFF (default): No seat exit
recall will occur.
SEAT POSITION EXIT ON: The driver’s seat will move
to the exit position when the key is removed from the
ignition.
Choose one of the two options and press the
personalization button while it is displayed on the DIC
to
select it and move on to the next feature. For more
information on seat position exit see Memory Seat on
page
2-47.
Display Units (ENG/MET)
Press the personalization button until DISPLAY UNITS
appears in the display. To select English or metric,
press the select button while DISPLAY UNITS is
displayed on the DIC. Pressing the select button will
scroll through the following choices:
UNITS: ENGLISH
UNITS: METRIC
3-51