ignition GMC YUKON DENALI 2003 Owners Manual
[x] Cancel search | Manufacturer: GMC, Model Year: 2003, Model line: YUKON DENALI, Model: GMC YUKON DENALI 2003Pages: 447, PDF Size: 21.97 MB
Page 12 of 447
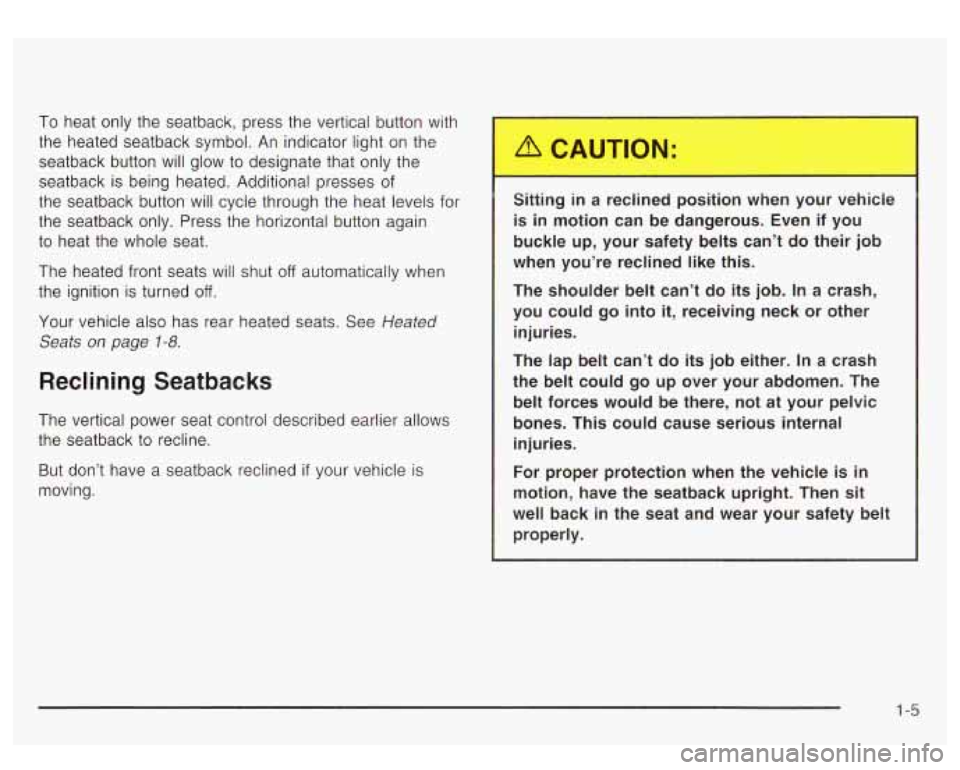
To heat only the seatback, press the vertical button with
the heated seatback symbol. An indicator light on the
seatback button will glow
to designate that only the
seatback is being heated. Additional presses of
the seatback button will cycle through the heat levels
for
the seatback only. Press the horizontal button again
to heat the whole seat.
The heated front seats will shut
off automatically when
the ignition is turned
off.
Your vehicle also has rear heated seats. See Heated
Seats
on page 1-8.
Reclining Seatbacks
The vertical power seat control described earlier allows
the seatback
to recline.
But don’t have a seatback reclined
if your vehicle is
moving. Sitting
in a
re nec losition when your ve :le
is in motion can be dangerous. Even if you
buckle up, your safety belts can’t do their job
when you’re reclined like this.
The shoulder belt can’t do its job. In
a crash,
you could go into
it, receiving neck or other
injuries.
The lap belt can’t do its
job either. In a crash
the belt could go up over your abdomen. The
belt forces would be there, not at your pelvic
bones. This could cause serious internal injuries.
For proper protection when the vehicle is in
motion, have the seatback upright. Then sit
well back in the seat and wear your safety belt
properly.
1-5
Page 15 of 447
3. Pull (push if you are exiting the third row with no
assistance) the seat forward until it stops.
If the seatback isn’t locked,
it could move
forward in a sudden stop or crash. That could
cause injury to the person sitting there. Always
press rearward on the seatback to be sure
it is
locked.
Heated Seats
A safety belt that is improperly routed, not
properly attached, or twisted won’t provide the protection needed
in a crash. The person
wearing the belt could be seriously injured.
After raising the rear seatback, always check
to be sure that the safety belts are properly routed and attached, and are not twisted. The
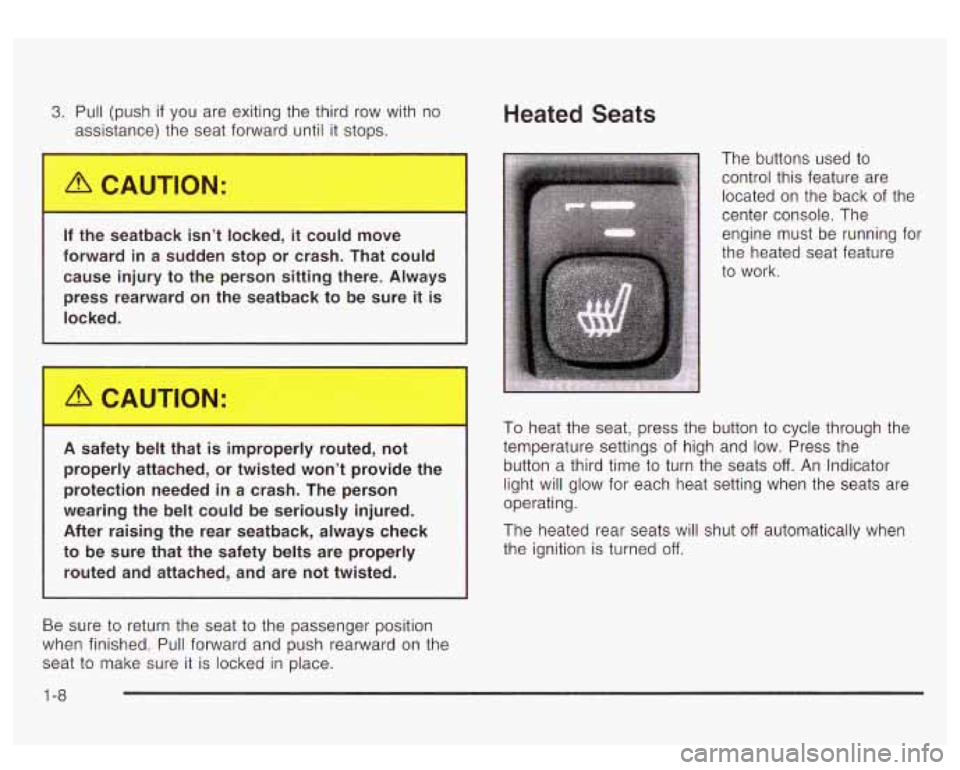
buttons used to
control this feature are
located on the back of the
center console. The
engine must be running for
the heated seat feature
To heat the seat, press the button to cycle through the
temperature settings of high and low. Press the
button a third time to turn the seats
off. An Indicator
light will glow for each heat setting when the seats are
operating.
The heated rear seats will shut
off automatically when
the ignition is turned
off.
Be sure to return the seat to the passenger position
when finished. Pull forward and push rearward on the
seat to make sure it is locked in place.
1 -8
Page 76 of 447
A child in a rear-facing child restraint can be
seriously injured or killed if the right front passenger’s air bag inflates. This
is because
the back of the rear facing child restraint
would be very close
to the inflating air bag.
Be sure the air bag is
off before using a
rear-facing child restraint
in the right front seat
position.
Even though the passenger sensing system is
designed to turn
off the passenger’s frontal air
bag if the system detects a rear-facing child
restraint, no system is fail-safe, and no one
can guarantee that an air bag will not deploy under some unusual circumstance, even
though
it is turned off. General Motors
therefore recommends that rear-facing child restraints be secured in the rear seat whenever
possible, even
if the air bag is off.
You’ll be using the lap-shoulder belt. See Top Strap on
page
1-57 if the child restraint has one. Be sure to
follow the instructions that came with the child restraint.
Secure the child in the child restraint when and as
the instructions say.
1. Because your vehicle has a right front passenger
air bag, always move the seat as far back as it will
go before securing a child restraint,
if you need
to secure a forward-facing child restraint in the right
front seat position. See
Power Seats on page 1-3.
If your vehicle has the passenger sensing
system and you are using a rear-facing child
restraint in this seat, make sure the frontal air bag
is
off. See Passenger Sensing System on
page
1-8 1.
When the passenger sensing system has turned off
the right front passenger’s frontal air bag, the off
indicator on the inside rearview mirror will light and
stay lit when you turn the ignition to RUN or
START.
2. Put the restraint on the seat.
3. Pick up the latch plate, and run the lap and shoulder
portions of the vehicle’s safety belt through or
around the restraint. The child restraint instructions
will show
you how.
1-69
Page 88 of 447
Passenger Sensing System
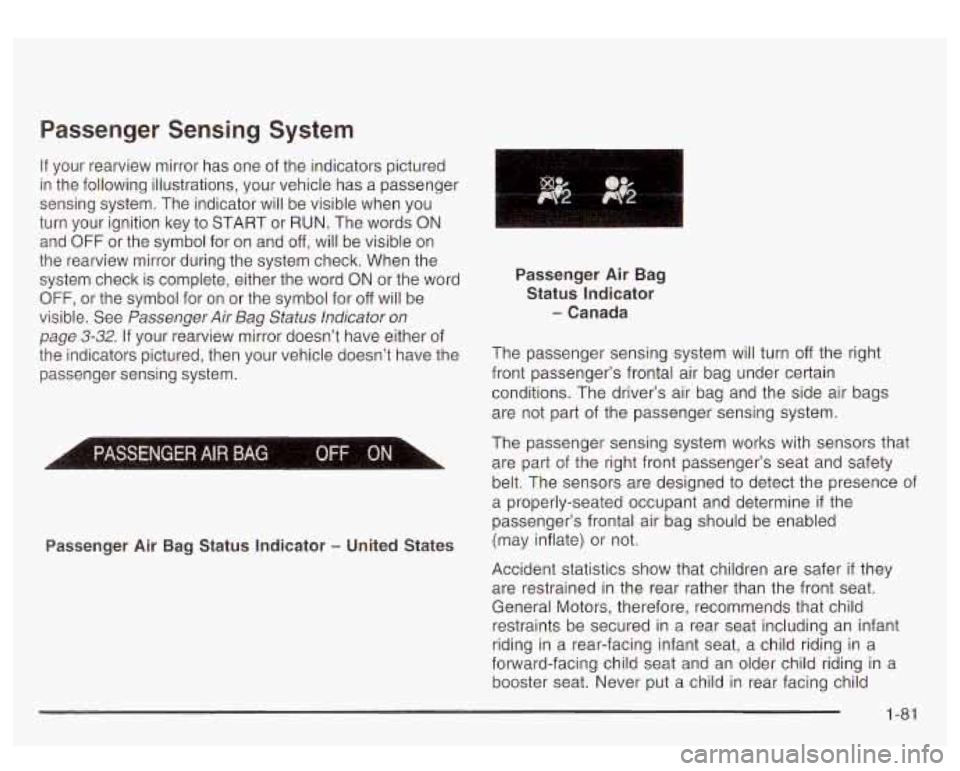
If your rearview mirror has one of the indicators pictured
in the following illustrations, your vehicle has a passenger
sensing system. The indicator will be visible when you
turn your ignition key
to START or RUN. The words ON
and OFF or the symbol for on and off, will be visible on
the rearview mirror during the system check. When the
system check
is complete, either the word ON or the word
OFF, or the symbol for on or the symbol for off will be
visible. See Passenger
Air Bag Status Indicator on
page 3-32. If your rearview mirror doesn’t have either of
the indicators pictured, then your vehicle doesn’t have the
passenger sensing system.
L
Passenger Air Bag Status Indicator - United States Passenger
Air Bag
Status Indicator
- Canada
The passenger sensing system will turn off the right
front passenger’s frontal air bag under certain
conditions. The driver’s air bag and the side air bags
are not part
of the passenger sensing system.
The passenger sensing system works with sensors that
are part of the right front passenger’s seat and safety
belt. The sensors are designed to detect the presence of
a properly-seated occupant and determine
if the
passenger’s frontal air bag should be enabled
(may inflate) or not.
Accident statistics show that children are safer
if they
are restrained in the rear rather than the front seat.
General Motors, therefore, recommends that child
restraints be secured in a rear seat including an infant
riding in a rear-facing infant seat, a child riding in a
forward-facing child seat and an older child riding in a
booster seat. Never put a child in rear facing child
1-81
Page 96 of 447
Section 2 Features and Controls
Keys ............................................................... 2.3
Remote Keyless Entry System
......................... 2.4
Remote Keyless Entry System Operation
........... 2.5
Doors and Locks ............................................. 2.8
Door Locks
................................................. 2.8
Power Door Locks
.......... .... ............. 2.9
Delayed Locking
............................................. 2.9
Programmable Automatic
Door Locks
............................................... 2.10
Rear Door Security Locks
.............................. 2.12
Lockout Protection
........................................ 2.13
LiftgateILiftglass
..................................... 2.13
Windows ........................................................ 2.14
Power Windows
............................................ 2.15
Sun Visors
................................................... 2.15
Theft-Deterrent Systems .................................. 2.16
Content Theft-Deterrent
................................. 2.16
Passlock@
.................................................... 2.17
Starting and Operating Your Vehicle ................ 2.18
New Vehicle Break-In
.................................... 2-18
Starting Your Engine
..................................... 2.19
Engine Coolant Heater
.................................. 2.21
Automatic Transmission Operation
................... 2.22
Shifting Into Park (P)
................. , ........ 2.26
Shifting Out of Park (P)
..................... , ........ 2-28
Parking Over Things That Burn
....................... 2-29
Engine Exhaust
............................................ 2.29
Running Your Engine While You Are Parked
.... 2-30
Ignition Positions
.......................................... 2.18
Adjustable Throttle and Brake Pedal
............... -2-20
Parking Brake
.............................. ..... 2.25
2-
1
Page 99 of 447
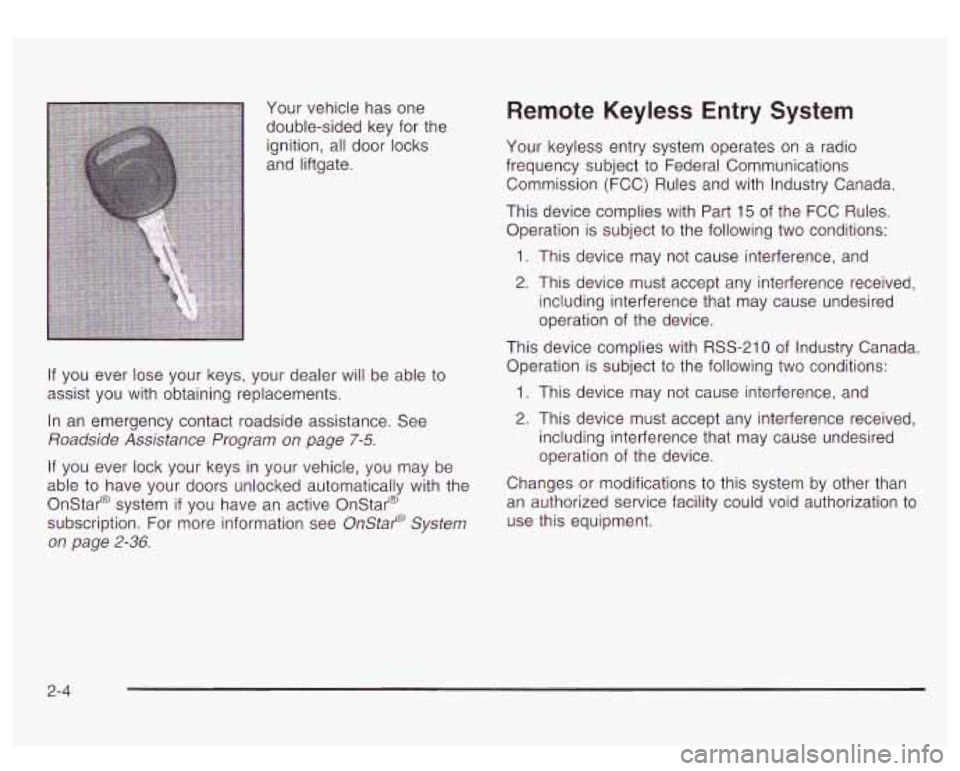
Your vehicle has one
double-sided key for the
ignition, all door locks
and liftgate.
If you ever lose your keys, your dealer will be able to
assist you with obtaining replacements.
In an emergency contact roadside assistance. See
Roadside Assistance Program on page
7-5.
If you ever lock your keys in your vehicle, you may be
able to have your doors unlocked automatically with the
Onstar@ system
if you have an active Onstar@
subscription. For more information see OnStap System
on page
2-36.
Remote Keyless Entry System
Your keyless entry system operates on a radio
frequency subject
to Federal Communications
Commission
(FCC) Rules and with Industry Canada.
This device complies with Part
15 of the FCC Rules.
Operation is subject
to the following two conditions:
1. This device may not cause interference, and
2. This device must accept any interference received,
including interference that may cause undesired
operation of the device.
This device complies with
RSS-210 of Industry Canada.
Operation is subject
to the following two conditions:
1. This device may not cause interference, and
2. This device must accept any interference received,
including interference that may cause undesired
operation of the device.
Changes or modifications
to this system by other than
an authorized service facility could void authorization
to
use this equipment.
2-4
Page 104 of 447
Power Door Locks
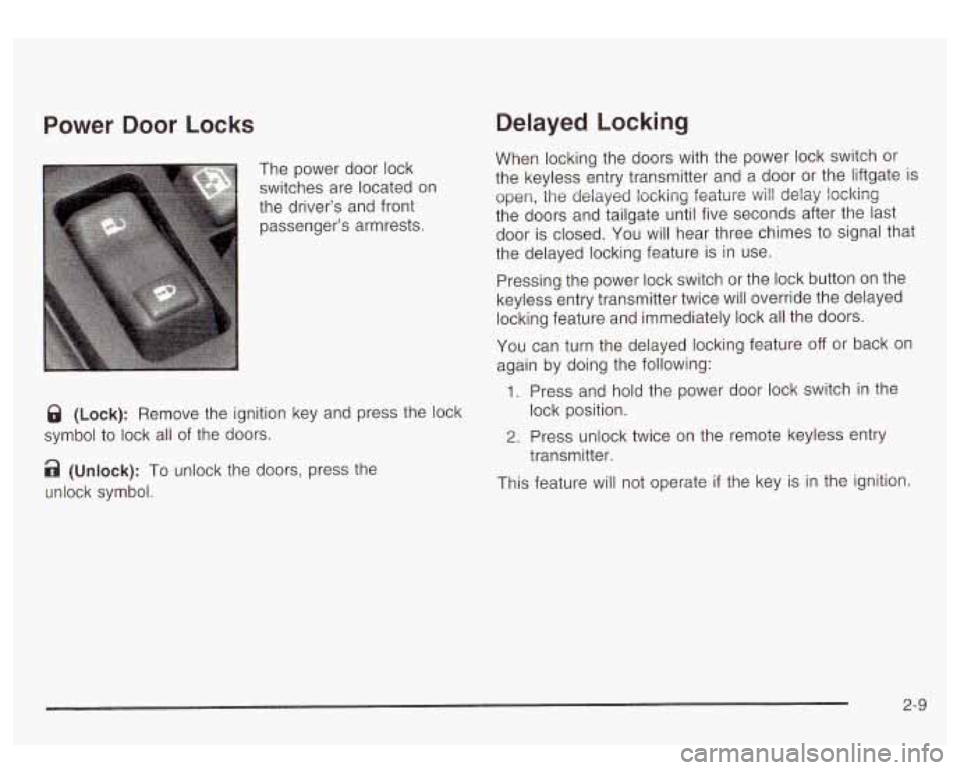
The power door lock
switches are located on
the driver’s and front
passenger’s armrests.
8 (Lock): Remove the ignition key and press the lock
symbol to lock all of the doors.
a (Unlock): To unlock the doors, press the
unlock symbol.
Delayed Locking
When locking the doors with the power lock switch or
the keyless entry transmitter and a door or the liftgate is
open, the deiayed iockirig feattire will delay locking
the doors and tailgate until five seconds after the last door is closed. You will hear three chimes to signal that
the delayed locking feature is in use.
Pressing the power lock switch or the lock button on the
keyless entry transmitter twice will override the delayed
locking feature and immediately lock all the doors.
You can turn the delayed locking feature off or back on
again by doing the following:
1. Press and hold the power door lock switch in the
lock position.
2. Press unlock twice on the remote keyless entry
transmitter.
This feature will not operate
if the key is in the ignition
2-9
Page 105 of 447
Programmable Automatic
Door Locks
Your vehicle is equipped with an automatic locklunlock
feature which enables you
to program your vehicle’s
power door locks. You can program this feature through
the Driver Information Center (DIC), or by the following
method.
Programmable Locking Feature
The following is the list of available programming
options:
Mode 1: All doors lock when the transmission is shifted
into gear.
Mode 2: All doors lock when the vehicle speed is
greater than 8 mph (13 km/h).
Mode 3: No automatic door locking.
The automatic door locks were pre-programmed at the
factory to lock all the doors when the transmission
is shifted into gear. The following instructions detail how
to program your door locks differently than the factory
setting. Choose one of the three programming
options listed above before entering the program mode.
To enter the program mode, do the following:
2.
3.
Turn the key to RUN and LOCK twice. Then, with
the key in
LOCK, release the turn
signaVmultifunction lever. Once you do this, you will
hear the lock switch lock and unlock, the horn
will chirp twice, and a
30 second program timer will
begin. You are now ready to program the
automatic door locks.
Select one of the three programming options listed
previously, and press the lock side
of the power door
lock switch
to cycle through the lock options. You will
have
30 seconds to begin programming. If you
exceed the
30 second limit, the locks will
automatically lock and unlock and the horn will chirp
twice to indicate that you have left the program
mode.
If this occurs, repeat the procedure beginning
with Step
1 to re-enter the programming mode.
You can exit the program mode any time by turning the
ignition to
RUN (the locks will automatically lock and
unlock and the horn will chirp twice
to indicate that you
are leaving the program mode). If the locklunlock
switches are not pressed while in the programming
mode, the current auto IocWunlock setting will not
be modified.
See your dealer for more information.
I. Begin with the ignition off. Then pull the turn
signal/multifunction lever toward you and hold
it there while you perform the next step.
2-1 0
Page 106 of 447
Programmable Unlocking Feature
The following is the list of available programming
options:
Mode 1: Driver’s door unlocks when the transmission is
shifted into PARK
(P).
Mode 2: All doors unlock when the transmission is
shifted into PARK (P).
Mode 3: All doors unlock when the key is removed
from the ignition.
Mode 4: No automatic door unlock.
The automatic door locks were pre-programmed at the
factory
to unlock the driver’s door once the transmission
is shifted
to PARK (P). The following instructions detail
how
to program your door locks differently than the
factory setting. Choose one of the four programming
options listed above before entering the program mode.
To enter the program mode, do the following:
1. Begin with the ignition off. Then pull the turn
signaVmultifunction lever toward you and hold
it there while you perform the next step.
2.
3.
Turn the key to RUN and LOCK twice. Then, with the
key in LOCK, release the turn signaVmultifunction
lever. Once you do this, you will hear the lock switch
lock and unlock, the horn will chirp twice, and a
30-second
program iir-ner wiii begin.
You are now ready
to program the automatic door
locks. Select one of the four programming options
listed previously, and press the unlock side
of
the power door lock switch to cycle through the
unlocking options. You
will have 30 seconds
to begin programming. If you exceed the 30-secona
limit, the locks will automatically lock and unlock
and the horn will chirp twice
to indicate that
you have left the program mode.
If this occurs,
repeat the procedure beginning with Step
1
to re-enter the programming mode.
You can exit the program mode any time by turning the
ignition to
RUN. The locks will automatically lock and
unlock and the horn will chirp twice
to indicate that you
are leaving the program mode. If the IocWunlock
switches are not pressed while in the programming
mode, the current auto IocWunlock setting
will not be
modified.
See your dealer for more information.
2-1 1
Page 108 of 447
Lockout Protection
This feature protects you from locking your key in the
vehicle when the key is in the ignition and a door is open.
If the power lock switch is pressed when a door is open
and the key is in the ignition, all
of the doors will
lock and then the driver’s door will unlock.
Liftgate/Liftglass
It can be dangerous to drive with the liftgab- or
liftglass open because carbon monoxide (CO)
gas can come into your vehicle. You can’t see
or smell CO.
It can cause unconsciousness
and even death. If you must drive with the
liftgate open or
if electrical wiring or other
cable connections must pass through the seal
between the body and the liftgate or liftglass:
Make sure all other windows are shut.
CAUTION: (Continued)
7 ill :: ;he fan your hez ... jg or cooling
system to its highest speed and select the
control setting that will force outside air
into your vehicle. See ”Comfort Controls”
in the Index.
@ If you have air outlets on or under the
instrument panel, open them all the way.
See ”Engine Exhaust” in the Index.
To open from the outside, insert the key into the lock
and turn it counterclockwise
to unlock the glass
and liftgate.
The liftgate glass can be opened using the pushbutton
on the liftgate after the doors have been unlocked.
This can be done by using either the power door locks or the remote keyless entry system.
To open the entire liftgate,
lift the handle located in the
center of the door.
To lock from the outside, insert the key into the lock
button and turn clockwise.
All doors will lock. You may
also use the remote keyless entry system or the
power door locks to lock the liftgate and liftgate glass.
2-1 3