wheel torque GMC YUKON DENALI 2008 Owners Manual
[x] Cancel search | Manufacturer: GMC, Model Year: 2008, Model line: YUKON DENALI, Model: GMC YUKON DENALI 2008Pages: 502, PDF Size: 6.18 MB
Page 128 of 502
3. Plug the cord into a normal, grounded 110-volt
AC outlet.
{CAUTION:
Plugging the cord into an ungrounded outlet
could cause an electrical shock. Also, the
wrong kind of extension cord could overheat
and cause a �re. You could be seriously
injured. Plug the cord into a properly grounded
three-prong 110-volt AC outlet. If the cord will
not reach, use a heavy-duty three-prong
extension cord rated for at least 15 amps.
4. Before starting the engine, be sure to unplug and
store the cord as it was before to keep it away
from moving engine parts. If you do not, it could be
damaged.
How long should you keep the coolant heater plugged
in? The answer depends on the outside temperature, the
kind of oil you have, and some other things. Instead
of trying to list everything here, we ask that you contact
your dealer/retailer in the area where you will be
parking your vehicle. The dealer/retailer can give you
the best advice for that particular area.
Automatic Transmission Operation
Your vehicle has a Hydra-Matic®6L80 automatic
transmission, and has an electronic shift position
indicator within the instrument panel cluster. The
electronic shift position indicator displays when the shift
lever is moved out of PARK (P).
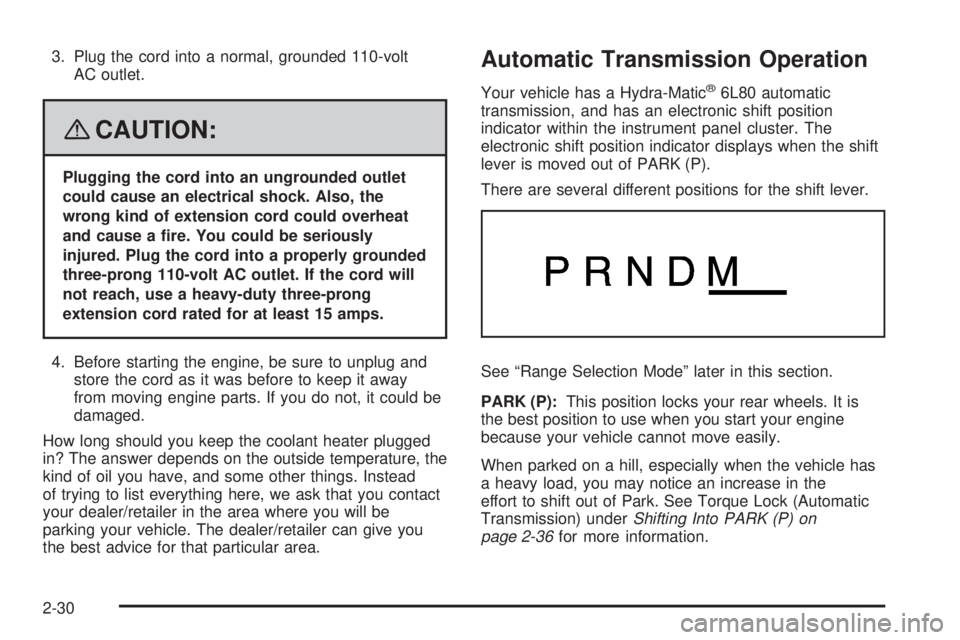
There are several different positions for the shift lever.
See “Range Selection Mode” later in this section.
PARK (P):This position locks your rear wheels. It is
the best position to use when you start your engine
because your vehicle cannot move easily.
When parked on a hill, especially when the vehicle has
a heavy load, you may notice an increase in the
effort to shift out of Park. See Torque Lock (Automatic
Transmission) underShifting Into PARK (P) on
page 2-36for more information.
2-30
Page 376 of 502
Brake Wear
Your vehicle has disc brakes. Disc brake pads have
built-in wear indicators that make a high-pitched warning
sound when the brake pads are worn and new pads
are needed. The sound can come and go or be heard all
the time your vehicle is moving, except when you are
pushing on the brake pedal �rmly.
{CAUTION:
The brake wear warning sound means that
soon the brakes will not work well. That could
lead to an accident. When you hear the brake
wear warning sound, have your vehicle
serviced.
Notice:Continuing to drive with worn-out brake
pads could result in costly brake repair.Some driving conditions or climates can cause a brake
squeal when the brakes are �rst applied or lightly
applied. This does not mean something is wrong with
the brakes.
Properly torqued wheel nuts are necessary to help
prevent brake pulsation. When tires are rotated, inspect
brake pads for wear and evenly tighten wheel nuts in
the proper sequence to torque speci�cations in
Capacities and Specifications on page 5-114.
Brake linings should always be replaced as complete
axle sets.Brake Pedal Travel
See your dealer/retailer if the brake pedal does not
return to normal height, or if there is a rapid increase in
pedal travel. This could be a sign that brake service
might be required.
Brake Adjustment
Every time you make a brake stop, the disc brakes
adjust for wear.
5-38
Page 406 of 502
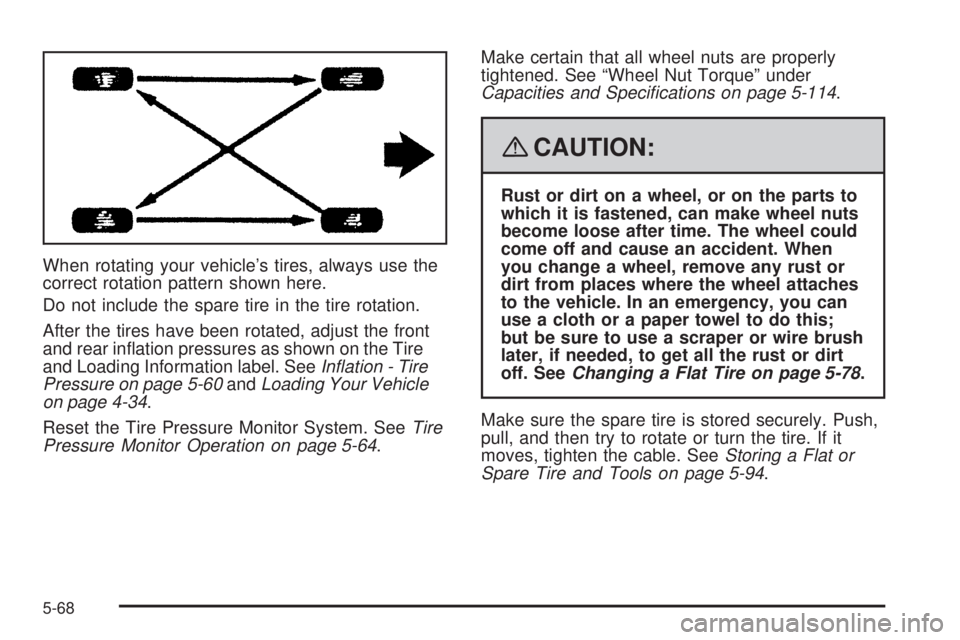
When rotating your vehicle’s tires, always use the
correct rotation pattern shown here.
Do not include the spare tire in the tire rotation.
After the tires have been rotated, adjust the front
and rear in�ation pressures as shown on the Tire
and Loading Information label. SeeInflation - Tire
Pressure on page 5-60andLoading Your Vehicle
on page 4-34.
Reset the Tire Pressure Monitor System. SeeTire
Pressure Monitor Operation on page 5-64.Make certain that all wheel nuts are properly
tightened. See “Wheel Nut Torque” under
Capacities and Specifications on page 5-114.
{CAUTION:
Rust or dirt on a wheel, or on the parts to
which it is fastened, can make wheel nuts
become loose after time. The wheel could
come off and cause an accident. When
you change a wheel, remove any rust or
dirt from places where the wheel attaches
to the vehicle. In an emergency, you can
use a cloth or a paper towel to do this;
but be sure to use a scraper or wire brush
later, if needed, to get all the rust or dirt
off. SeeChanging a Flat Tire on page 5-78.
Make sure the spare tire is stored securely. Push,
pull, and then try to rotate or turn the tire. If it
moves, tighten the cable. SeeStoring a Flat or
Spare Tire and Tools on page 5-94.
5-68
Page 427 of 502
8. Put the wheel nuts back on with the rounded end
of the nuts toward the wheel after mounting the
spare tire.
9. Tighten each wheel nut by hand. Then use the
wheel wrench to tighten the nuts until the wheel
is held against the hub.
10. Turn the wheel wrench counterclockwise to lower
the vehicle. Lower the jack completely.
{CAUTION:
Incorrect or improperly tightened wheel nuts
can cause the wheel to come loose and even
come off. This could lead to a crash. If you
have to replace them, be sure to get new
original equipment wheel nuts. Stop
somewhere as soon as you can and have the
nuts tightened with a torque wrench to the
proper torque speci�cation. SeeCapacities and
Specifications on page 5-114for wheel nut
torque speci�cation.Notice:Improperly tightened wheel nuts can lead
to brake pulsation and rotor damage. To avoid
expensive brake repairs, evenly tighten the wheel
nuts in the proper sequence and to the proper
torque speci�cation. SeeCapacities and
Specifications on page 5-114for the wheel nut
torque speci�cation.
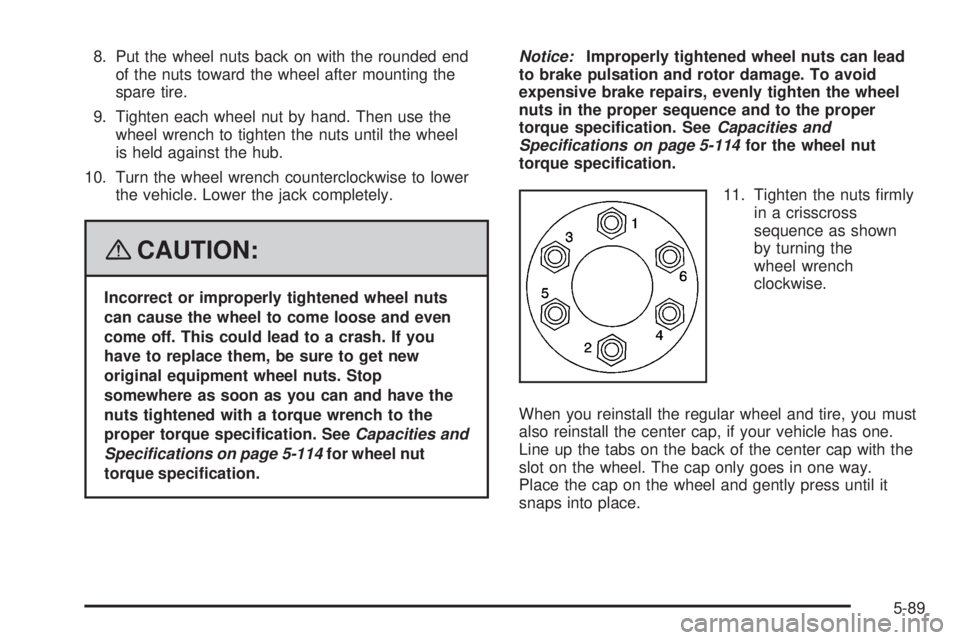
11. Tighten the nuts �rmly
in a crisscross
sequence as shown
by turning the
wheel wrench
clockwise.
When you reinstall the regular wheel and tire, you must
also reinstall the center cap, if your vehicle has one.
Line up the tabs on the back of the center cap with the
slot on the wheel. The cap only goes in one way.
Place the cap on the wheel and gently press until it
snaps into place.
5-89
Page 452 of 502
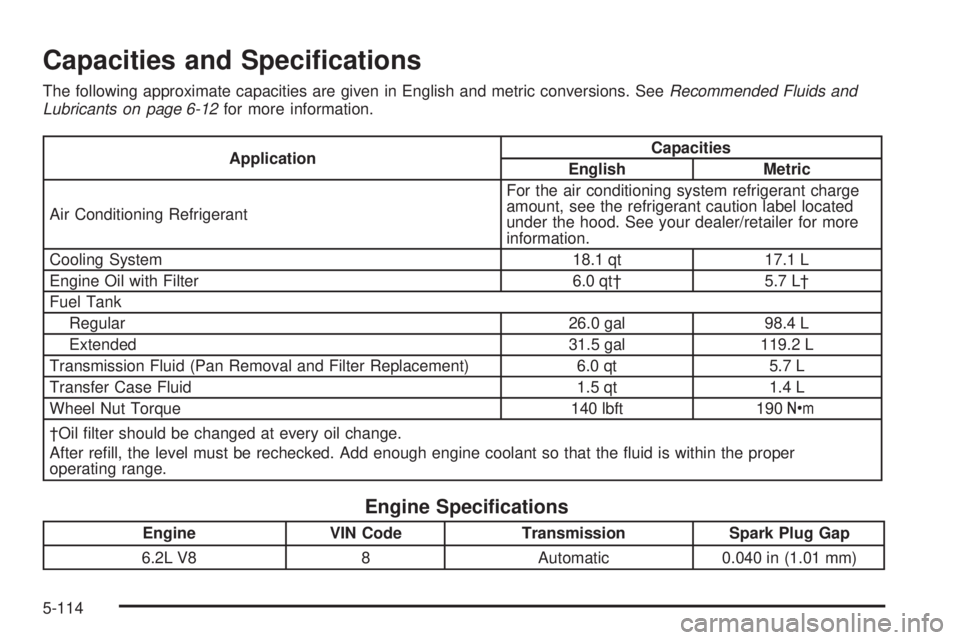
Capacities and Speci�cations
The following approximate capacities are given in English and metric conversions. SeeRecommended Fluids and
Lubricants on page 6-12for more information.
ApplicationCapacities
English Metric
Air Conditioning RefrigerantFor the air conditioning system refrigerant charge
amount, see the refrigerant caution label located
under the hood. See your dealer/retailer for more
information.
Cooling System 18.1 qt 17.1 L
Engine Oil with Filter 6.0 qt† 5.7 L†
Fuel Tank
Regular 26.0 gal 98.4 L
Extended 31.5 gal 119.2 L
Transmission Fluid (Pan Removal and Filter Replacement) 6.0 qt 5.7 L
Transfer Case Fluid 1.5 qt 1.4 L
Wheel Nut Torque 140 lbft 190Y
†Oil �lter should be changed at every oil change.
After re�ll, the level must be rechecked. Add enough engine coolant so that the �uid is within the proper
operating range.
Engine Speci�cations
Engine VIN Code Transmission Spark Plug Gap
6.2L V8 8 Automatic 0.040 in (1.01 mm)
5-114