brake light GMC YUKON DENALI 2010 Owners Manual
[x] Cancel search | Manufacturer: GMC, Model Year: 2010, Model line: YUKON DENALI, Model: GMC YUKON DENALI 2010Pages: 560, PDF Size: 4.32 MB
Page 5 of 560
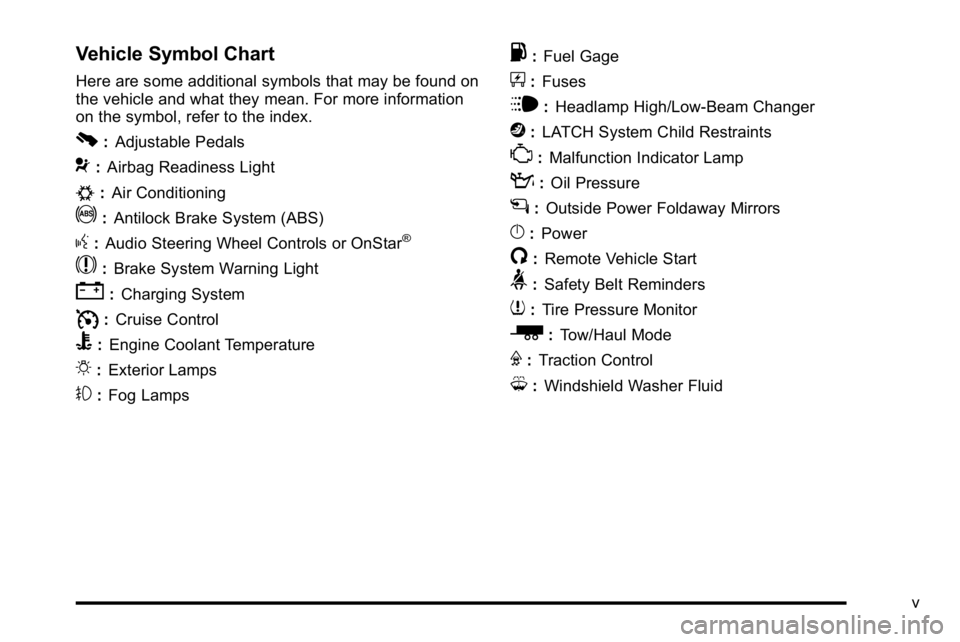
Vehicle Symbol Chart
Here are some additional symbols that may be found on
the vehicle and what they mean. For more information
on the symbol, refer to the index.
0:Adjustable Pedals
9:Airbag Readiness Light
#:Air Conditioning
!:Antilock Brake System (ABS)
g:Audio Steering Wheel Controls or OnStar®
$: Brake System Warning Light
":Charging System
I:Cruise Control
B: Engine Coolant Temperature
O:Exterior Lamps
#:Fog Lamps
.: Fuel Gage
+:Fuses
i: Headlamp High/Low-Beam Changer
j:LATCH System Child Restraints
*: Malfunction Indicator Lamp
::Oil Pressure
g:Outside Power Foldaway Mirrors
}:Power
/:Remote Vehicle Start
>:Safety Belt Reminders
7:Tire Pressure Monitor
_: Tow/Haul Mode
F:Traction Control
M:Windshield Washer Fluid
v
Page 15 of 560
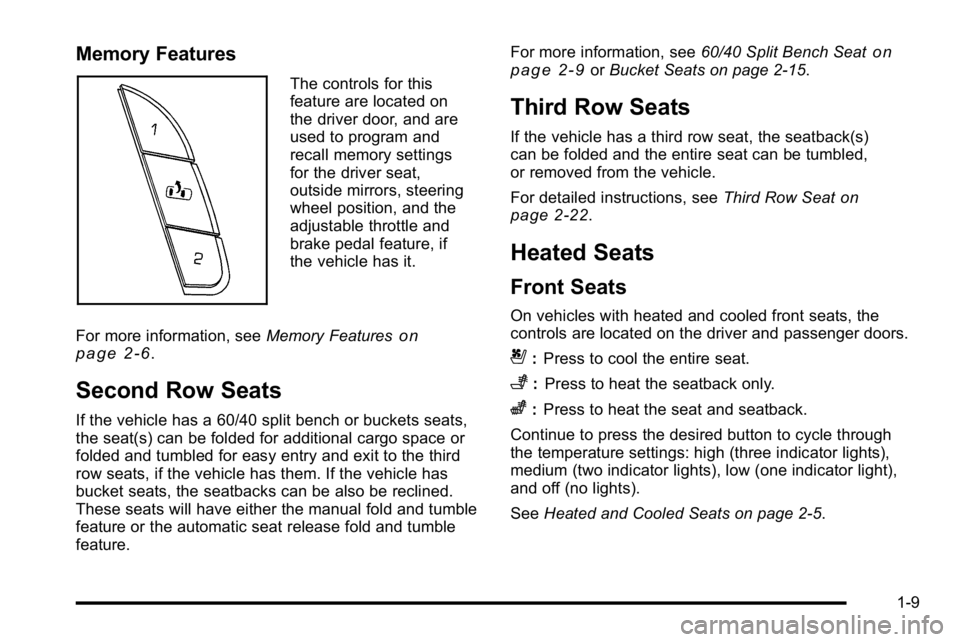
Memory Features
The controls for this
feature are located on
the driver door, and are
used to program and
recall memory settings
for the driver seat,
outside mirrors, steering
wheel position, and the
adjustable throttle and
brake pedal feature, if
the vehicle has it.
For more information, see Memory Features
on
page 2‑6.
Second Row Seats
If the vehicle has a 60/40 split bench or buckets seats,
the seat(s) can be folded for additional cargo space or
folded and tumbled for easy entry and exit to the third
row seats, if the vehicle has them. If the vehicle has
bucket seats, the seatbacks can be also be reclined.
These seats will have either the manual fold and tumble
feature or the automatic seat release fold and tumble
feature. For more information, see
60/40 Split Bench Seat
on
page 2‑9or Bucket Seats on page 2‑15.
Third Row Seats
If the vehicle has a third row seat, the seatback(s)
can be folded and the entire seat can be tumbled,
or removed from the vehicle.
For detailed instructions, see Third Row Seat
on
page 2‑22.
Heated Seats
Front Seats
On vehicles with heated and cooled front seats, the
controls are located on the driver and passenger doors.
{: Press to cool the entire seat.
+:Press to heat the seatback only.
z:Press to heat the seat and seatback.
Continue to press the desired button to cycle through
the temperature settings: high (three indicator lights),
medium (two indicator lights), low (one indicator light),
and off (no lights).
See Heated and Cooled Seats on page 2‑5.
1-9
Page 156 of 560
Automatic Transmission Operation
The vehicle has a Hydra-Matic®6L80 automatic
transmission, and has an electronic shift position
indicator within the instrument panel cluster.
The electronic shift position indicator displays when
the shift lever is moved out of P (Park).
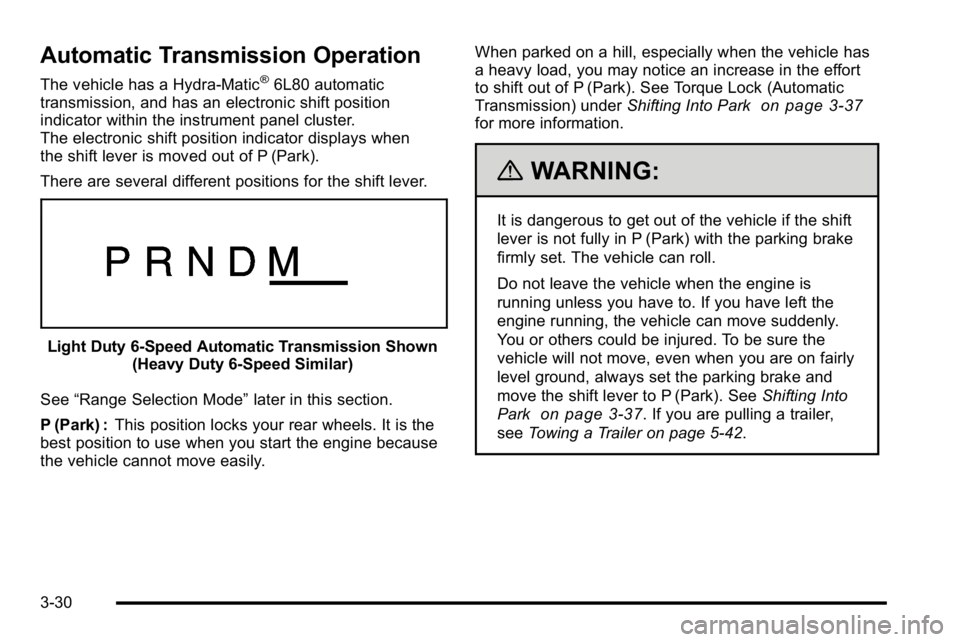
There are several different positions for the shift lever.
Light Duty 6‐Speed Automatic Transmission Shown (Heavy Duty 6‐Speed Similar)
See “Range Selection Mode” later in this section.
P (Park) : This position locks your rear wheels. It is the
best position to use when you start the engine because
the vehicle cannot move easily. When parked on a hill, especially when the vehicle has
a heavy load, you may notice an increase in the effort
to shift out of P (Park). See Torque Lock (Automatic
Transmission) under
Shifting Into Park
on page 3‑37for more information.
{WARNING:
It is dangerous to get out of the vehicle if the shift
lever is not fully in P (Park) with the parking brake
firmly set. The vehicle can roll.
Do not leave the vehicle when the engine is
running unless you have to. If you have left the
engine running, the vehicle can move suddenly.
You or others could be injured. To be sure the
vehicle will not move, even when you are on fairly
level ground, always set the parking brake and
move the shift lever to P (Park). See Shifting Into
Park
on page 3‑37. If you are pulling a trailer,
see Towing a Trailer on page 5‑42.
3-30
Page 162 of 560
Parking Brake
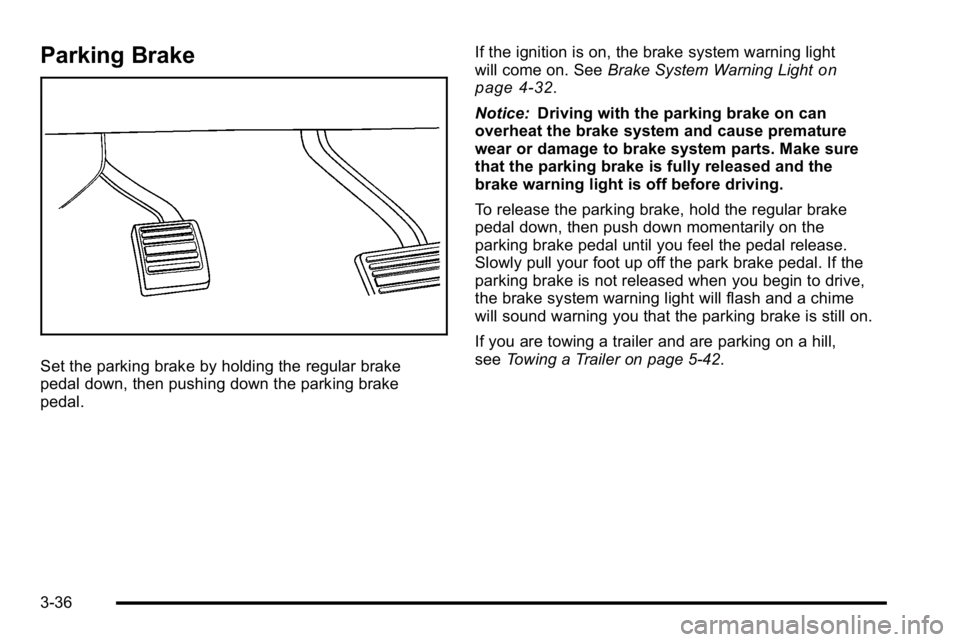
Set the parking brake by holding the regular brake
pedal down, then pushing down the parking brake
pedal.If the ignition is on, the brake system warning light
will come on. See
Brake System Warning Light
on
page 4‑32.
Notice: Driving with the parking brake on can
overheat the brake system and cause premature
wear or damage to brake system parts. Make sure
that the parking brake is fully released and the
brake warning light is off before driving.
To release the parking brake, hold the regular brake
pedal down, then push down momentarily on the
parking brake pedal until you feel the pedal release.
Slowly pull your foot up off the park brake pedal. If the
parking brake is not released when you begin to drive,
the brake system warning light will flash and a chime
will sound warning you that the parking brake is still on.
If you are towing a trailer and are parking on a hill,
see Towing a Trailer on page 5‑42.
3-36
Page 172 of 560
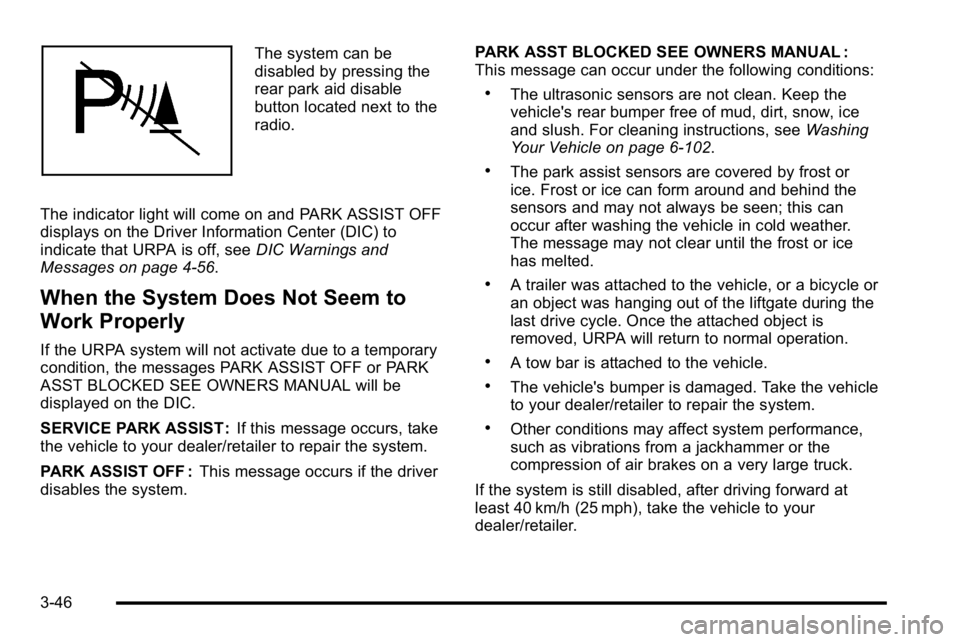
The system can be
disabled by pressing the
rear park aid disable
button located next to the
radio.
The indicator light will come on and PARK ASSIST OFF
displays on the Driver Information Center (DIC) to
indicate that URPA is off, see DIC Warnings and
Messages on page 4‑56.
When the System Does Not Seem to
Work Properly
If the URPA system will not activate due to a temporary
condition, the messages PARK ASSIST OFF or PARK
ASST BLOCKED SEE OWNERS MANUAL will be
displayed on the DIC.
SERVICE PARK ASSIST : If this message occurs, take
the vehicle to your dealer/retailer to repair the system.
PARK ASSIST OFF : This message occurs if the driver
disables the system. PARK ASST BLOCKED SEE OWNERS MANUAL :
This message can occur under the following conditions:
.The ultrasonic sensors are not clean. Keep the
vehicle's rear bumper free of mud, dirt, snow, ice
and slush. For cleaning instructions, see
Washing
Your Vehicle on page 6‑102.
.The park assist sensors are covered by frost or
ice. Frost or ice can form around and behind the
sensors and may not always be seen; this can
occur after washing the vehicle in cold weather.
The message may not clear until the frost or ice
has melted.
.A trailer was attached to the vehicle, or a bicycle or
an object was hanging out of the liftgate during the
last drive cycle. Once the attached object is
removed, URPA will return to normal operation.
.A tow bar is attached to the vehicle.
.The vehicle's bumper is damaged. Take the vehicle
to your dealer/retailer to repair the system.
.Other conditions may affect system performance,
such as vibrations from a jackhammer or the
compression of air brakes on a very large truck.
If the system is still disabled, after driving forward at
least 40 km/h (25 mph), take the vehicle to your
dealer/retailer.
3-46
Page 195 of 560
Section 4 Instrument Panel
Instrument Panel Overview. . . . . . . . . . . . . . . . . . . . . . . .4-3
Hazard Warning Flashers . . . . . . . . . . . . . . . . . . . . . . . 4-3
Horn . . . . . . . . . . . . . . . . . . . . . . . . . . . . . . . . . . . . . . . . . . . . 4-3
Tilt Wheel . . . . . . . . . . . . . . . . . . . . . . . . . . . . . . . . . . . . . . . 4-3
Heated Steering Wheel . . . . . . . . . . . . . . . . . . . . . . . . . 4-4
Turn Signal/Multifunction Lever . . . . . . . . . . . . . . . . . . 4-4
Turn and Lane-Change Signals . . . . . . . . . . . . . . . . . 4-5
Headlamp High/Low-Beam Changer . . . . . . . . . . . . 4-5
Flash-to-Pass . . . . . . . . . . . . . . . . . . . . . . . . . . . . . . . . . . . 4-6
Windshield Wipers . . . . . . . . . . . . . . . . . . . . . . . . . . . . . . 4-6
Windshield Washer . . . . . . . . . . . . . . . . . . . . . . . . . . . . . 4-7
Rear Window Wiper/Washer . . . . . . . . . . . . . . . . . . . . 4-7
Cruise Control . . . . . . . . . . . . . . . . . . . . . . . . . . . . . . . . . . 4-8
Exterior Lamps . . . . . . . . . . . . . . . . . . . . . . . . . . . . . . . . . 4-11
Headlamps on Reminder . . . . . . . . . . . . . . . . . . . . . . 4-12
Daytime Running Lamps (DRL) . . . . . . . . . . . . . . . . 4-12
Automatic Headlamp System . . . . . . . . . . . . . . . . . . 4-13
Fog Lamps . . . . . . . . . . . . . . . . . . . . . . . . . . . . . . . . . . . . 4-14
Instrument Panel Brightness . . . . . . . . . . . . . . . . . . . 4-14
Dome Lamps . . . . . . . . . . . . . . . . . . . . . . . . . . . . . . . . . . 4-14
Dome Lamp Override . . . . . . . . . . . . . . . . . . . . . . . . . . 4-14
Entry Lighting . . . . . . . . . . . . . . . . . . . . . . . . . . . . . . . . . . 4-15
Exit Lighting . . . . . . . . . . . . . . . . . . . . . . . . . . . . . . . . . . . 4-15
Front Reading Lamps . . . . . . . . . . . . . . . . . . . . . . . . . . 4-15
Electric Power Management . . . . . . . . . . . . . . . . . . . 4-15 Battery Run-Down Protection . . . . . . . . . . . . . . . . . . 4-16
Accessory Power Outlet(s) . . . . . . . . . . . . . . . . . . . . . 4-16
Ashtray(s) and Cigarette Lighter . . . . . . . . . . . . . . . 4-17
Climate Controls . . . . . . . . . . . . . . . . . . . . . . . . . . . . . . . . . . 4-18
Dual Automatic Climate Control System . . . . . . . 4-18
Outlet Adjustment . . . . . . . . . . . . . . . . . . . . . . . . . . . . . . 4-23
Rear Air Conditioning and Heating System
and Electronic Climate Controls . . . . . . . . . . . . . 4-24
Warning Lights, Gages, and Indicators . . . . . . . . . .4-25
Instrument Panel Cluster . . . . . . . . . . . . . . . . . . . . . . . 4-26
Speedometer and Odometer . . . . . . . . . . . . . . . . . . . 4-27
Trip Odometer . . . . . . . . . . . . . . . . . . . . . . . . . . . . . . . . . 4-27
Tachometer . . . . . . . . . . . . . . . . . . . . . . . . . . . . . . . . . . . . 4-27
Safety Belt Reminders . . . . . . . . . . . . . . . . . . . . . . . . . 4-27
Airbag Readiness Light . . . . . . . . . . . . . . . . . . . . . . . . 4-28
Passenger Airbag Status Indicator . . . . . . . . . . . . . 4-29
Charging System Light . . . . . . . . . . . . . . . . . . . . . . . . 4-30
Voltmeter Gage . . . . . . . . . . . . . . . . . . . . . . . . . . . . . . . . 4-31
Brake System Warning Light . . . . . . . . . . . . . . . . . . . 4-32
Antilock Brake System (ABS) Warning Light . . . 4-33
StabiliTrak
®Indicator Light . . . . . . . . . . . . . . . . . . . . . 4-33
Engine Coolant Temperature Gage . . . . . . . . . . . . 4-34
Tire Pressure Light . . . . . . . . . . . . . . . . . . . . . . . . . . . . 4-34
Malfunction Indicator Lamp . . . . . . . . . . . . . . . . . . . . 4-35
Oil Pressure Gage . . . . . . . . . . . . . . . . . . . . . . . . . . . . . 4-38
4-1
Page 203 of 560
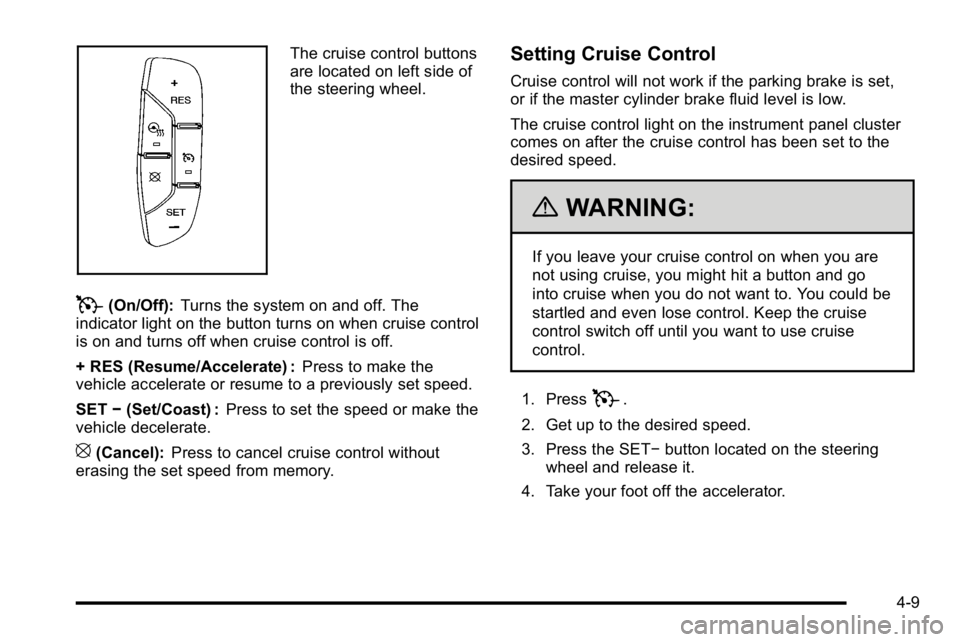
The cruise control buttons
are located on left side of
the steering wheel.
T(On/Off):Turns the system on and off. The
indicator light on the button turns on when cruise control
is on and turns off when cruise control is off.
+ RES (Resume/Accelerate) : Press to make the
vehicle accelerate or resume to a previously set speed.
SET −(Set/Coast) : Press to set the speed or make the
vehicle decelerate.
[(Cancel): Press to cancel cruise control without
erasing the set speed from memory.
Setting Cruise Control
Cruise control will not work if the parking brake is set,
or if the master cylinder brake fluid level is low.
The cruise control light on the instrument panel cluster
comes on after the cruise control has been set to the
desired speed.
{WARNING:
If you leave your cruise control on when you are
not using cruise, you might hit a button and go
into cruise when you do not want to. You could be
startled and even lose control. Keep the cruise
control switch off until you want to use cruise
control.
1. Press
T.
2. Get up to the desired speed.
3. Press the SET− button located on the steering
wheel and release it.
4. Take your foot off the accelerator.
4-9
Page 205 of 560
When going downhill, you might have to brake or shift
to a lower gear to keep the vehicle's speed down. When
the brakes are applied the cruise control is disengaged.
Ending Cruise Control
There are three ways to end cruise control:
.Step lightly on the brake pedal.
.Press the[button on the steering wheel.
.Press theIbutton on the steering wheel.
Erasing Speed Memory
The cruise control set speed memory is erased when
the cruise control or the ignition is turned off.
Exterior Lamps
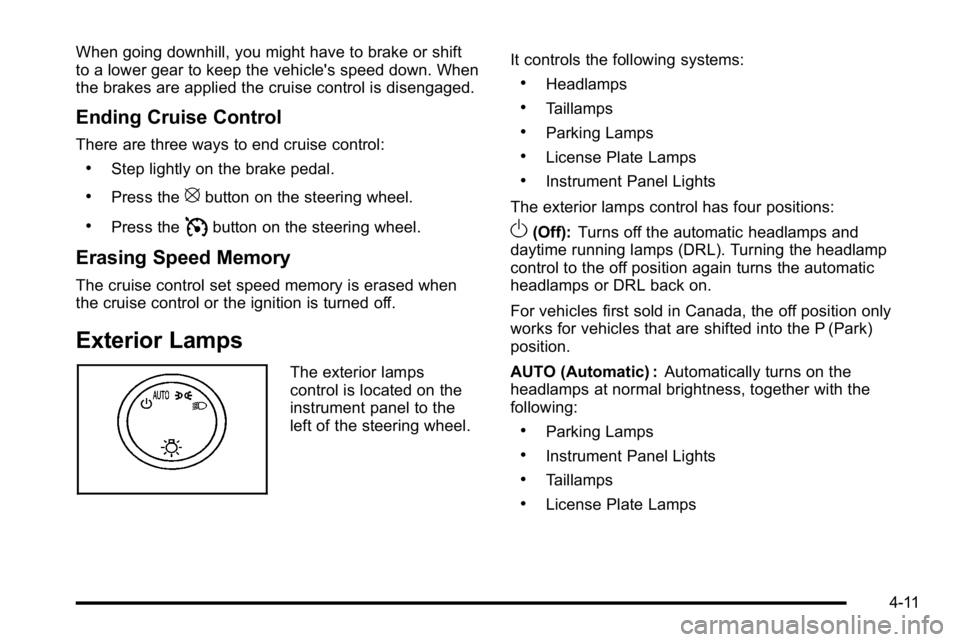
The exterior lamps
control is located on the
instrument panel to the
left of the steering wheel.It controls the following systems:
.Headlamps
.Taillamps
.Parking Lamps
.License Plate Lamps
.Instrument Panel Lights
The exterior lamps control has four positions:
O(Off): Turns off the automatic headlamps and
daytime running lamps (DRL). Turning the headlamp
control to the off position again turns the automatic
headlamps or DRL back on.
For vehicles first sold in Canada, the off position only
works for vehicles that are shifted into the P (Park)
position.
AUTO (Automatic) : Automatically turns on the
headlamps at normal brightness, together with the
following:
.Parking Lamps
.Instrument Panel Lights
.Taillamps
.License Plate Lamps
4-11
Page 226 of 560
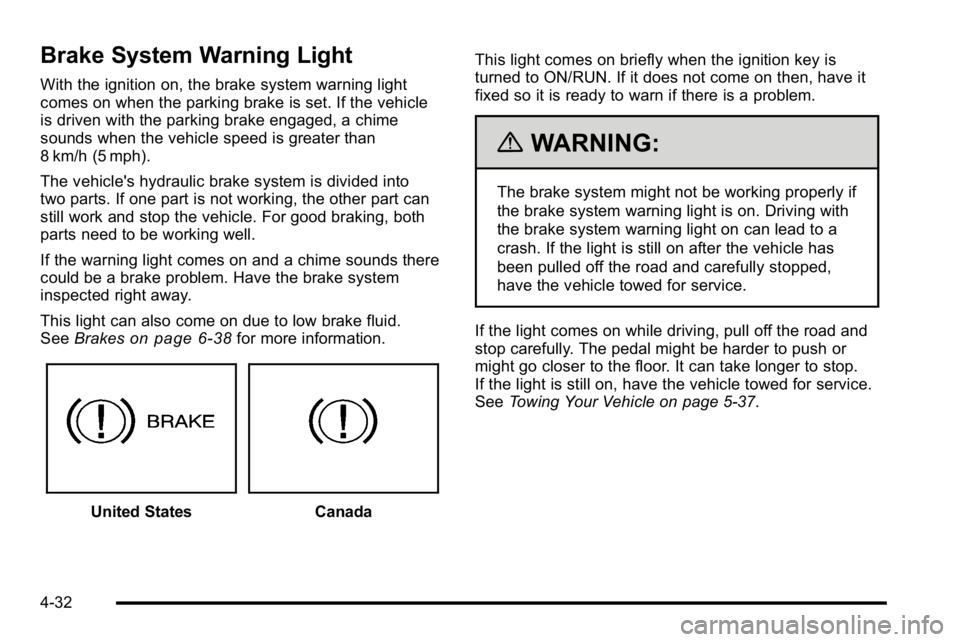
Brake System Warning Light
With the ignition on, the brake system warning light
comes on when the parking brake is set. If the vehicle
is driven with the parking brake engaged, a chime
sounds when the vehicle speed is greater than
8 km/h (5 mph).
The vehicle's hydraulic brake system is divided into
two parts. If one part is not working, the other part can
still work and stop the vehicle. For good braking, both
parts need to be working well.
If the warning light comes on and a chime sounds there
could be a brake problem. Have the brake system
inspected right away.
This light can also come on due to low brake fluid.
SeeBrakes
on page 6‑38for more information.
United StatesCanada This light comes on briefly when the ignition key is
turned to ON/RUN. If it does not come on then, have it
fixed so it is ready to warn if there is a problem.
{WARNING:
The brake system might not be working properly if
the brake system warning light is on. Driving with
the brake system warning light on can lead to a
crash. If the light is still on after the vehicle has
been pulled off the road and carefully stopped,
have the vehicle towed for service.
If the light comes on while driving, pull off the road and
stop carefully. The pedal might be harder to push or
might go closer to the floor. It can take longer to stop.
If the light is still on, have the vehicle towed for service.
See Towing Your Vehicle on page 5‑37.
4-32
Page 227 of 560
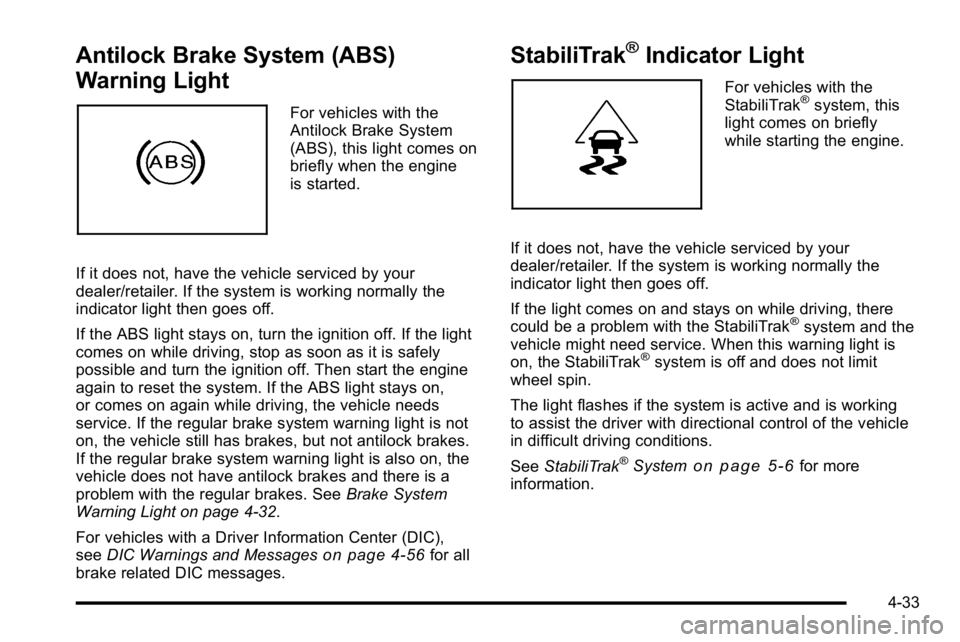
Antilock Brake System (ABS)
Warning Light
For vehicles with the
Antilock Brake System
(ABS), this light comes on
briefly when the engine
is started.
If it does not, have the vehicle serviced by your
dealer/retailer. If the system is working normally the
indicator light then goes off.
If the ABS light stays on, turn the ignition off. If the light
comes on while driving, stop as soon as it is safely
possible and turn the ignition off. Then start the engine
again to reset the system. If the ABS light stays on,
or comes on again while driving, the vehicle needs
service. If the regular brake system warning light is not
on, the vehicle still has brakes, but not antilock brakes.
If the regular brake system warning light is also on, the
vehicle does not have antilock brakes and there is a
problem with the regular brakes. See Brake System
Warning Light on page 4‑32.
For vehicles with a Driver Information Center (DIC),
see DIC Warnings and Messages
on page 4‑56for all
brake related DIC messages.
StabiliTrak®Indicator Light
For vehicles with the
StabiliTrak®system, this
light comes on briefly
while starting the engine.
If it does not, have the vehicle serviced by your
dealer/retailer. If the system is working normally the
indicator light then goes off.
If the light comes on and stays on while driving, there
could be a problem with the StabiliTrak
®system and the
vehicle might need service. When this warning light is
on, the StabiliTrak
®system is off and does not limit
wheel spin.
The light flashes if the system is active and is working
to assist the driver with directional control of the vehicle
in difficult driving conditions.
See StabiliTrak
®Systemon page 5‑6for more
information.
4-33