four wheel drive HONDA CIVIC COUPE 1999 Owners Manual
[x] Cancel search | Manufacturer: HONDA, Model Year: 1999, Model line: CIVIC COUPE, Model: HONDA CIVIC COUPE 1999Pages: 269, PDF Size: 2.42 MB
Page 65 of 269

Controls Near the Steering Wheel
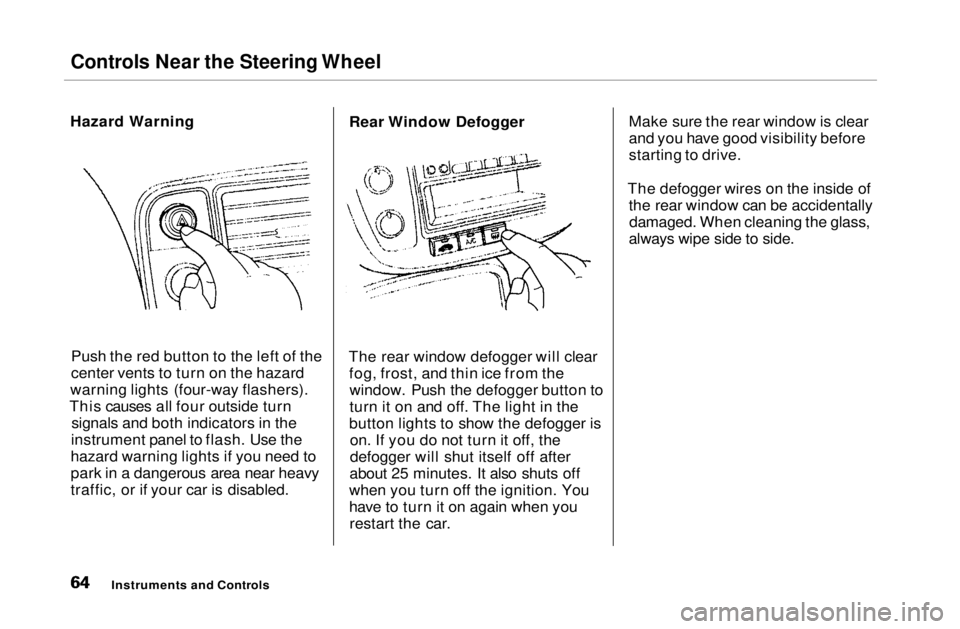
Hazard Warning
Push the red button to the left of the
center vents to turn on the hazard
warning lights (four-way flashers).
This causes all four outside turn signals and both indicators in the
instrument panel to flash. Use the
hazard warning lights if you need to
park in a dangerous area near heavy
traffic, or if your car is disabled. Rear Window Defogger
The rear window defogger will clear fog, frost, and thin ice from thewindow. Push the defogger button to
turn it on and off. The light in the
button lights to show the defogger is on. If you do not turn it off, the
defogger will shut itself off after
about 25 minutes. It also shuts off
when you turn off the ignition. You
have to turn it on again when you restart the car. Make sure the rear window is clear
and you have good visibility before
starting to drive.
The defogger wires on the inside of the rear window can be accidentallydamaged. When cleaning the glass,
always wipe side to side.
Instruments and ControlsMain Menu Table of Contents s t
Page 143 of 269

Automatic Transmission
Reverse (R) — To shift to Reverse
from Park, see the explanation under Park. To shift to Reverse from
Neutral, come to a complete stop and
then shift. Press the release button
before shifting into Reverse from
Neutral.
Neutral (N) — Use Neutral if youneed to restart a stalled engine, or if
it is necessary to stop briefly with
the engine idling. Shift to Park posi- tion if you need to leave the car forany reason. Press on the brake pedal
when you are moving the shift lever from Neutral to another gear.
Drive (D4) — Use this position for
your normal driving. The transmis- sion automatically selects a suitable
gear for your speed and acceleration.
You may notice the transmission shifting up at higher speeds when
the engine is cold. This helps the engine warm up faster. Drive (D3) —This position is similar
to D4, except only the first three
gears are selected. Use D3 to provide
engine braking when going down a
steep hill. D3 can also keep the
transmission from cycling between
third and fourth gears in stop-and-go
driving.
For faster acceleration when in D3 or
D4, you can get the transmission to automatically downshift by pushing
the accelerator pedal to the floor.
The transmission will shift down one or two gears, depending on your
speed.
Second (2) — To shift to Second,
press the release button on the side
of the shift lever. This position locks
the transmission in second gear. It does not downshift to first gear
when you come to a stop. Second
gives you more power when climbing,
and increased engine braking when
going down steep hills. Use second
gear when starting out on a slippery surface or in deep snow. It will help
reduce wheelspin.
DrivingMain Menu Table of Contents s t
Page 150 of 269

The Braking System
On
DX,
HX
and
EX in
the
U.S., DX
and
EX models in Canada
All Civics are equipped with front disc brakes. The brakes on the rear
wheels are drum. A power assist helps reduce the effort needed on
the brake pedal.
(On the Si model in the U.S., SiR model
in Canada)
Your Honda is equipped with disc brakes at all four wheels. A power assist helps reduce the effort needed
on the brake pedal.
Put your foot on the brake pedal only
when you intend to brake. Resting
your foot on the pedal keeps the brakes applied lightly, causing themto build up heat. Heat build-up can
reduce how well your brakes work. It
also keeps your brake lights on all
the time, confusing drivers behind
you.
Constant application of the brakes
when going down a long hill builds up heat and reduces their effective-ness. Use the engine to assist the
brakes by downshifting to a lower
gear and taking your foot off the accelerator pedal.
Check your brakes after driving
through deep water. Apply the
brakes moderately to see if they feel normal. If not, apply them gently and
frequently until they do. Since a
longer distance is needed to stop
with wet brakes, be extra cautious and alert in your driving. Brake Wear Indicators
The front disc brakes on all models have audible brake wear indicators.
When the brake pads need replacing,
you will hear a distinctive metallic "screeching" sound when you apply
the brakes. If you do not have the
brake pads replaced, they will begin screeching all the time.
Your brakes may sometimes squeal or squeak when you apply them
lightly. Do not confuse this with the
brake wear indicators. They make a
very audible "screeching."
DrivingMain Menu Table of Contents s t
Page 155 of 269

Driving in Bad Weather, Towing a Trailer
Traction — Check your tires frequently for wear and proper
pressure. Both are important in
preventing "hydroplaning" (loss of
traction on a wet surface). In the
winter, mount snow tires on all four wheels for the best handling.
Watch road conditions carefully, they can change from moment to
moment. Wet leaves can be as slip-
pery as ice. "Clear" roads can have
patches of ice. Driving conditionscan be very hazardous when the
outside temperature is near freezing.
The road surface can become covered with areas of water puddlesmixed with areas of ice, so your
traction can change without warning.
Be careful when downshifting. If
traction is low, you can lock up thedrive wheels for a moment and cause
a skid. Be very cautious when passing, or
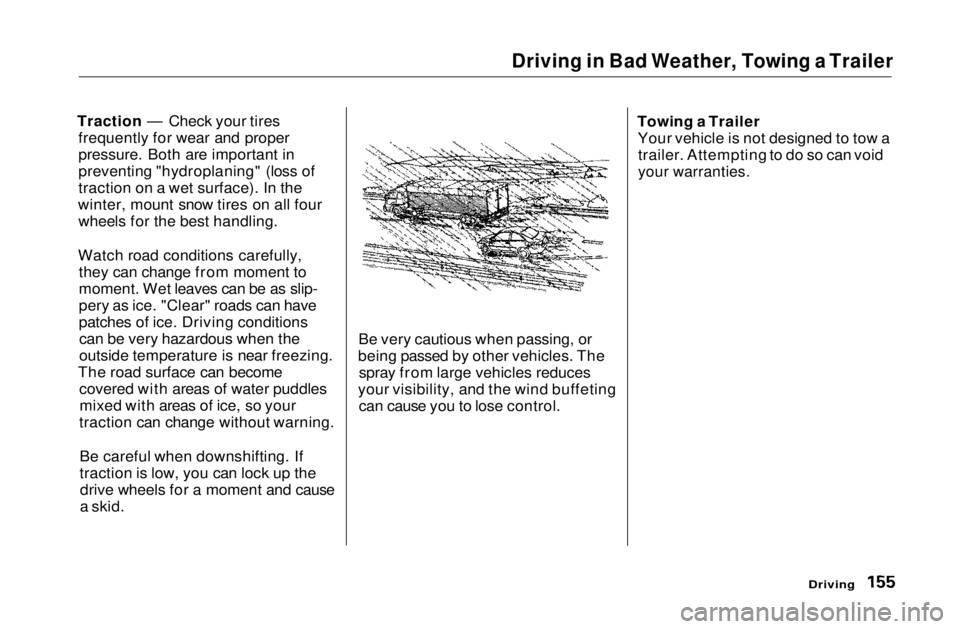
being passed by other vehicles. The spray from large vehicles reduces
your visibility, and the wind buffeting can cause you to lose control. Towing a Trailer
Your vehicle is not designed to tow atrailer. Attempting to do so can void
your warranties.
DrivingMain Menu Table of Contents s t
Page 199 of 269

Tires
Wheels and Tires
Wheels:
(U.S.: DX, EX, Canada: Si, DX) 14x5J
(U.S.: HX) 14 x 51/2 JJ
(U.S.: Si, Canada: SiR)
15 x 6JJ
Tires:
(U.S.: DX, EX, HX, Canada: DX, Si)
P185/65R14 85S
(U.S.: Si, Canada: SiR)
P195/55 R15 84V
See Tire Information on page 249 for additional information about tire and
wheel size designations. See page 250 for information about DOT Tire
Quality Grading.
Winter Driving
Tires that are marked "M + S" or
"All Season" on the sidewall have an
all-weather tread design. Theyshould be suitable for most winter
driving conditions. Tires without
these markings are designed for
optimum traction in dry conditions.
They may not provide adequate performance in winter driving.
For the best performance in snowyor icy conditions, you should install
snow tires or tire chains. They may
be required by local laws under certain conditions.
Snow Tires
If you mount snow tires on your Honda, make sure they are radial
tires of the same size and load range as the original tires. Mount snow
tires on all four wheels to balance
your car's handling in all weather conditions. Keep in mind the traction
provided by snow tires on dry roads
may not be as high as your car'soriginal equipment tires. You should
drive cautiously even when the roads
are clear. Check with the tire dealer
for maximum speed recommenda-
tions.
MaintenanceMain Menu Table of Contents s t