trunk HONDA CIVIC HYBRID 2013 9.G User Guide
[x] Cancel search | Manufacturer: HONDA, Model Year: 2013, Model line: CIVIC HYBRID, Model: HONDA CIVIC HYBRID 2013 9.GPages: 346, PDF Size: 6.95 MB
Page 113 of 346

112Controls
Opening and Closing the TrunkPrecautions for Opening/Closing the Trunk■Opening the trunk
Open the trunk all the way.
uIf it is not fully opened, the trunk lid may begin to close under its own weight.■Closing the trunk
Keep the trunk lid closed while driving to:
uAvoid possible damage.
uPrevent exhaust gas from leaking into the vehicle.2Carbon Monoxide Gas P. 64Using the Trunk Opener
Pulling the trunk release to the lower left of
the driver’s seat unlocks and opens the trunk.
Trunk
Release
Page 114 of 346

113
uuOpening and Closing the TrunkuUsing the Remote Transmitter
Controls
■Locking the trunk opener
You can lock the trunk release with the master
key.
Using the Remote Transmitter
Press the trunk release button for
approximately one second to unlock and open
the trunk.
1Locking the trunk opener
If you need to give the key to someone else, give
them the valet key.
Trunk
Release
Button
Page 115 of 346

114
uuOpening and Closing the TrunkuEmergency Trunk Opener
Controls
Emergency Trunk Opener
The trunk release lever allows you to open the
trunk from inside for your safety.
Slide the release lever in the direction of the
arrow.
1Emergency Trunk Opener
Parents should decide if their children should be
shown how to use this feature.
Lever
Page 116 of 346
115
Continued
Controls
Security SystemImmobilizer SystemThe immobilizer system prevents a key that has not been pre-registered from
starting the engine. Each key contains electronic transmitters that use electronic
signals to verify the key.
Pay attention to the following when inserting the key into the ignition switch:
•Do not allow objects that emit strong radio waves near the ignition switch.
•Make sure the key is not covered by or touching a metal object.
•Do not bring a key from another vehicle’s immobilizer system near the ignition
switch.Security System AlarmThe security system alarm activates when the doors, trunk, or hood are opened
without the key, or remote transmitter.■When the security system alarm activates
The horn sounds intermittently and all of the exterior lights flash.■To deactivate the security system alarm
Unlock the vehicle using the key, or remote transmitter, or turn the ignition switch
to ON
(w. The system, along with the horn and flashing lights, is deactivated.
1Immobilizer SystemNOTICELeaving the ignition key in the vehicle can result in
theft or accidental movement of the vehicle.
Always take the ignition key with you whenever you
leave the vehicle unattended.
Do not alter the system or add other devices to it.
Doing so may damage the system and make your
vehicle inoperable.1Security System Alarm
The security alarm continues for a maximum of two
minutes until the security system deactivates.
Page 117 of 346
uuSecurity SystemuSecurity System Alarm
116Controls
■Setting the security system alarm
The security system alarm automatically sets when the following conditions have
been met:
•The ignition switch is in LOCK
(0, and the key has been removed from the
ignition switch.
•The hood and trunk are closed.
•All doors are locked with the key or the remote transmitter.
■When the security system alarm sets
The security system indicator in the instrument panel blinks. When the blinking
interval changes after about 15 seconds, the security system is set.■To cancel the security system alarm
The security system is canceled when the vehicle is unlocked using the key or remote
transmitter, or the ignition switch is turned to ON
(w. The security system indicator
goes off at the same time.
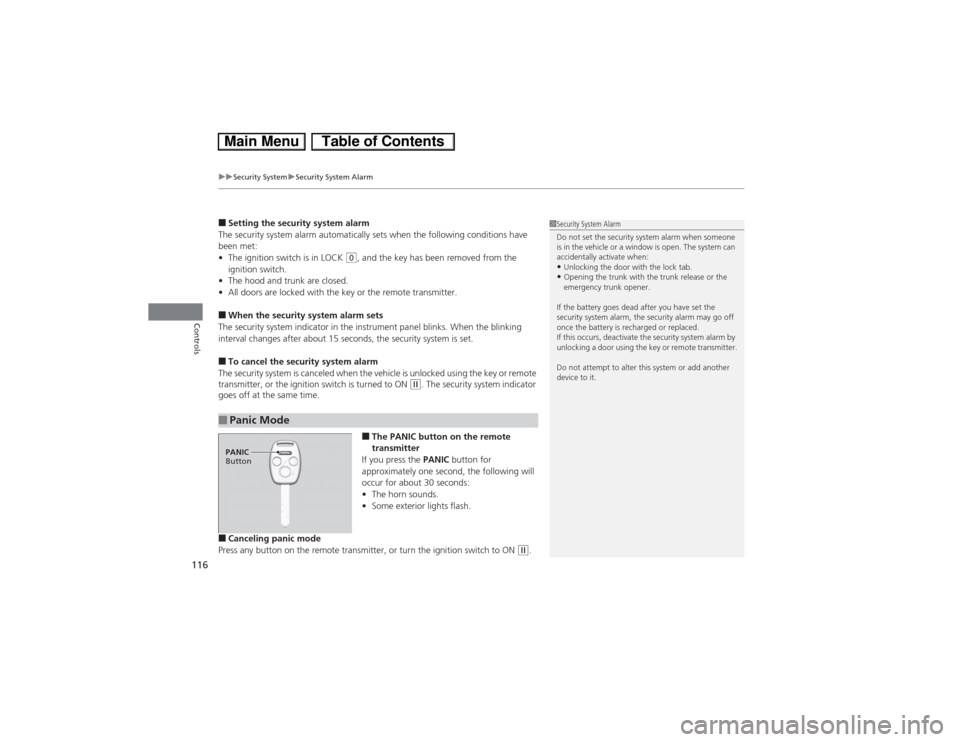
■The PANIC button on the remote
transmitter
If you press the PANIC button for
approximately one second, the following will
occur for about 30 seconds:
•The horn sounds.
•Some exterior lights flash.
■Canceling panic mode
Press any button on the remote transmitter, or turn the ignition switch to ON
(w.
■Panic Mode
1Security System Alarm
Do not set the security system alarm when someone
is in the vehicle or a window is open. The system can
accidentally activate when:•Unlocking the door with the lock tab.•Opening the trunk with the trunk release or the
emergency trunk opener.
If the battery goes dead after you have set the
security system alarm, the security alarm may go off
once the battery is recharged or replaced.
If this occurs, deactivate the security system alarm by
unlocking a door using the key or remote transmitter.
Do not attempt to alter this system or add another
device to it.
PANIC
Button
Page 210 of 346
Continued
209
uuBefore DrivinguDriving Preparation
Driving
•Store or secure all items on board properly.
uCarrying too much cargo, or improperly storing it, can affect your vehicle’s
handling, stability, stopping distance, and tires, and make it unsafe.
2Maximum Load Limit P. 211
•Do not pile items higher than the seat height.
uThey can block your view and may be thrown forward in the event of sudden
braking.
•Do not place anything in the front seat footwells. Make sure to secure the floor
mat.
uAn object or unsecured floor mat can interfere with your brake and accelerator
pedal operation while driving.
•If you have any animals on board, do not let them move around in the vehicle.
uThey may interfere with driving and a crash could occur.
•Securely close and lock all doors and the trunk.
2Locking/Unlocking the Doors from the Inside P. 109
•Adjust your seating position properly.
uAdjust the head restraint, too.
2Adjusting the Seats P. 129
2Adjusting the Head Restraints P. 131
•Adjust the mirrors and steering wheel properly for your driving.
uAdjust them while sitting in the proper driving position.
2Adjusting the Mirrors P. 128
2Adjusting the Steering Wheel P. 127
■Interior Checks
1Interior Checks
The headlight aim is set by the factory, and does not
need to be adjusted. However, if you regularly carry
heavy items in the trunk, have the aiming readjusted
at a dealer or by a qualified technician.
Page 272 of 346

271
Continued
Maintenance
Replacing Light BulbsHeadlight BulbsWhen replacing, use the following bulbs.
1.Push the tab to remove the coupler.
2.Rotate the old bulb to the left to remove.
3.Insert a new bulb into the headlight
assembly and turn it to the right.
4.Insert the coupler into the connector of the
bulb.High beam headlight:
60 W (HB3 for halogen bulb type)
Low beam headlight:
51 W (HB4 for halogen bulb type)
■High Beam Headlight
1Headlight BulbsNOTICEHalogen bulbs get very hot when lit.
Oil, perspiration, or a scratch on the glass can cause
the bulb to overheat and shatter.
The headlight aim is set by the factory, and does not
need to be adjusted. However, if you regularly carry
heavy items in the trunk, have the aiming readjusted
at a dealer or by a qualified technician.
When replacing a halogen bulb, handle it by its base,
and protect the glass from contact with your skin or
hard objects. If you touch the glass, clean it with
denatured alcohol and a clean cloth.
The exterior lights’ inside lenses (headlights, brake
lights, etc.) may fog temporarily after a car wash or
while driving in the rain. This does not impact the
exterior light function.
However, if you see a large amount of water or ice
accumulated inside the lenses, have your vehicle
inspected by a dealer.
Tab
Coupler Bulb
Page 276 of 346

275
uuReplacing Light BulbsuBack-Up Light Bulbs
Maintenance
Back-Up Light BulbsWhen replacing, use the following bulbs.
1.Remove the screw from the center of the
fastener using a Phillips-head screwdriver.
2.Remove the holding clips using a flat-tip
screwdriver, then pull the lining back.
2Rear Turn Signal Light Bulbs P. 274
3.Turn the socket to the left and remove it.
4.Remove the old bulb and insert a new bulb.
Taillight BulbsTaillight bulbs in the trunk lid are LED type. Have an authorized Honda dealer inspect
and replace the light assembly.Back-Up Light: 16 WLining
Fastener
ClipBulb
Socket
Page 297 of 346

296Handling the Unexpected
ToolsTypes of Tools
1Types of Tools
The tools are stored in the trunk.
Models with optional compact spare
Tool CaseWheel Nut Wrench/
Jack HandleJack
Jack Handle Bar
Page 299 of 346

uuIf a Tire Goes FlatuTemporarily Repairing a Flat Tire
298Handling the Unexpected
1.Open the trunk floor lid.
2.Take the kit out of the case.
uPlace the kit face up, on flat ground near
the flat tire, and away from traffic. Do
not place the kit on its side.
1Getting Ready to Temporarily Repair the Flat Tire
When making a temporary repair, carefully read the
instruction manual provided with the kit.
In cold temperatures, the sealant may not flow easily.
In this situation, warm it up for five minutes before
using.