buttons HONDA CR-V 2012 RM1, RM3, RM4 / 4.G Owner's Manual
[x] Cancel search | Manufacturer: HONDA, Model Year: 2012, Model line: CR-V, Model: HONDA CR-V 2012 RM1, RM3, RM4 / 4.GPages: 361, PDF Size: 7.25 MB
Page 178 of 361
Continued177
uuRear Entertainment System*uOperating the System
Features
■
Playing a DVD
• Insert a DVD into the slot in the console compartment.
uThe system automatically starts the DVD.
• To fast forward, press and hold the fast-forward button, and to rewind, press and
hold the rewind button on the remote.
• To go to the next chapter, press the (SKIP) button, and to go to the beginning
of the current chapter, press the button on the remote. Quickly press the
button twice to go to the previous chapter.
■ TITLE button on the remote
Press the TITLE button while the DVD is playing to see the current status of title,
chapter, elapsed time, angle, subtitle, audio, and sound characteristics.
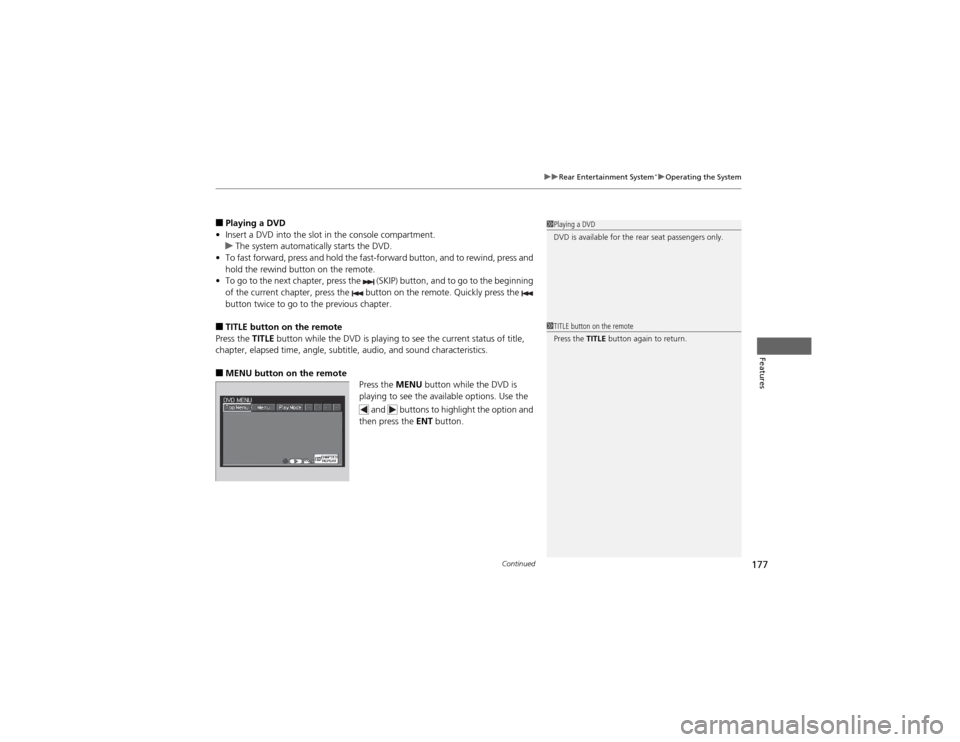
■ MENU button on the remote
Press the MENU button while the DVD is
playing to see the available options. Use the
and buttons to highlight the option and
then press the ENT button.
1Playing a DVD
DVD is available for the rear seat passengers only.
1TITLE button on the remote
Press the TITLE button again to return.
Page 180 of 361
179
uuRear Entertainment System*uOperating the System
Continued
Features
Search:
You can search for a DVD segment from the following methods.
Title Search - Select the title you want to play.
Chapter Search - Select the chapter you want to play.
NumInput:
Enter a two digit number, if issued to the DVD, to find the segment you want to start to play. 1.
Select NumInput to go to the number input screen.
2. Use the , , , and buttons to input numbers.
uIf you want to delete a number, select DEL.
3. The cursor automatically goes to ENT after you input two digits. Press the ENT
button to enter.
Repeat:
Highlight this option and press the ENT button to change the repeat mode from
chapter repeat and title repeat, to repeat off.
Page 181 of 361
uuRear Entertainment System*uOperating the System
180
Features
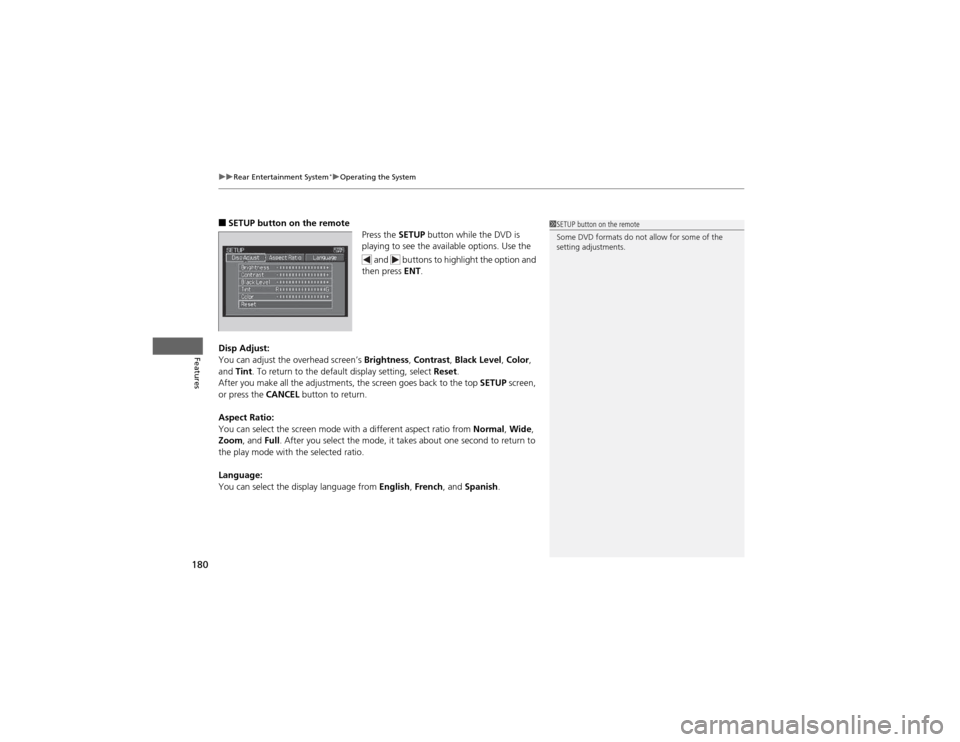
■ SETUP button on the remote
Press the SETUP button while the DVD is
playing to see the available options. Use the
and buttons to highlight the option and
then press ENT.
Disp Adjust:
You can adjust the overhead screen’s Brightness, Contrast , Black Level , Color ,
and Tint. To return to the default display setting, select Reset.
After you make all the adjustments, the screen goes back to the top SETUP screen,
or press the CANCEL button to return.
Aspect Ratio:
You can select the screen mode with a different aspect ratio from Normal, Wide ,
Zoom , and Full. After you select the mode, it takes about one second to return to
the play mode with the selected ratio.
Language:
You can select the display language from English, French , and Spanish .1SETUP button on the remote
Some DVD formats do not allow for some of the
setting adjustments.
Page 183 of 361
182
uuRear Entertainment System*uOperating the System
Features
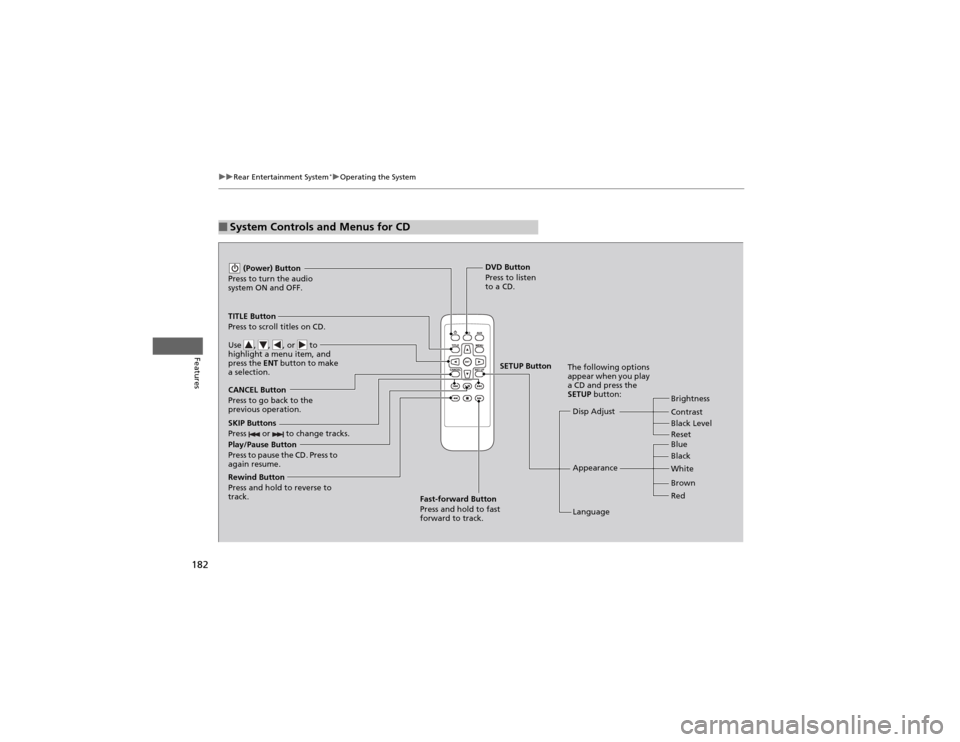
■System Controls and Menus for CD
Play/Pause Button
Press to pause the CD. Press to
again resume. (Power) Button
Press to turn the audio
system ON and OFF.
DVD Button
Press to listen
to a CD.
TITLE Button
Press to scroll titles on CD.
Use , , , or to
highlight a menu item, and
press the ENT button to make
a selection.
CANCEL Button
Press to go back to the
previous operation. Disp Adjust
LanguageBrightness
Contrast
Black Level
Appearance Black
Blue
Brown
White Red
The following options
appear when you play
a CD and press the SETUP
button:
SKIP Buttons
Press or to change tracks.
Rewind Button
Press and hold to reverse to
track. Fast-forward Button
Press and hold to fast forward to track.
SETUP Button
Reset
Page 184 of 361
183
uuRear Entertainment System*uOperating the System
Features
■
Playing a CD
Press the DVD button.
The available options appear on the overhead screen are Repeat, Random, and Scan.
These functions are the same as those of the playing a DVD. 2 Playing a DVD P. 177
To scroll your audio data title, press the TITLE button for five seconds.
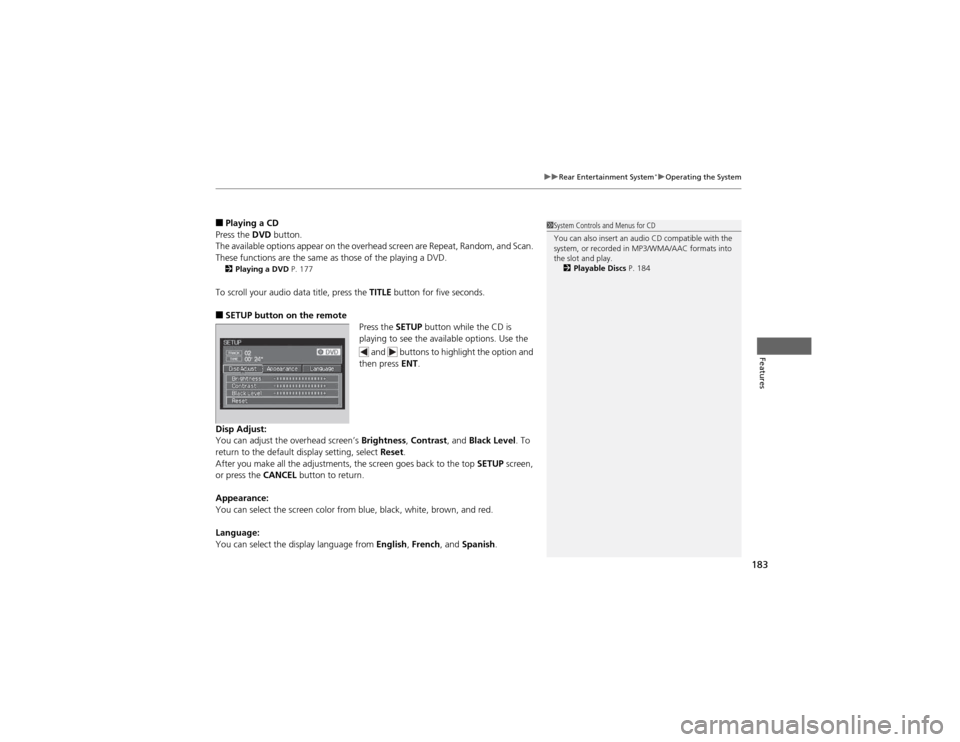
■ SETUP button on the remote
Press the SETUP button while the CD is
playing to see the available options. Use the
and buttons to highlight the option and
then press ENT.
Disp Adjust:
You can adjust the overhead screen’s Brightness, Contrast , and Black Level . To
return to the default display setting, select Reset.
After you make all the adjustments, the screen goes back to the top SETUP screen,
or press the CANCEL button to return.
Appearance:
You can select the screen color from blue, black, white, brown, and red.
Language:
You can select the display language from English, French , and Spanish .1System Controls and Menus for CD
You can also insert an audio CD compatible with the
system, or recorded in MP3/WMA/AAC formats into
the slot and play.
2 Playable Discs P. 184
Page 190 of 361
189
Features
Audio Remote Controls
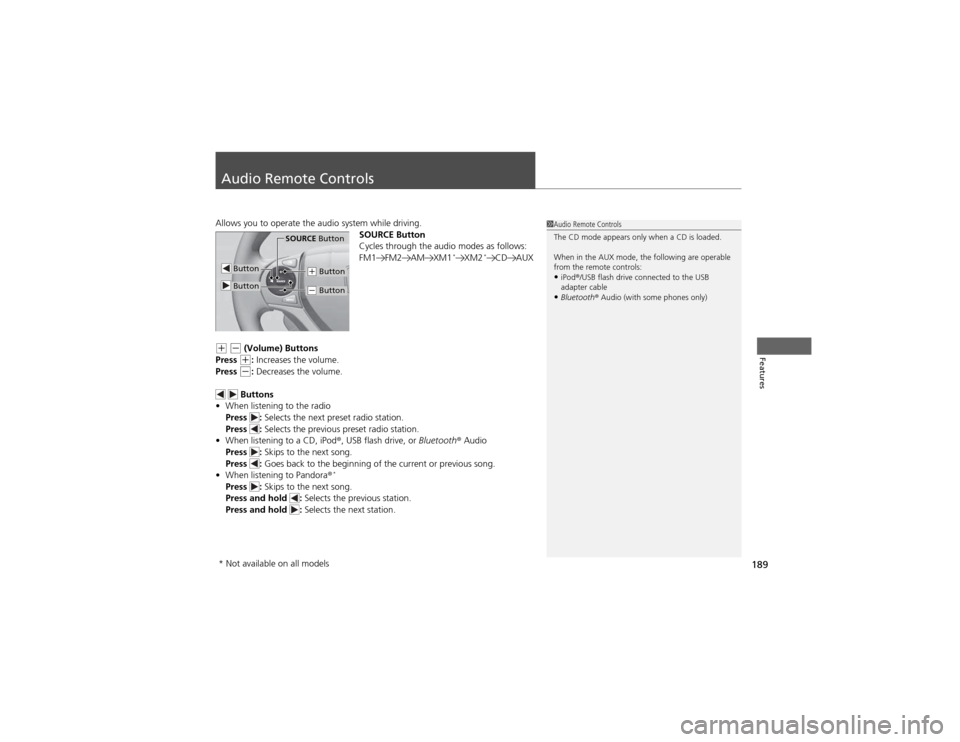
Allows you to operate the audio system while driving.SOURCE Button
Cycles through the audio modes as follows:
FM1 FM2 AM XM1*
XM2 *
CD AUX
(+ (- (Volume) Buttons
Press (+ : Increases the volume.
Press (- : Decreases the volume.
Buttons
• When listening to the radio
Press : Selects the next preset radio station.
Press : Selects the previous preset radio station.
• When listening to a CD, iPod ®, USB flash drive, or Bluetooth® Audio
Press : Skips to the next song.
Press : Goes back to the beginning of the current or previous song.
• When listening to Pandora ®*
Press : Skips to the next song.
Press and hold : Selects the previous station.
Press and hold : Selects the next station.
1Audio Remote Controls
The CD mode appears only when a CD is loaded.
When in the AUX mode, the following are operable
from the remote controls:
• iPod ®/USB flash drive connected to the USB
adapter cable
• Bluetooth ® Audio (with some phones only)
Button
SOURCE Button
Button
(+ Button
(- Button
* Not available on all models
Page 195 of 361
194
Features
Bluetooth® HandsFreeLink ®
For models with the navigation system, see Navigation System Manual for how to
operate the Bluetooth® HandsFreeLink ®.
Bluetooth ® HandsFreeLink ® (HFL) allows you to place and receive phone calls using
your vehicle's audio system, without handling your cell phone.
Using HFL
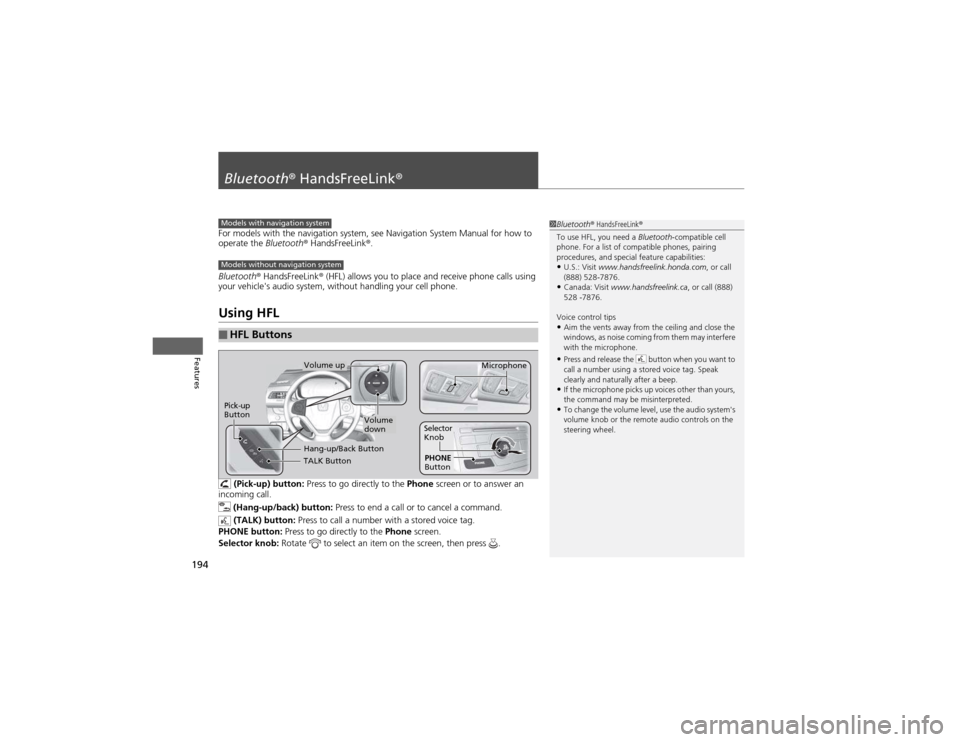
(Pick-up) button: Press to go directly to the Phone screen or to answer an
incoming call.
(Hang-up/back) button: Press to end a call or to cancel a command.
(TALK) button: Press to call a number with a stored voice tag.
PHONE button: Press to go directly to the Phone screen.
Selector knob: Rotate to select an item on the screen, then press .
■HFL Buttons
1Bluetooth® HandsFreeLink ®
To use HFL, you need a Bluetooth-compatible cell
phone. For a list of compatible phones, pairing
procedures, and special feature capabilities:
• U.S.: Visit www.handsfreelink.honda.com , or call
(888) 528-7876.
• Canada: Visit www.handsfreelink.ca , or call (888)
528 -7876.
Voice control tips • Aim the vents away from the ceiling and close the
windows, as noise coming from them may interfere
with the microphone.
• Press and release the button when you want to
call a number using a stored voice tag. Speak
clearly and naturally after a beep.
• If the microphone picks up voices other than yours,
the command may be misinterpreted.
• To change the volume level, use the audio system's
volume knob or the remote audio controls on the
steering wheel.Models with navigation system
Models without navigation system
TALK Button
Volume up
Microphone
Hang-up/Back Button
Pick-up
Button
Volume
downSelector
Knob PHONE
Button
Page 212 of 361
Continued211
uuBluetooth® HandsFreeLink ®uHFL Menus
Features
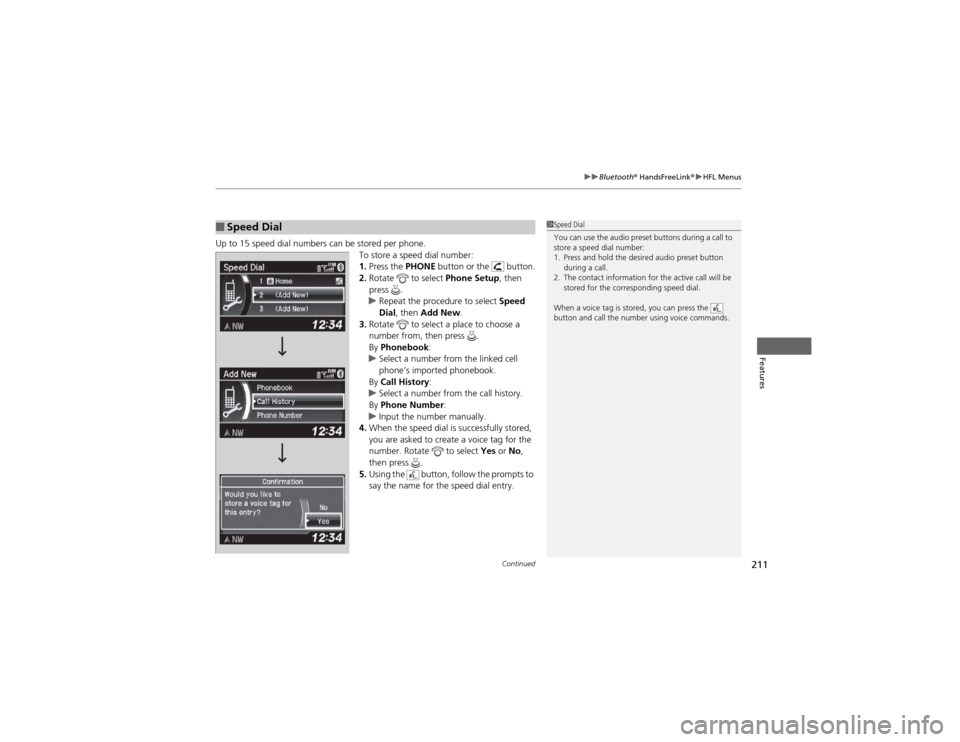
Up to 15 speed dial numbers can be stored per phone.
To store a speed dial number: 1.Press the PHONE button or the button.
2. Rotate to select Phone Setup, then
press .
uRepeat the procedure to select Speed
Dial , then Add New .
3. Rotate to select a place to choose a
number from, then press .
By Phonebook :
uSelect a number from the linked cell
phone’s imported phonebook.
By Call History :
uSelect a number from the call history.
By Phone Number :
uInput the number manually.
4. When the speed dial is successfully stored,
you are asked to create a voice tag for the
number. Rotate to select Yes or No,
then press .
5. Using the button, follow the prompts to
say the name for the speed dial entry.
■Speed Dial1Speed Dial
You can use the audio preset buttons during a call to
store a speed dial number:
1. Press and hold the desired audio preset button
during a call.
2. The contact information for the active call will be stored for the corresponding speed dial.
When a voice tag is stored, you can press the
button and call the number using voice commands.
Page 216 of 361
Continued215
uuBluetooth® HandsFreeLink ®uHFL Menus
Features
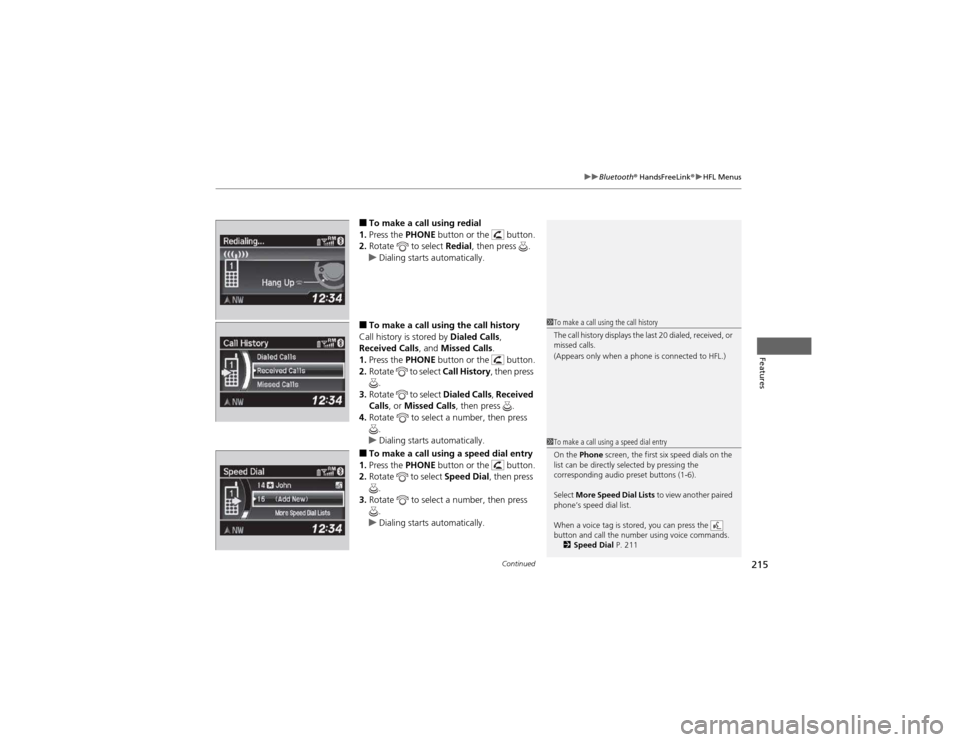
■To make a call using redial
1. Press the PHONE button or the button.
2. Rotate to select Redial, then press .
uDialing starts automatically.
■ To make a call using the call history
Call history is stored by Dialed Calls,
Received Calls , and Missed Calls .
1. Press the PHONE button or the button.
2. Rotate to select Call History, then press
.
3. Rotate to select Dialed Calls, Received
Calls , or Missed Calls , then press .
4. Rotate to select a number, then press
.
uDialing starts automatically.
■ To make a call using a speed dial entry
1. Press the PHONE button or the button.
2. Rotate to select Speed Dial, then press
.
3. Rotate to select a number, then press
.
uDialing starts automatically.
1To make a call using the call history
The call history displays the last 20 dialed, received, or
missed calls.
(Appears only when a phone is connected to HFL.)
1To make a call using a speed dial entry
On the Phone screen, the first six speed dials on the
list can be directly selected by pressing the
corresponding audio preset buttons (1-6).
Select More Speed Dial Lists to view another paired
phone’s speed dial list.
When a voice tag is stored, you can press the
button and call the number using voice commands. 2 Speed Dial P. 211
Page 248 of 361
247
uuWhen DrivinguCruise Control
Driving
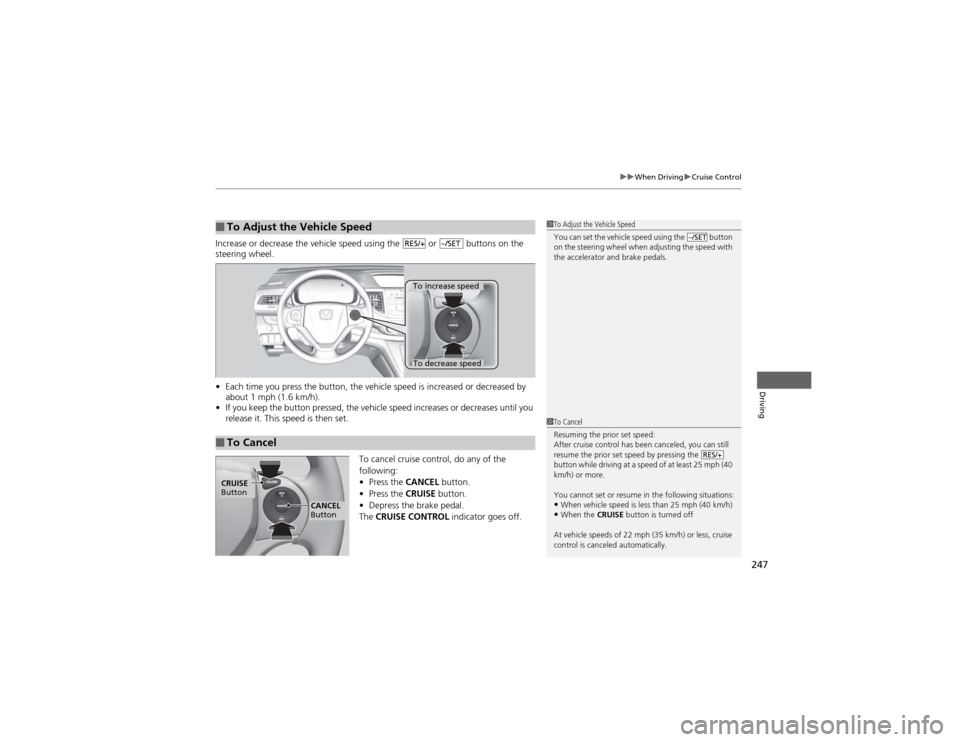
Increase or decrease the vehicle speed using the or buttons on the steering wheel. •Each time you press the button, the vehicle speed is increased or decreased by
about 1 mph (1.6 km/h).
• If you keep the button pressed, the vehicle speed increases or decreases until you
release it. This speed is then set.
To cancel cruise control, do any of the
following: •Press the CANCEL button.
• Press the CRUISE button.
• Depress the brake pedal.
The CRUISE CONTROL indicator goes off.
■To Adjust the Vehicle Speed1To Adjust the Vehicle Speed
You can set the vehicle speed using the button
on the steering wheel when adjusting the speed with
the accelerator and brake pedals.
–/SETRES/+–/SET
■To Cancel
To decrease speed
To increase speed
1To Cancel
Resuming the prior set speed:
After cruise control has been canceled, you can still
resume the prior set speed by pressing the
button while driving at a speed of at least 25 mph (40
km/h) or more.
You cannot set or resume in the following situations:
• When vehicle speed is less than 25 mph (40 km/h)
• When the CRUISE button is turned off
At vehicle speeds of 22 mph (35 km/h) or less, cruise
control is canceled automatically.
RES/+
CRUISE
Button
CANCEL
Button