remote control HONDA CR-V 2013 RM1, RM3, RM4 / 4.G Owners Manual
[x] Cancel search | Manufacturer: HONDA, Model Year: 2013, Model line: CR-V, Model: HONDA CR-V 2013 RM1, RM3, RM4 / 4.GPages: 361, PDF Size: 6.58 MB
Page 1 of 361
Contents
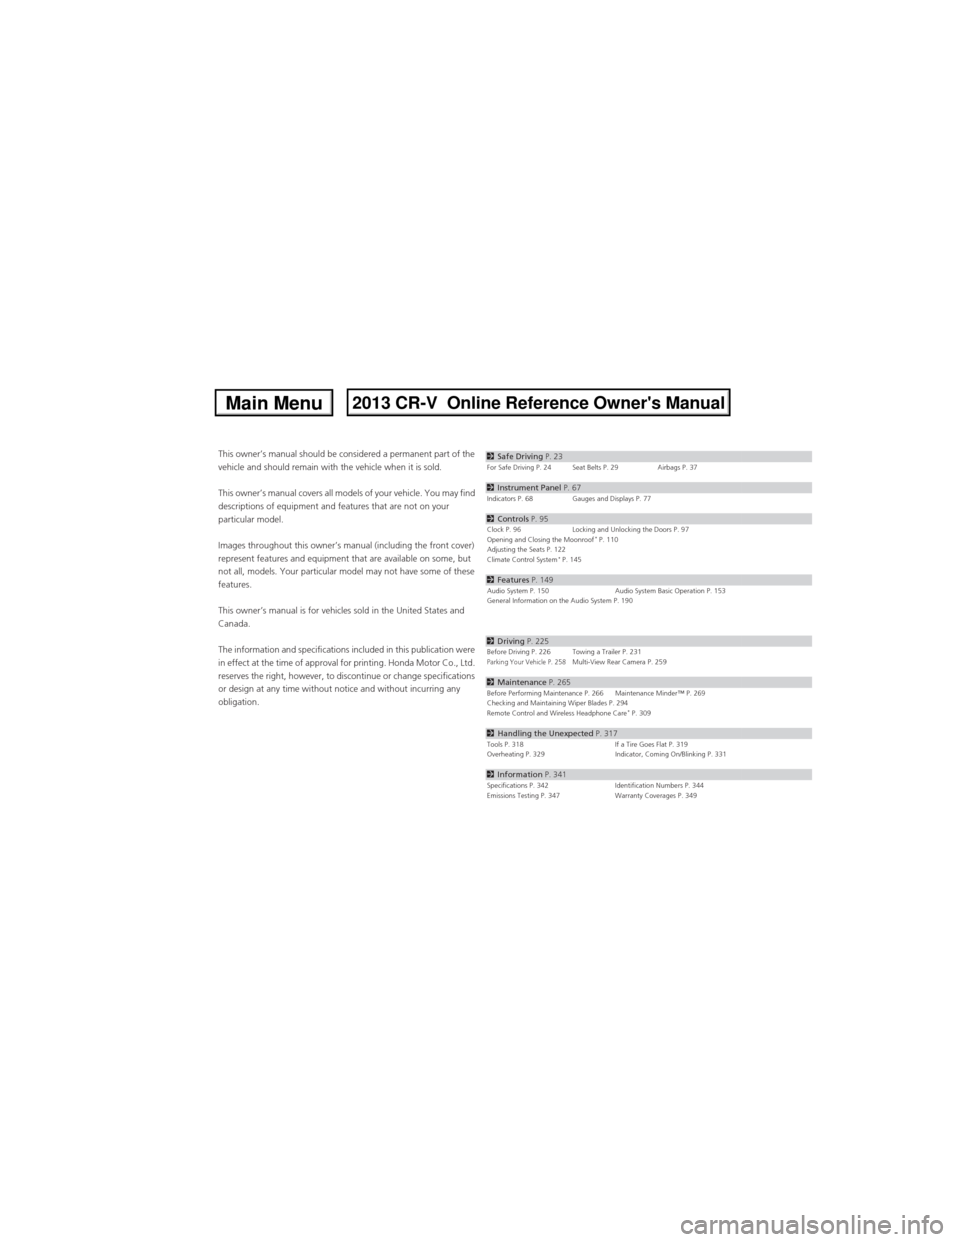
This owner’s manual should be considered a permanent part of the
vehicle and should remain with the vehicle when it is sold.
This owner’s manual covers all models of your vehicle. You may find
descriptions of equipment and features that are not on your
particular model.
Images throughout this owner’s manual (including the front cover)
represent features and equipment that are available on some, but
not all, models. Your particular model may not have some of these
features.
This owner’s manual is for vehicles sold in the United States and
Canada.
The information and specifications included in this publication were
in effect at the time of approval for printing. Honda Motor Co., Ltd.
reserves the right, however, to discontinue or change specifications
or design at any time without notice and without incurring any
obligation.2Safe Driving P. 23For Safe Driving P. 24 Seat Belts P. 29 Airbags P. 37
2Instrument Panel P. 67Indicators P. 68 Gauges and Displays P. 77
2Controls P. 95Clock P. 96 Locking and Unlocking the Doors P. 97
Opening and Closing the Moonroof* P. 110
Adjusting the Seats P. 122
Climate Control System
* P. 145
2Features P. 149Audio System P. 150 Audio System Basic Operation P. 153
General Information on the Audio System P. 190
2Driving P. 225Before Driving P. 226 Towing a Trailer P. 231Parking Your Vehicle P. 258Multi-View Rear Camera P. 259
2Maintenance P. 265Before Performing Maintenance P. 266 Maintenance Minder™ P. 269
Checking and Maintaining Wiper Blades P. 294
Remote Control and Wireless Headphone Care
* P. 309
2Handling the Unexpected P. 317Tools P. 318 If a Tire Goes Flat P. 319
Overheating P. 329 Indicator, Coming On/Blinking P. 331
2Information P. 341Specifications P. 342 Identification Numbers P. 344
Emissions Testing P. 347 Warranty Coverages P. 349
Page 2 of 361
Contents
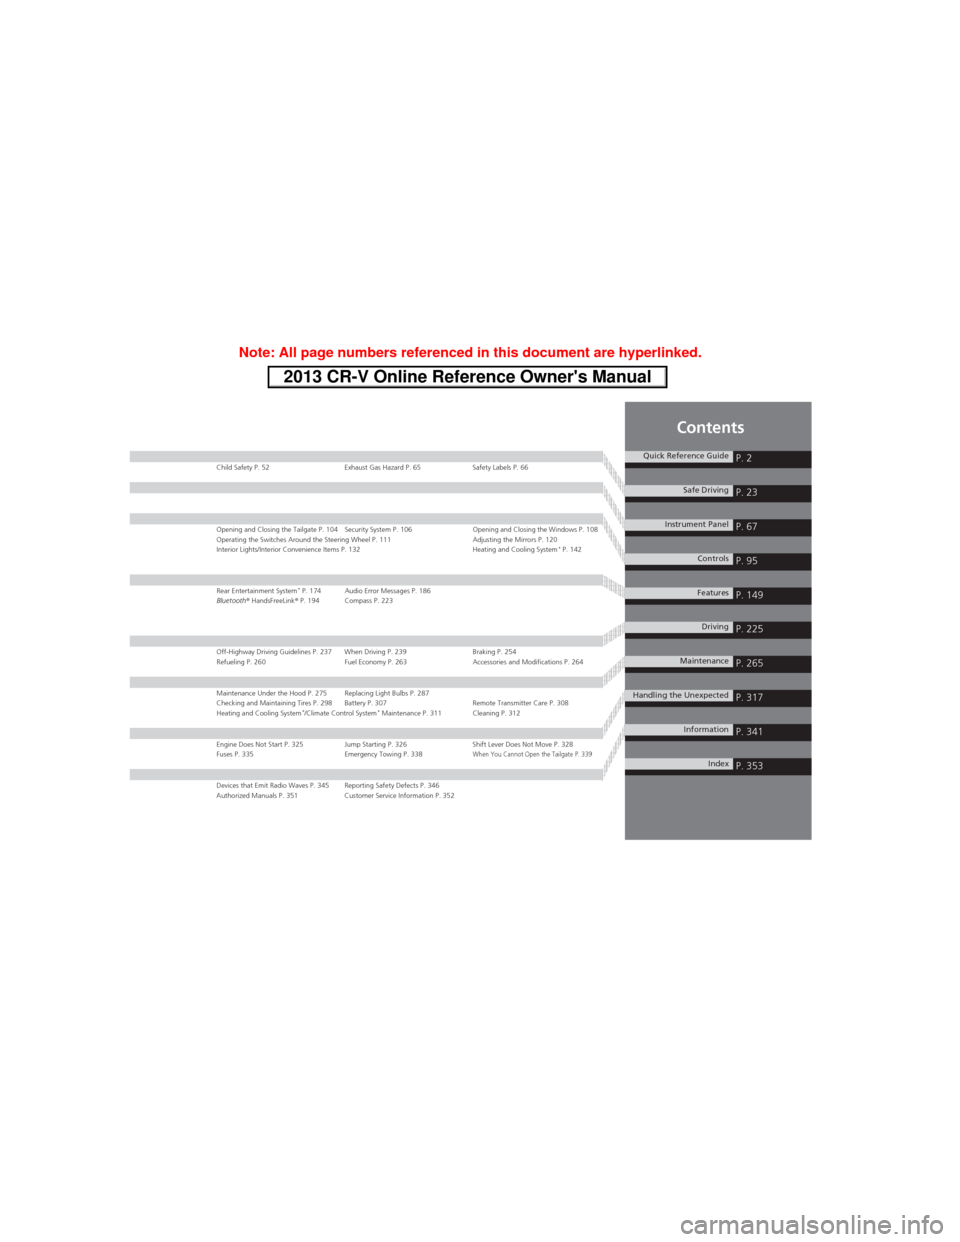
Child Safety P. 52 Exhaust Gas Hazard P. 65 Safety Labels P. 66
Opening and Closing the Tailgate P. 104 Security System P. 106 Opening and Closing the Windows P. 108
Operating the Switches Around the Steering Wheel P. 111 Adjusting the Mirrors P. 120
Interior Lights/Interior Convenience Items P. 132 Heating and Cooling System
* P. 142
Rear Entertainment System* P. 174 Audio Error Messages P. 186
Bluetooth® HandsFreeLink® P. 194 Compass P. 223
Off-Highway Driving Guidelines P. 237 When Driving P. 239 Braking P. 254
Refueling P. 260 Fuel Economy P. 263 Accessories and Modifications P. 264
Maintenance Under the Hood P. 275 Replacing Light Bulbs P. 287
Checking and Maintaining Tires P. 298 Battery P. 307 Remote Transmitter Care P. 308
Heating and Cooling System
*/Climate Control System* Maintenance P. 311 Cleaning P. 312
Engine Does Not Start P. 325 Jump Starting P. 326 Shift Lever Does Not Move P. 328
Fuses P. 335 Emergency Towing P. 338When You Cannot Open the Tailgate P. 339
Devices that Emit Radio Waves P. 345 Reporting Safety Defects P. 346
Authorized Manuals P. 351 Customer Service Information P. 352
Quick Reference GuideP. 2
Safe DrivingP. 23
Instrument PanelP. 67
ControlsP. 95
FeaturesP. 149
DrivingP. 225
MaintenanceP. 265
Handling the UnexpectedP. 317
InformationP. 341
IndexP. 353
Page 15 of 361
14
Quick Reference Guide
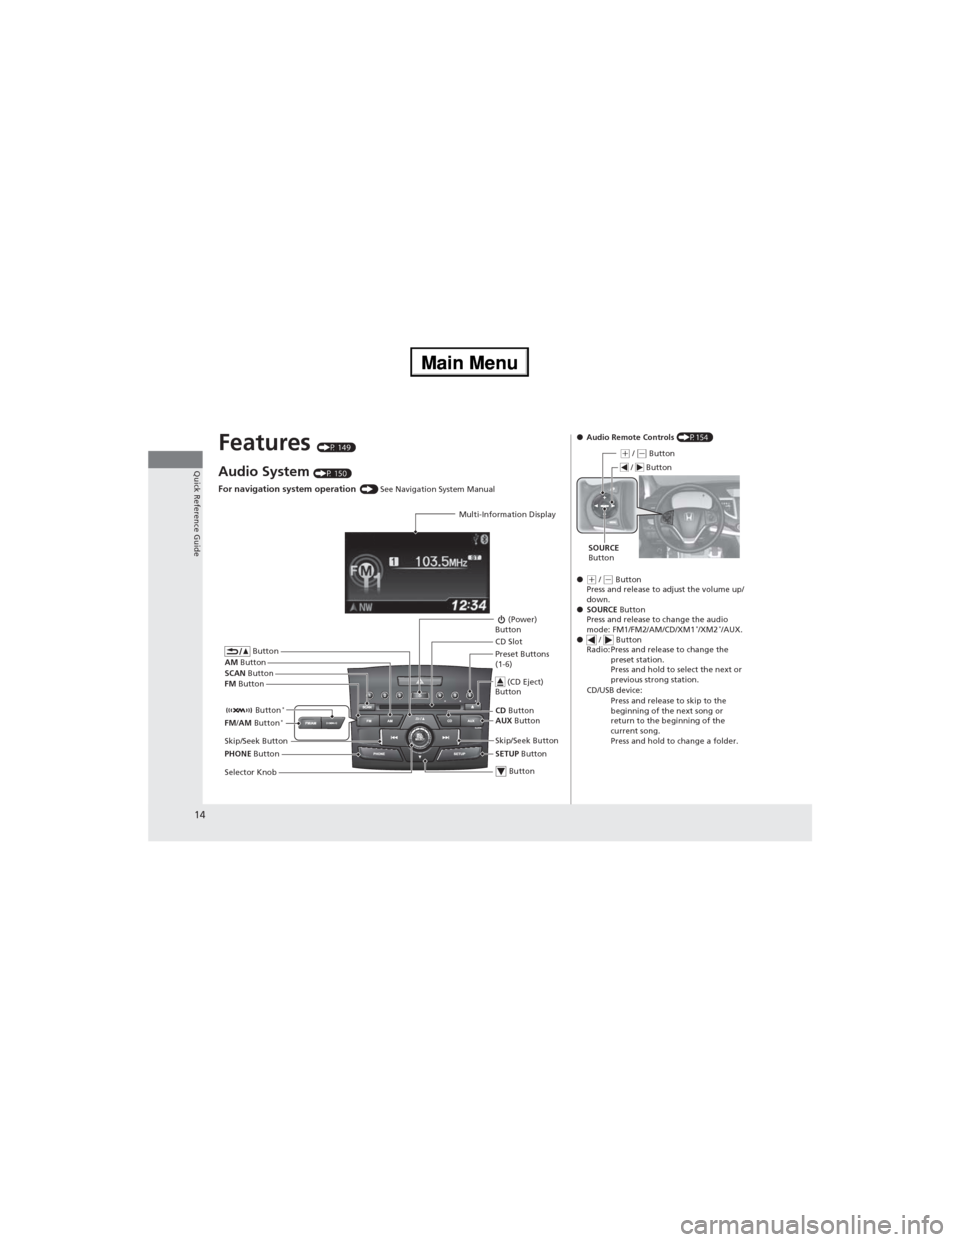
Features (P 149)
Audio System (P 150)
For navigation system operation () See Navigation System Manual
Multi-Information Display
AM Button
FM Button SCAN Button
Skip/Seek Button
Selector Knob Button
(Power)
Button
CD Button
AUX Button CD Slot
(CD Eject)
Button
Preset Buttons
(1-6)
Button
SETUP Button Skip/Seek Button
PHONE Button Button
*FM/AM Button*
●Audio Remote Controls (P154)
●
(+ / (- Button
Press and release to adjust the volume up/
down.
●SOURCE Button
Press and release to change the audio
mode: FM1/FM2/AM/CD/XM1
*/XM2*/AUX.
● / Button
Radio: Press and release to change the
preset station.
Press and hold to select the next or
previous strong station.
CD/USB device:
Press and release to skip to the
beginning of the next song or
return to the beginning of the
current song.
Press and hold to change a folder.
(+ / (- Button
SOURCE
Button / Button
Page 98 of 361
97Continued
Controls
Locking and Unlocking the Doors
Key Types and Functions
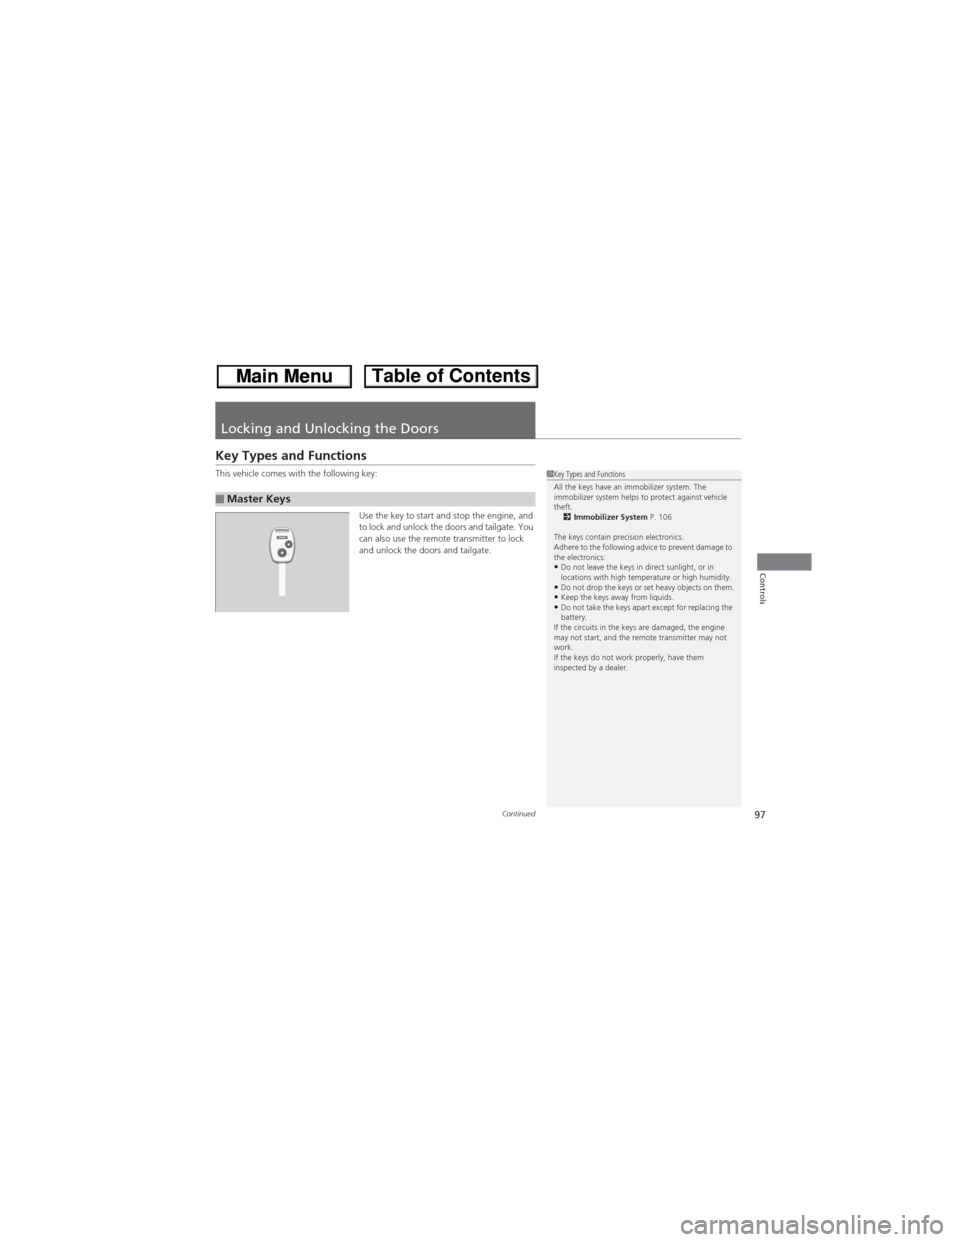
This vehicle comes with the following key:
Use the key to start and stop the engine, and
to lock and unlock the doors and tailgate. You
can also use the remote transmitter to lock
and unlock the doors and tailgate.
■Master Keys
1Key Types and Functions
All the keys have an immobilizer system. The
immobilizer system helps to protect against vehicle
theft.
2Immobilizer System P. 106
The keys contain precision electronics.
Adhere to the following advice to prevent damage to
the electronics:
•Do not leave the keys in direct sunlight, or in
locations with high temperature or high humidity.
•Do not drop the keys or set heavy objects on them.•Keep the keys away from liquids.•Do not take the keys apart except for replacing the
battery.
If the circuits in the keys are damaged, the engine
may not start, and the remote transmitter may not
work.
If the keys do not work properly, have them
inspected by a dealer.
Page 100 of 361
99
uuLocking and Unlocking the DoorsuLocking/Unlocking the Doors from the Outside
Continued
Controls
Locking/Unlocking the Doors from the Outside
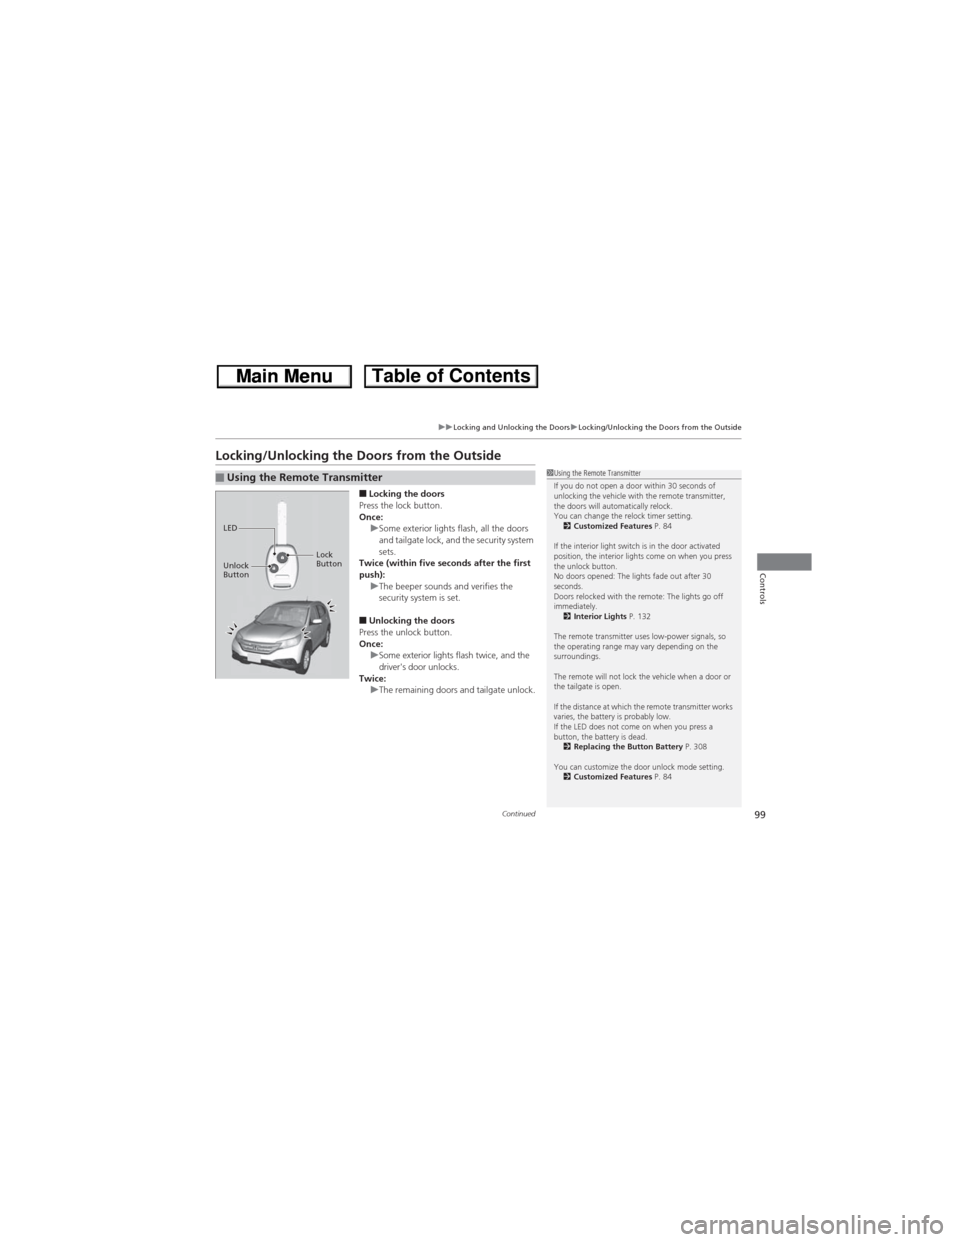
■Locking the doors
Press the lock button.
Once:
uSome exterior lights flash, all the doors
and tailgate lock, and the security system
sets.
Twice (within five seconds after the first
push):
uThe beeper sounds and verifies the
security system is set.
■Unlocking the doors
Press the unlock button.
Once:
uSome exterior lights flash twice, and the
driver's door unlocks.
Twice:
uThe remaining doors and tailgate unlock.
■Using the Remote Transmitter1Using the Remote Transmitter
If you do not open a door within 30 seconds of
unlocking the vehicle with the remote transmitter,
the doors will automatically relock.
You can change the relock timer setting.
2Customized Features P. 84
If the interior light switch is in the door activated
position, the interior lights come on when you press
the unlock button.
No doors opened: The lights fade out after 30
seconds.
Doors relocked with the remote: The lights go off
immediately.
2Interior Lights P. 132
The remote transmitter uses low-power signals, so
the operating range may vary depending on the
surroundings.
The remote will not lock the vehicle when a door or
the tailgate is open.
If the distance at which the remote transmitter works
varies, the battery is probably low.
If the LED does not come on when you press a
button, the battery is dead.
2Replacing the Button Battery P. 308
You can customize the door unlock mode setting.
2Customized Features P. 84
LED
Unlock
ButtonLock
Button
Page 107 of 361
106
Controls
Security System
Immobilizer System
The immobilizer system prevents a key that has not been pre-registered from
starting the engine. Each key contains electronic transmitters that use electronic
signals to verify the key.
Pay attention to the following when inserting the key into the ignition switch:
•Do not allow objects that emit strong radio waves near the ignition switch.
•Make sure the key is not covered by or touching a metal object.
•Do not bring a key from another vehicle's immobilizer system near the ignition
switch.
Security System Alarm*
The security system alarm activates when the tailgate, hood, or doors are opened
without the key, or remote transmitter.
■When the security system alarm activates
The horn sounds intermittently and all the exterior lights flash.
■To deactivate the security system alarm
Unlock the vehicle using the key or remote transmitter, or turning the ignition switch
to ON
(w. The system, along with the horn and flashing lights, is deactivated.
1Immobilizer SystemNOTICELeaving the ignition key in the vehicle can result in
theft or accidental movement of the vehicle.
Always take the ignition key with you whenever you
leave the vehicle unattended.
Do not alter the system or add other devices to it.
Doing so may damage the system and make your
vehicle inoperable.
1Security System Alarm*The security alarm continues for a maximum of two
minutes until the security system deactivates.
* Not available on all models
Page 108 of 361
107
uuSecurity SystemuSecurity System Alarm*
Controls
■Setting the security system alarm
The security system alarm automatically sets when the following conditions have
been met:
•The ignition switch is in LOCK
(0, and the key has been removed from the
ignition switch.
•The hood and tailgate are closed.
•All doors and tailgate are locked with the key or the remote transmitter.
■When the security system alarm sets
The security system alarm indicator in the instrument panel blinks. When the
blinking interval changes after about 15 seconds, the security system alarm is set.
■To cancel the security system alarm
The security system alarm is canceled when the vehicle is unlocked using the key or
remote transmitter, or the ignition switch is turned to ON
(w. The security system
alarm indicator goes off at the same time.
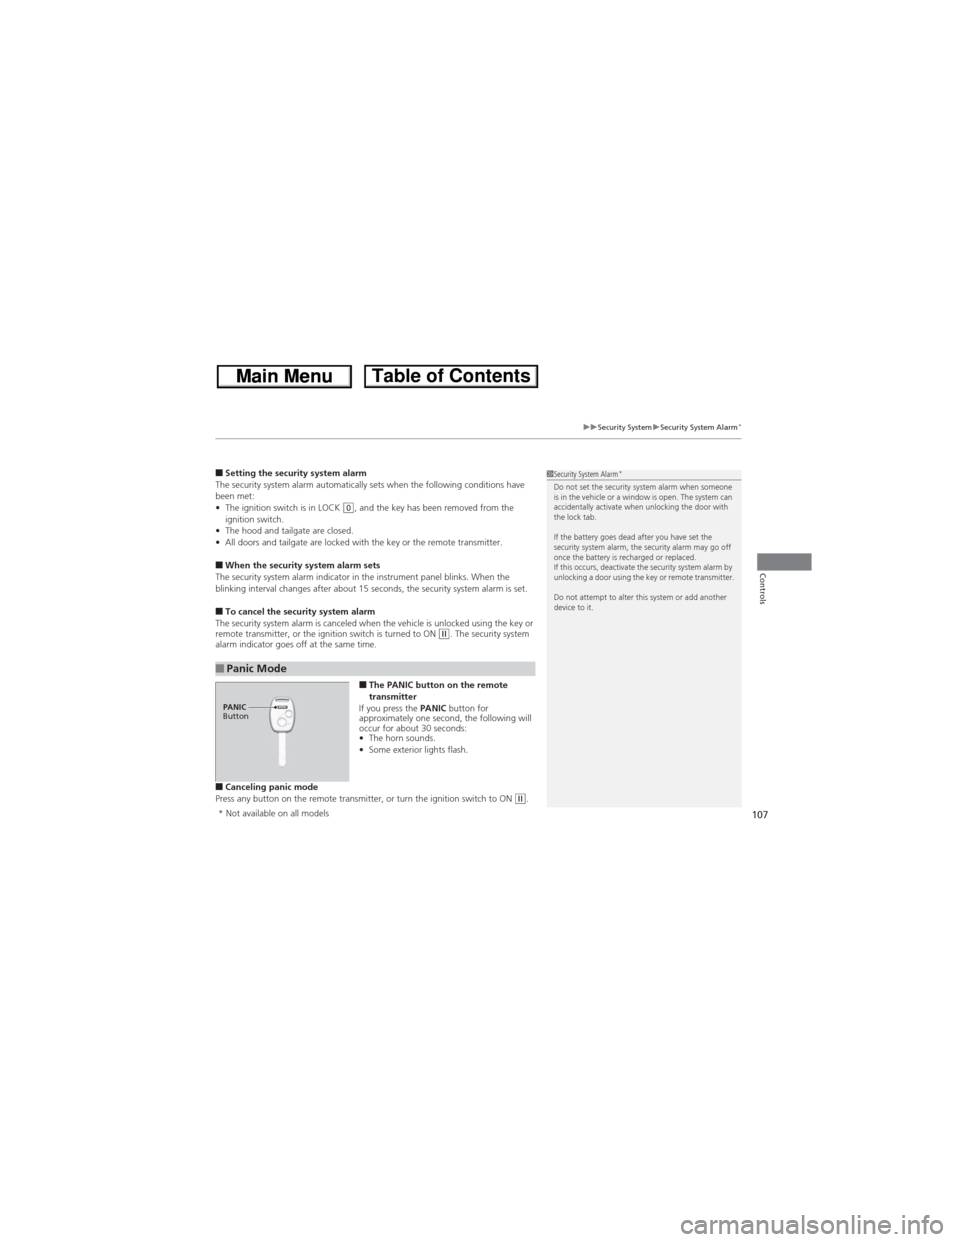
■The PANIC button on the remote
transmitter
If you press the PANIC button for
approximately one second, the following will
occur for about 30 seconds:
•The horn sounds.
•Some exterior lights flash.
■Canceling panic mode
Press any button on the remote transmitter, or turn the ignition switch to ON (w.
■Panic Mode
1Security System Alarm*Do not set the security system alarm when someone
is in the vehicle or a window is open. The system can
accidentally activate when unlocking the door with
the lock tab.
If the battery goes dead after you have set the
security system alarm, the security alarm may go off
once the battery is recharged or replaced.
If this occurs, deactivate the security system alarm by
unlocking a door using the key or remote transmitter.
Do not attempt to alter this system or add another
device to it.
PANIC
Button
* Not available on all models
Page 150 of 361
149
Features
This chapter describes how to operate technology features.
Audio System
About Your Audio System................ 150
USB Adapter Cable .......................... 151
Auxiliary Input Jack
*........................ 151
Audio Antenna ................................ 152
Audio System Theft Protection ......... 152
Audio System Basic Operation........ 153
Audio Remote Controls.................... 154
Adjusting the Sound ........................ 155
Playing AM/FM Radio ....................... 156
Playing XM® Radio
*......................... 159
Playing a CD .................................... 161
Playing an iPod®............................... 164Playing Internet Radio ...................... 167
Playing a USB Flash Drive ................. 169
Playing Bluetooth® Audio ................ 172
Rear Entertainment System
*........... 174
Audio Error Messages...................... 186
General Information on the Audio
System............................................. 190
Bluetooth® HandsFreeLink®
Using HFL ........................................ 194
HFL Menus ...................................... 196
Compass............................................ 223
* Not available on all models
Page 151 of 361
150
Features
Audio System
About Your Audio System
On models with navigation system, see the Navigation System Manual for operation
of the audio system, Bluetooth® HandsFreeLink®, and voice commands for these
features.
The audio system features AM/FM radio and the XM® Radio
* service. It can also play
audio CDs, WMA/MP3/AAC files, USB flash drives, iPod®, iPhone® and Bluetooth®
devices.
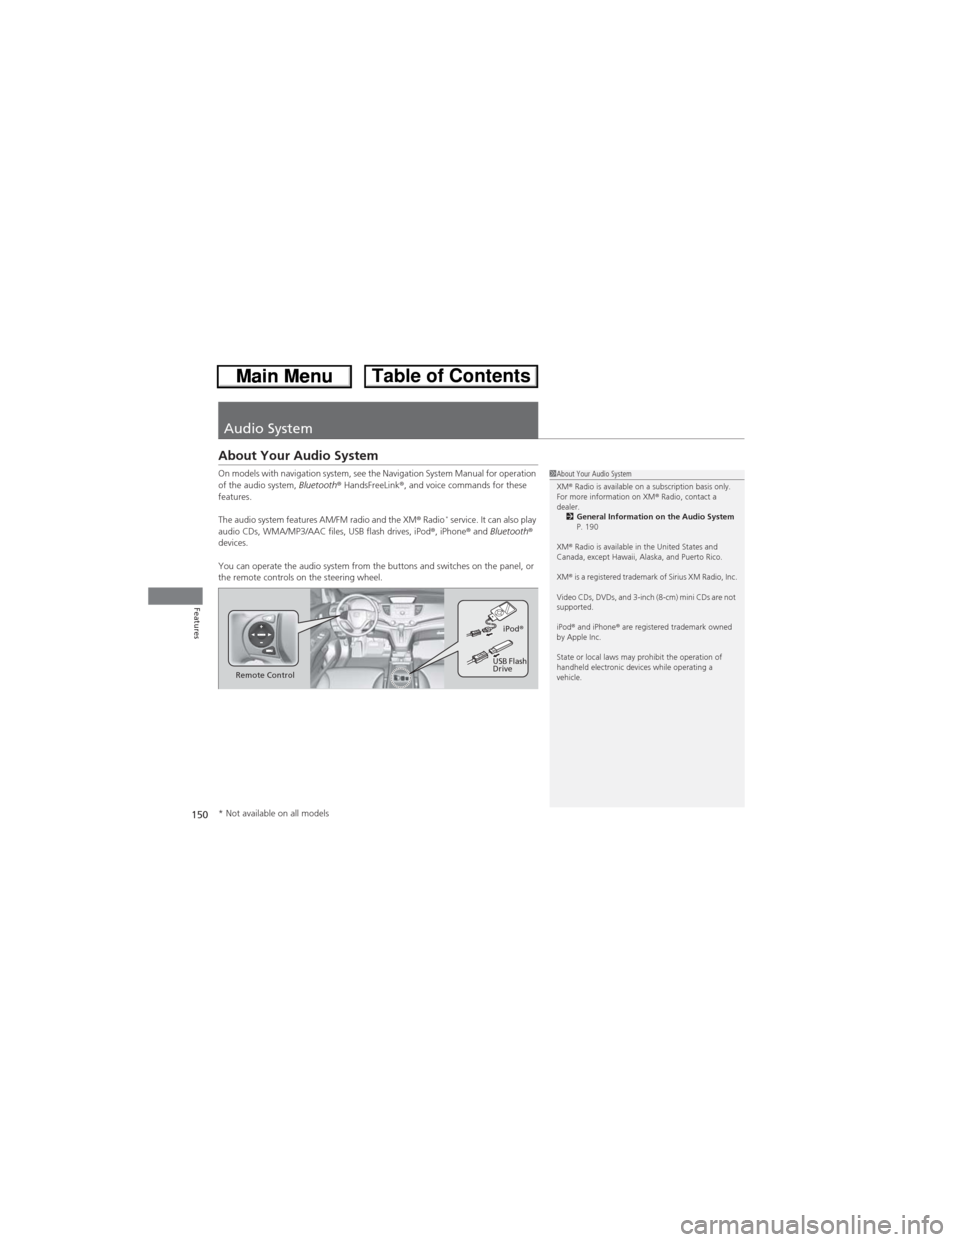
You can operate the audio system from the buttons and switches on the panel, or
the remote controls on the steering wheel.
1About Your Audio System
XM® Radio is available on a subscription basis only.
For more information on XM® Radio, contact a
dealer.
2General Information on the Audio System
P. 190
XM® Radio is available in the United States and
Canada, except Hawaii, Alaska, and Puerto Rico.
XM® is a registered trademark of Sirius XM Radio, Inc.
Video CDs, DVDs, and 3-inch (8-cm) mini CDs are not
supported.
iPod® and iPhone® are registered trademark owned
by Apple Inc.
State or local laws may prohibit the operation of
handheld electronic devices while operating a
vehicle.
Remote ControliPod®
USB Flash
Drive
* Not available on all models
Page 154 of 361
153
Features
Audio System Basic Operation
To use the audio system, the ignition switch must be in ACCESSORY (q or ON (w.
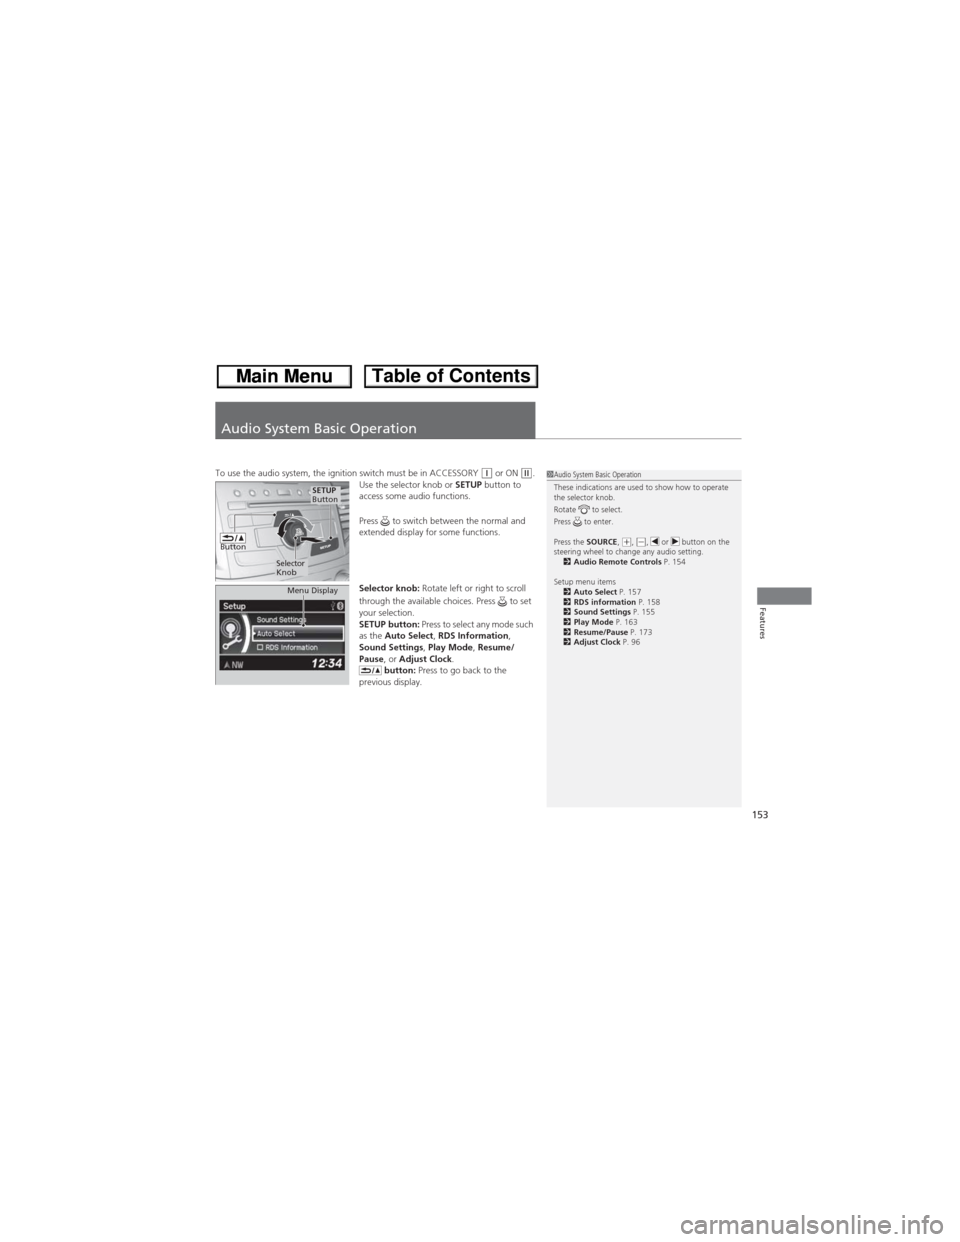
Use the selector knob or SETUP button to
access some audio functions.
Press to switch between the normal and
extended display for some functions.
Selector knob: Rotate left or right to scroll
through the available choices. Press to set
your selection.
SETUP button: Press to select any mode such
as the Auto Select, RDS Information,
Sound Settings, Play Mode, Resume/
Pause, or Adjust Clock.
button: Press to go back to the
previous display.1Audio System Basic Operation
These indications are used to show how to operate
the selector knob.
Rotate to select.
Press to enter.
Press the SOURCE,
(+, (-, or button on the
steering wheel to change any audio setting.
2Audio Remote Controls P. 154
Setup menu items
2Auto Select P. 157
2RDS information P. 158
2Sound Settings P. 155
2Play Mode P. 163
2Resume/Pause P. 173
2Adjust Clock P. 96
Button
Selector
Knob
SETUP
Button
Menu Display