display HONDA CR-V 2014 RM1, RM3, RM4 / 4.G Navigation Manual
[x] Cancel search | Manufacturer: HONDA, Model Year: 2014, Model line: CR-V, Model: HONDA CR-V 2014 RM1, RM3, RM4 / 4.GPages: 212, PDF Size: 11.59 MB
Page 108 of 212
107
Changing Your RouteEditing My Destination
Navigation
Editing My Destination
HDEST button (when en route) My Destination
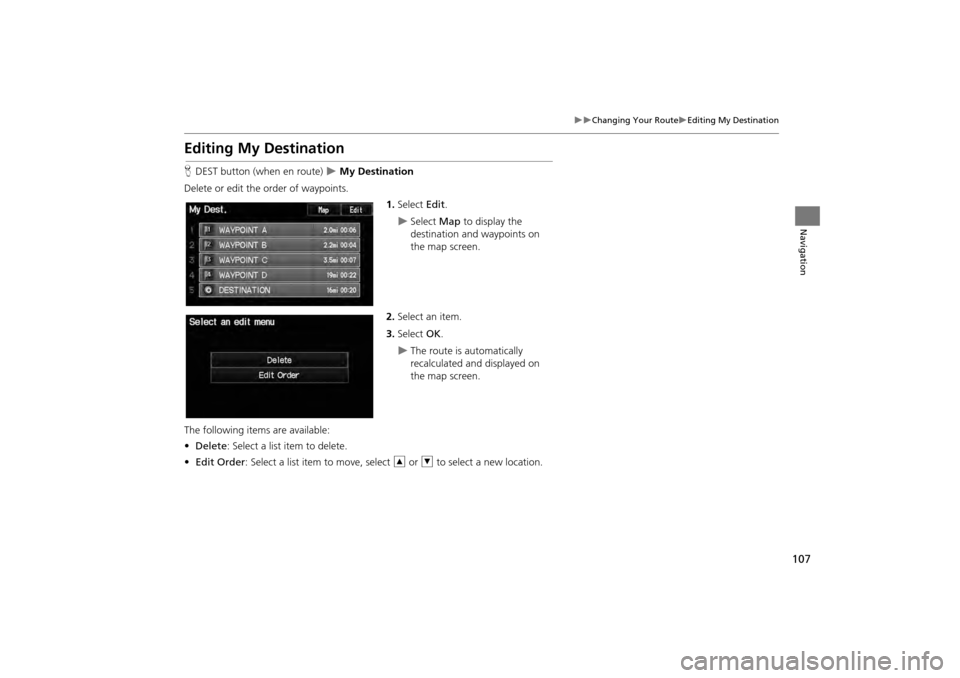
Delete or edit the order of waypoints. 1.Select Edit.
Select Map to display the
destination and waypoints on
the map screen.
2. Select an item.
3. Select OK.
The route is automatically
recalculated and displayed on
the map screen.
The following items are available:
• Delete : Select a list item to delete.
• Edit Order : Select a list item to move, select R or U to select a new location.
CR-V_KA-31T0A800.book 107 ページ 2011年7月4日 月曜日 午後1時56分
Page 110 of 212
109
Changing Your DestinationSelecting a Destination on the Map
Navigation
Selecting a Destination on the Map
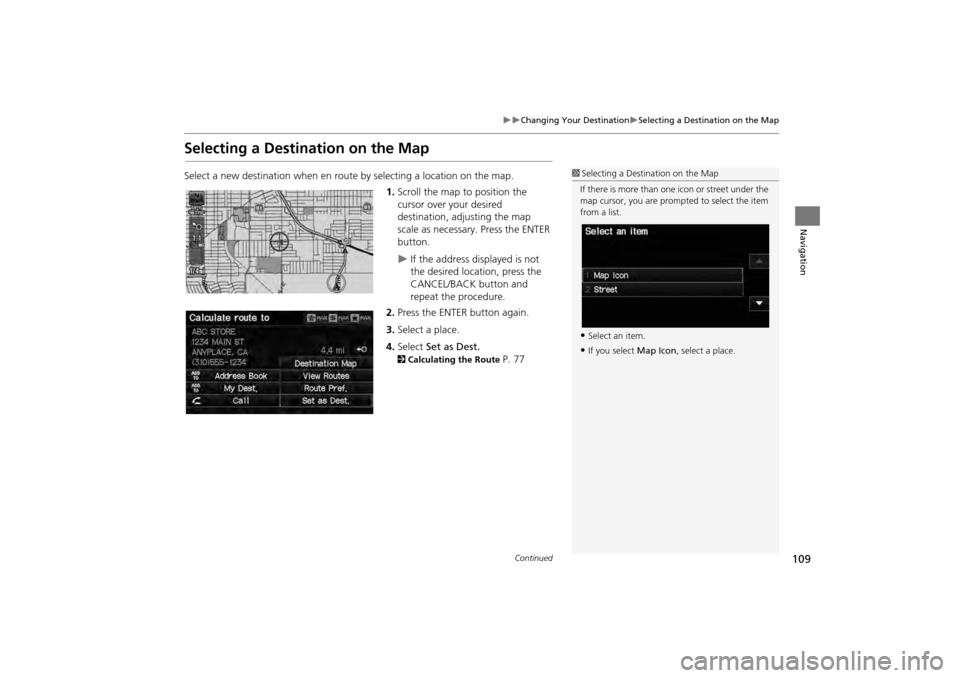
Select a new destination when en route by selecting a location on the map.
1.Scroll the map to position the
cursor over your desired
destination, adjusting the map
scale as necessary. Press the ENTER
button.
If the address displayed is not
the desired location, press the
CANCEL/BACK button and
repeat the procedure.
2. Press the ENTER button again.
3. Select a place.
4. Select Set as Dest.
2Calculating the Route P. 77
1Selecting a Destination on the Map
If there is more than one icon or street under the
map cursor, you are prompted to select the item
from a list.
•Select an item.
•If you select Map Icon, select a place.
Continued
CR-V_KA-31T0A800.book 109 ページ 2011年7月4日 月曜日 午後1時56分
Page 111 of 212
110
Changing Your DestinationEntering a New Destination
Navigation
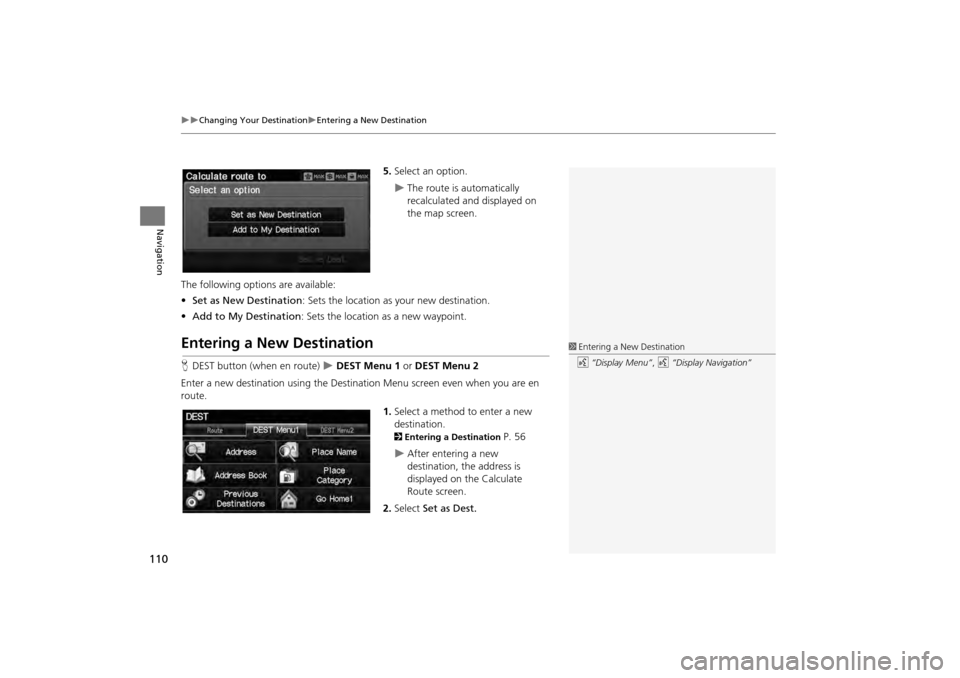
5.Select an option.
The route is automatically
recalculated and displayed on
the map screen.
The following options are available:
• Set as New Destination : Sets the location as your new destination.
• Add to My Destination : Sets the location as a new waypoint.
Entering a New Destination
HDEST button (when en route) DEST Menu 1 or DEST Menu 2
Enter a new destination using the Destinat ion Menu screen even when you are en
route.
1.Select a method to enter a new
destination.
2 Entering a Destination P. 56
After entering a new
destination, the address is
displayed on the Calculate
Route screen.
2. Select Set as Dest.
1Entering a New Destination
d “Display Menu”, d “Display Navigation”
CR-V_KA-31T0A800.book 110 ページ 2011年7月4日 月曜日 午後1時56分
Page 112 of 212
111
Changing Your DestinationEntering a New Destination
Navigation
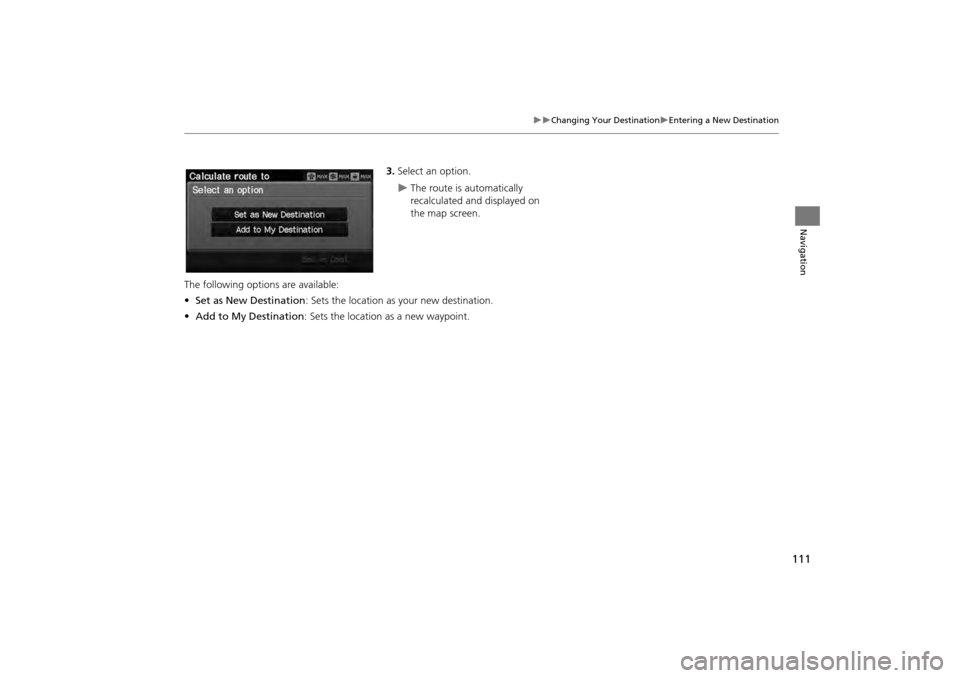
3.Select an option.
The route is automatically
recalculated and displayed on
the map screen.
The following options are available:
• Set as New Destination : Sets the location as your new destination.
• Add to My Destination : Sets the location as a new waypoint.
CR-V_KA-31T0A800.book 111 ページ 2011年7月4日 月曜日 午後1時56分
Page 113 of 212
112
Navigation
Resuming Your Trip
Stop your vehicle en route (e.g., to rest, stop for gas, etc.), and then continue on
your route.
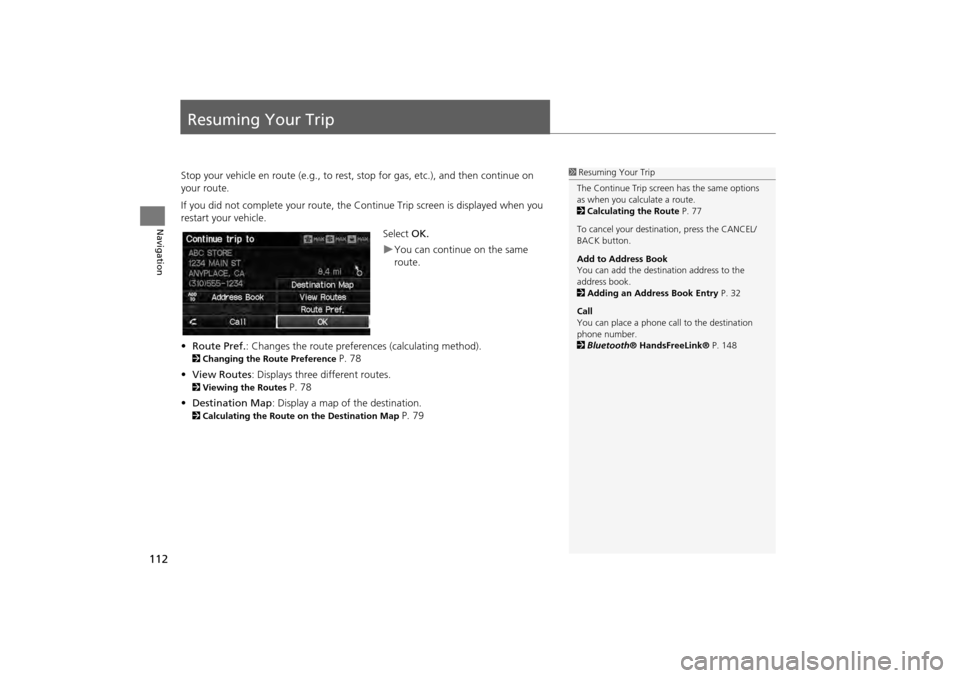
If you did not complete your route, the Continue Trip screen is displayed when you
restart your vehicle.
Select OK.
You can continue on the same
route.
• Route Pref. : Changes the route preferences (calculating method).
2Changing the Route Preference P. 78
• View Routes : Displays three different routes.
2Viewing the Routes P. 78
• Destination Map : Display a map of the destination.
2Calculating the Route on the Destination Map P. 79
1Resuming Your Trip
The Continue Trip screen has the same options
as when you calculate a route.
2 Calculating the Route P. 77
To cancel your destination, press the CANCEL/
BACK button.
Add to Address Book
You can add the destination address to the
address book.
2 Adding an Address Book Entry P. 32
Call
You can place a phone ca ll to the destination
phone number.
2 Bluetooth ® HandsFreeLink® P. 148
CR-V_KA-31T0A800.book 112 ページ 2011年7月4日 月曜日 午後1時56分
Page 117 of 212
116
Audio
Playing FM/AM Radio
Selecting FM/AM Mode
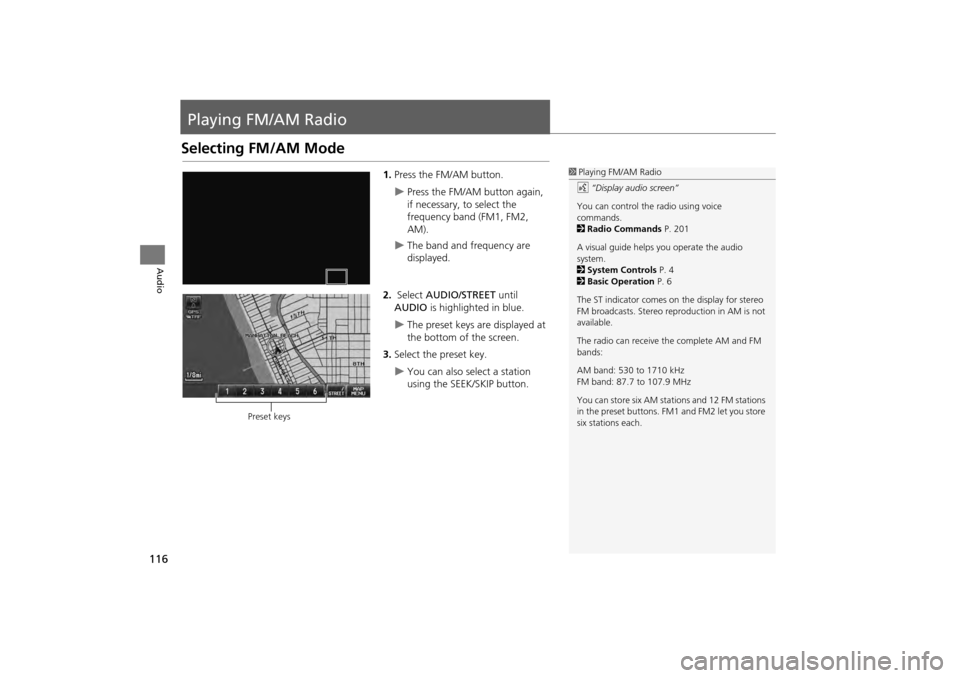
1.Press the FM/AM button.
Press the FM/AM button again,
if necessary, to select the
frequency band (FM1, FM2,
AM).
The band and frequency are
displayed.
2. Select AUDIO/STREET until
AUDIO is highlighted in blue.
The preset keys are displayed at
the bottom of the screen.
3. Select the preset key.
You can also select a station
using the SEEK/SKIP button.
1Playing FM/AM Radio
d “Display audio screen”
You can control the radio using voice
commands.
2 Radio Commands P. 201
A visual guide helps you operate the audio
system.
2 System Controls P. 4
2 Basic Operation P. 6
The ST indicator comes on the display for stereo
FM broadcasts. Stereo re production in AM is not
available.
The radio can receive the complete AM and FM
bands:
AM band: 530 to 1710 kHz
FM band: 87.7 to 107.9 MHz
You can store six AM stati ons and 12 FM stations
in the preset buttons. FM1 and FM2 let you store
six stations each.
Preset keys
CR-V_KA-31T0A800.book 116 ページ 2011年7月4日 月曜日 午後1時56分
Page 118 of 212
117
Playing FM/AM RadioAudio Screen Control
Audio
Audio Screen Control
HAUDIO button (in FM/AM mode)
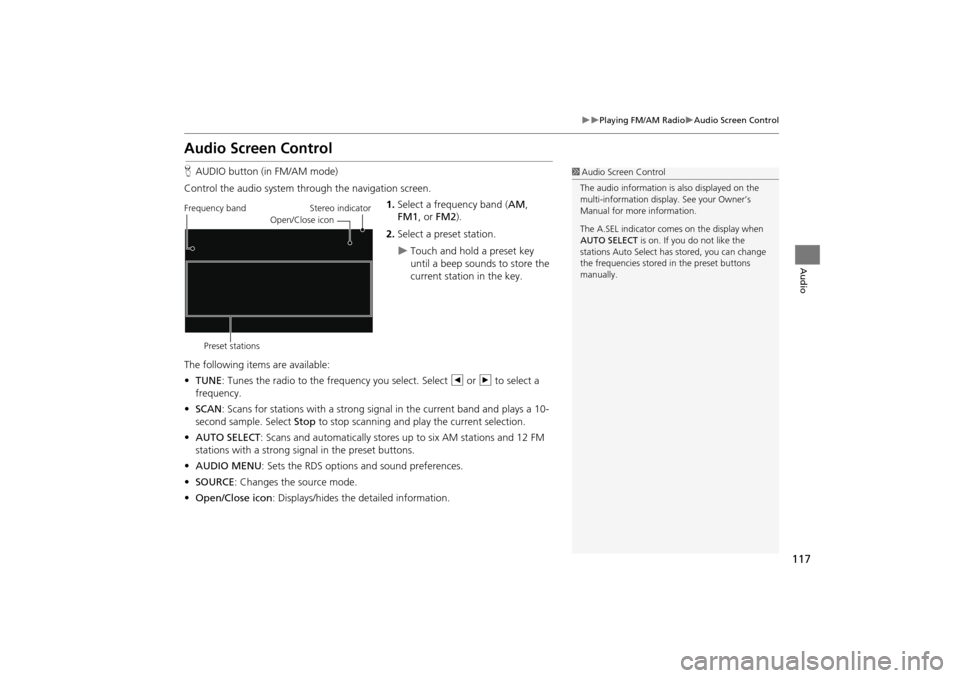
Control the audio system through the navigation screen. 1.Select a frequency band (AM ,
FM1 , or FM2 ).
2. Select a preset station.
Touch and hold a preset key
until a beep sounds to store the
current station in the key.
The following items are available:
• TUNE: Tunes the radio to the frequency you select. Select b or n to select a
frequency.
• SCAN : Scans for stations with a strong signal in the current band and plays a 10-
second sample. Select Stop to stop scanning and play the current selection.
• AUTO SELECT : Scans and automatically stores up to six AM stations and 12 FM
stations with a strong signal in the preset buttons.
• AUDIO MENU : Sets the RDS options and sound preferences.
• SOURCE : Changes the source mode.
• Open/Close icon: Displays/hides the detailed information.
1Audio Screen Control
The audio information is also displayed on the
multi-information display. See your Owner’s
Manual for more information.
The A.SEL indicator comes on the display when
AUTO SELECT is on. If you do not like the
stations Auto Select has stored, you can change
the frequencies stored in the preset buttons
manually.
Stereo indicator
Frequency band
Preset stations Open/Close icon
CR-V_KA-31T0A800.book 117 ページ 2011年7月4日 月曜日 午後1時56分
Page 119 of 212
118
Playing FM/AM RadioAudio Menu
Audio
Audio Menu
HAUDIO button (in FM/AM mode) AUDIO MENU
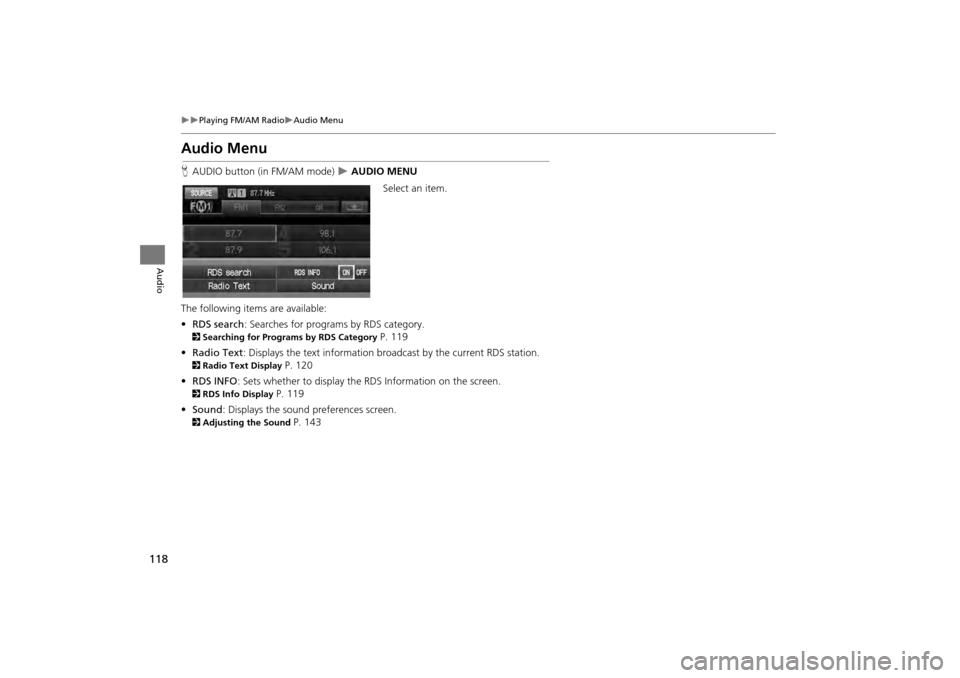
Select an item.
The following item s are available:
• RDS search : Searches for programs by RDS category.
2Searching for Programs by RDS Category P. 119
• Radio Text : Displays the text information broa dcast by the current RDS station.
2Radio Text Display P. 120
• RDS INFO : Sets whether to display the RDS Information on the screen.
2RDS Info Display P. 119
• Sound : Displays the sound preferences screen.
2Adjusting the Sound P. 143
CR-V_KA-31T0A800.book 118 ページ 2011年7月4日 月曜日 午後1時56分
Page 120 of 212
119
Playing FM/AM RadioRadio Data System (RDS)
Audio
Radio Data System (RDS)
Provides text data information related to your selected RDS-capable FM station.
When RDS INFO is set to ON, the name of the FM station is displayed. When set to
OFF, the frequency of the station is displayed.
H AUDIO button (in FM/AM mode)
AUDIO MENU RDS search
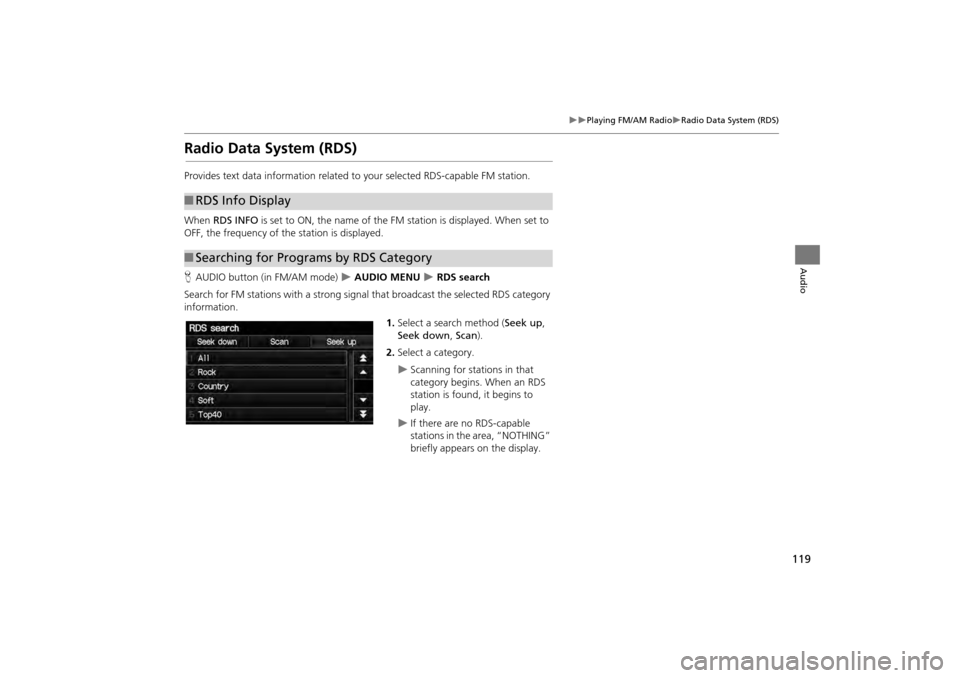
Search for FM stations with a strong signal that broadcast the selected RDS category
information. 1.Select a search method ( Seek up,
Seek down, Scan).
2. Select a category.
Scanning for stations in that
category begins. When an RDS
station is found, it begins to
play.
If there are no RDS-capable
stations in the area, “NOTHING”
briefly appears on the display.
■RDS Info Display
■Searching for Programs by RDS Category
CR-V_KA-31T0A800.book 119 ページ 2011年7月4日 月曜日 午後1時56分
Page 121 of 212
120
Playing FM/AM RadioRadio Data System (RDS)
Audio
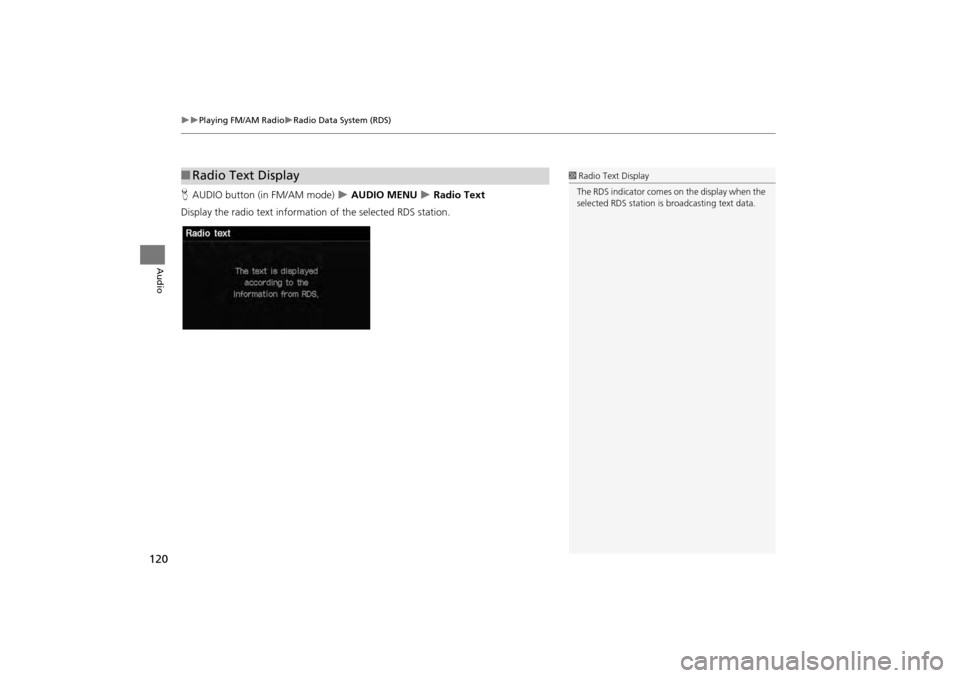
HAUDIO button (in FM/AM mode) AUDIO MENU Radio Text
Display the radio text information of the selected RDS station.
■ Radio Text Display1 Radio Text Display
The RDS indicator comes on the display when the
selected RDS station is broadcasting text data.
CR-V_KA-31T0A800.book 120 ページ 2011年7月4日 月曜日 午後1時56分