ECO mode HONDA CR-V 2020 Owner's Manual (in English)
[x] Cancel search | Manufacturer: HONDA, Model Year: 2020, Model line: CR-V, Model: HONDA CR-V 2020Pages: 671, PDF Size: 33.11 MB
Page 501 of 671
Continued499
uuWhen Driving uAdaptive Cruise Control (ACC) with Low Speed Follow
Driving
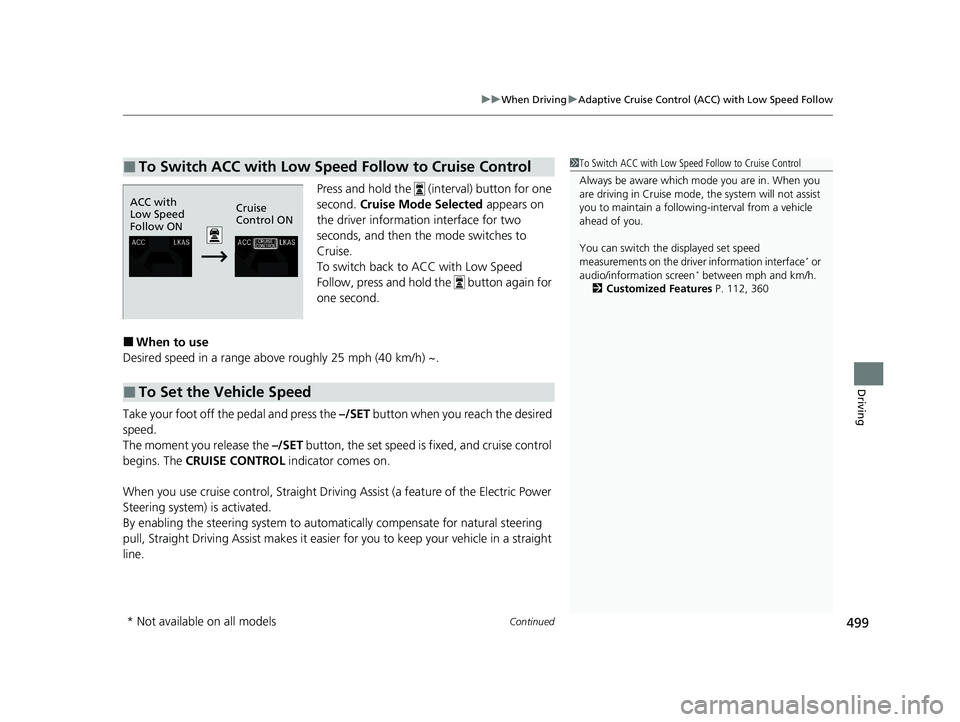
Press and hold the (interval) button for one
second. Cruise Mode Selected appears on
the driver information interface for two
seconds, and then the mode switches to
Cruise.
To switch back to ACC with Low Speed
Follow, press and hold the button again for
one second.
■When to use
Desired speed in a range above roughly 25 mph (40 km/h) ~.
Take your foot off the pedal and press the –/SET button when you reach the desired
speed.
The moment you release the –/SET button, the set speed is fixed, and cruise control
begins. The CRUISE CONTROL indicator comes on.
When you use cruise control, Straight Drivin g Assist (a feature of the Electric Power
Steering system) is activated.
By enabling the steering system to automa tically compensate for natural steering
pull, Straight Driv ing Assist makes it easier for you to keep your vehicle in a straight
line.
■To Switch ACC with Low Speed Follow to Cruise Control1 To Switch ACC with Low Speed Follow to Cruise Control
Always be aware which mode you are in. When you
are driving in Cruise mode, the system will not assist
you to maintain a following-interval from a vehicle
ahead of you.
You can switch the displayed set speed
measurements on the driv er information interface
* or
audio/information screen* between mph and km/h.
2 Customized Features P. 112, 360
ACC with
Low Speed
Follow ON Cruise
Control ON
■To Set the Vehicle Speed
* Not available on all models
20 CR-V PET ELP_MAP_HMIN_HCM_J-31TLA6310.book 499 ページ 2019年10月3日 木曜日 午後4時55分
Page 504 of 671
uuWhen Driving uRoad Departure Mitigation (RDM) System
502
Driving
The system becomes ready to start sear ching for lane markings when all the
following conditions are met:
• The vehicle is traveling between about 45 and 90 mph (72 and 145 km/h).
• The vehicle is on a straight or slightly curved road.
• The turn signals are off.
• The brake pedal is not depressed.
• The wipers are not in continuous operation.
• The system makes a determination that th e driver is not actively accelerating,
braking or steering.
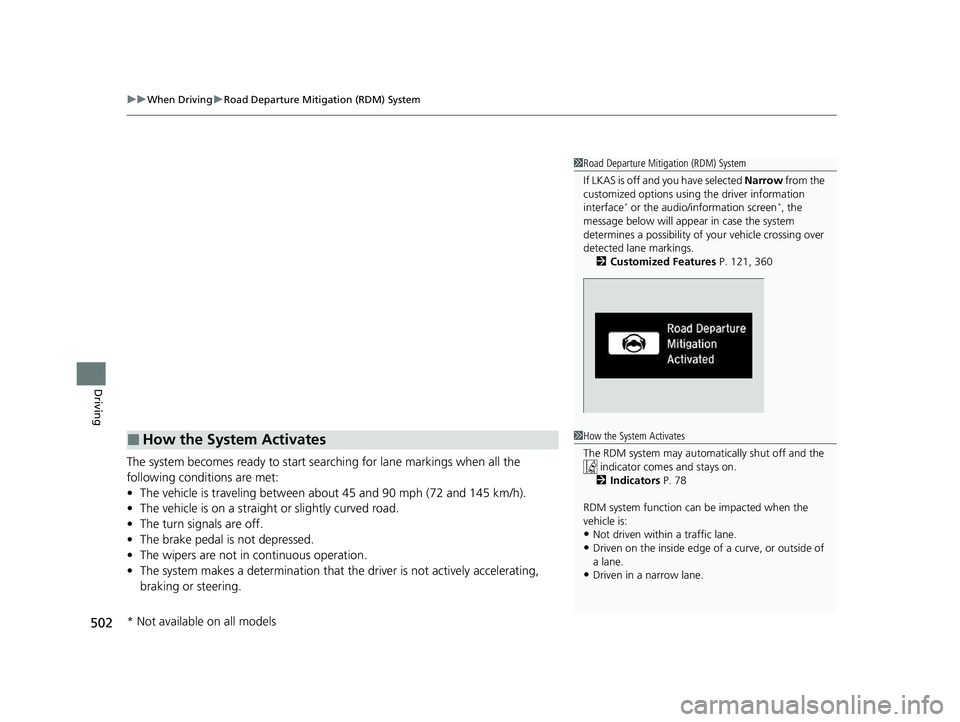
1 Road Departure Mitigation (RDM) System
If LKAS is off and you have selected Narrow from the
customized options using the driver information
interface
* or the audio/information screen*, the
message below will appear in case the system
determines a possibility of your vehicle crossing over
detected lane markings. 2 Customized Features P. 121, 360
■How the System Activates1How the System Activates
The RDM system may automa tically shut off and the
indicator comes and stays on.
2 Indicators P. 78
RDM system function can be impacted when the
vehicle is:
•Not driven within a traffic lane.•Driven on the inside edge of a curve, or outside of
a lane.
•Driven in a narrow lane.
* Not available on all models
20 CR-V PET ELP_MAP_HMIN_HCM_J-31TLA6310.book 502 ページ 2019年10月3日 木曜日 午後4時55分
Page 505 of 671
Continued503
uuWhen Driving uRoad Departure Mitigation (RDM) System
Driving
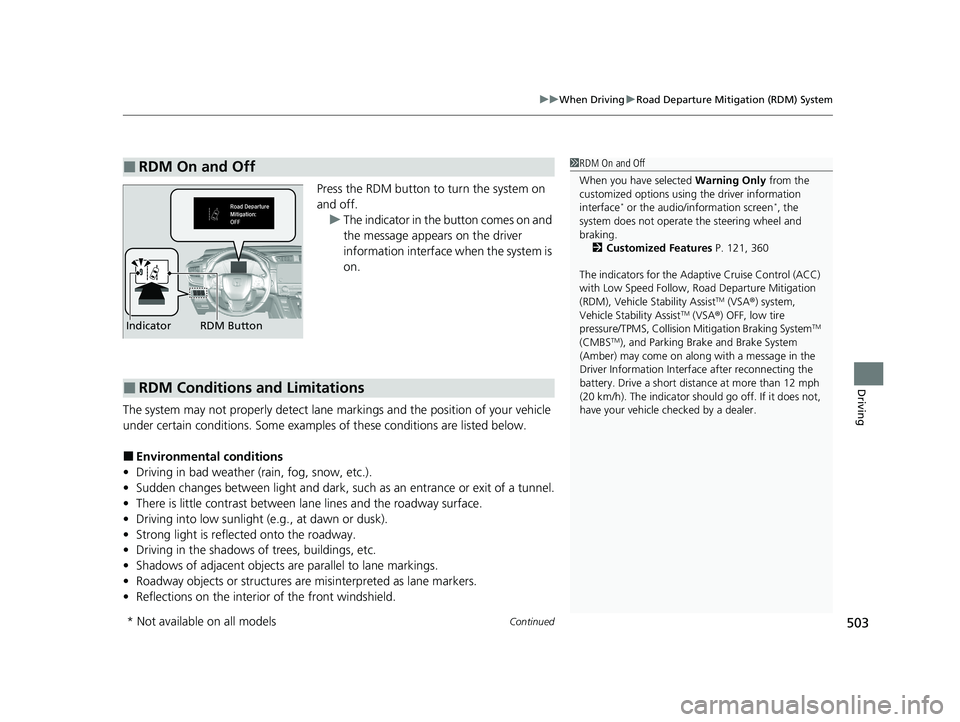
Press the RDM button to turn the system on
and off.
u The indicator in the button comes on and
the message appears on the driver
information interface when the system is
on.
The system may not properly detect lane ma rkings and the position of your vehicle
under certain conditions. Some examples of these conditions are listed below.
■Environmental conditions
• Driving in bad weather (rain, fog, snow, etc.).
• Sudden changes between light and dark, such as an entrance or exit of a tunnel.
• There is little contrast between lane lines and the roadway surface.
• Driving into low sunlight (e.g., at dawn or dusk).
• Strong light is reflec ted onto the roadway.
• Driving in the shadows of trees, buildings, etc.
• Shadows of adjacent objects are parallel to lane markings.
• Roadway objects or structures are misinterpreted as lane markers.
• Reflections on the interior of the front windshield.
■RDM On and Off1RDM On and Off
When you have selected Warning Only from the
customized options using the driver information
interface
* or the audio/information screen*, the
system does not operate the steering wheel and
braking. 2 Customized Features P. 121, 360
The indicators for the Adaptive Cruise Control (ACC)
with Low Speed Follow, Road Departure Mitigation
(RDM), Vehicle Stability Assist
TM (VSA ®) system,
Vehicle Stability AssistTM (VSA ®) OFF, low tire
pressure/TPMS, Collision Mitigation Braking SystemTM
(CMBSTM), and Parking Brake and Brake System
(Amber) may come on along with a message in the
Driver Information Interf ace after reconnecting the
battery. Drive a short distance at more than 12 mph
(20 km/h). The indicator shoul d go off. If it does not,
have your vehicle ch ecked by a dealer.
RDM Button
Indicator
■RDM Conditions and Limitations
* Not available on all models
20 CR-V PET ELP_MAP_HMIN_HCM_J-31TLA6310.book 503 ページ 2019年10月3日 木曜日 午後4時55分
Page 519 of 671
Continued517
uuWhen Driving uBlind spot information System*
Driving
■When the system detects a vehicle1Blind spot information System*
The blind spot information system alert indicator may
not come on under the following conditions:
•A vehicle does not stay in the alert zone for more
than two seconds.
•A vehicle is parked in a side lane.
•The speed difference betw een your vehicle and the
vehicle you are passing is greater than 6 mph (10
km/h).
•An object not detected by the radar sensors
approaches or passes your vehicle.
You can change the setting for blind spot
information system. 2 Customized Features P. 360
Turn the system off when towing a trailer.
The system may not work properly for the following
reasons:
•The added mass tilts the vehicle and changes the
radar coverage.
•The trailer itself can be detected by the radar
sensors, causing the blind spot information system
alert indicators to come on.
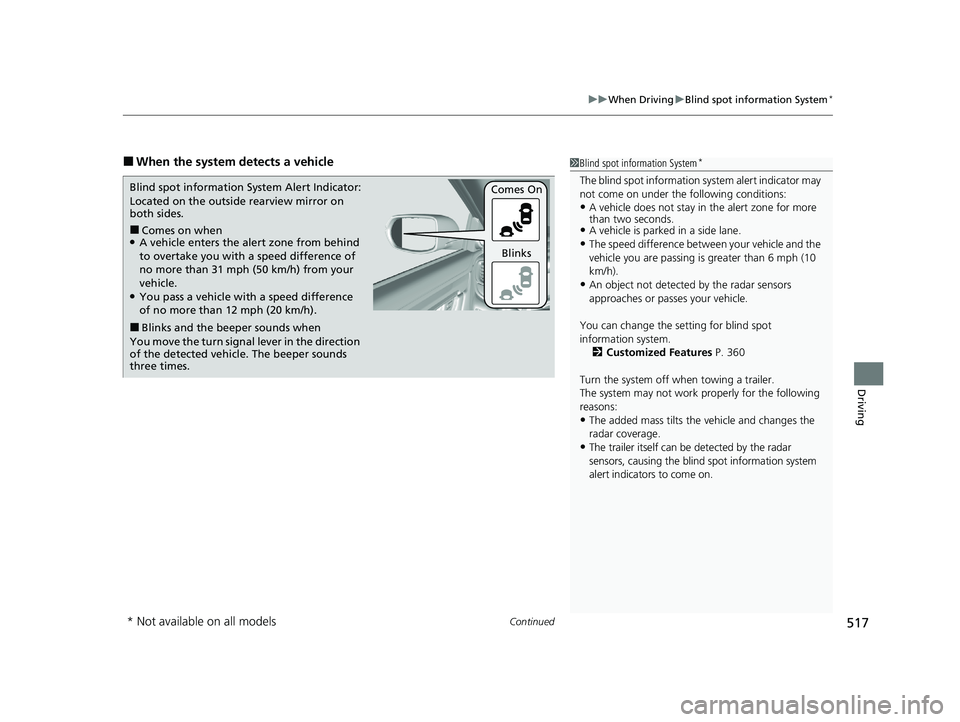
■Comes on when●A vehicle enters the alert zone from behind
to overtake you with a speed difference of
no more than 31 mph (50 km/h) from your
vehicle.
●You pass a vehicle with a speed difference
of no more than 12 mph (20 km/h).
■Blinks and the beeper sounds when
You move the turn signal lever in the direction
of the detected vehicle. The beeper sounds
three times. Comes On
Blinks
Blind spot information
System Alert Indicator:
Located on the outside rearview mirror on
both sides.
* Not available on all models
20 CR-V PET ELP_MAP_HMIN_HCM_J-31TLA6310.book 517 ページ 2019年10月3日 木曜日 午後4時55分
Page 525 of 671
Continued523
uuWhen Driving uTire Pressure Monitoring System (TPMS)
Driving
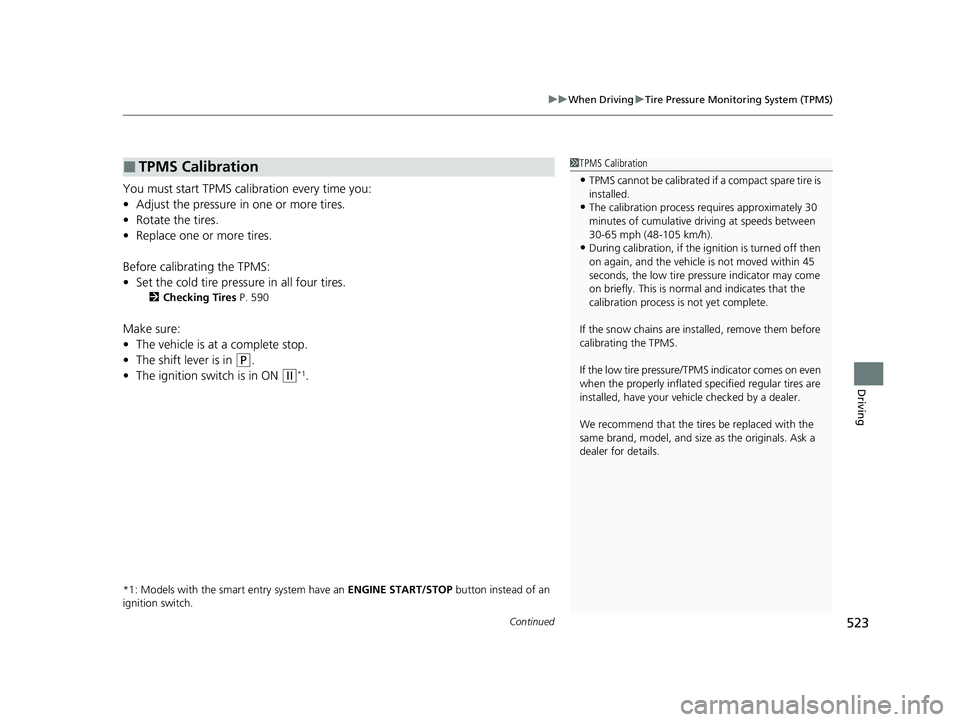
You must start TPMS calibration every time you:
• Adjust the pressure in one or more tires.
• Rotate the tires.
• Replace one or more tires.
Before calibrating the TPMS:
• Set the cold tire pressure in all four tires.
2 Checking Tires P. 590
Make sure:
•The vehicle is at a complete stop.
• The shift lever is in
(P.
• The ignition switch is in ON
(w*1.
*1: Models with the smart entry system have an ENGINE START/STOP button instead of an
ignition switch.
■TPMS Calibration1 TPMS Calibration
•TPMS cannot be calibrated if a compact spare tire is
installed.
•The calibration process requires approximately 30
minutes of cumulative dr iving at speeds between
30-65 mph (48-105 km/h).
•During calibration, if the ignition is turned off then
on again, and the vehicle is not moved within 45
seconds, the low tire pres sure indicator may come
on briefly. This is norma l and indicates that the
calibration process is not yet complete.
If the snow chains are installed, remove them before
calibrating the TPMS.
If the low tire pressure/TPMS indicator comes on even
when the properly inflated specified regular tires are
installed, have your vehi cle checked by a dealer.
We recommend that the tires be replaced with the
same brand, model, and size as the originals. Ask a
dealer for details.
20 CR-V PET ELP_MAP_HMIN_HCM_J-31TLA6310.book 523 ページ 2019年10月3日 木曜日 午後4時55分
Page 526 of 671
uuWhen Driving uTire Pressure Monitoring System (TPMS)
524
Driving
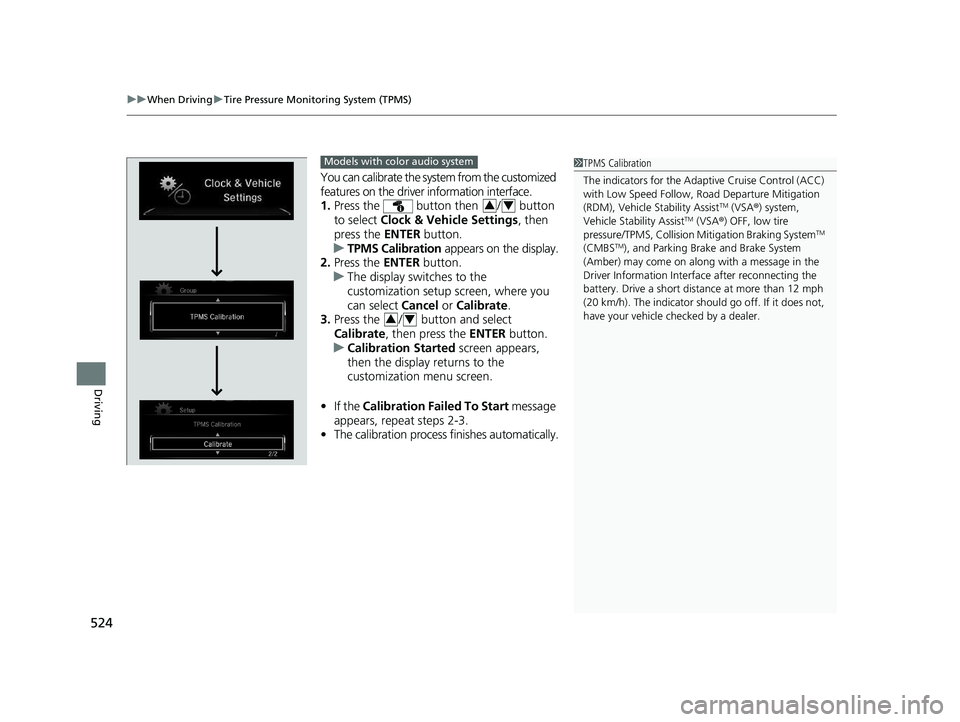
You can calibrate the system from the customized
features on the driver information interface.
1. Press the button then / button
to select Clock & Vehicle Settings , then
press the ENTER button.
u TPMS Calibration appears on the display.
2. Press the ENTER button.
u The display switches to the
customization setup screen, where you
can select Cancel or Calibrate .
3. Press the / button and select
Calibrate , then press the ENTER button.
u Calibration Started screen appears,
then the display returns to the
customization menu screen.
• If the Calibration Failed To Start message
appears, repeat steps 2-3.
• The calibration process finishes automatically.
1TPMS Calibration
The indicators for the Adaptive Cruise Control (ACC)
with Low Speed Follow, Road Departure Mitigation
(RDM), Vehicle Stability Assist
TM (VSA ®) system,
Vehicle Stability AssistTM (VSA ®) OFF, low tire
pressure/TPMS, Collision Mitigation Braking SystemTM
(CMBSTM), and Parking Brake and Brake System
(Amber) may come on along with a message in the
Driver Information Interf ace after reconnecting the
battery. Drive a short distance at more than 12 mph
(20 km/h). The indicator shoul d go off. If it does not,
have your vehicle ch ecked by a dealer.
Models with color audio system
34
34
20 CR-V PET ELP_MAP_HMIN_HCM_J-31TLA6310.book 524 ページ 2019年10月3日 木曜日 午後4時55分
Page 528 of 671
526
uuWhen Driving uTire Pressure Monitoring System (TPMS) - Required Federal Explanation
Driving
Tire Pressure Monitoring System (TPMS) - Required
Federal Explanation
Each tire, including the spare (i f provided), should be checked
monthly when cold and inflated to the inflation pressure
recommended by the vehicle manufacturer on the vehicle placard
or tire inflation pressure label.
(If your vehicle has tires of a different size than the size indicated
on the vehicle placard or tire infl ation pressure label, you should
determine the proper tire inflat ion pressure for those tires.)
As an added safety feature, your vehicle has been equipped with
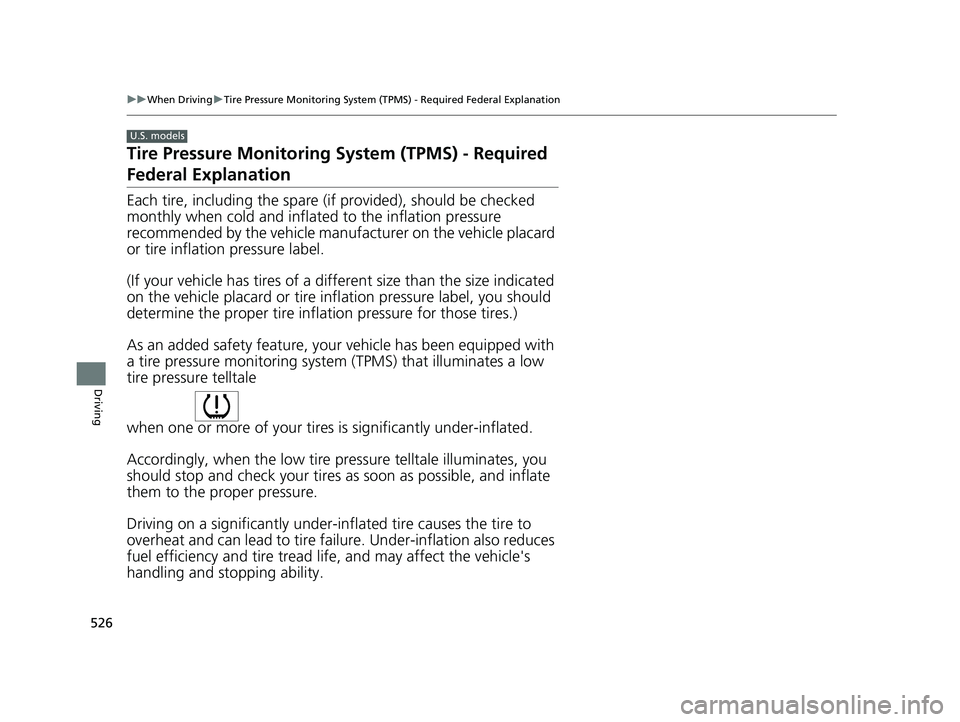
a tire pressure monitoring system (TPMS) that illuminates a low
tire pressure telltale
when one or more of your tire s is significantly under-inflated.
Accordingly, when the low tire pr essure telltale illuminates, you
should stop and check your tires as soon as possible, and inflate
them to the proper pressure.
Driving on a significantly under-in flated tire causes the tire to
overheat and can lead to tire failure. Under-inflat ion also reduces
fuel efficiency and tire tread li fe, and may affect the vehicle's
handling and stopping ability.
U.S. models
20 CR-V PET ELP_MAP_HMIN_HCM_J-31TLA6310.book 526 ページ 2019年10月3日 木曜日 午後4時55分
Page 532 of 671
uuBraking uBrake System
530
Driving
■Activating and deactivating the au tomatic parking brake feature
With the ignition switch is in ON
(w*1, carry out the following steps to either activate
or deactivate the automatic parking brake feature.
1. Shift the select lever to
(P.
2. Without depressing the brake pedal, pull up and release the parking brake switch.
u Check that the parking brake and br ake system indicator has come on.
3. Pull up and hold the parking brake swit ch. When you hear a beeping sound,
release the switch and wi thin 3 seconds pull up and hold the switch again.
4. When you hear a sound indicating that the procedure is completed, release the
switch.
u Two beeps indicates that the feature has been activated.
u One beep indicates that the feature has been deactivated.
u When you have completed activating the feature, the parking brake will
remain applied after you turn off the engine.
u To confirm that the parking brake is ap plied, check if the parking brake and
brake system indicator is on.
If you need to tem porarily deactivate the feature for when putting your vehicle
through a conveyor type car wash or when having your vehicle towed. You can
follow the procedure explained below.
1. Depress the brake pedal and bring the vehicle to a stop.
2. Turn the ignition switch to LOCK
(0*1 and then within 2 seconds push down the
parking brake switch.
u Activation and deactivation settings fo r the feature will not be affected.
u Before temporarily deactivating the feat ure, make sure to first turn off both
ACC with Low Speed Follow and th e automatic brake hold system.
u To confirm that the parking brake is ap plied, check if the parking brake and
brake system indicator is on.
*1: Models with the smart entry system have an ENGINE START/STOP button instead of an
ignition switch.
1 Parking brake system
In cold climates, the parking brake may freeze in
place if applied.
When parking the vehicle, chock the wheels and
make sure the automatic parking brake feature is
deactivated.
Also, when putting your vehicle through a conveyor-
type car wash or when ha ving your vehicle towed,
deactivate the automatic parking brake feature and
leave the parking brake released.
20 CR-V PET ELP_MAP_HMIN_HCM_J-31TLA6310.book 530 ページ 2019年10月3日 木曜日 午後4時55分
Page 555 of 671
553
uuMulti-View Rear Camera uAbout Your Multi-View Rear Camera
Driving
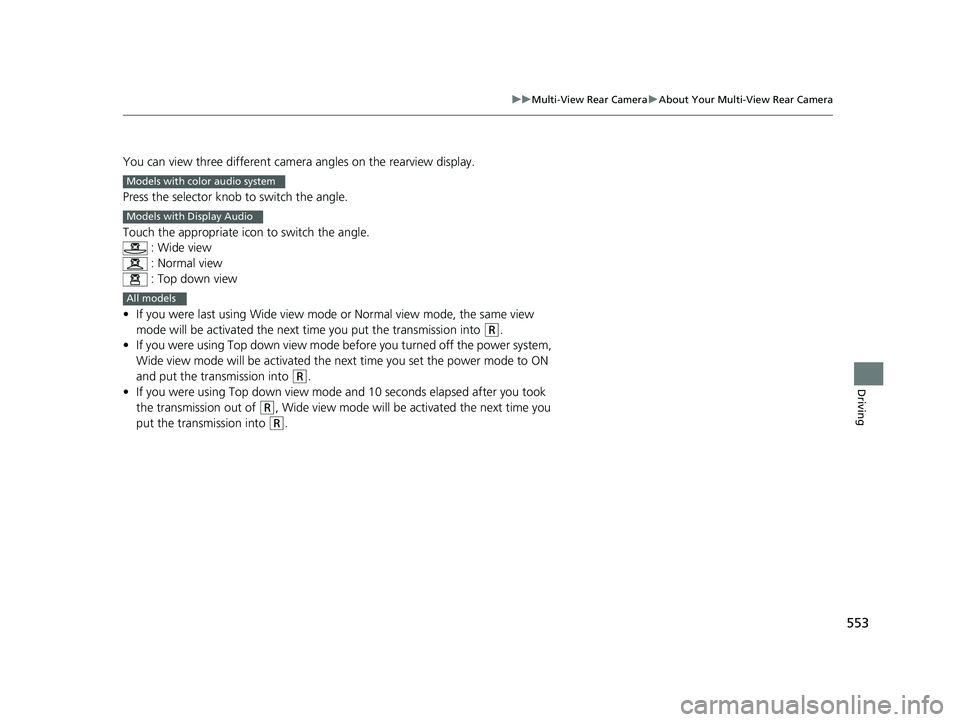
You can view three different camera angles on the rearview display.
Press the selector knob to switch the angle.
Touch the appropriate icon to switch the angle. : Wide view
: Normal view
: Top down view
• If you were last using Wide view mode or Normal view mode, the same view
mode will be activated the next ti me you put the transmission into
(R.
• If you were using Top down view mode before you turned off the power system,
Wide view mode will be activated the ne xt time you set the power mode to ON
and put the trans mission into
(R.
• If you were using Top down view mode and 10 seconds elapsed after you took
the transmission out of
(R, Wide view mode will be activated the next time you
put the transmission into
(R.
Models with color audio system
Models with Display Audio
All models
20 CR-V PET ELP_MAP_HMIN_HCM_J-31TLA6310.book 553 ページ 2019年10月3日 木曜日 午後4時55分
Page 562 of 671
560
Maintenance
Before Performing Maintenance
Inspection and Maintenance
For your safety, perform all listed inspections and maintenance to keep your vehicle
in good condition. If you become aware of an y abnormality (noise, smell, insufficient
brake fluid, oil residue on the ground, etc.), have your vehicle inspected by a dealer.
(Note, however, that service at a dealer is not mandatory to keep your warranties in
effect.)
■Daily inspections
Perform inspections before long distance tri ps, when washing the vehicle, or when
refueling.
■Periodic inspections
• Check the brake fluid level monthly.
2 Checking the Brake Fluid P. 579
•Check the tire pressure monthly. Examin e the tread for wear and foreign objects.
2Checking and Maintaining Tires P. 590
•Check the operation of the exterior lights monthly.
2 Replacing Light Bulbs P. 581
•Check the condition of the wiper bl ades at least every six months.
2Checking and Maintaining Wiper Blades P. 586
■Types of Inspection and Maintenance
1Inspection and Maintenance
Maintenance, replacement, or repair of
emissions control devices and systems may be
done by any automotive repair establishment or
individuals using parts that are “certified” to
EPA standards.
According to state and fede ral regulations, failure to
perform maintenance on the maintenance main
items marked with # will not void your emissions
warranties. However, all ma intenance services should
be performed in accordan ce with the intervals
indicated by the driver information interface.
2 Maintenance Service Items P. 566
If you want to perform complex maintenance tasks
that require more skills a nd tools, you can purchase a
subscription to the Service Express website at
www.techinfo.honda.com .
2 Authorized Manuals P. 653
If you want to perform ma intenance yourself, make
sure that you have the necessary tools and skills first.
After performing maintenanc e, update the records in
the separate maintenance booklet.
U.S. models
20 CR-V PET ELP_MAP_HMIN_HCM_J-31TLA6310.book 560 ページ 2019年10月3日 木曜日 午後4時55分