steering HONDA ELEMENT 2009 1.G Navigation Manual
[x] Cancel search | Manufacturer: HONDA, Model Year: 2009, Model line: ELEMENT, Model: HONDA ELEMENT 2009 1.GPages: 150, PDF Size: 4.16 MB
Page 11 of 150
Navigation System11
Getting Started
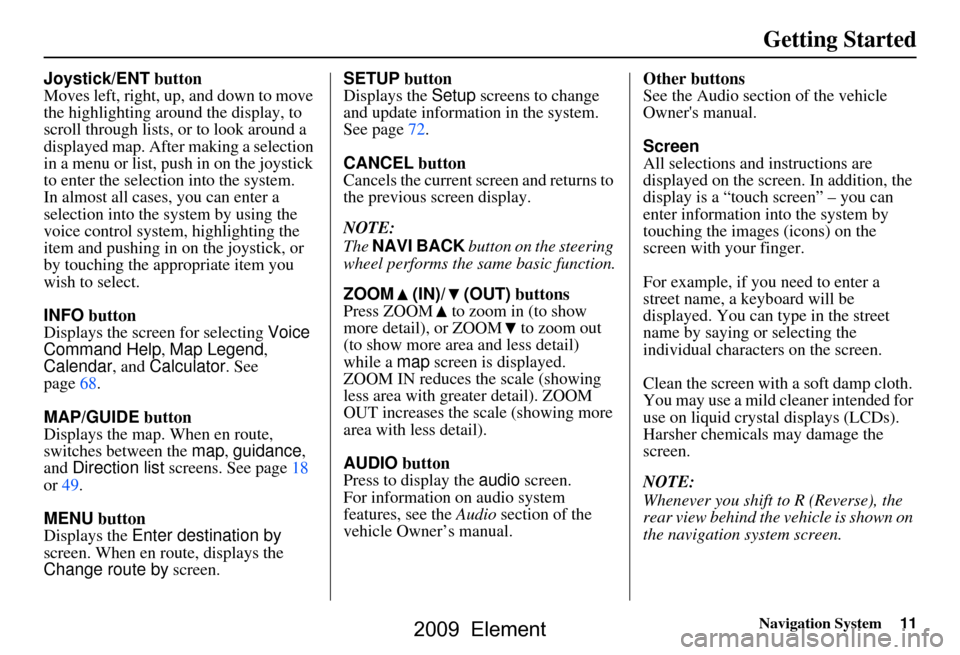
Joystick/ENT button
Moves left, right, up, and down to move
the highlighting around the display, to
scroll through lists, or to look around a
displayed map. After making a selection
in a menu or list, push in on the joystick
to enter the selection into the system.
In almost all cases, you can enter a
selection into the system by using the
voice control system, highlighting the
item and pushing in on the joystick, or
by touching the appropriate item you
wish to select.
INFO button
Displays the screen for selecting Voice
Command Help , Map Legend,
Calendar, and Calculator. See
page
68.
MAP/GUIDE button
Displays the map. When en route,
switches between the map, guidance ,
and Direction list screens. See page
18
or 49.
MENU button
Displays the Enter destination by
screen. When en r oute, displays the
Change route by screen. SETUP button
Displays the
Setup screens to change
and update informa tion in the system.
See page
72 .
CANCEL button
Cancels the current sc reen and returns to
the previous screen display.
NOTE:
The NAVI BACK button on the steering
wheel performs the same basic function.
ZOOM (IN)/ (OUT) buttons
Press ZOOM to zoom in (to show
more detail), or ZOOM to zoom out
(to show more area and less detail)
while a map screen is displayed.
ZOOM IN reduces the scale (showing
less area with greater detail). ZOOM
OUT increases the scale (showing more
area with less detail).
AUDIO button
Press to display the audio screen.
For information on audio system
features, see the Audio section of the
vehicle Owner’s manual. Other buttons
See the Audio sectio
n of the vehicle
Owner's manual.
Screen
All selections and instructions are
displayed on the screen. In addition, the
display is a “touch screen” – you can
enter information into the system by
touching the images (icons) on the
screen with your finger.
For example, if you need to enter a
street name, a keyboard will be
displayed. You can type in the street
name by saying or selecting the
individual character s on the screen.
Clean the screen with a soft damp cloth.
You may use a mild cl eaner intended for
use on liquid crystal displays (LCDs).
Harsher chemicals may damage the
screen.
NOTE:
Whenever you shift to R (Reverse), the
rear view behind the vehicle is shown on
the navigation system screen.
2009 Element
Page 12 of 150
12Navigation System
Getting Started
Voice Control Basics
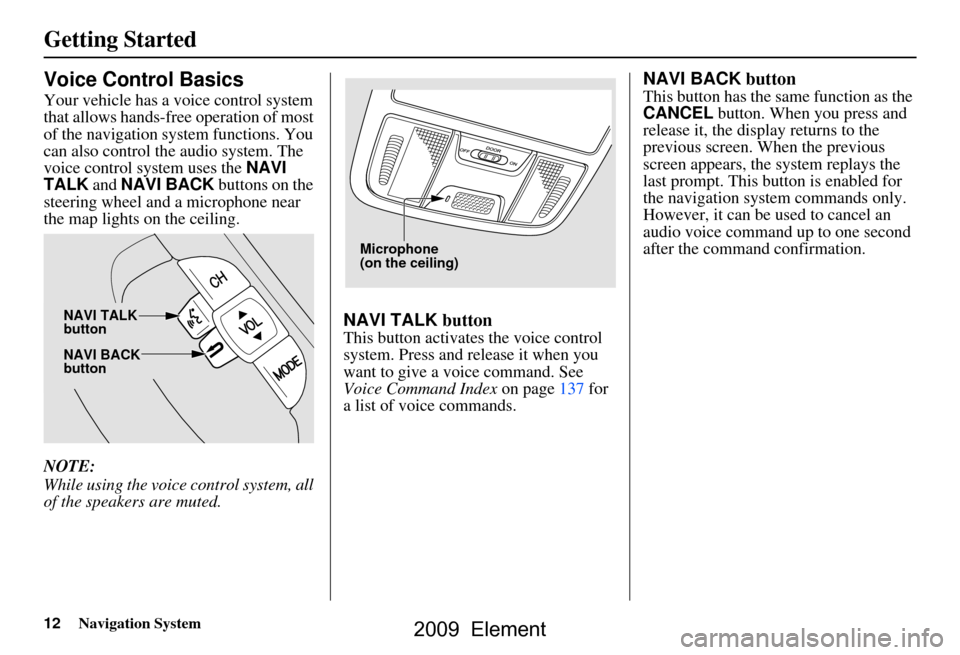
Your vehicle has a voice control system
that allows hands-free operation of most
of the navigation system functions. You
can also control the audio system. The
voice control system uses the NAVI
TALK and NAVI BACK buttons on the
steering wheel and a microphone near
the map lights on the ceiling.
NOTE:
While using the voice control system, all
of the speakers are muted.
NAVI TALK button
This button activates the voice control
system. Press and release it when you
want to give a voice command. See
Voice Command Index on page137 for
a list of voice commands.
NAVI BACK button
This button has the same function as the
CANCEL button. When you press and
release it, the disp lay returns to the
previous screen. When the previous
screen appears, the system replays the
last prompt. This button is enabled for
the navigation system commands only.
However, it can be used to cancel an
audio voice command up to one second
after the command confirmation.
NAVI BACK
button
NAVI TALK
button
Microphone
(on the ceiling)
2009 Element
Page 54 of 150
54Navigation System
Map Orientation
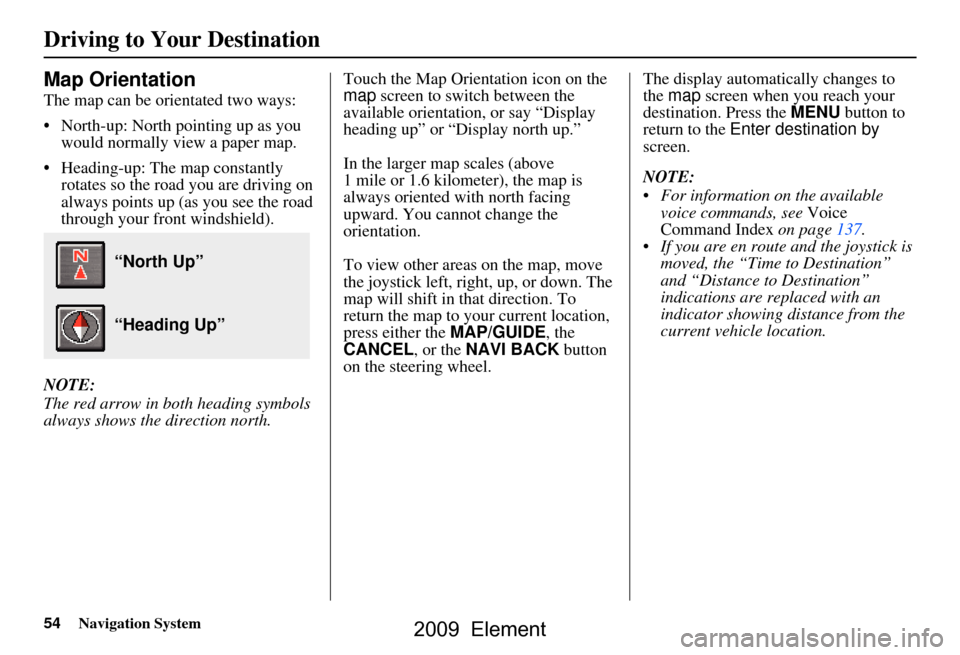
The map can be orientated two ways:
North-up: North pointing up as you would normally view a paper map.
Heading-up: The map constantly rotates so the road you are driving on
always points up (as you see the road
through your front windshield).
NOTE:
The red arrow in both heading symbols
always shows the direction north. Touch the Map Orientation icon on the
map
screen to switch between the
available orientation, or say “Display
heading up” or “Display north up.”
In the larger map scales (above
1 mile or 1.6 kilometer), the map is
always oriented with north facing
upward. You cannot change the
orientation.
To view other areas on the map, move
the joystick left, right, up, or down. The
map will shift in that direction. To
return the map to your current location,
press either the MAP/GUIDE, the
CANCEL , or the NAVI BACK button
on the steering wheel. The display automati
cally changes to
the map screen when you reach your
destination. Press the MENU button to
return to the Enter destination by
screen.
NOTE:
For information on the available voice commands, see Voice
Command Index on page137.
If you are en route and the joystick is moved, the “Time to Destination”
and “Distance to Destination”
indications are re placed with an
indicator showing distance from the
current vehicle location.
“North Up”
“Heading Up”
Driving to Your Destination
2009 Element
Page 67 of 150
Navigation System67
Driving to Your Destination
Entering a Destination from the
Menu Screen (while en route)
If you say “Menu” or press the MENU
button twice, the sy stem displays the
Enter destination by screen. Follow
the procedure described in Entering a
Destination , which begins on page21.
After selecting OK to the Calculate
route to screen, your new location can
be used either as a waypoint or as a
replacement destination.
Continue Trip Screen
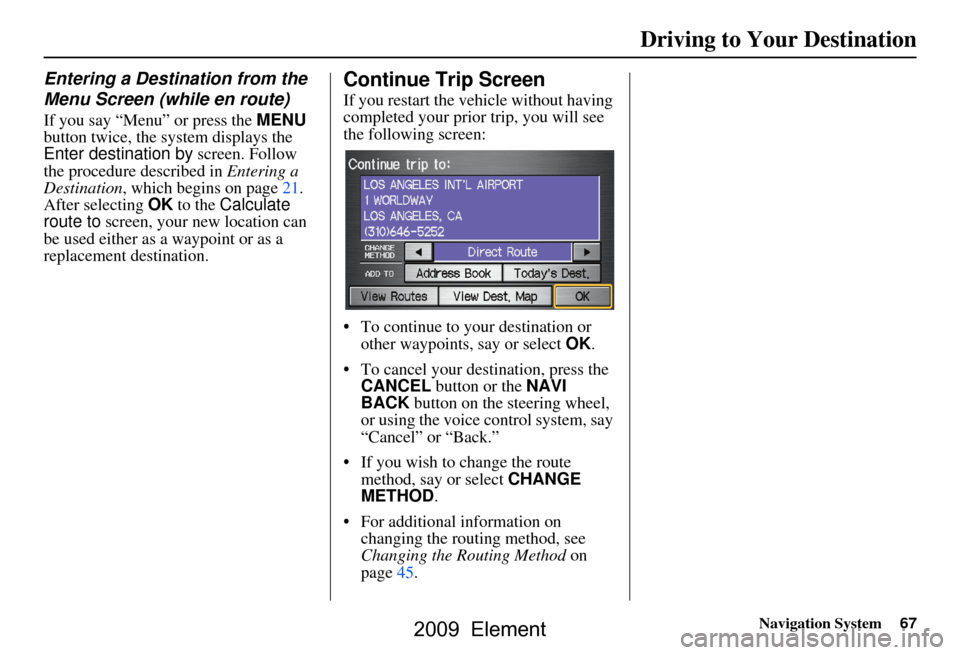
If you restart the vehicle without having
completed your prior trip, you will see
the following screen:
To continue to your destination or other waypoints, say or select OK.
To cancel your destination, press the CANCEL button or the NAVI
BACK button on the steering wheel,
or using the voice control system, say
“Cancel” or “Back.”
If you wish to change the route method, say or select CHANGE
METHOD .
For additional information on changing the routing method, see
Changing the Routing Method on
page45.
2009 Element
Page 140 of 150
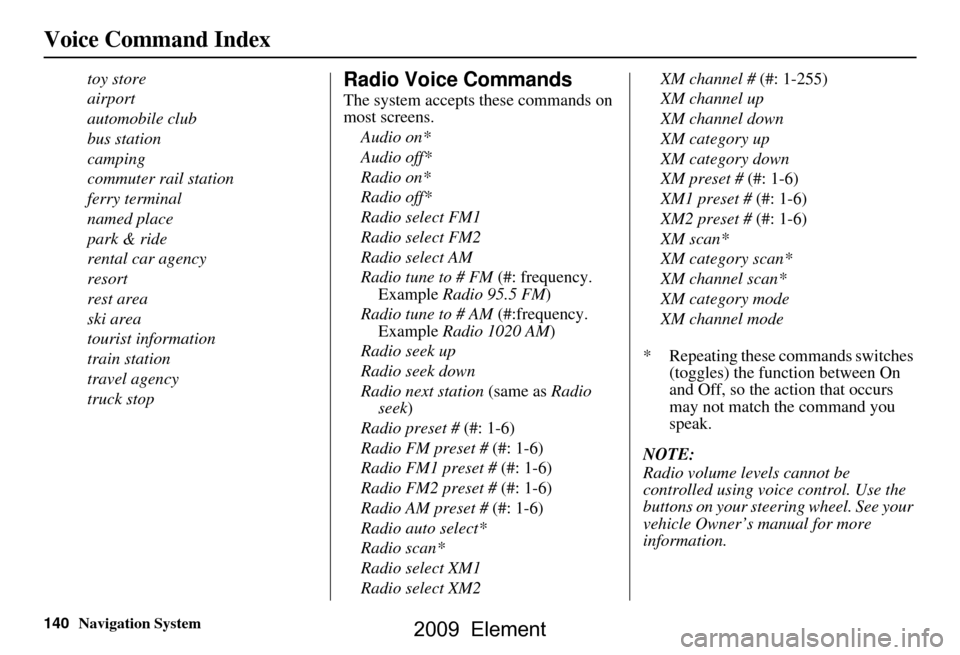
140Navigation System
Voice Command Index
toy store
airport
automobile club
bus station
camping
commuter rail station
ferry terminal
named place
park & ride
rental car agency
resort
rest area
ski area
tourist information
train station
travel agency
truck stopRadio Voice Commands
The system accepts these commands on
most screens.Audio on*
Audio off*
Radio on*
Radio off*
Radio select FM1
Radio select FM2
Radio select AM
Radio tune to # FM (#: frequency.
Example Radio 95.5 FM )
Radio tune to # AM (#:frequency.
Example Radio 1020 AM )
Radio seek up
Radio seek down
Radio next station (same as Radio
seek)
Radio preset # (#: 1-6)
Radio FM preset # (#: 1-6)
Radio FM1 preset # (#: 1-6)
Radio FM2 preset # (#: 1-6)
Radio AM preset # (#: 1-6)
Radio auto select*
Radio scan*
Radio select XM1
Radio select XM2 XM channel #
(#: 1-255)
XM channel up
XM channel down
XM category up
XM category down
XM preset # (#: 1-6)
XM1 preset # (#: 1-6)
XM2 preset # (#: 1-6)
XM scan*
XM category scan*
XM channel scan*
XM category mode
XM channel mode
* Repeating these commands switches (toggles) the function between On
and Off, so the action that occurs
may not match the command you
speak.
NOTE:
Radio volume levels cannot be
controlled using voice control. Use the
buttons on your steering wheel. See your
vehicle Owner’s manual for more
information.
2009 Element