set clock HONDA HR-V 2018 Navigation Manual (in English)
[x] Cancel search | Manufacturer: HONDA, Model Year: 2018, Model line: HR-V, Model: HONDA HR-V 2018Pages: 263, PDF Size: 56.63 MB
Page 3 of 263
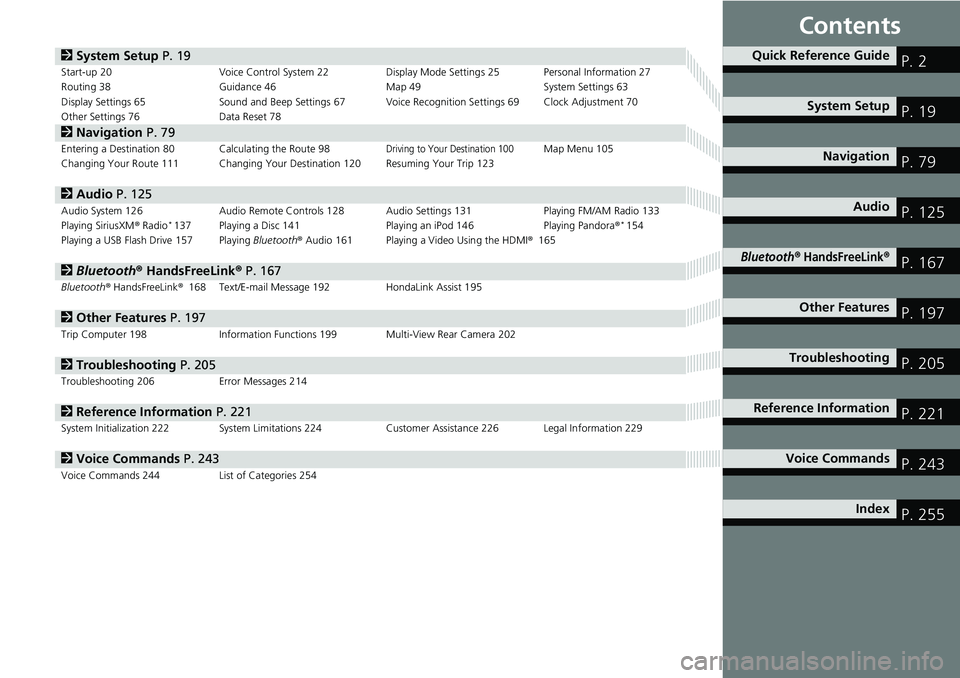
Contents
2System Setup P. 19Start-up 20 Voice Control System 22 Display Mode Settings 25 Personal Information 27
Routing 38 Guidance 46 Map 49 System Settings 63
Display Settings 65 Sound and Beep Settings 67 Voice Recognition Settings 69 Clock Adjustment 70
Other Settings 76 Data Reset 78
2Navigation P. 79Entering a Destination 80 Calculating the Route 98Driving to Your Destination 100Map Menu 105
Changing Your Route 111 Changing Your Destination 120 Resuming Your Trip 123
2Audio P. 125Audio System 126 Audio Remote Controls 128 Audio Settings 131 Playing FM/AM Radio 133
Playing SiriusXM® Radio*137 Playing a Disc 141 Playing an iPod 146 Playing Pandora®*154
Playing a USB Flash Drive 157 Playing Bluetooth® Audio 161 Playing a Video Using the HDMI®165
2Bluetooth® HandsFreeLink® P. 167Bluetooth® HandsFreeLink®168 Text/E-mail Message 192 HondaLink Assist 195
2Other Features P. 197Trip Computer 198 Information Functions 199 Multi-View Rear Camera 202
2Troubleshooting P. 205Troubleshooting 206 Error Messages 214
2Reference Information P. 221System Initialization 222 System Limitations 224 Customer Assistance 226 Legal Information 229
2Voice Commands P. 243Voice Commands 244 List of Categories 254
Quick Reference GuideP. 2
System SetupP. 19
NavigationP. 79
AudioP. 125
Bluetooth® HandsFreeLink®P. 167
Other FeaturesP. 197
TroubleshootingP. 205
Reference InformationP. 221
Voice CommandsP. 243
IndexP. 255
Page 21 of 263
19
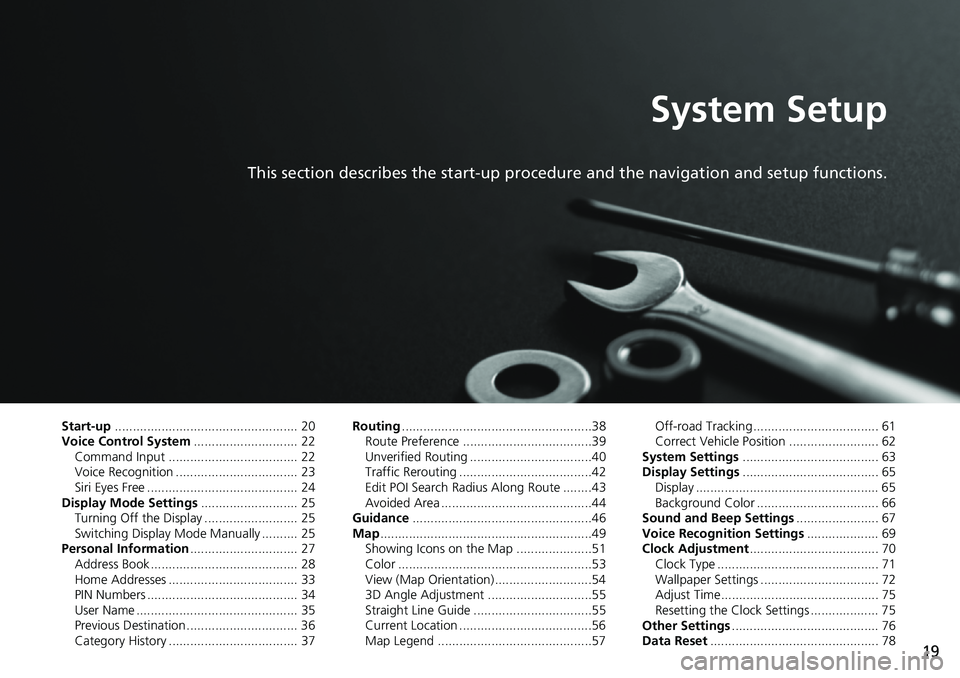
System Setup
This section describes the start-up procedure and the navigation and setup functions.
Start-up................................................... 20
Voice Control System............................. 22
Command Input .................................... 22
Voice Recognition .................................. 23
Siri Eyes Free .......................................... 24
Display Mode Settings........................... 25
Turning Off the Display .......................... 25
Switching Display Mode Manually .......... 25
Personal Information.............................. 27
Address Book ......................................... 28
Home Addresses .................................... 33
PIN Numbers .......................................... 34
User Name ............................................. 35
Previous Destination ............................... 36
Category History .................................... 37Routing.....................................................38
Route Preference ....................................39
Unverified Routing ..................................40
Traffic Rerouting .....................................42
Edit POI Search Radius Along Route ........43
Avoided Area ..........................................44
Guidance..................................................46
Map...........................................................49
Showing Icons on the Map .....................51
Color ......................................................53
View (Map Orientation) ...........................54
3D Angle Adjustment .............................55
Straight Line Guide .................................55
Current Location .....................................56
Map Legend ...........................................57Off-road Tracking ................................... 61
Correct Vehicle Position ......................... 62
System Settings...................................... 63
Display Settings...................................... 65
Display ................................................... 65
Background Color .................................. 66
Sound and Beep Settings....................... 67
Voice Recognition Settings.................... 69
Clock Adjustment.................................... 70
Clock Type ............................................. 71
Wallpaper Settings ................................. 72
Adjust Time............................................ 75
Resetting the Clock Settings ................... 75
Other Settings......................................... 76
Data Reset............................................... 78
Page 65 of 263
63
System Setup
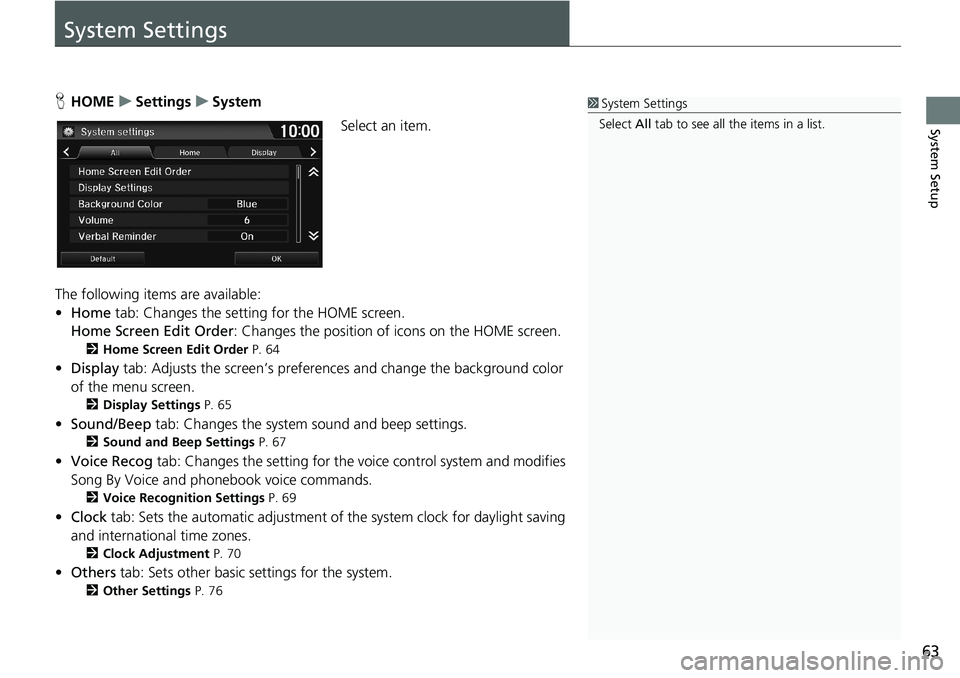
System Settings
HHOMEuSettingsuSystem
Select an item.
The following items are available:
•Home tab: Changes the setting for the HOME screen.
Home Screen Edit Order: Changes the position of icons on the HOME screen.
2Home Screen Edit Order P. 64
•Display tab: Adjusts the screen’s preferences and change the background color
of the menu screen.
2Display Settings P. 65
•Sound/Beep tab: Changes the system sound and beep settings.
2Sound and Beep Settings P. 67
•Voice Recog tab: Changes the setting for the voice control system and modifies
Song By Voice and phonebook voice commands.
2Voice Recognition Settings P. 69
•Clock tab: Sets the automatic adjustment of the system clock for daylight saving
and international time zones.
2Clock Adjustment P. 70
•Others tab: Sets other basic settings for the system.
2Other Settings P. 76
1System Settings
Select All tab to see all the items in a list.
Page 72 of 263
70
System Setup
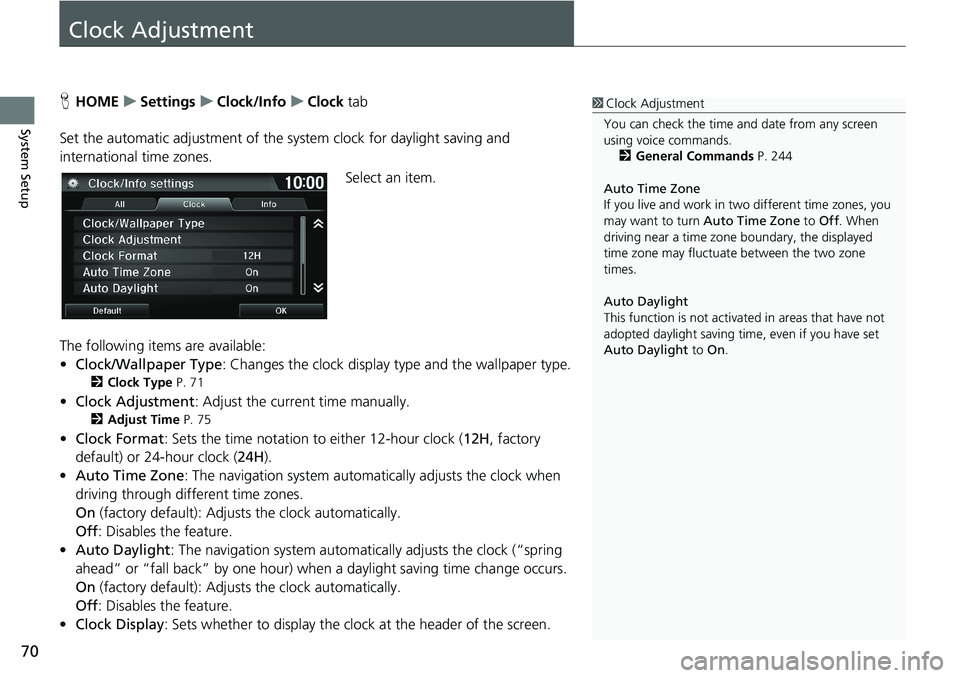
Clock Adjustment
HHOMEuSettingsuClock/InfouClock tab
Set the automatic adjustment of the system clock for daylight saving and
international time zones.
Select an item.
The following items are available:
•Clock/Wallpaper Type: Changes the clock display type and the wallpaper type.
2Clock Type P. 71
•Clock Adjustment: Adjust the current time manually.
2Adjust Time P. 75
•Clock Format: Sets the time notation to either 12-hour clock (12H, factory
default) or 24-hour clock (24H).
•Auto Time Zone: The navigation system automatically adjusts the clock when
driving through different time zones.
On (factory default): Adjusts the clock automatically.
Off: Disables the feature.
•Auto Daylight: The navigation system automatically adjusts the clock (“spring
ahead” or “fall back” by one hour) when a daylight saving time change occurs.
On (factory default): Adjusts the clock automatically.
Off: Disables the feature.
•Clock Display: Sets whether to display the clock at the header of the screen.
1Clock Adjustment
You can check the time and date from any screen
using voice commands.
2General Commands P. 244
Auto Time Zone
If you live and work in two different time zones, you
may want to turn Auto Time Zone to Off. When
driving near a time zone boundary, the displayed
time zone may fluctuate between the two zone
times.
Auto Daylight
This function is not activated in areas that have not
adopted daylight saving time, even if you have set
Auto Daylight to On.
Page 73 of 263
71
uuClock AdjustmentuClock Type
System Setup
•Clock Location: Sets the location of the clock while playing a video through
HDMI®.
•Clock Reset: Resets the settings of all items in the Clock settings.
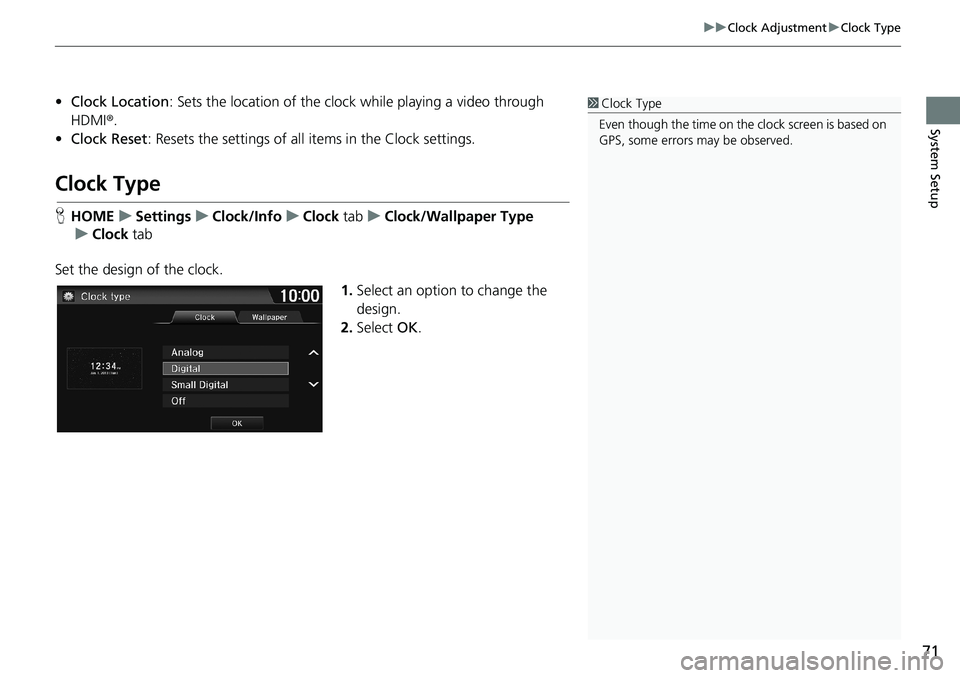
Clock Type
HHOMEuSettingsuClock/InfouClock tabuClock/Wallpaper Type
uClock tab
Set the design of the clock.
1.Select an option to change the
design.
2.Select OK.
1Clock Type
Even though the time on the clock screen is based on
GPS, some errors may be observed.
Page 74 of 263
72
uuClock AdjustmentuWallpaper Settings
System Setup
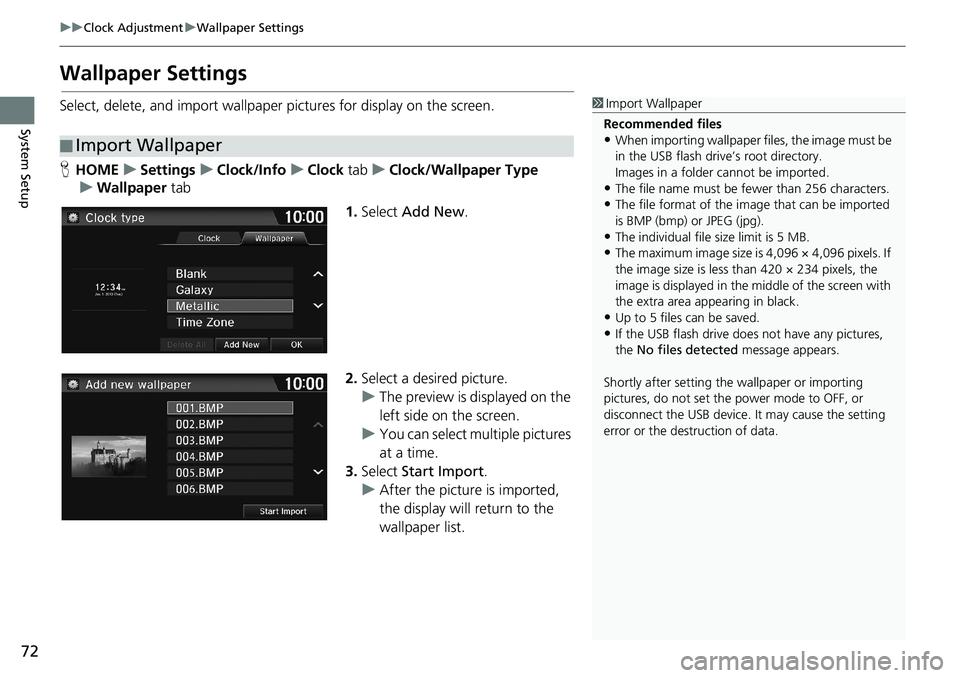
Wallpaper Settings
Select, delete, and import wallpaper pictures for display on the screen.
HHOMEuSettingsuClock/InfouClock tabuClock/Wallpaper Type
uWallpaper tab
1.Select Add New.
2.Select a desired picture.
uThe preview is displayed on the
left side on the screen.
uYou can select multiple pictures
at a time.
3.Select Start Import.
uAfter the picture is imported,
the display will return to the
wallpaper list.
■Import Wallpaper
1Import Wallpaper
Recommended files
•When importing wallpaper files, the image must be
in the USB flash drive’s root directory.
Images in a folder cannot be imported.
•The file name must be fewer than 256 characters.•The file format of the image that can be imported
is BMP (bmp) or JPEG (jpg).
•The individual file size limit is 5 MB.•The maximum image size is 4,096 × 4,096 pixels. If
the image size is less than 420 × 234 pixels, the
image is displayed in the middle of the screen with
the extra area appearing in black.
•Up to 5 files can be saved.
•If the USB flash drive does not have any pictures,
the No files detected message appears.
Shortly after setting the wallpaper or importing
pictures, do not set the power mode to OFF, or
disconnect the USB device. It may cause the setting
error or the destruction of data.
Page 75 of 263
Continued73
uuClock AdjustmentuWallpaper Settings
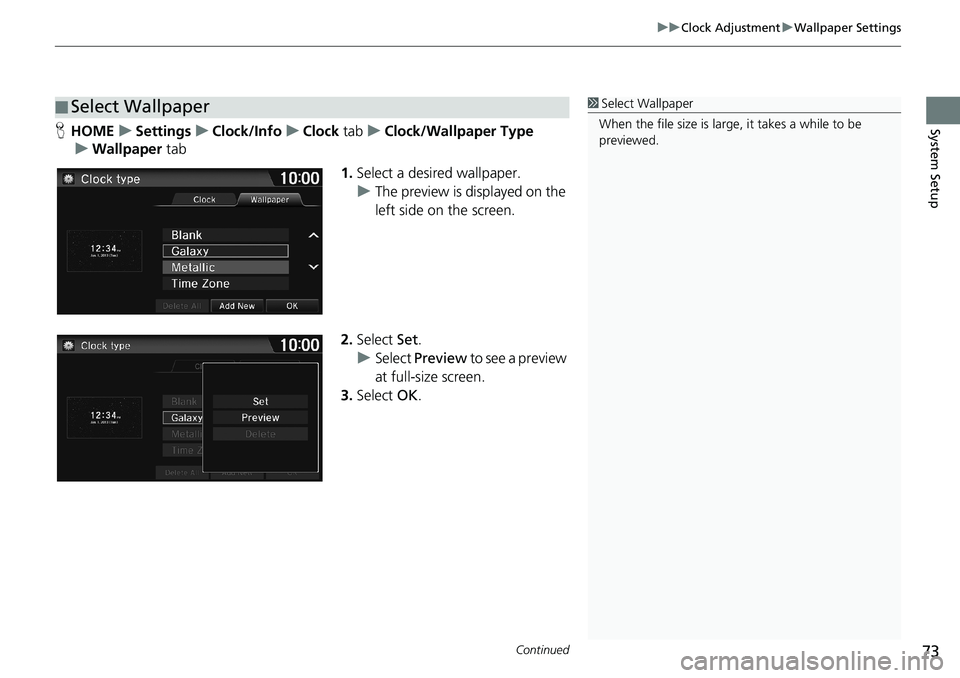
System SetupHHOMEuSettingsuClock/InfouClock tabuClock/Wallpaper Type
uWallpaper tab
1.Select a desired wallpaper.
uThe preview is displayed on the
left side on the screen.
2.Select Set.
uSelect Preview to see a preview
at full-size screen.
3.Select OK.
■Select Wallpaper1Select Wallpaper
When the file size is large, it takes a while to be
previewed.
Page 76 of 263
uuClock AdjustmentuWallpaper Settings
74
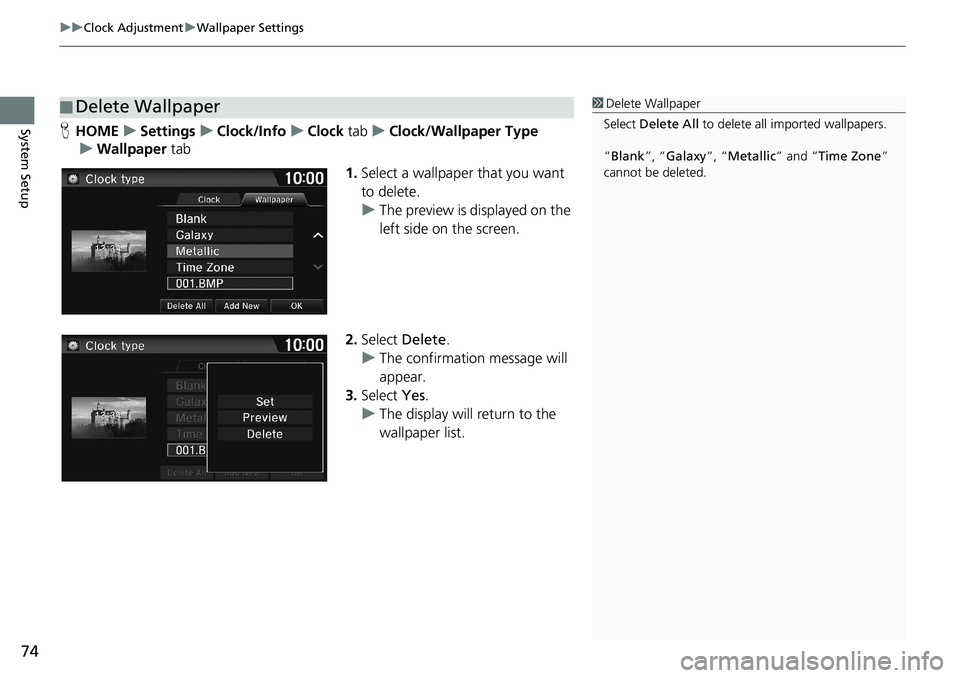
System SetupHHOMEuSettingsuClock/InfouClock tabuClock/Wallpaper Type
uWallpaper tab
1.Select a wallpaper that you want
to delete.
uThe preview is displayed on the
left side on the screen.
2.Select Delete.
uThe confirmation message will
appear.
3.Select Yes.
uThe display will return to the
wallpaper list.
■Delete Wallpaper1Delete Wallpaper
Select Delete All to delete all imported wallpapers.
“Blank”, “Galaxy”, “Metallic” and “Time Zone”
cannot be deleted.
Page 77 of 263
75
uuClock AdjustmentuAdjust Time
System Setup
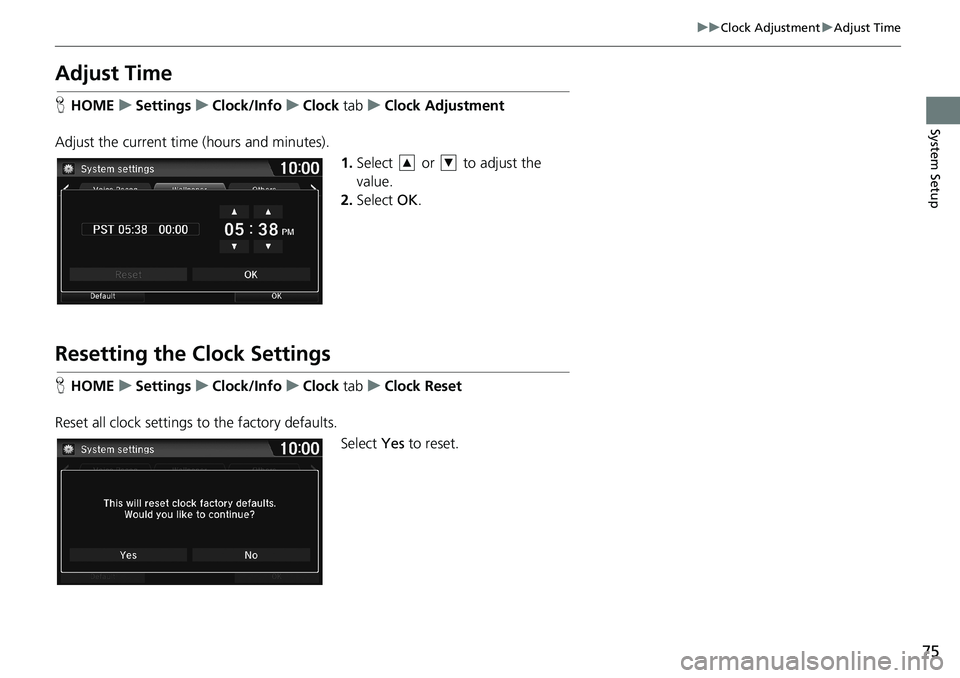
Adjust Time
HHOMEuSettingsuClock/InfouClock tabuClock Adjustment
Adjust the current time (hours and minutes).
1.Select or to adjust the
value.
2.Select OK.
Resetting the Clock Settings
HHOMEuSettingsuClock/InfouClock tabuClock Reset
Reset all clock settings to the factory defaults.
Select Yes to reset.
Page 80 of 263
78
System Setup
Data Reset
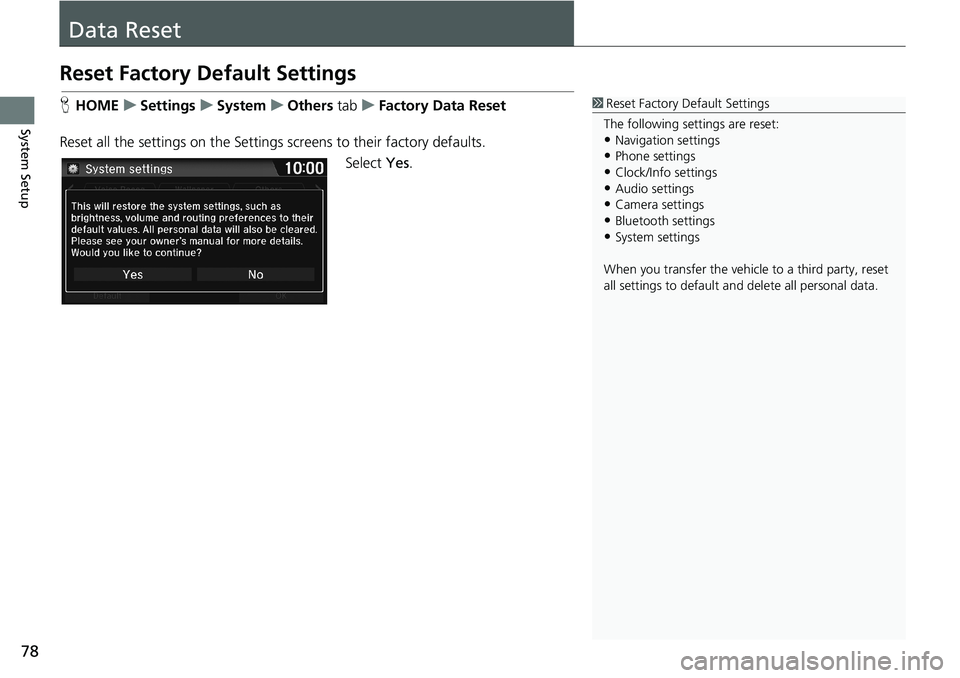
Reset Factory Default Settings
HHOMEuSettingsuSystemuOthers tabuFactory Data Reset
Reset all the settings on the Settings screens to their factory defaults.
Select Yes.1Reset Factory Default Settings
The following settings are reset:
•Navigation settings
•Phone settings
•Clock/Info settings•Audio settings
•Camera settings
•Bluetooth settings•System settings
When you transfer the vehicle to a third party, reset
all settings to default and delete all personal data.