check engine HONDA INSIGHT 2022 Owner's Manual
[x] Cancel search | Manufacturer: HONDA, Model Year: 2022, Model line: INSIGHT, Model: HONDA INSIGHT 2022Pages: 609, PDF Size: 18.48 MB
Page 509 of 609
508
uuMaintenance Under the Hood uInverter Coolant
Maintenance
Inverter Coolant
This coolant is premixed with 50% antifreeze and 50% water. Do not add any
straight antifreeze or water.
We recommend you check the inverter co olant level every time you refuel.
Have a dealer replace the inverter coolant.
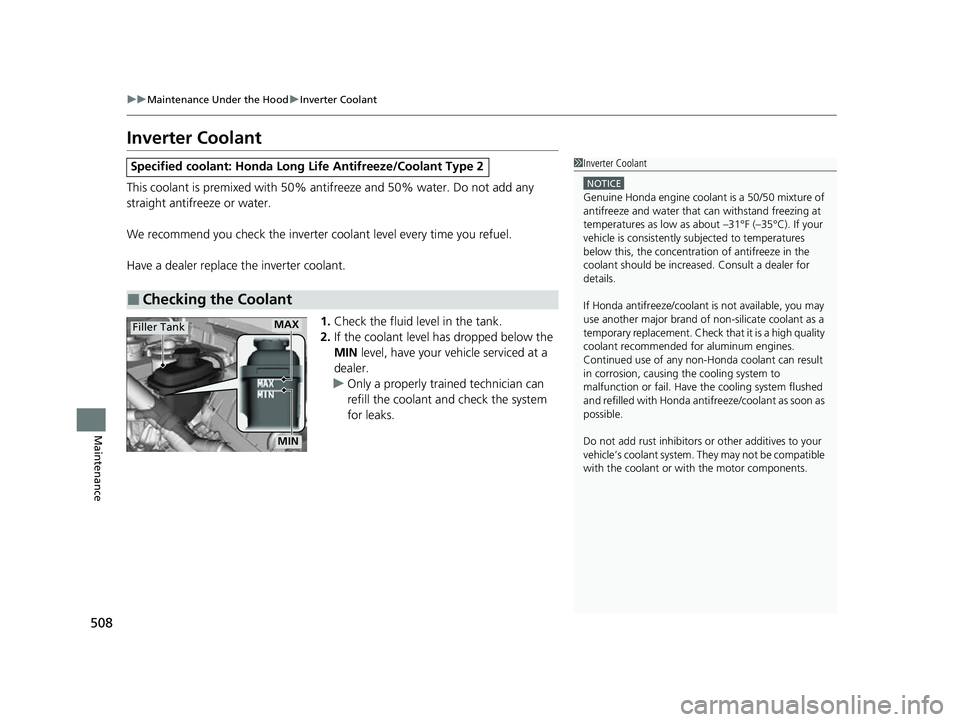
1.Check the fluid level in the tank.
2. If the coolant level has dropped below the
MIN level, have your vehicle serviced at a
dealer.
u Only a properly trained technician can
refill the coolant an d check the system
for leaks.
Specified coolant: Honda Long Life Antifreeze/Coolant Type 2
■Checking the Coolant
1Inverter Coolant
NOTICE
Genuine Honda engine coolan t is a 50/50 mixture of
antifreeze and water that can withstand freezing at
temperatures as low as a bout –31°F (–35°C). If your
vehicle is consistently subjected to temperatures
below this, the concentration of antifreeze in the
coolant should be increased. Consult a dealer for
details.
If Honda antifreeze /coolant is not available, you may
use another major brand of non-silicate coolant as a
temporary replacement. Check that it is a high quality
coolant recommended for aluminum engines.
Continued use of any non-Honda coolant can result
in corrosion, causing the cooling system to
malfunction or fail. Have the cooling system flushed
and refilled with Honda anti freeze/coolant as soon as
possible.
Do not add rust inhibitors or other additives to your
vehicle’s coolant system. They may not be compatible
with the coolant or with the motor components.
MAX
MIN
Filler Tank
22 INSIGHT HMIN-31TXM6300.book 508 ページ 2021年2月24日 水曜日 午後3時45分
Page 512 of 609
511
uuMaintenance Under the Hood uRefilling Window Washer Fluid
Maintenance
Refilling Window Washer Fluid
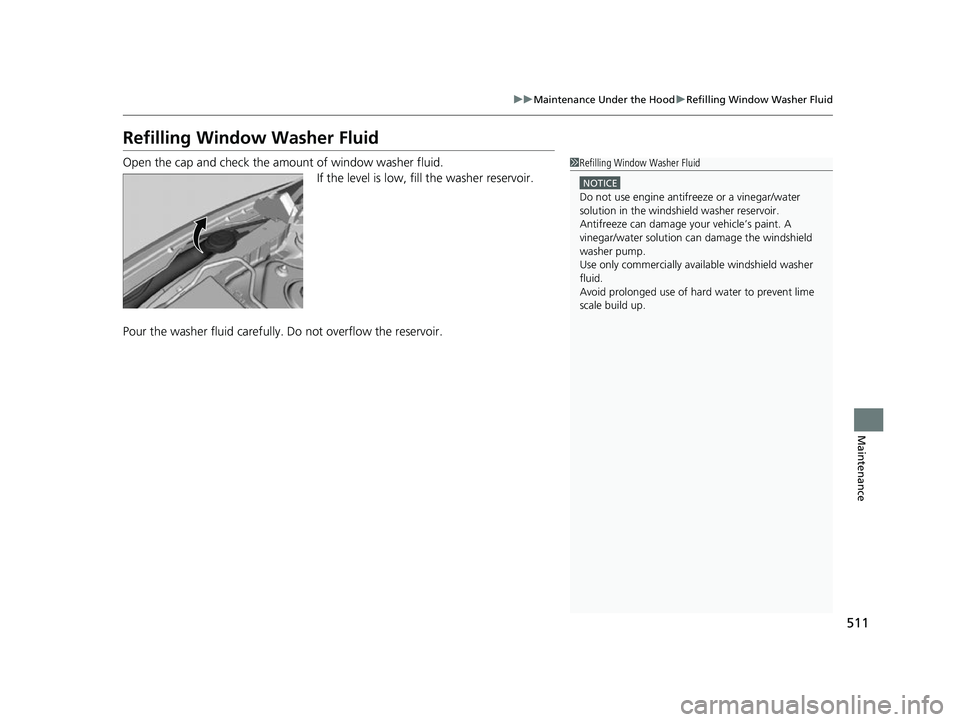
Open the cap and check the amou nt of window washer fluid.
If the level is low, fill the washer reservoir.
Pour the washer fluid carefully. Do not overflow the reservoir.1Refilling Window Washer Fluid
NOTICE
Do not use engine antifreeze or a vinegar/water
solution in the windshield washer reservoir.
Antifreeze can damage y our vehicle
Page 538 of 609
537
Maintenance
Accessories and Modifications
Accessories
When installing accessories, check the following:
• Do not install accessories on the windsh ield. They can obstruct your view and
delay your reaction to driving conditions.
• Do not install any accessories over areas marked SRS Airbag, on the sides or backs
of the front seats, on front or side pillars, or near the side windows.
Accessories installed in these areas may interfere with proper operation of the
vehicle’s airbags or may be propelled into you or another occupant if the airbags
deploy.
• Be sure electronic accessories do not overload electrical circuits or interfere with
proper operation of your vehicle.
2 Fuses P. 577
•Before installing any electro nic accessory, have the installer contact a dealer for
assistance. If possible, have a deal er inspect the final installation.
1Accessories and Modifications
Honda Genuine accessor ies are recommended to
ensure proper operati on on your vehicle.
3WARNING
Improper accessories or modifications can
affect your vehicle’s handling, stability, and
performance, and cause a crash in which
you can be seriously hurt or killed.
Follow all instruction s in this owner’s
manual regarding accessories and
modifications.
3WARNING
Use of improperly designed, engineered or
manufactured high-voltage battery
assemblies could cause a fire in your
vehicle.
A vehicle fire could result in a crash or
injury.
Only use a genuine Honda high-voltage
battery assembly, or it s equivalent, in your
vehicle.
22 INSIGHT HMIN-31TXM6300.book 537 ページ 2021年2月24日 水曜日 午後3時45分
Page 557 of 609
uuIf a Tire Goes Flat uTemporarily Repairing a Flat Tire
556
Handling the Unexpected
• Greater than 25 psi (175 kPa), but less
than front: 35 psi (240 kPa)/rear: 33 psi
(230 kPa):
Turn the air compressor on to inflate the
tire until the tire pr essure reaches front:
35 psi (240 kPa)/rear: 33 psi (230 kPa):
• Greater than 25 psi (175 kPa), but less
than front: 35 psi (240 kPa)/rear: 32 psi
(220 kPa):
Turn the air compressor on to inflate the
tire until the tire pr essure reaches front:
35 psi (240 kPa)/rear: 32 psi (220 kPa).
2 Inflating an Under-inflated Tire
P. 558
Then, drive carefully for 10 more minutes or
until you reach the nearest service station,
whichever is sooner.
Do not exceed 50 mph (80 km/h). If you
have not reached a service station, stop and
check the tire pressure.
u You should repeat this procedure as long
as the air pressure is within this range.
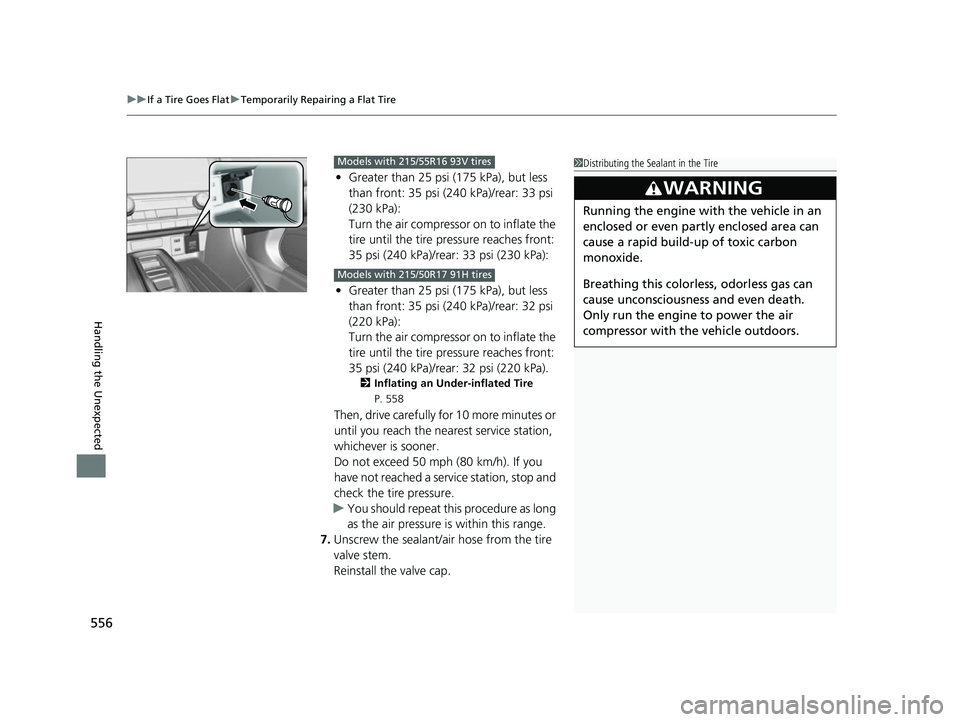
7. Unscrew the sealant/ai r hose from the tire
valve stem.
Reinstall the valve cap.
Models with 215/55R16 93V tires
Models with 215/50R17 91H tires
1 Distributing the Sealant in the Tire
3WARNING
Running the engine with the vehicle in an
enclosed or even partly enclosed area can
cause a rapid build-up of toxic carbon
monoxide.
Breathing this colorless, odorless gas can
cause unconsciousness and even death.
Only run the engine to power the air
compressor with th e vehicle outdoors.
22 INSIGHT HMIN-31TXM6300.book 556 ページ 2021年2月24日 水曜日 午後3時45分
Page 566 of 609
Continued565
uuIf the 12-Volt Battery Is Dead uJump Starting Procedure
Handling the Unexpected
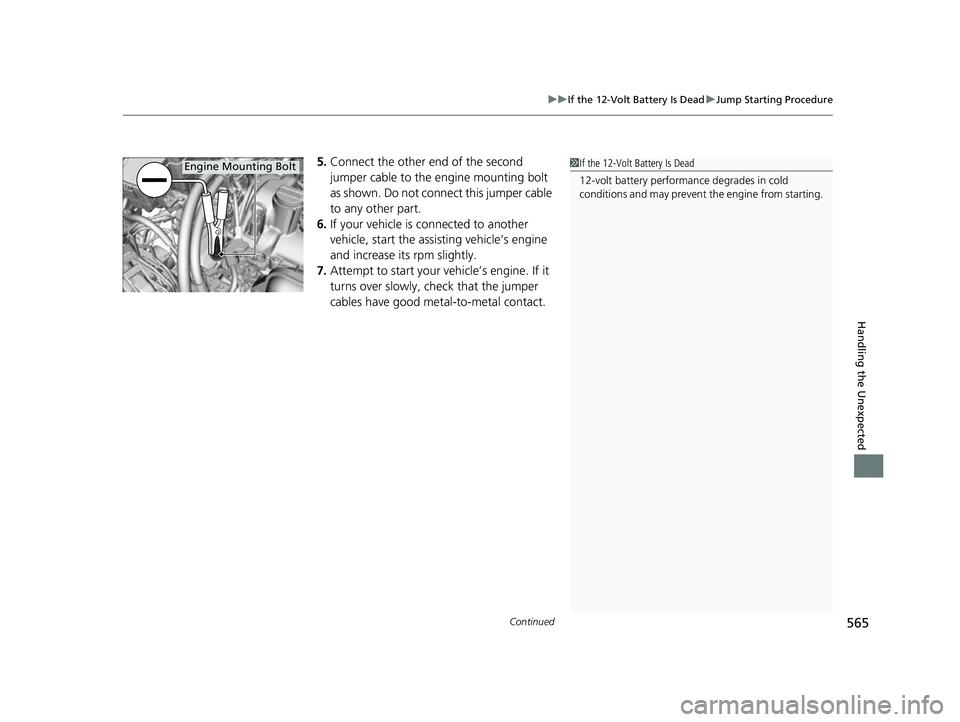
5. Connect the other end of the second
jumper cable to the engine mounting bolt
as shown. Do not connect this jumper cable
to any other part.
6. If your vehicle is connected to another
vehicle, start the assisting vehicle’s engine
and increase its rpm slightly.
7. Attempt to start your ve hicle’s engine. If it
turns over slowly, check that the jumper
cables have good metal-to-metal contact.1 If the 12-Volt Battery Is Dead
12-volt battery performa nce degrades in cold
conditions and may prevent the engine from starting.Engine Mounting Bolt
22 INSIGHT HMIN-31TXM6300.book 565 ページ 2021年2月24日 水曜日 午後3時45分
Page 567 of 609
uuIf the 12-Volt Battery Is Dead uJump Starting Procedure
566
Handling the Unexpected
Once your vehicle’s engine has started, re move the jumper cables in the following
order.
1. Disconnect the jumper cable from your vehicle’s ground.
2. Disconnect the other end of the jumper cable from the booster battery -
terminal.
3. Disconnect the jumper cable from your vehicle’s jump start box + terminal.
4. Disconnect the other end of the jumper cable from the booster battery +
terminal.
Have your vehicle inspected by a n earby service station or a dealer.
■What to Do After the Engine Starts1What to Do After the Engine Starts
The vehicle stability assist
TM (VSA ®) system, vehicles
stability assistTM (VSA ®) OFF, adaptive cruise control
(ACC) with low speed follow, safety support and low
tire pressure/TPMS indicato rs may come on in amber
along with a message in the driver information
interface when you set the power mode to ON after
re-connecting a battery.
Drive a short distance at more than 12 mph (20 km/h).
Each indicator should go off. If any do not, have your
vehicle checked by a dealer.
22 INSIGHT HMIN-31TXM6300.book 566 ページ 2021年2月24日 水曜日 午後3時45分
Page 569 of 609
uuOverheating uHow to Handle Overheating
568
Handling the Unexpected
■Next thing to do
1.Check that the cooling fan is operating and
turn the power system off once the Engine
Temperature Too Hot. Do Not Drive.
Allow Engine To Cool. message
disappears.
u If the cooling fan is not operating,
immediately turn the power system off.
2. Once the engine has cooled down, inspect
the coolant level an d check the cooling
system components for leaks.
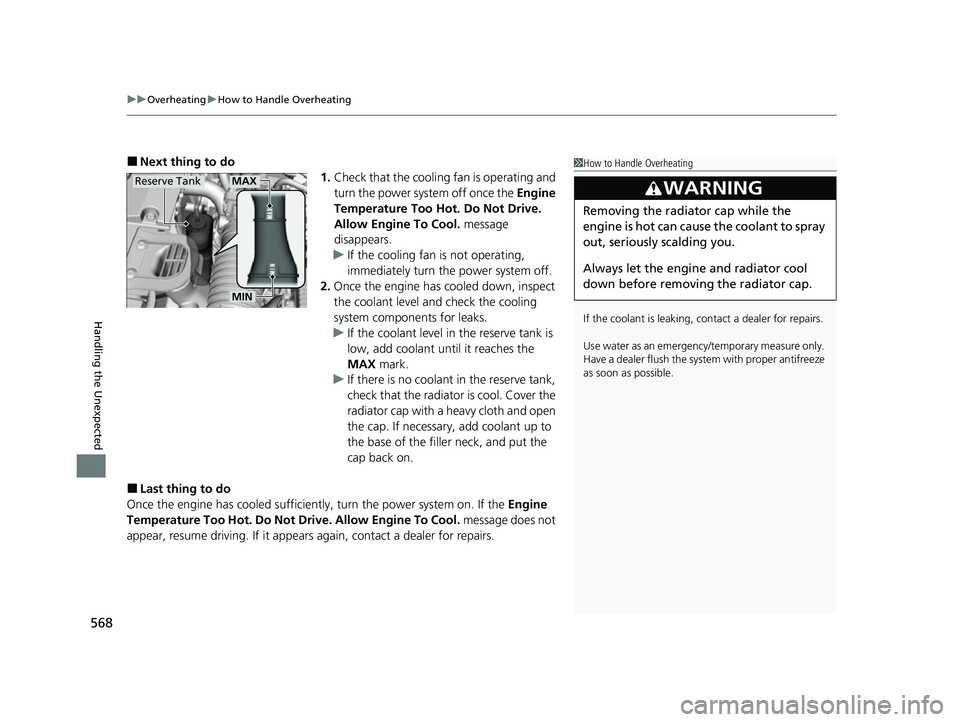
u If the coolant level in the reserve tank is
low, add coolant until it reaches the
MAX mark.
u If there is no coolan t in the reserve tank,
check that the radiator is cool. Cover the
radiator cap with a heavy cloth and open
the cap. If necessary, add coolant up to
the base of the filler neck, and put the
cap back on.
■Last thing to do
Once the engine has cooled sufficiently, turn the power system on. If the Engine
Temperature Too Hot. Do Not Drive. Allow Engine To Cool. message does not
appear, resume driving. If it appears again, contact a dealer for repairs.
1 How to Handle Overheating
If the coolant is leaking, contact a dealer for repairs.
Use water as an emergency/temporary measure only.
Have a dealer flush the system with proper antifreeze
as soon as possible.
3WARNING
Removing the radiator cap while the
engine is hot can cause the coolant to spray
out, seriously scalding you.
Always let the engine and radiator cool
down before removing the radiator cap.
MAXReserve Tank
MIN
22 INSIGHT HMIN-31TXM6300.book 568 ページ 2021年2月24日 水曜日 午後3時45分
Page 570 of 609
569
Handling the Unexpected
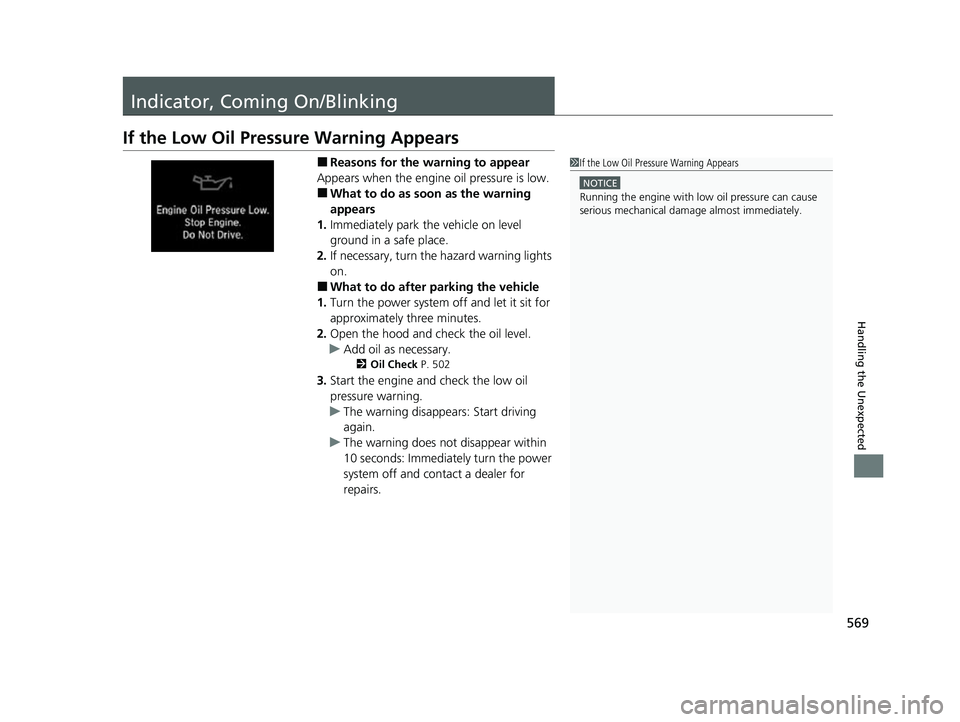
Indicator, Coming On/Blinking
If the Low Oil Pressure Warning Appears
■Reasons for the warning to appear
Appears when the engine oil pressure is low.
■What to do as soon as the warning
appears
1. Immediately park the vehicle on level
ground in a safe place.
2. If necessary, turn the hazard warning lights
on.
■What to do after parking the vehicle
1. Turn the power system off and let it sit for
approximately three minutes.
2. Open the hood and ch eck the oil level.
u Add oil as necessary.
2 Oil Check P. 502
3.Start the engine and check the low oil
pressure warning.
u The warning disappears: Start driving
again.
u The warning does not disappear within
10 seconds: Immediately turn the power
system off and contact a dealer for
repairs.
1If the Low Oil Pressure Warning Appears
NOTICE
Running the engine with low oil pressure can cause
serious mechanical damage almost immediatelyM
22 INSIGHT HMIN-31TXM6300.book 569 ページ 2021年2月24日 水曜日 午後3時45分
Page 572 of 609
571
uuIndicator, Coming On/BlinkinguIf the Malfunction Indicator Lamp Comes On or Blinks
Handling the Unexpected
If the Malfunction Indicator Lamp Comes On or
Blinks
■Reasons for the indicator la mp to come on or blink
• Comes on when there is a problem with the engine emissions control
system, or the fuel fill cap is missing, or loose.
• Blinks when engine misfiring is detected.
■What to do when the indicator lamp comes on
Avoid high speeds and immediately get your vehicle inspected at a
dealer.
■What to do when the indicator lamp blinks
Park the vehicle in a safe place with no flammable items and wait at least
10 minutes or more with the engine stopped until it cools.
■The message appears on when:
An evaporative system leak is detected. This may be caused by the fuel fill cap being
loose or not being installed.
■What to do when the message appears:
1. Turn the power system off.
2. Check if the fuel fill cap is fully installed.
u If not, loosen the cap, and then retight en it until it clicks at least once.
3. Drive for several days of normal driving.
u The message should go off.
■When the malfunction indicator lamp comes on
Malfunction indicator lamp comes on if th e system continues to detect a leak of
gasoline vapor. If this happens, check the fu el fill cap using the procedures described
above.
■Tighten Fuel Cap Message
1 If the Malfunction Indicato r Lamp Comes On or Blinks
NOTICE
If you drive with the malf unction indicator lamp on,
the emissions control system and the engine could be
damaged.
If the malfunction indicator lamp blinks again when
restarting the engine, drive to the nearest dealer at
31 mph (50 km/h) or less. Have your vehicle
inspected.
22 INSIGHT HMIN-31TXM6300.book 571 ページ 2021年2月24日 水曜日 午後3時45分
Page 578 of 609
577Continued
Handling the Unexpected
Fuses
Fuse Locations
If any electrical devices are not working, set the power mode to VEHICLE OFF and
check to see if any applicable fuse is blown.
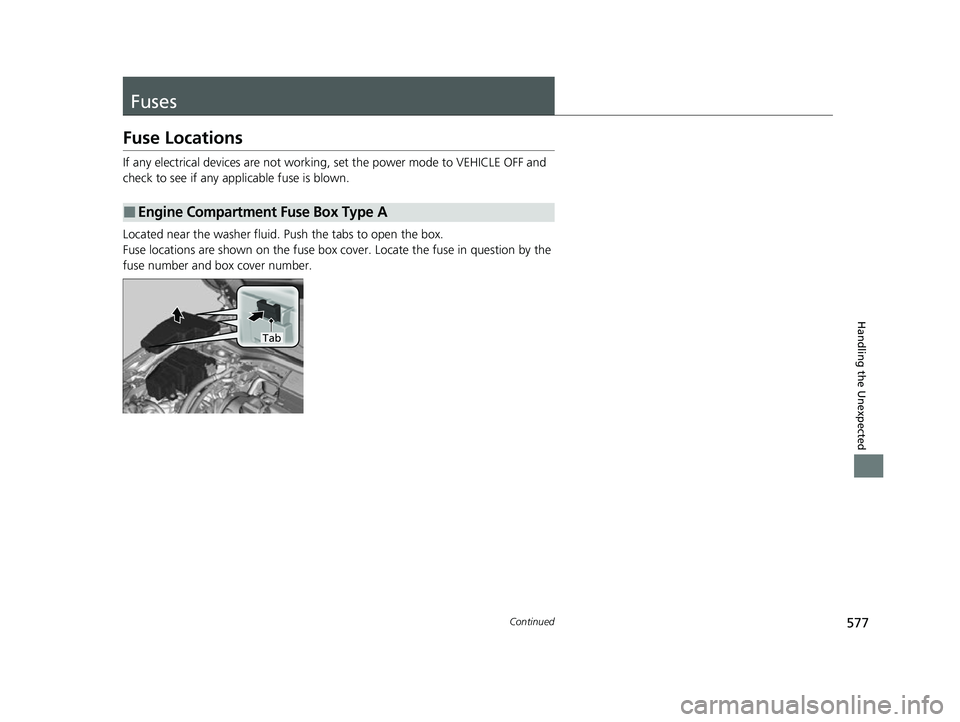
Located near the washer fluid. Push the tabs to open the box.
Fuse locations are shown on the fuse box cove r. Locate the fuse in question by the
fuse number and box cover number.
■Engine Compartment Fuse Box Type A
Tab
22 INSIGHT HMIN-31TXM6300.book 577 ページ 2021年2月24日 水曜日 午後3時45分