radio HONDA ODYSSEY 2000 RA6-RA9 / 2.G User Guide
[x] Cancel search | Manufacturer: HONDA, Model Year: 2000, Model line: ODYSSEY, Model: HONDA ODYSSEY 2000 RA6-RA9 / 2.GPages: 352, PDF Size: 4.43 MB
Page 178 of 352

Audio Syste m
Operatin g th e C D Playe r
You operate the CD player with the same controls used for the radio.
With the ignition switch in
ACCESSORY (I) or ON (II), insert the disc into the CD slot. Push thedisc in halfway, the drive will pull it
in the rest of the way and begin to
play. The number of the track that is playing is shown in the display.
You can also play 3-inch (8-cm) discs without using an adapter ring. In allcases, play only standard round discs.Odd-shaped CDs may jam in the
drive or cause other problems.
When the system reaches the end of the disc, it will return to the begin-
ning and play that disc again.
CONTINUED
Comfor t an d Convenienc e Feature s
AM/FM BUTTO NCD SLO T
TUNE BA R
EJEC T BUTTO N
SEEK/SKI P
BA R
A.SEL/RD M BUTTO N
RPT BUTTO N
C D BUTTO N
Page 179 of 352
Audio Syste m
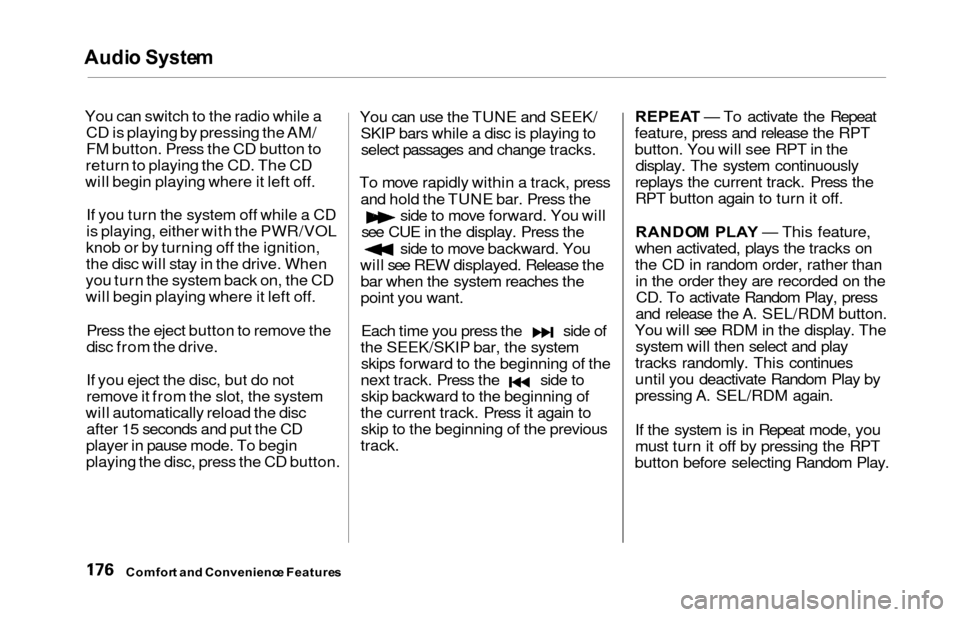
You can switch to the radio while a
CD is playing by pressing the AM/
FM button. Press the CD button to
return to playing the CD. The CD
will begin playing where it left off.
If you turn the system off while a CD
is playing, either with the PWR/VOL
knob or by turning off the ignition,
the disc will stay in the drive. When
you turn the system back on, the CD
will begin playing where it left off.
Press the eject button to remove the
disc from the drive.
If you eject the disc, but do not
remove it from the slot, the system
will automatically reload the disc after 15 seconds and put the CD
player in pause mode. To begin
playing the disc, press the CD button. You can use the TUNE and SEEK/
SKIP bars while a disc is playing toselect passages and change tracks.
To move rapidly within a track, press and hold the TUNE bar. Press the
side to move forward. You will
see CUE in the display. Press the
side to move backward. You
will see REW displayed. Release the bar when the system reaches the
point you want.
Each time you press the side of
the SEEK/SKIP bar, the system skips forward to the beginning of the
next track. Press the side toskip backward to the beginning of
the current track. Press it again to skip to the beginning of the previous
track. REPEA
T — To activate the Repeat
feature, press and release the RPT
button. You will see RPT in the display. The system continuously
replays the current track. Press the
RPT button again to turn it off.
RANDO M PLA Y — This feature,
when activated, plays the tracks on
the CD in random order, rather than in the order they are recorded on theCD. To activate Random Play, press
and release the A. SEL/RDM button.
You will see RDM in the display. The system will then select and play
tracks randomly. This continues
until you deactivate Random Play by
pressing A. SEL/RDM again.
If the system is in Repeat mode, you
must turn it off by pressing the RPT
button before selecting Random Play.
Comfor t an d Convenienc e Feature s
Page 185 of 352
Audio Syste m
The tape direction indicator will light
to show you which side of the
cassette is playing. The indicates
the side you inserted facing upward
is now playing. If you want to play
the other side, press the PROG
button.
Dolby B noise reduction turns on
when you insert a cassette. If the tape was not recorded with Dolby Bnoise reduction, turn it off by
pressing the NR button.Dolby remains off until you turn it on
by pressing the button again.
When the system reaches the end of the tape, it will automatically reverse direction and play the other side. If
you want to remove the cassette from the drive, press the EJECT
button on the cassette player. If you turn the system off while a
tape is playing, either with the PWR/
VOL knob or by turning off the ignition, the cassette will remain in
the drive. When you turn the system back on, the cassette player will be inpause mode. To begin playing, press
the PLAY button.
To switch to the radio or CD player while a tape is playing, press the
AM/FM, or CD button. To changeback to the cassette player, push the CD button.
Tap e Searc h Function s
With a cassette playing, you can use
the FF, REW, SKIP, or REPEAT
function to find a desired program.
FF/RE W — Fast Forward and
Rewind move the tape rapidly. Press
and release the side of the
TUNE bar to fast forward the tape,
or the side to rewind. You will
see FF or REW flashing in the
display. To stop fast forward or
rewind, press either side of the
TUNE bar or the PLAY button. If the system reaches the end of the tape
while in fast forward or rewind, it automatically stops that function,
reverses direction, and begins to play.
Comfor t an d Convenienc e Feature s
Page 187 of 352
Audio Syste m
Caring fo r th e Cassett e Playe r
The cassette player picks up dirt and
oxides from the tape. This contami-
nation builds up over time and
causes the sound quality to degrade.
To prevent this, you should clean the player after every 30 hours of use.
Your dealer has a cleaning kit
available.
If you do not clean the cassette
player regularly, it may eventually
become impossible to remove the
contamination with a normal
cleaning kit.
Use 100-minute or shorter cassettes. Cassettes longer than that use
thinner tape that may break or jam
the drive. Look at the cassette before you
insert it. If the tape is loose, tighten
it by turning a hub with a pencil or
your finger. If the label is peeling off, remove it
from the cassette or it could cause the cassette to jam in the player.
Never try to insert a warped ordamaged cassette in the player.
When they are not in use, store cassettes in their cases to protect
them from dust and moisture. Never
place cassettes where they will be exposed to direct sunlight, high heat,
or high humidity. If a cassette is
exposed to extreme heat or cold, let
it reach a moderate temperature
before inserting it in the player.
Never try to insert foreign objects
into the cassette player. If you see the error indication
(LX model)/
(EX model) on the display, press the
EJECT button and remove the
cassette from the unit. Make sure
the tape is not damaged. If the
cassette will not eject or the error
indication stays on after the cassette ejects, take the vehicle to your
Honda dealer.
On LX model
If a problem develops in the connec-
tion between the cassette player and
the radio, you will see in
the display. Take the vehicle to your
Honda dealer.
Comfor t an d Convenienc e Feature s
Page 188 of 352
Audio Syste m
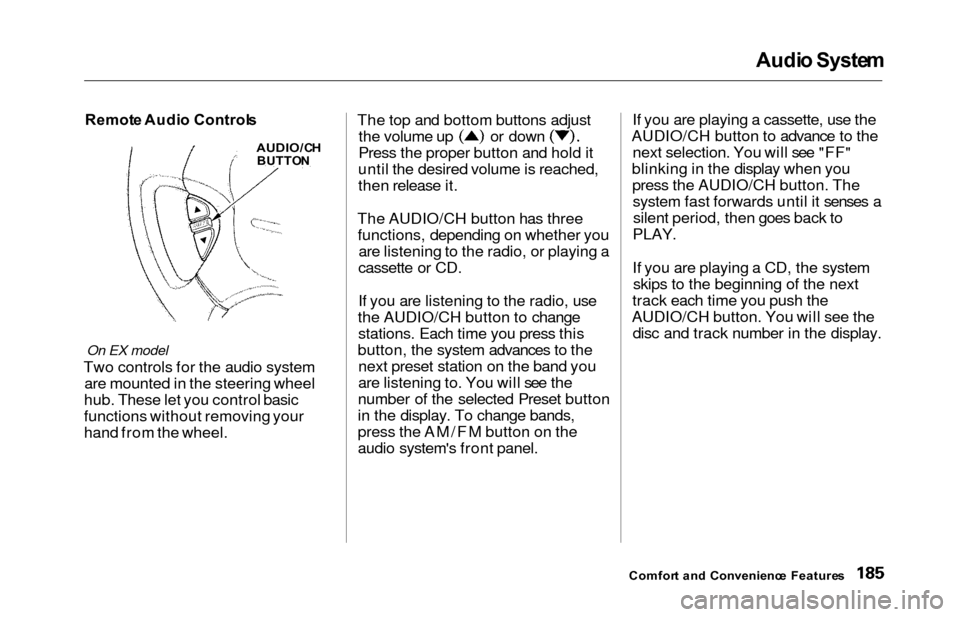
Remot e Audi o Control s
On EX model
Two controls for the audio system
are mounted in the steering wheel
hub. These let you control basic
functions without removing your
hand from the wheel. The top and bottom buttons adjust
the volume up or down
Press the proper button and hold it
until the desired volume is reached,
then release it.
The AUDIO/CH button has three functions, depending on whether you are listening to the radio, or playing a
cassette or CD.
If you are listening to the radio, use
the AUDIO/CH button to change stations. Each time you press this
button, the system advances to the next preset station on the band you
are listening to. You will see the
number of the selected Preset button
in the display. To change bands,
press the AM/FM button on the
audio system's front panel. If you are playing a cassette, use the
AUDIO/CH button to advance to the next selection. You will see "FF"
blinking in the display when you press the AUDIO/CH button. Thesystem fast forwards until it senses asilent period, then goes back to
PLAY.
If you are playing a CD, the system skips to the beginning of the next
track each time you push the
AUDIO/CH button. You will see the disc and track number in the display.
Comfor t an d Convenienc e Feature s
AUDIO/C H
BUTTO N
Page 189 of 352
Audio Syste m
Theft Protectio n
On EX model
Your vehicle's audio system will
disable itself if it is disconnected
from electrical power for any reason.
To make it work again, the user must enter a specific five-digit code
in the Preset buttons. Because there
are hundreds of number
combinations possible from fivedigits, making the system work
without knowing the exact code is nearly impossible.
You should have received a card that lists your audio system's codenumber and serial number. It is best
to store this card in a safe place at
home. In addition, you should write the audio system's serial number in
this Owner's Manual. If you should
happen to lose the card, you mustobtain the code number from your
Honda dealer. To do this, you will
need the system's serial number. If your vehicle's battery is discon-
nected or goes dead, or the radio
fuse is removed, the audio system
will disable itself. If this happens,
you will see in the frequency display the next time youturn on the system. Use the Preset
buttons to enter the five-digit code. Ifit is entered correctly, the radio willstart playing.
If you make a mistake entering the
code, do not start over or try to
correct your mistake. Complete the
five-digit sequence, then enter the correct code. You have ten tries toenter the correct code. If you are
unsuccessful in ten attempts, you
must then leave the system on for one hour before trying again. You will have to store your favorite
stations in the Preset buttons after
the system begins working. Your original settings were lost when
power was disconnected.
Comfor t an d Convenienc e Feature s
Page 198 of 352
Accessorie
s an d Modification s
Modifying your vehicle, or installing
some non-Honda accessories, can
make your vehicle unsafe. Before
you make any modifications or add any accessories, be sure to read the
following information.
Accessorie s
Your dealer has Genuine Honda accessories that allow you to
personalize your vehicle. These accessories have been designed and
approved for your vehicle, and are
covered by warranty.
Non-Honda accessories are usually
designed for universal applications.
Although aftermarket accessories may fit on your vehicle, they may not
meet factory specifications, andcould adversely affect your vehicle's
handling and stability. (See "Modifications" on page 196 for
additional information.) When properly installed, cellular
phones, alarms, two-way radios, and
low-powered audio systems should
not interfere with your vehicle's
computer-controlled systems, such
as the SRS and anti-lock brake
system.
However, if electronic accessories
are improperly installed, or exceed
your vehicle's electrical system capacity, they can interfere with the operation of your vehicle, or even
cause the airbags to deploy.
Before installing any accessory:
Make sure the accessory does notobscure any lights, or interfere
with proper vehicle operation or performance.
Be sure electronic accessories do
not overload electrical circuits (see page 311). Have the installer contact your
Honda dealer for assistance before
installing any electronic accessory.
If possible, have your dealer inspect
the final installation.
Before Drivin g
Improper accessories or
modifications can affect your
vehicle's handling, stability and performance, and cause a
crash in which you can be hurt
or killed.
Follow all instructions in this
owner's manual regarding
accessories and modifications.
Page 261 of 352
Battery
If you need to connect the battery to
a charger, disconnect both cables to
prevent damage to the vehicle's electrical system.On EX model
If your vehicle's battery is
disconnected or goes dead, the audio
system will disable itself. The next
time you turn on the radio you will
see in the frequency
display. Use the Preset buttons to
enter the five-digit code (see page
186).
Charging the battery with the cables
connected can seriously damage your
vehicle's electronic controls. Detach the battery cables before connecting
the battery to a charger.
On EX model
If your vehicle's battery is
disconnected or goes dead while thesliding doors are open, the power
sliding door system needs to be
resynchronized (see page 93).
Maintenanc e
The battery gives off explosive
hydrogen gas during normal
operation.
A spark or flame can cause the battery to explode with enough
force to kill or seriously hurt you.
Wear protective clothing and a
face shield, or have a skilled mechanic do the battery
maintenance.
NOTIC E
Page 287 of 352
Exterior Car e
Washin g
Frequent washing helps preserve
your vehicle's beauty. Dirt and grit can scratch the paint, while tree sap
and bird droppings can permanently
ruin the finish.
Wash your vehicle in a shady area, not in direct sunlight. If the vehicle is
parked in the sun, move it into theshade and let the exterior cool down
before you start.
Only use the solvents and cleaners
recommended in this Owner's
Manual.
Chemical solvents and strong cleaners
can damage the paint, metal, and
plastic on your vehicle.
Rinse the vehicle thoroughly with
cool water to remove loose dirt.
Fill a bucket with cool water. Mix
in a mild detergent, such as dishwashing liquid or a product
made especially for car washing.
Wash the vehicle using the water and detergent solution and a soft-
bristle brush, sponge, or soft cloth.
Start at the top and work your waydown. Rinse frequently.
Check the body for road tar, tree
sap, etc. Remove these stains with
tar remover or turpentine. Rinse it off immediately so it does not
harm the finish. Remember to re-
wax these areas, even if the rest of the vehicle does not need waxing. When you have washed and rinsed
the whole exterior, dry it with a
chamois or soft towel. Letting itair-dry will cause dulling and water
spots.
As you dry the vehicle, inspect it for chips and scratches that could allow
corrosion to start. Repair them with
touch-up paint (see page 285).
The radio antenna on your vehicle does
not need to be removed when you use a
"drive-through' car wash. However, if
you remove the antenna, make sure to
reinstall it and tighten it securely using
an appropriate tool.
Appearanc e Car e
NOTIC E NOTIC
E
Page 311 of 352
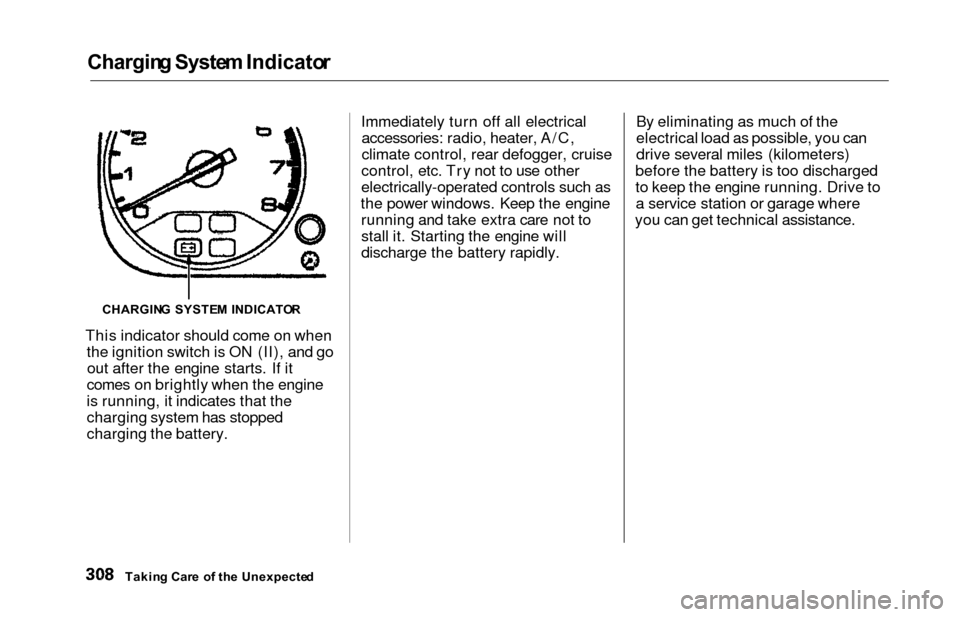
Charging Syste m Indicato r
This indicator should come on when
the ignition switch is ON (II), and goout after the engine starts. If it
comes on brightly when the engine
is running, it indicates that the
charging system has stopped
charging the battery. Immediately turn off all electrical
accessories: radio, heater, A/C,
climate control, rear defogger, cruise
control, etc. Try not to use other
electrically-operated controls such as
the power windows. Keep the engine running and take extra care not to
stall it. Starting the engine will
discharge the battery rapidly. By eliminating as much of the
electrical load as possible, you can
drive several miles (kilometers)
before the battery is too discharged
to keep the engine running. Drive to a service station or garage where
you can get technical assistance.
Takin g Car e o f th e Unexpecte d
CHARGIN
G SYSTE M INDICATO R