Light HONDA ODYSSEY 2006 RB1-RB2 / 3.G Owner's Guide
[x] Cancel search | Manufacturer: HONDA, Model Year: 2006, Model line: ODYSSEY, Model: HONDA ODYSSEY 2006 RB1-RB2 / 3.GPages: 420, PDF Size: 6.01 MB
Page 161 of 420
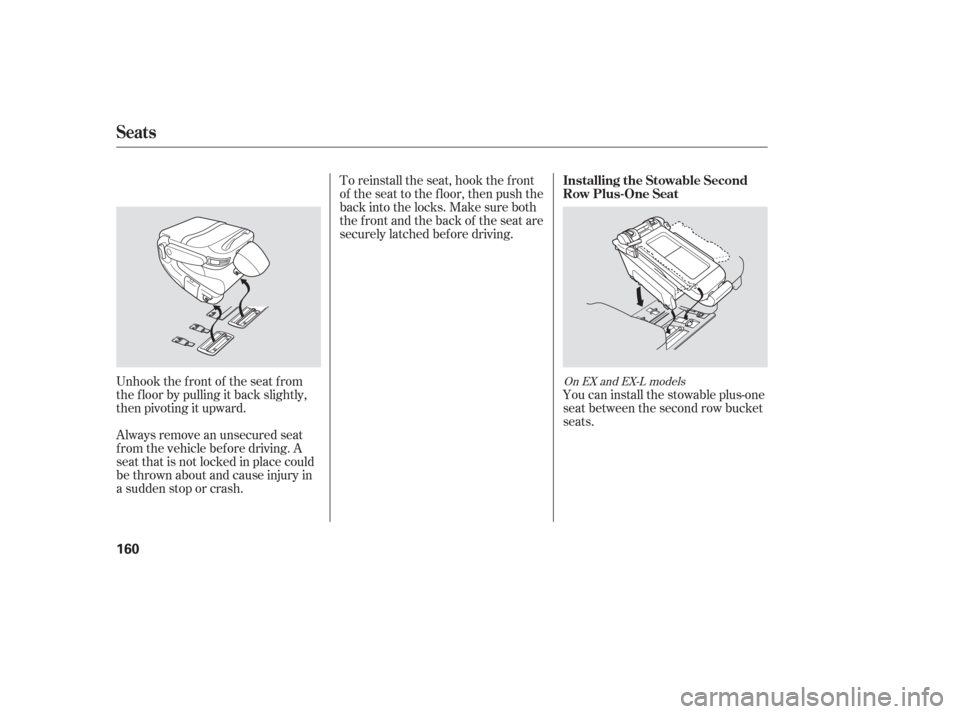
You can install the stowable plus-one
seat between the second row bucket
seats.
To reinstall the seat, hook the f ront
of the seat to the f loor, then push the
backintothelocks.Makesureboth
the f ront and the back of the seat are
securely latched bef ore driving.
Unhook the f ront of the seat f rom
the f loor by pulling it back slightly,
then pivoting it upward.
Always remove an unsecured seat
f rom the vehicle bef ore driving. A
seat that is not locked in place could
be thrown about and cause injury in
a sudden stop or crash.
On EX and EX-L models
Seats
Installing the Stowable Second
Row Plus-One Seat
160
Page 163 of 420
To create more cargo space, you can
f old the one-motion third row ‘‘Magic
Seat’’ into the floor recess.Unlatch the detachable seat belt
anchor center seat belt, and let the
belt retract all the way into the
ceiling. Place the latch plate and
anchor latch into their holding
slots.
Lower the head restraints f ully.
Always remove an unsecured seat
f rom the vehicle bef ore driving. A
seat that is not locked in place could
be thrown about and cause injury in
a sudden stop or crash.
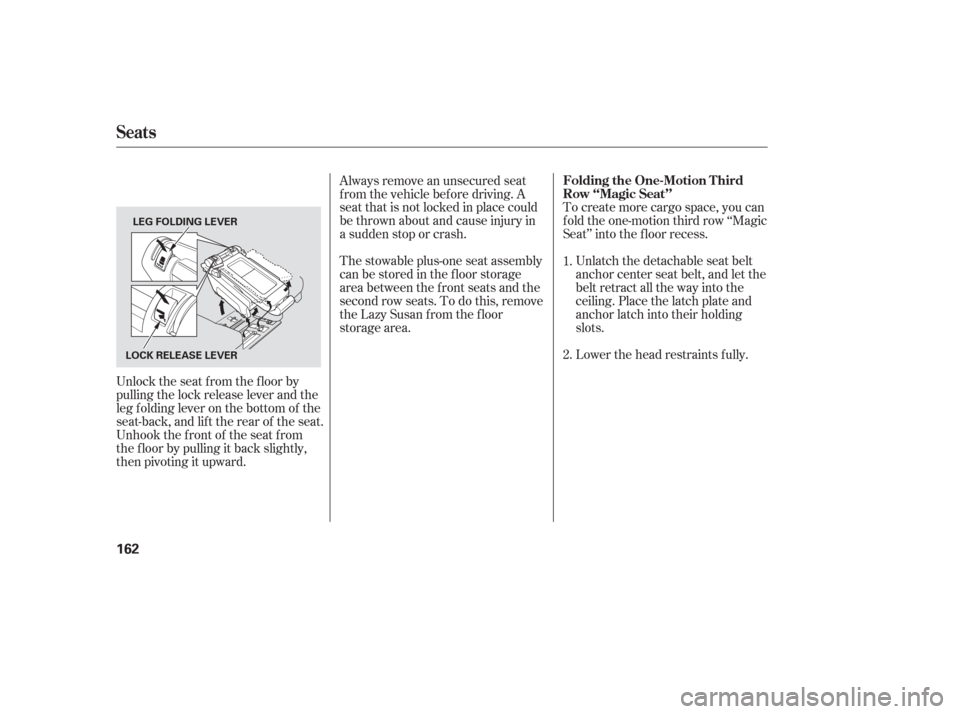
Thestowableplus-oneseatassembly
canbestoredinthefloorstorage
area between the f ront seats and the
secondrowseats.Todothis,remove
theLazySusanfromthefloor
storage area.
Unlock the seat f rom the f loor by
pulling the lock release lever and the
leg f olding lever on the bottom of the
seat-back, and lift the rear of the seat.
Unhook the f ront of the seat f rom
the f loor by pulling it back slightly,
then pivoting it upward. 1.
2.
Seats
Folding the One-Motion T hird
Row ‘‘Magic Seat’’
162
LOCK RELEASE LEVER
LEG FOLDING LEVER
Page 172 of 420
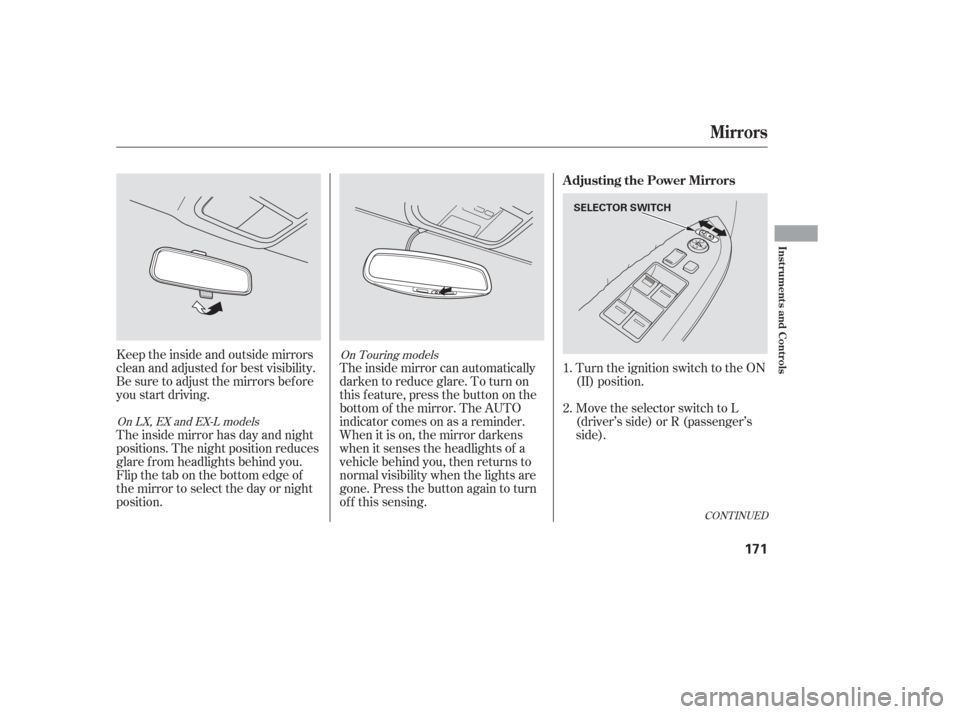
Keeptheinsideandoutsidemirrors
clean and adjusted f or best visibility.
Be sure to adjust the mirrors bef ore
you start driving.
The inside mirror has day and night
positions. The night position reduces
glare f rom headlights behind you.
Flip the tab on the bottom edge of
the mirror to select the day or night
position.The inside mirror can automatically
darken to reduce glare. To turn on
this feature, press the button on the
bottom of the mirror. The AUTO
indicator comes on as a reminder.
When it is on, the mirror darkens
when it senses the headlights of a
vehicle behind you, then returns to
normal visibility when the lights are
gone. Press the button again to turn
of f this sensing. Turn the ignition switch to the ON
(II) position.
Move the selector switch to L
(driver’s side) or R (passenger’s
side).
1.
2.
CONT INUED
On Touring models
On LX, EX and EX-L models
Mirrors
Adjusting the Power Mirrors
Inst rument s and Cont rols
171
SELECTOR SWITCH
Page 180 of 420
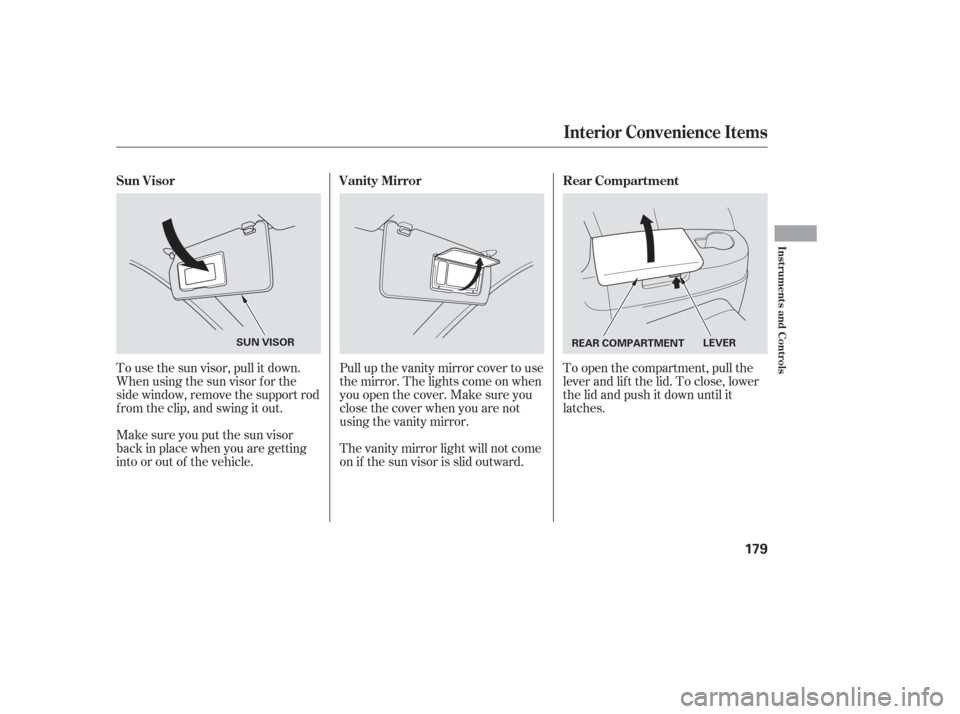
To open the compartment, pull the
lever and lif t the lid. To close, lower
the lid and push it down until it
latches.
To use the sun visor, pull it down.
Whenusingthesunvisorforthe
side window, remove the support rod
f rom the clip, and swing it out.
Make sure you put the sun visor
back in place when you are getting
into or out of the vehicle. Pull up the vanity mirror cover to use
the mirror. The lights come on when
you open the cover. Make sure you
close the cover when you are not
using the vanity mirror.
The vanity mirror light will not come
on if the sun visor is slid outward.
Sun Visor
Vanity Mirror Rear Compartment
Interior Convenience Items
Inst rument s and Cont rols
179
REAR COMPARTMENTLEVER
SUN VISOR
Page 181 of 420
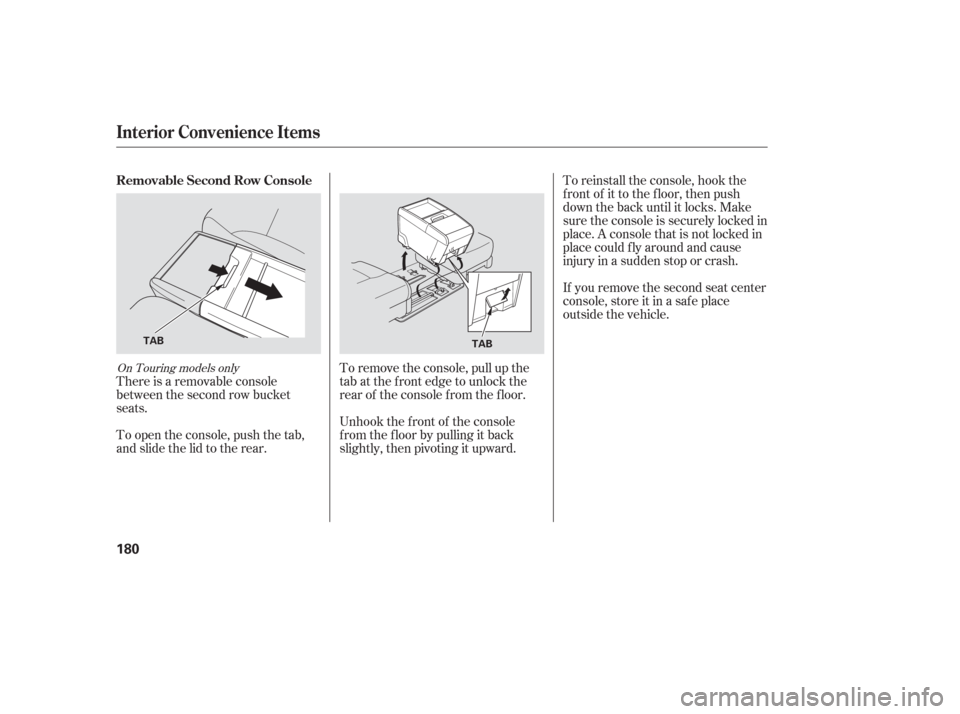
There is a removable console
between the second row bucket
seats.To remove the console, pull up the
tab at the f ront edge to unlock the
rear of the console f rom the f loor.To reinstall the console, hook the
f ront of it to the f loor, then push
down the back until it locks. Make
sure the console is securely locked in
place. A console that is not locked in
place could f ly around and cause
injury in a sudden stop or crash.
If you remove the second seat center
console, store it in a saf e place
outside the vehicle.
Unhook the f ront of the console
f rom the f loor by pulling it back
slightly, then pivoting it upward.
To open the console, push the tab,
and slide the lid to the rear.
On Touring models only
Removable Second Row Console
Interior Convenience Items
180
TAB
TAB
Page 187 of 420
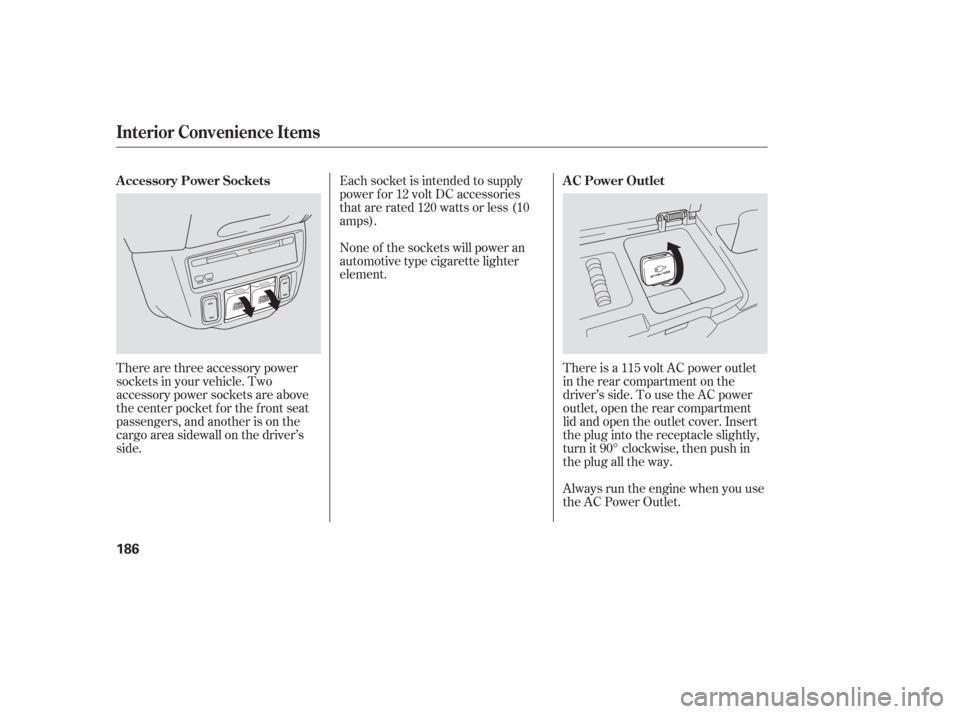
There are three accessory power
sockets in your vehicle. Two
accessory power sockets are above
the center pocket for the front seat
passengers, and another is on the
cargo area sidewall on the driver’s
side.There is a 115 volt AC power outlet
in the rear compartment on the
driver’s side. To use the AC power
outlet, open the rear compartment
lid and open the outlet cover. Insert
the plug into the receptacle slightly,
turn it 90° clockwise, then push in
the plug all the way.
Always run the engine when you use
the AC Power Outlet.
Each socket is intended to supply
power f or 12 volt DC accessories
that are rated 120 watts or less (10
amps).
None of the sockets will power an
automotive type cigarette lighter
element.
A ccessory Power Sockets
A C Power Outlet
Interior Convenience Items
186
Page 188 of 420
The individual map lights in the
second and third rows cannot be
turned on.
The cargo area light can be turned
on with the switch in the light.Door
Activated
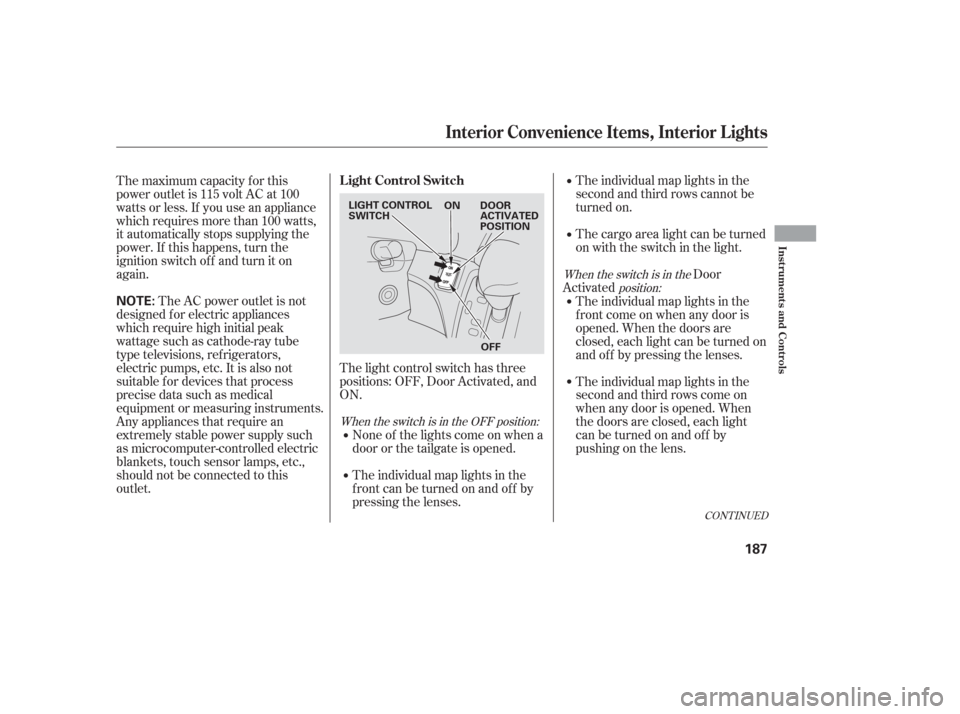
The light control switch has three
positions: OFF, Door Activated, and
ON. None of the lights come on when a
door or the tailgate is opened.
The individual map lights in the
f ront can be turned on and of f by
pressing the lenses.
The maximum capacity f or this
power outlet is 115 volt AC at 100
watts or less. If you use an appliance
which requires more than 100 watts,
it automatically stops supplying the
power. If this happens, turn the
ignition switch of f and turn it on
again.
The AC power outlet is not
designed f or electric appliances
which require high initial peak
wattage such as cathode-ray tube
type televisions, ref rigerators,
electric pumps, etc. It is also not
suitable f or devices that process
precise data such as medical
equipment or measuring instruments.
Any appliances that require an
extremely stable power supply such
as microcomputer-controlled electric
blankets, touch sensor lamps, etc.,
should not be connected to this
outlet. The individual map lights in the
f ront come on when any door is
opened. When the doors are
closed, each light can be turned on
and of f by pressing the lenses.
The individual map lights in the
second and third rows come on
when any door is opened. When
the doors are closed, each light
canbeturnedonandoff by
pushingonthelens.
When the switch is in the
position:
When the switch is in the OFF position:
CONT INUED
L ight Control Switch
Interior Convenience Items, Interior L ights
Inst rument s and Cont rols
187
NOTE:
ON DOOR ACTIVATED
POSITION
OFF
LIGHT CONTROL
SWITCH
Page 189 of 420
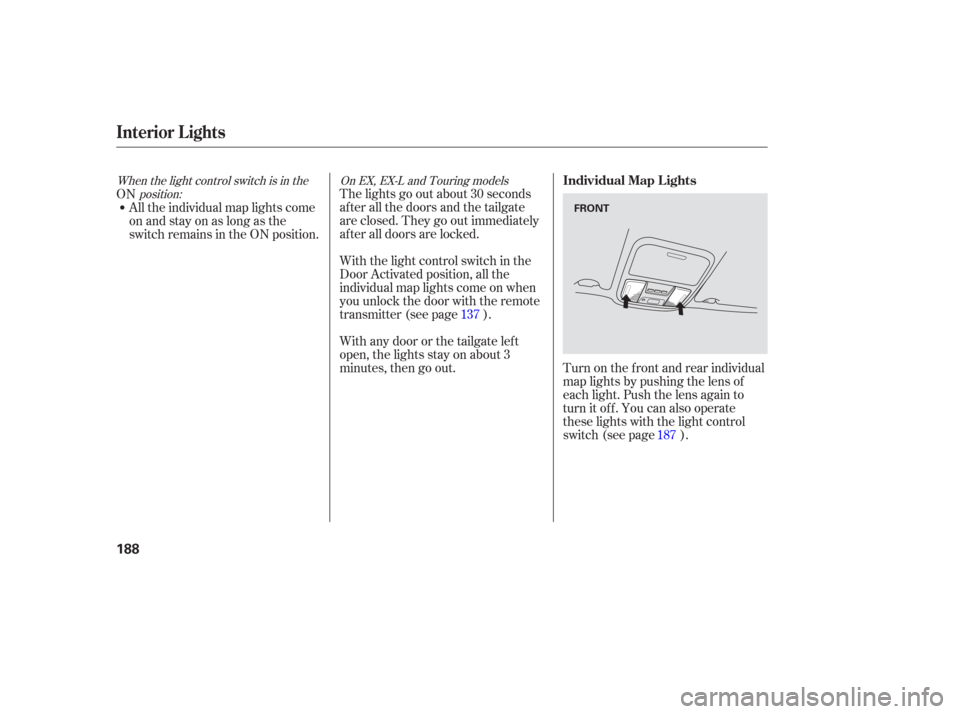
Turn on the f ront and rear individual
map lights by pushing the lens of
each light. Push the lens again to
turn it of f . You can also operate
these lights with the light control
switch (see page ).
The lights go out about 30 seconds
after all the doors and the tailgate
are closed. They go out immediately
af ter all doors are locked.
With the light control switch in the
Door Activated position, all the
individual map lights come on when
you unlock the door with the remote
transmitter (see page ).
Withanydoororthetailgateleft
open, the lights stay on about 3
minutes, then go out.
ON
All the individual map lights come
onandstayonaslongasthe
switch remains in the ON position.
137
187
When the light control switch is in theposition: On EX, EX-L and Touring modelsIndividual Map L ights
Interior Lights
188
FRONT
Page 190 of 420
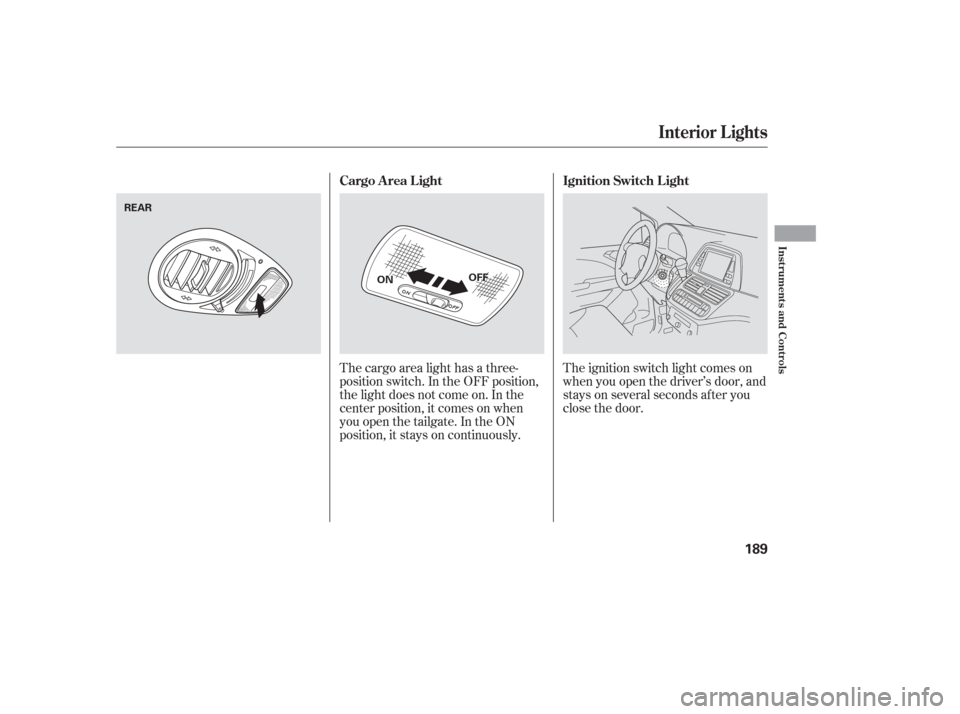
The ignition switch light comes on
when you open the driver’s door, and
stays on several seconds af ter you
close the door.
The cargo area light has a three-
position switch. In the OFF position,
the light does not come on. In the
center position, it comes on when
you open the tailgate. In the ON
position, it stays on continuously. Ignition Switch L ight
Cargo Area Light
Interior Lights
Inst rument s and Cont rols
189
OFF
ON
REAR
Page 191 of 420
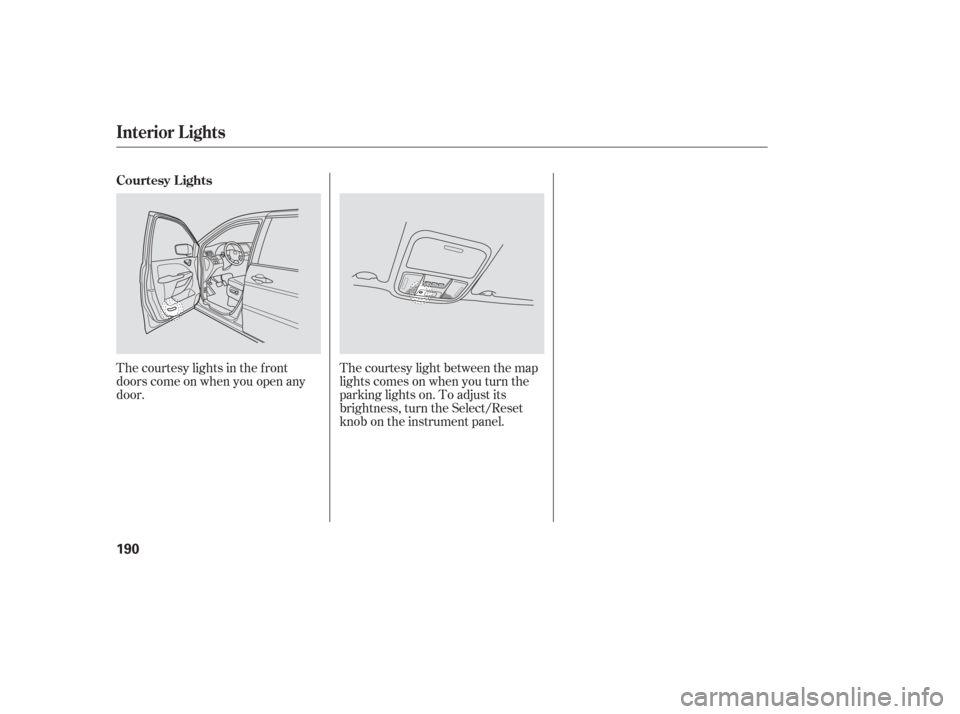
The courtesy lights in the f ront
doors come on when you open any
door.The courtesy light between the map
lights comes on when you turn the
parking lights on. To adjust its
brightness, turn the Select/Reset
knob on the instrument panel.
Interior Lights
Courtesy Lights
190