display HONDA ODYSSEY 2011 RB3-RB4 / 4.G Navigation Manual
[x] Cancel search | Manufacturer: HONDA, Model Year: 2011, Model line: ODYSSEY, Model: HONDA ODYSSEY 2011 RB3-RB4 / 4.GPages: 178, PDF Size: 3.97 MB
Page 67 of 178
Navigation System67
Driving to Your Destination
Destination Icon
The destination icon only shows the
approximate location of the destination.
This occurs because a city block can
have as many as 100 possible addresses
(for example, the 1400 block is followed
by the 1500 block.) Since most cities
use only a portion of the 100 possible
addresses (for example, in the 1400
block, the addresses may only go up to
1425 before the 1500 block starts).
Therefore, the address 1425 will be
shown a quarter of the way down the
block by the system instead of near the
end of the block where the destination is
actually located.
Tip:
When en route, you can view a map
showing your destination. Using voice
control, say “Display destination map.”
Various Other Icons
Landmark Icons
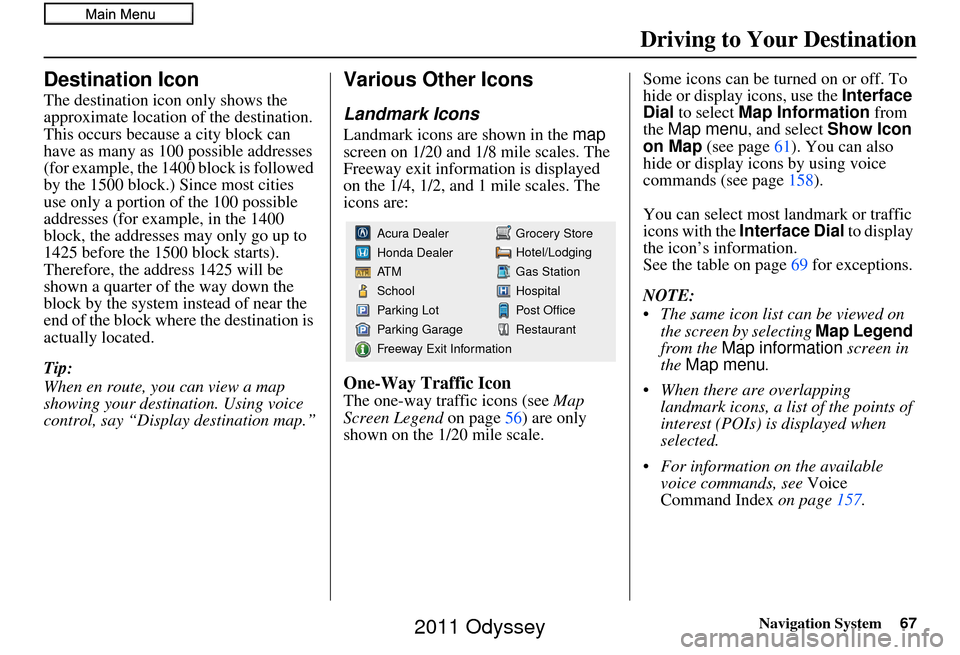
Landmark icons are shown in the map
screen on 1/20 and 1/8 mile scales. The
Freeway exit information is displayed
on the 1/4, 1/2, and 1 mile scales. The
icons are:
One-Way Traffic Icon
The one-way traffic icons (see Map
Screen Legend on page 56) are only
shown on the 1/20 mile scale. Some icons can be turned on or off. To
hide or display icons, use the
Interface
Dial to select Map Information from
the Map menu , and select Show Icon
on Map (see page 61). You can also
hide or display icons by using voice
commands (see page 158).
You can select most landmark or traffic
icons with the Interface Dial to display
the icon’s information.
See the table on page 69 for exceptions.
NOTE:
The same icon list can be viewed on the screen by selecting Map Legend
from the Map information screen in
the Map menu .
When there are overlapping landmark icons, a list of the points of
interest (POIs) is displayed when
selected.
For information on the available voice commands, see Voice
Command Index on page157.
Grocery Store
Hotel/Lodging
Gas Station
Hospital
Post Office
Restaurant
Acura Dealer
Honda Dealer
AT M
School
Parking Lot
Parking Garage
Freeway Exit Information
2011 Odyssey
Page 68 of 178
68Navigation System
Driving to Your Destination
Incident Icons
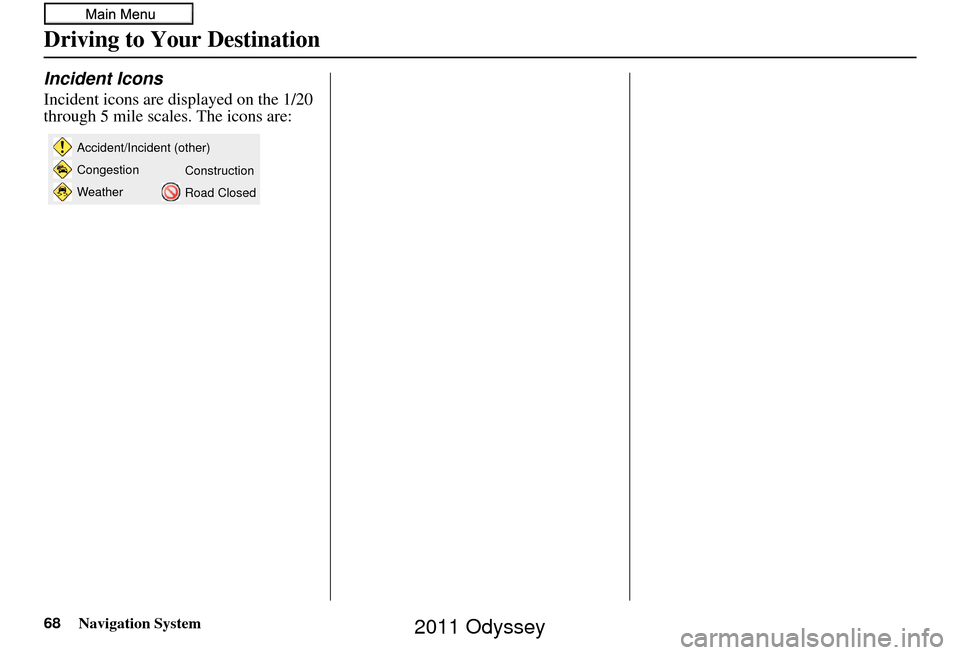
Incident icons are displayed on the 1/20
through 5 mile scales. The icons are:
Accident/Incident (other)
Congestion
WeatherConstruction
Road Closed
2011 Odyssey
Page 69 of 178
Navigation System69
Driving to Your Destination
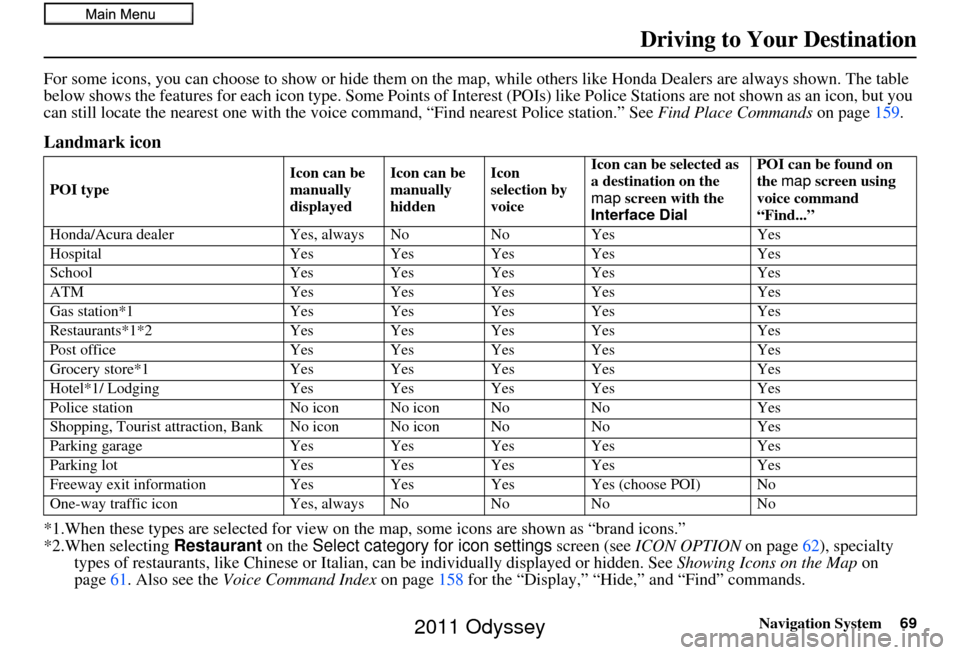
For some icons, you can choose to show or hide them on the map, while others like Honda Dealers are always shown. The table
below shows the features for each icon type. Some Points of Interest (POIs) like Police Stations are not shown as an icon, but you
can still locate the nearest one with the voice command, “Find nearest Police station.” See Find Place Commands on page159.
Landmark icon
*1.When these types are se lected for view on the map, some icons are shown as “brand icons.”
*2.When selecting Restaurant on the Select category for icon settings screen (see ICON OPTION on page 62), specialty
types of restaurants, like Chinese or Italian, can be individually displayed or hidden. See Showing Icons on the Map on
page 61. Also see the Voice Command Index on page158 for the “Display,” “Hide,” and “Find” commands.
POI type Icon can be
manually
displayedIcon can be
manually
hiddenIcon
selection by
voiceIcon can be selected as
a destination on the
map
screen with the
Interface Dial POI can be found on
the
map screen using
voice command
“Find...”
Honda/Acura dealer Yes, always No NoYes Yes
Hospital Yes Yes Yes Yes Yes
School Yes Yes Yes Yes Yes
ATM Yes Yes Yes Yes Yes
Gas station*1 Yes Yes Yes Yes Yes
Restaurants*1*2 Yes Yes Yes Yes Yes
Post office Yes Yes Yes Yes Yes
Grocery store*1 Yes Yes Yes Yes Yes
Hotel*1/ Lodging Yes Yes Yes Yes Yes
Police station No icon No icon No NoYes
Shopping, Tourist attr action, Bank No icon No icon No NoYes
Parking garage Yes Yes Yes Yes Yes
Parking lot Yes Yes Yes Yes Yes
Freeway exit information Yes Yes Yes Yes (choose POI) No
One-way traffic icon Yes, always NoNoNo No
2011 Odyssey
Page 70 of 178
70Navigation System
Driving to Your Destination
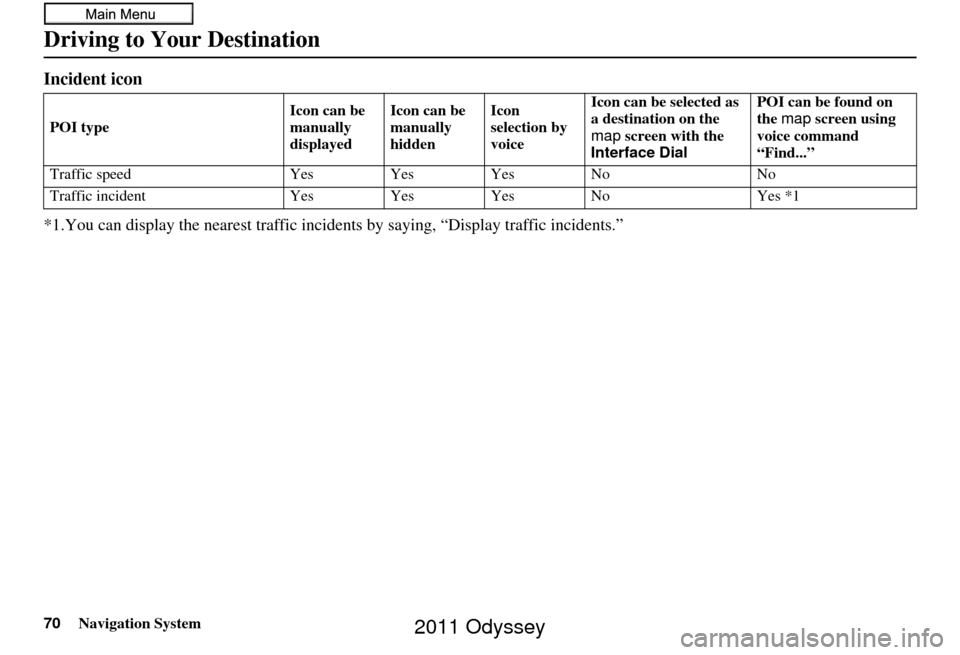
Incident icon
*1.You can display the nearest traffic incidents by saying, “Display traffic incidents.”
POI typeIcon can be
manually
displayedIcon can be
manually
hiddenIcon
selection by
voiceIcon can be selected as
a destination on the
map
screen with the
Interface Dial POI can be found on
the
map screen using
voice command
“Find...”
Traffic speed Yes Yes Yes No No
Traffic incident Yes Yes Yes No Yes *1
2011 Odyssey
Page 71 of 178
Navigation System71
Driving to Your Destination
Going Off the Route
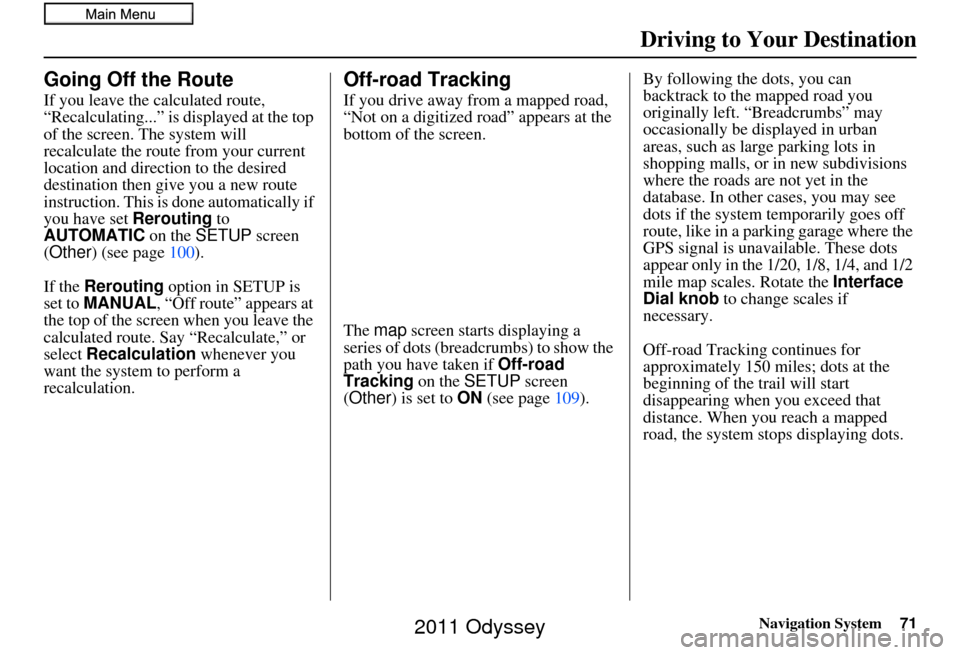
If you leave the calculated route,
“Recalculating...” is displayed at the top
of the screen. The system will
recalculate the route from your current
location and direction to the desired
destination then give you a new route
instruction. This is done automatically if
you have set Rerouting to
AUTOMATIC on the SETUP screen
(Other ) (see page 100).
If the Rerouting option in SETUP is
set to MANUAL , “Off route” appears at
the top of the screen when you leave the
calculated route. Sa y “Recalculate,” or
select Recalculation whenever you
want the system to perform a
recalculation.
Off-road Tracking
If you drive away from a mapped road,
“Not on a digitized road” appears at the
bottom of the screen.
The map screen starts displaying a
series of dots (breadcrumbs) to show the
path you have taken if Off-road
Tracking on the SETUP screen
(Other ) is set to ON (see page 109). By following the dots, you can
backtrack to the mapped road you
originally left. “Breadcrumbs” may
occasionally be displayed in urban
areas, such as large parking lots in
shopping malls, or in new subdivisions
where the roads are not yet in the
database. In other cases, you may see
dots if the system temporarily goes off
route, like in a parking garage where the
GPS signal is unavailable. These dots
appear only in the 1/20, 1/8, 1/4, and 1/2
mile map scales. Rotate the
Interface
Dial knob to change scales if
necessary.
Off-road Tracking continues for
approximately 150 miles; dots at the
beginning of the trail will start
disappearing when you exceed that
distance. When you reach a mapped
road, the system stops displaying dots.
2011 Odyssey
Page 74 of 178
74Navigation System
Driving to Your Destination
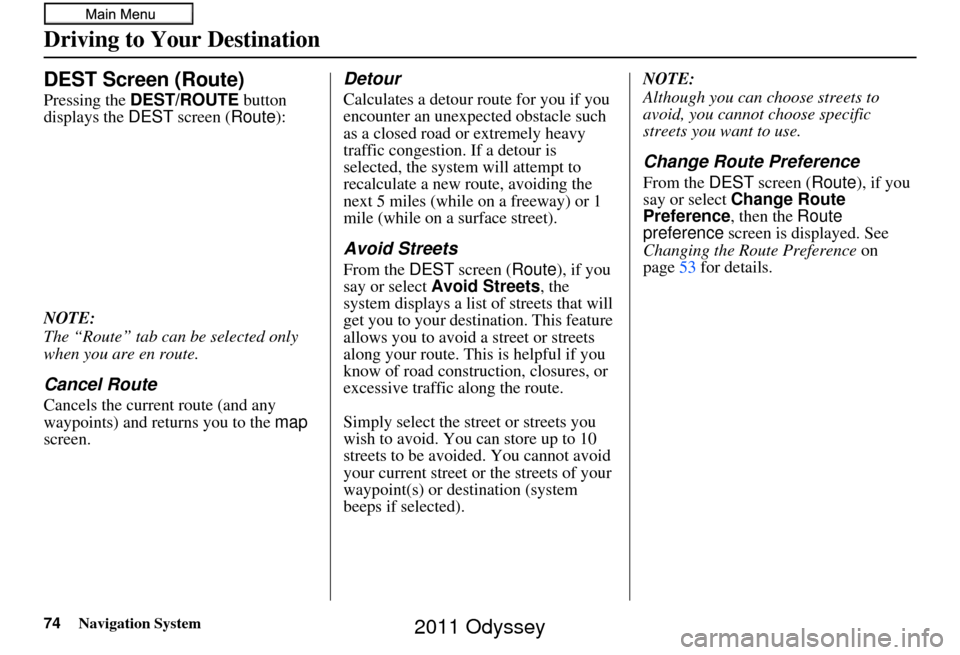
DEST Screen (Route)
Pressing the DEST/ROUTE button
displays the DEST screen ( Route):
NOTE:
The “Route” tab can be selected only
when you are en route.
Cancel Route
Cancels the current route (and any
waypoints) and returns you to the map
screen.
Detour
Calculates a detour route for you if you
encounter an unexpe cted obstacle such
as a closed road or extremely heavy
traffic congestion. If a detour is
selected, the system will attempt to
recalculate a new route, avoiding the
next 5 miles (while on a freeway) or 1
mile (while on a surface street).
Avoid Streets
From the DEST screen ( Route), if you
say or select Avoid Streets , the
system displays a list of streets that will
get you to your destination. This feature
allows you to avoid a street or streets
along your route. This is helpful if you
know of road construction, closures, or
excessive traffic along the route.
Simply select the st reet or streets you
wish to avoid. You can store up to 10
streets to be avoided. You cannot avoid
your current street or the streets of your
waypoint(s) or destination (system
beeps if selected). NOTE:
Although you can ch
oose streets to
avoid, you cannot choose specific
streets you want to use.
Change Route Preference
From the DEST screen ( Route), if you
say or select Change Route
Preference , then the Route
preference screen is displayed. See
Changing the Route Preference on
page 53 for details.
2011 Odyssey
Page 75 of 178
Navigation System75
Driving to Your Destination
Waypoint
Waypoints allow you to add an interim
“pit stop” while traveling to a
destination. For instance, you may want
to stop for gas or food, and then
continue on to your destination.
Although you can enter up to five places
including the destination at a time,
typically you may never use more than
one at a time.
Waypoints are routed to in the order
they were entered (number 1 first, etc.),
with your final destination routed to last.
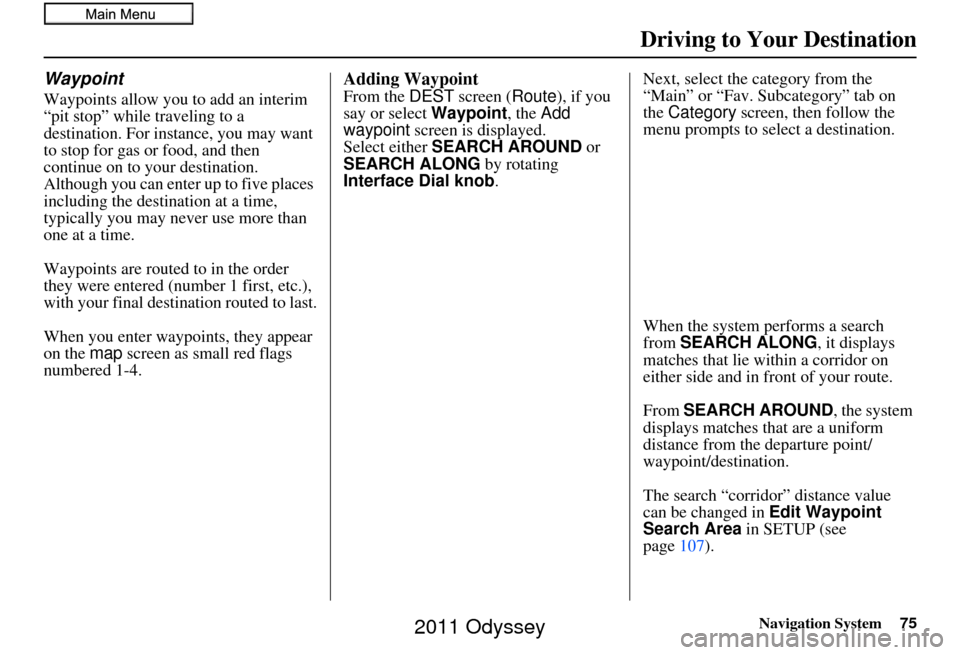
When you enter waypoi nts, they appear
on the map screen as small red flags
numbered 1-4.
Adding Waypoint
From the DEST screen ( Route), if you
say or select Waypoint, the Add
waypoint screen is displayed.
Select either SEARCH AROUND or
SEARCH ALONG by rotating
Interface Dial knob. Next, select the category from the
“Main” or “Fav. Subcategory” tab on
the Category
screen, then follow the
menu prompts to select a destination.
When the system performs a search
from SEARCH ALONG , it displays
matches that lie within a corridor on
either side and in front of your route.
From SEARCH AROUND , the system
displays matches that are a uniform
distance from the departure point/
waypoint/destination.
The search “corridor” distance value
can be changed in Edit Waypoint
Search Area in SETUP (see
page 107).
2011 Odyssey
Page 76 of 178
76Navigation System
Driving to Your Destination
If you add a waypoint, the Add to dest.
list screen will be displayed. If you push
in on the Interface Dial and select OK,
the addition is comp leted and rerouting
begins. Press the MAP/GUIDE button
to return to the map screen without
adding the waypoint.
To add another waypoint, press the
DEST/ROUTE button and repeat the
procedure.
To delete waypoints or edit the order of
waypoints, select Edit on the Dest. list
screen. See Editing Destination Lists on
NOTE:
The maximum of five places (including the destination) can be
entered.
The system does not allow you to select the roads you want to use to get
to a destination. However, after you
enter a destination, you can select
intersections or POI waypoints that
the system will use to tailor your
route.Destination List
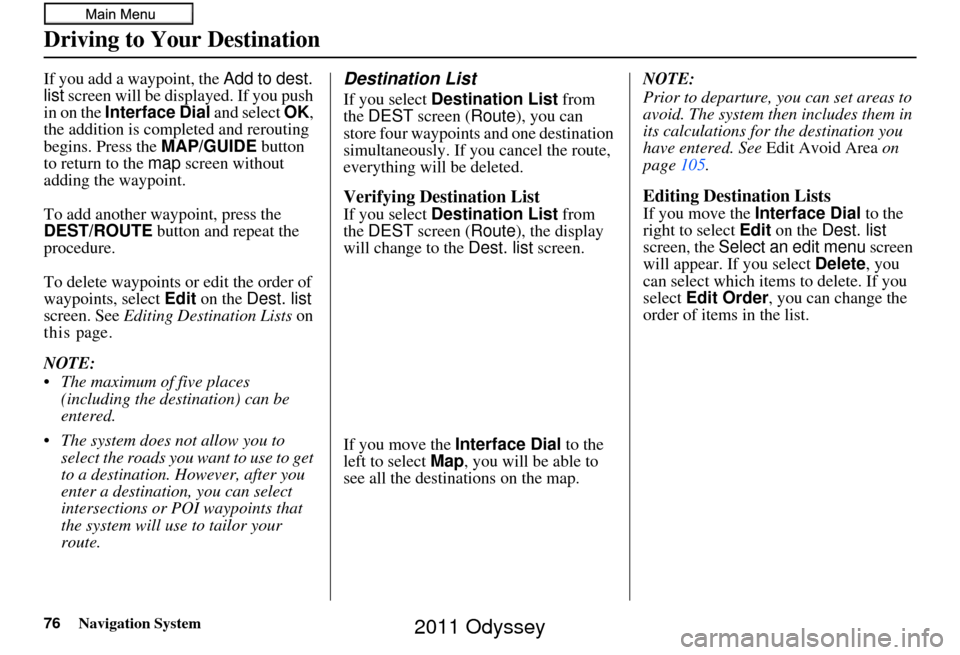
If you select Destination List from
the DEST screen ( Route), you can
store four waypoints and one destination
simultaneously. If you cancel the route,
everything will be deleted.
Verifying Destination List
If you select Destination List from
the DEST screen ( Route), the display
will change to the Dest. list screen.
If you move the Interface Dial to the
left to select Map, you will be able to
see all the destinations on the map. NOTE:
Prior to departure, you can set areas to
avoid. The system then includes them in
its calculations for
the destination you
have entered. See Edit Avoid Area on
page 105.
Editing Destination Lists
If you move the Interface Dial to the
right to select Edit on the Dest. list
screen, the Select an edit menu screen
will appear. If you select Delete, you
can select which items to delete. If you
select Edit Order , you can change the
order of items in the list.
this page.
2011 Odyssey
Page 77 of 178
Navigation System77
Driving to Your Destination
Changing Your Destination
There are four methods by which you
can change or add a waypoint to your
route. These are:
Find Nearest (Voice command)
From the map screen, say one of the
“Find Nearest...” voice commands to
locate the nearest gas station, ATM,
restaurant or other point of interest. See
the “Find Nearest” voice commands
listing on page 159.
Go Home (Voice command)
From the map screen, say “Go Home 1”
or “Go Home 2.” If an address has been
entered in both Home Address 1 and
Home Address 2 , say “Go Home”
and the system will give preference to
Home Address 1 and display the
confirmation screen.
Using Interface Dial to Change
Destination
While following a calculated route, you
can select a new destination with the
map screen and the Interface Dial .
With the map screen displayed, use the
Interface Dial to move the cursor. It
will change to crosshairs.
Use the Interface Dial to position the
crosshairs on your desired new
destination, street, or icon, then push in
on the Interface Dial . The Select an
item screen or a pop-up menu may be
displayed if there are multiple POIs in
the vicinity.
NOTE:
The Select an item screen will be
displayed when the crosshairs are
positioned near multiple icons or
locations. A pop-up menu will be
displayed when the crosshairs are
positioned on a particular street. If this is not your desired new
destination, press the
CANCEL button
or the BACK button on the steering
wheel to return to the map screen.
Reposition the cro sshairs with the
Interface Dial , then push in on the
Interface Dial again to see the new
address.
When the Select an item screen is
displayed, select an item from the list,
and the Calculate route to screen is
displayed. Then select OK and push in
on the Interface Dial .
2011 Odyssey
Page 78 of 178
78Navigation System
Driving to Your Destination
When the pop-up menu is displayed,
select Set as New Destination . to set
your location as a replacement
destination, or Add to Dest. List to set
as a waypoint.
The system will return to the map
screen and recalculat e the route to your
new destination or waypoint.Entering a Destination from the
Menu Screen (while en route)
If you say “Menu”, or press the DEST/
ROUTE button and select the “Dest.
MENU 1” or “Dest. MENU 2” tab, the
system displays the DEST screen.
Follow the procedure described in
Entering a Destination, which begins on
page 28.
When the Calculate route to screen is
displayed, select OK and push in on the
Interface Dial .
When the pop-up menu is displayed,
select Set as New Destination to set
your location as a replacement
destination, or Add to Dest. List to set
as a waypoint.
The system will return to the map
screen and recalculate the route to your
specified new destination or waypoint.
Continue Trip to Screen
If you restart the vehicle without having
completed your prior trip, you will see
the following screen:
• To continue to your destination or other waypoints, say or select OK.
• To cancel your destination, press the CANCEL button or the BACK
button on the steering wheel, or using
the voice control system, say
“Cancel” or “Back.”
• If you wish to change the routing method, select Route Pref. by using
the Interface Dial .
• For additional information on changing the route preference, see
Changing the Route Preference on
page 53.
2011 Odyssey