lock HONDA ODYSSEY 2013 RC1-RC2 / 5.G Navigation Manual
[x] Cancel search | Manufacturer: HONDA, Model Year: 2013, Model line: ODYSSEY, Model: HONDA ODYSSEY 2013 RC1-RC2 / 5.GPages: 267, PDF Size: 8.64 MB
Page 3 of 267
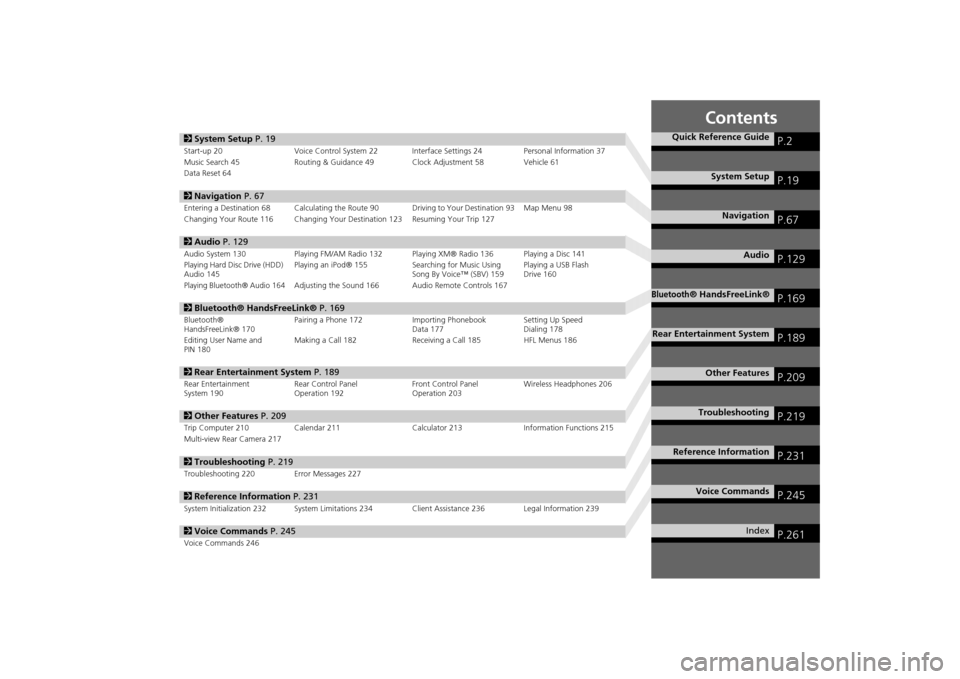
Contents
2System Setup P. 19Start-up 20 Voice Control System 22 Inte rface Settings 24Personal Information 37
Music Search 45 Routing & Guidance 49 Clock Adjustment 58 Vehicle 61
Data Reset 642 Navigation P. 67Entering a Destination 68 Calculating the Route 90 Driving to Your Destination 93 Map Menu 98
Changing Your Route 116 Changing Your Destination 123 Resuming Your Trip 1272 Audio P. 129Audio System 130 Playing FM/AM Radio 132 Playing XM® Radio 136 Playing a Disc 141
Playing Hard Disc Drive (HDD)
Audio 145 Playing an iPod® 155
Searching for Music Using
Song By Voice™ (SBV) 159 Playing a USB Flash
Drive 160Playing Bluetooth® Audio 164
Adjusting the Sound 166 Audio Remote Controls 167
2
Bluetooth® HandsFreeLink® P. 169Bluetooth®
HandsFreeLink® 170 Pairing a Phone 172 Importing Phonebook
Data 177Setting Up Speed
Dialing 178
Editing User Name and
PIN 180 Making a Call 182 Receiving a Call 185 HFL Menus 1862
Rear Entertainment System P. 189Rear Entertainment
System 190 Rear Control Panel
Operation 192 Front Control Panel
Operation 203Wireless Headphones 2062
Other Features P. 209Trip Computer 210 Calendar 211 Calculator 213Information Functions 215
Multi-view Rear Camera 2172 Troubleshooting P. 219Troubleshooting 220 Error Messages 2272Reference Information P. 231System Initialization 232 System Limitations 234 Client Assistance 236 Legal Information 2392Voice Commands P. 245Voice Commands 246
Quick Reference Guide
P.2
System Setup
P.19
Navigation
P.67
Audio
P.129
Bluetooth
® HandsFreeLink®
P.169
Rear Entertainment System
P.189
Other Features
P.209
Troubleshooting
P.219
Reference Information
P.231
Voice Commands
P.245
Index
P.261
Page 18 of 267
16Quick Reference Guide
Troubleshooting
For more Information
(P219)
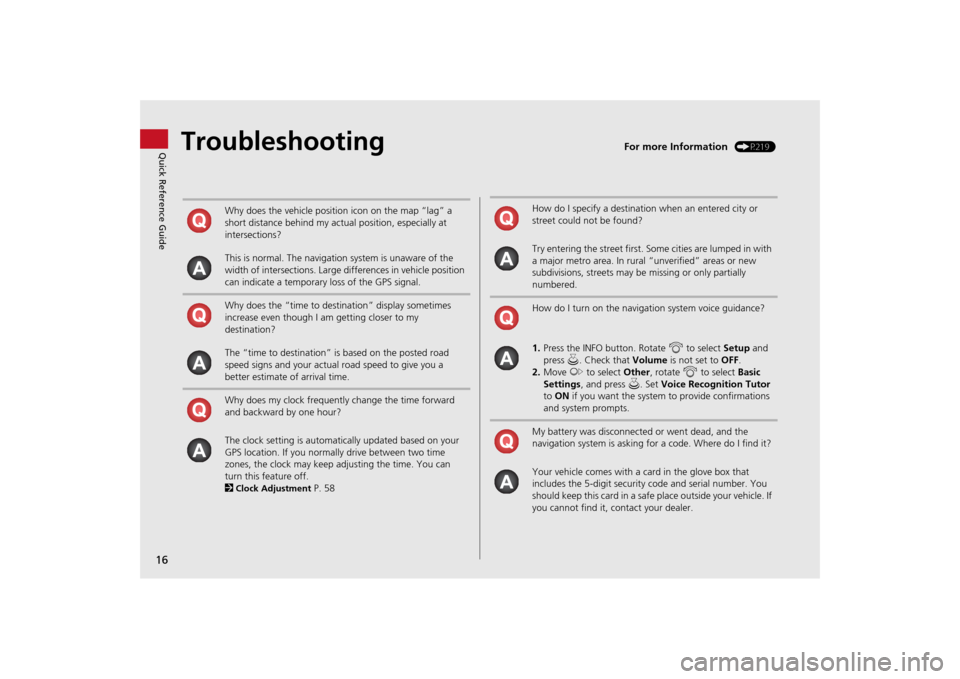
Why does the vehicle position icon on the map “lag” a
short distance behind my actual position, especially at
intersections?
This is normal. The navigation system is unaware of the
width of intersections. Large differences in vehicle position
can indicate a temporary loss of the GPS signal.
Why does the “time to destination” display sometimes
increase even though I am getting closer to my
destination?
The “time to destination” is based on the posted road
speed signs and your actual road speed to give you a
better estimate of arrival time.
Why does my clock frequently change the time forward
and backward by one hour?
The clock setting is automatically updated based on your
GPS location. If you normally drive between two time
zones, the clock may keep adjusting the time. You can
turn this feature off.
2Clock Adjustment
P. 58
How do I specify a destination when an entered city or
street could not be found?
Try entering the street first. Some cities are lumped in with
a major metro area. In rural “unverified” areas or new
subdivisions, streets may be missing or only partially
numbered.
How do I turn on the navigation system voice guidance?
1. Press the INFO button. Rotate i to select Setup and
press u. Check that Volume is not set to OFF.
2. Move y to select Other, rotate i to select Basic
Settings , and press u. Set Voice Recognition Tutor
to ON if you want the system to provide confirmations
and system prompts.
My battery was disconnected or went dead, and the
navigation system is asking for a code. Where do I find it?
Your vehicle comes with a card in the glove box that
includes the 5-digit security code and serial number. You
should keep this card in a safe place outside your vehicle. If
you cannot find it, contact your dealer.
Page 21 of 267
19
System Setup
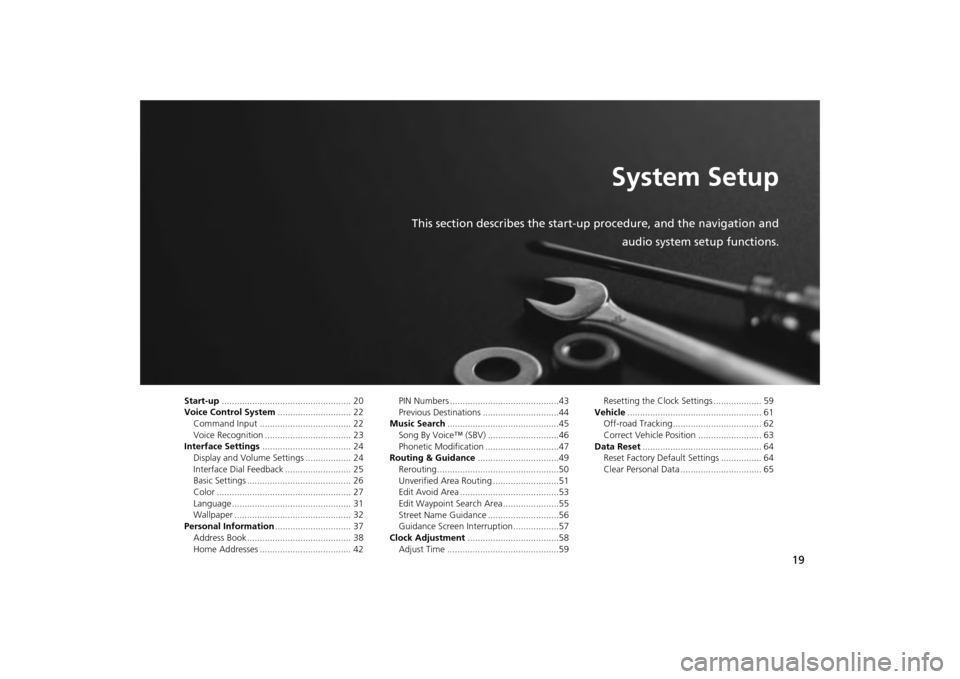
This section describes the start-up procedure, and the navigation andaudio system setup functions.
Start-up................................................... 20
Voice Control System ............................. 22
Command Input .................................... 22
Voice Recognition .................................. 23
Interface Settings ................................... 24
Display and Volume Settings .................. 24
Interface Dial Feedback .......................... 25
Basic Settings ......................................... 26
Color ..................................................... 27
Language............................................... 31
Wallpaper .............................................. 32
Personal Information .............................. 37
Address Book ......................................... 38
Home Addresses .................................... 42 PIN Numbers ...........................................43
Previous Destinations ..............................44
Music Search ............................................45
Song By Voice™ (SBV) ............................46
Phonetic Modification .............................47
Routing & Guidance ................................49
Rerouting................................................50
Unverified Area Routing ..........................51
Edit Avoid Area .......................................53
Edit Waypoint Search Area ......................55
Street Name Guidance ............................56
Guidance Screen Interruption ..................57
Clock Adjustment ....................................58
Adjust Time ............................................59 Resetting the Clock Settings ................... 59
Vehicle ..................................................... 61
Off-road Tracking ................................... 62
Correct Vehicle Position ......................... 63
Data Reset ............................................... 64
Reset Factory Default Settings ................ 64
Clear Personal Data ................................ 65
Page 34 of 267
32
Interface Settings
Wallpaper
System Setup
WallpaperHINFO button
Clock/Wallpaper
Picture Setup
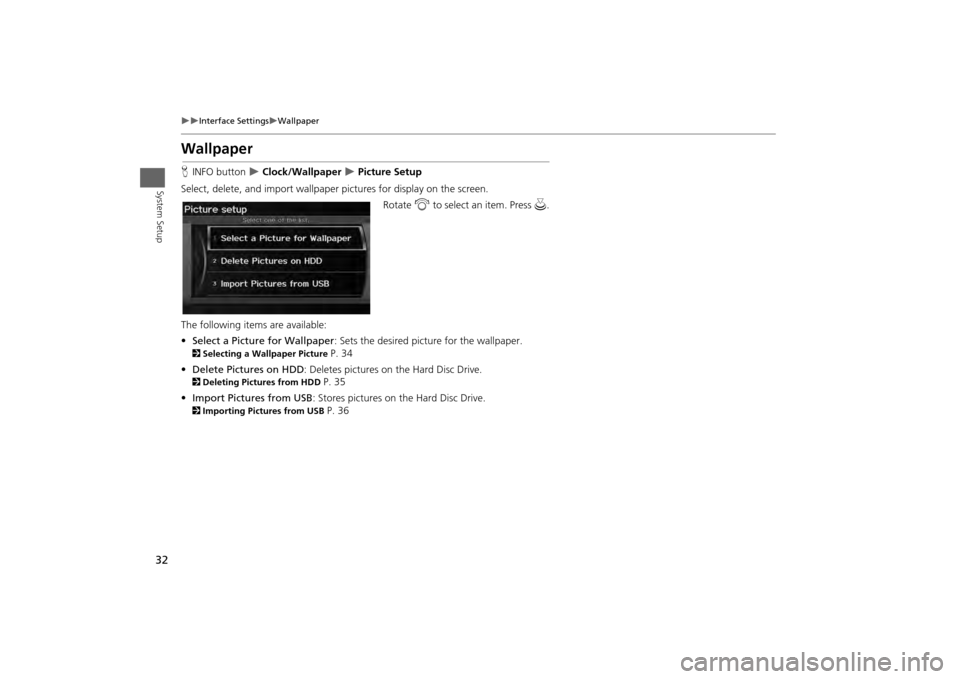
Select, delete, and import wallpaper pi ctures for display on the screen.
Rotate i to select an item. Press u .
The following item s are available:
• Select a Picture for Wallpaper : Sets the desired picture for the wallpaper.
2Selecting a Wallpaper Picture
P. 34
• Delete Pictures on HDD : Deletes pictures on the Hard Disc Drive.
2Deleting Pictures from HDD
P. 35
• Import Pictures from USB : Stores pictures on the Hard Disc Drive.
2Importing Pictures from USB
P. 36
Page 35 of 267
33
Interface Settings
Wallpaper
System Setup
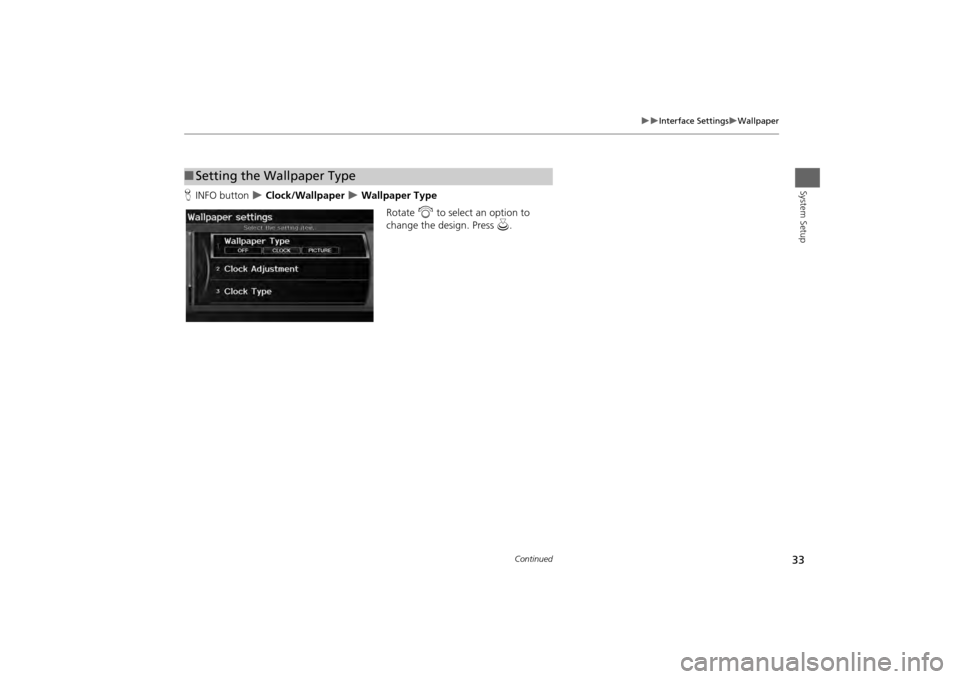
HINFO button
Clock/Wallpaper
Wallpaper Type
Rotate i to select an option to
change the design. Press u.
■Setting the Wallpaper Type
Continued
Page 36 of 267
34
Interface Settings
Wallpaper
System Setup
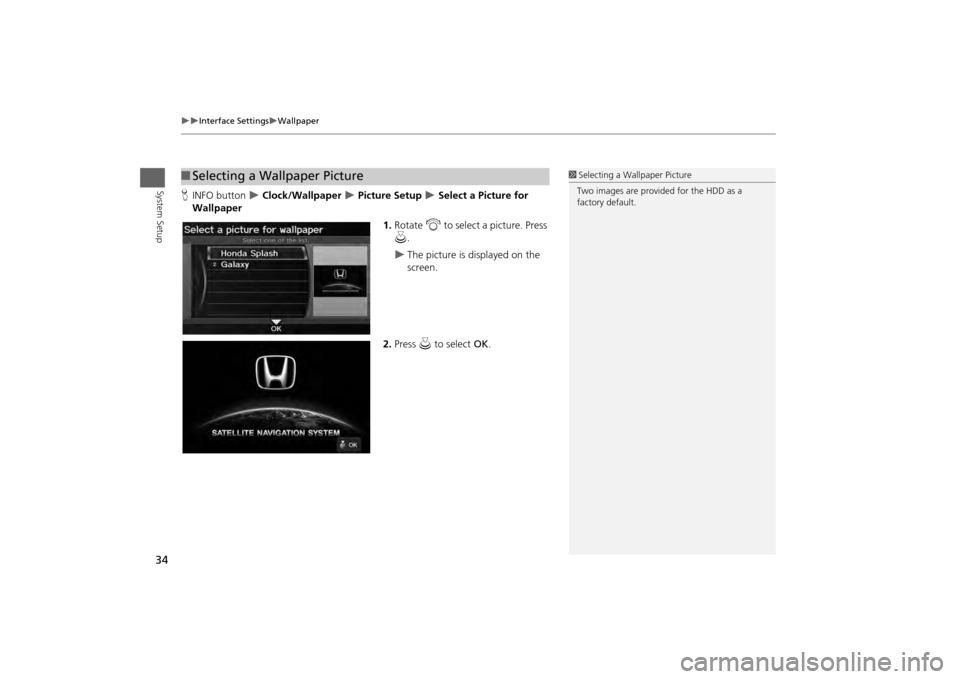
HINFO button
Clock/Wallpaper
Picture Setup
Select a Picture for
Wallpaper
1.Rotate i to select a picture. Press
u .
The picture is displayed on the
screen.
2. Press u to select OK.
■Selecting a Wallpaper Picture
1 Selecting a Wallpaper Picture
Two images are provided for the HDD as a
factory default.
Page 37 of 267
35
Interface Settings
Wallpaper
System Setup
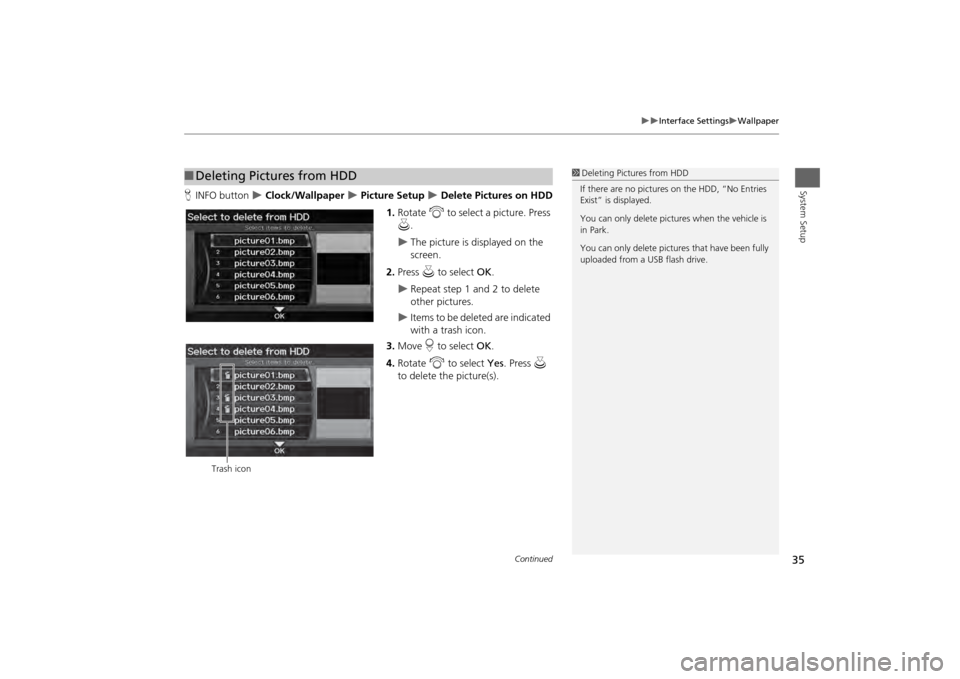
HINFO button
Clock/Wallpaper
Picture Setup
Delete Pictures on HDD
1. Rotate i to select a picture. Press
u .
The picture is displayed on the
screen.
2. Press u to select OK.
Repeat step 1 and 2 to delete
other pictures.
Items to be deleted are indicated
with a trash icon.
3. Move r to select OK.
4. Rotate i to select Yes. Press u
to delete the picture(s).
■ Deleting Pictures from HDD
1 Deleting Pictures from HDD
If there are no pictures on the HDD, “No Entries
Exist” is displayed.
You can only delete pictures when the vehicle is
in Park.
You can only delete pictures that have been fully
uploaded from a USB flash drive.
Trash icon
Continued
Page 38 of 267
36
Interface Settings
Wallpaper
System Setup
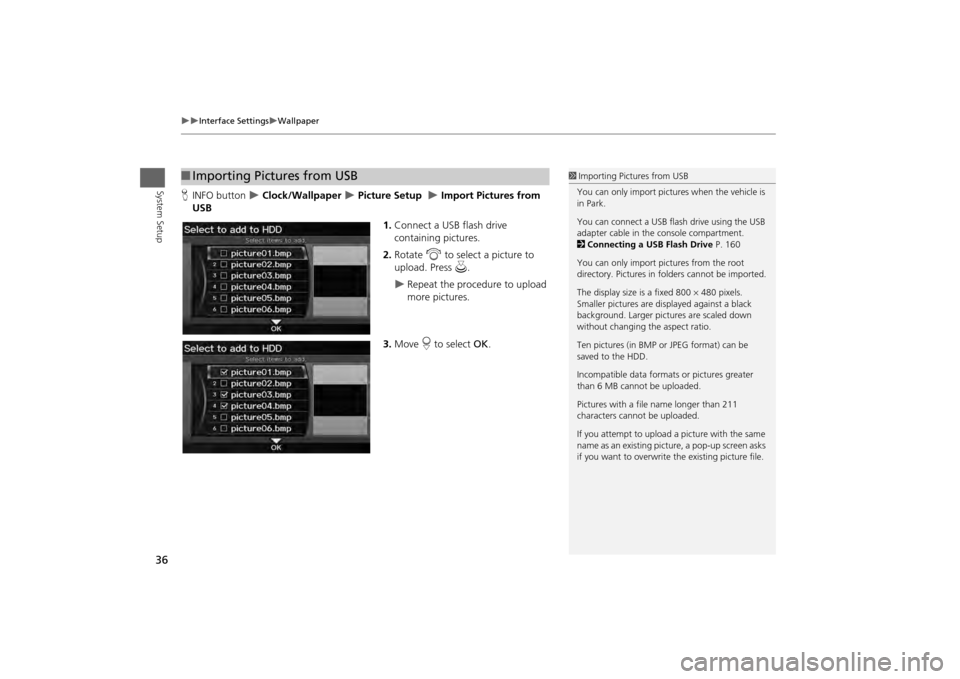
HINFO button
Clock/Wallpaper
Picture Setup
Import Pictures from
USB
1.Connect a USB flash drive
containing pictures.
2. Rotate i to select a picture to
upload. Press u.
Repeat the procedure to upload
more pictures.
3. Move r to select OK.
■Importing Pictures from USB
1 Importing Pictures from USB
You can only import pictures when the vehicle is
in Park.
You can connect a USB flash drive using the USB
adapter cable in the console compartment.
2 Connecting a USB Flash Drive P. 160
You can only import pict ures from the root
directory. Pictures in folders cannot be imported.
The display size is a fixed 800 480 pixels.
Smaller pictures are displayed against a black
background. Larger pictures are scaled down
without changing the aspect ratio.
Ten pictures (in BMP or JPEG format) can be
saved to the HDD.
Incompatible data format s or pictures greater
than 6 MB cannot be uploaded.
Pictures with a file name longer than 211
characters cannot be uploaded.
If you attempt to upload a picture with the same
name as an existing picture, a pop-up screen asks
if you want to overwrite the existing picture file.
Page 60 of 267
58System Setup
Clock AdjustmentHINFO button
Clock/Wallpaper
Clock Adjustment
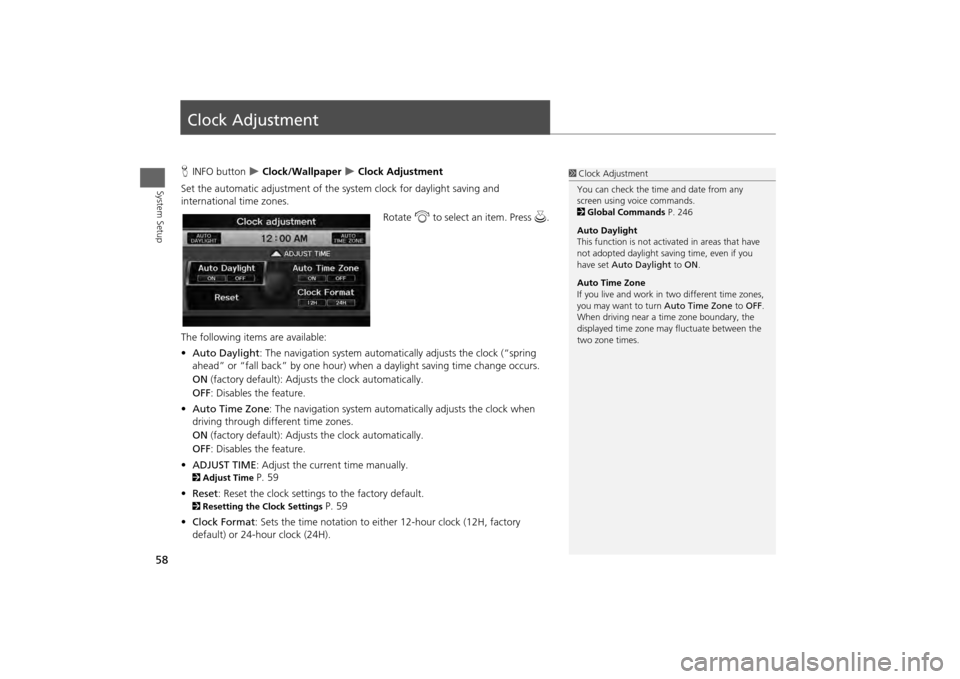
Set the automatic adjustment of the system clock for daylight saving and
international time zones.
Rotate i to select an item. Press u .
The following item s are available:
• Auto Daylight : The navigation system automati cally adjusts the clock (“spring
ahead” or “fall back” by one hour) when a daylight saving time change occurs.
ON (factory default): Adjust s the clock automatically.
OFF : Disables the feature.
• Auto Time Zone : The navigation system automati cally adjusts the clock when
driving through different time zones.
ON (factory default): Adjust s the clock automatically.
OFF : Disables the feature.
• ADJUST TIME : Adjust the current time manually.
2Adjust Time
P. 59
• Reset : Reset the clock settings to the factory default.
2Resetting the Clock Settings
P. 59
• Clock Format : Sets the time notation to either 12-hour clock (12H, factory
default) or 24-hour clock (24H).
1 Clock Adjustment
You can check the time and date from any
screen using voice commands.
2 Global Commands P. 246
Auto Daylight
This function is not activated in areas that have
not adopted daylight saving time, even if you
have set Auto Daylight to ON .
Auto Time Zone
If you live and work in two different time zones,
you may want to turn Auto Time Zone to OFF.
When driving near a time zone boundary, the
displayed time zone ma y fluctuate between the
two zone times.
Page 61 of 267
59
Clock Adjustment
Adjust Time
System Setup
Adjust TimeHINFO button
Clock/Wallpaper
Clock Adjustment
Adjust Time
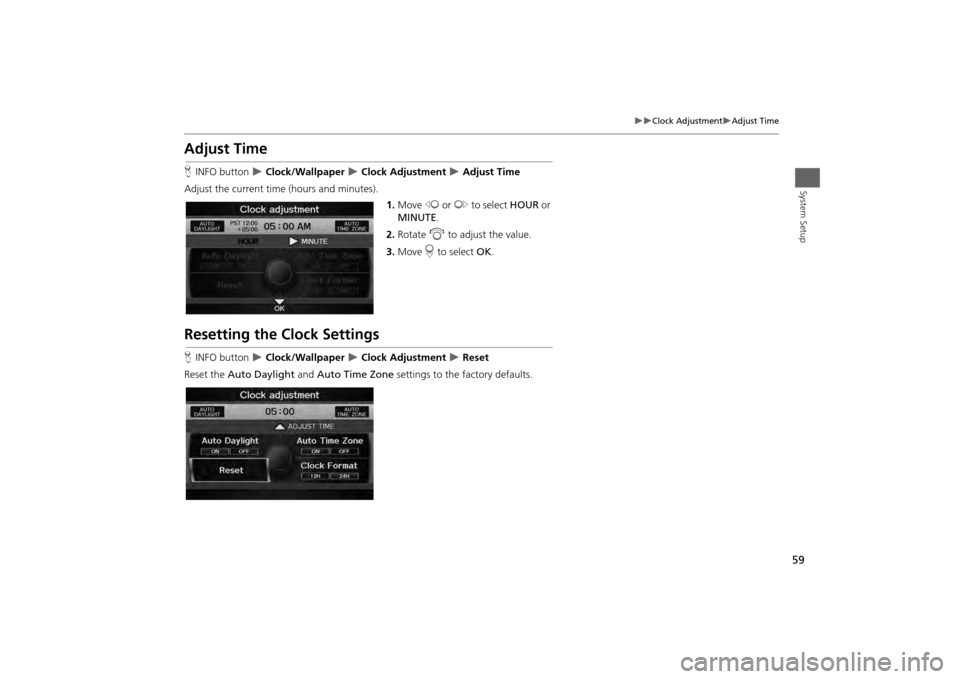
Adjust the current time (hours and minutes).
1.Move w or y to select HOUR or
MINUTE .
2. Rotate i to adjust the value.
3. Move r to select OK.
Resetting the Clock SettingsHINFO button
Clock/Wallpaper
Clock Adjustment
Reset
Reset the Auto Daylight and Auto Time Zone settings to the factory defaults.