display HONDA ODYSSEY 2016 RC1-RC2 / 5.G Navigation Manual
[x] Cancel search | Manufacturer: HONDA, Model Year: 2016, Model line: ODYSSEY, Model: HONDA ODYSSEY 2016 RC1-RC2 / 5.GPages: 325, PDF Size: 8.63 MB
Page 34 of 325
33
Interface SettingsLanguage Settings
System Setup
Language Settings
HSETTINGS button System Settings Others Language
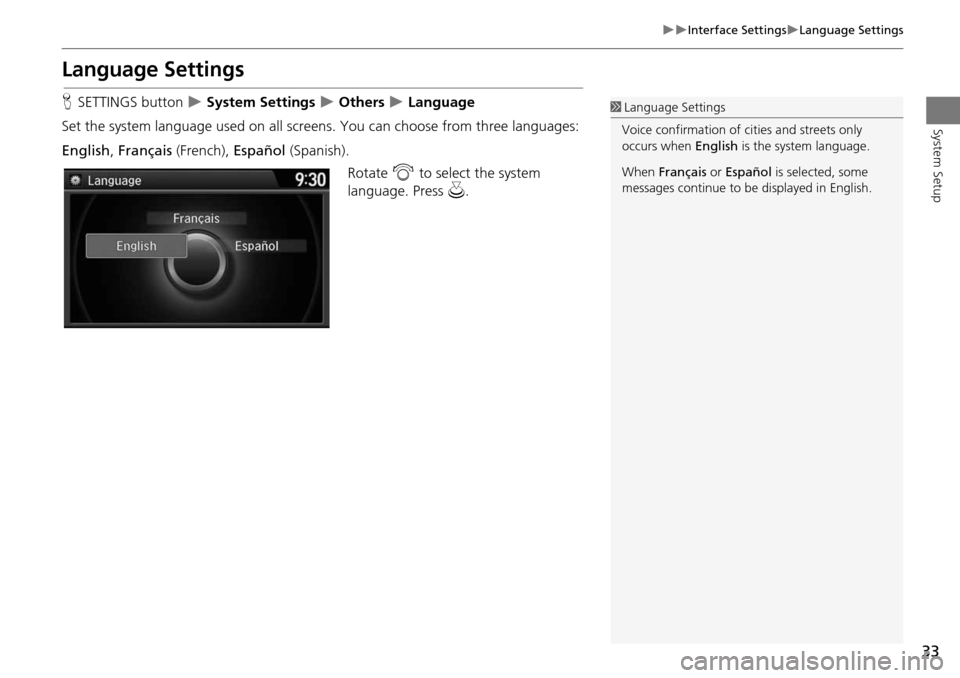
Set the system language used on all scr eens. You can choose from three languages:
English , Français (French), Español (Spanish).
Rotate i to select the system
language. Press u.1Language Settings
Voice confirmation of ci ties and streets only
occurs when English is the system language.
When Français or Español is selected, some
messages continue to be displayed in English.
Page 36 of 325
35
Interface SettingsHeader Clock Display
System Setup
Header Clock Display
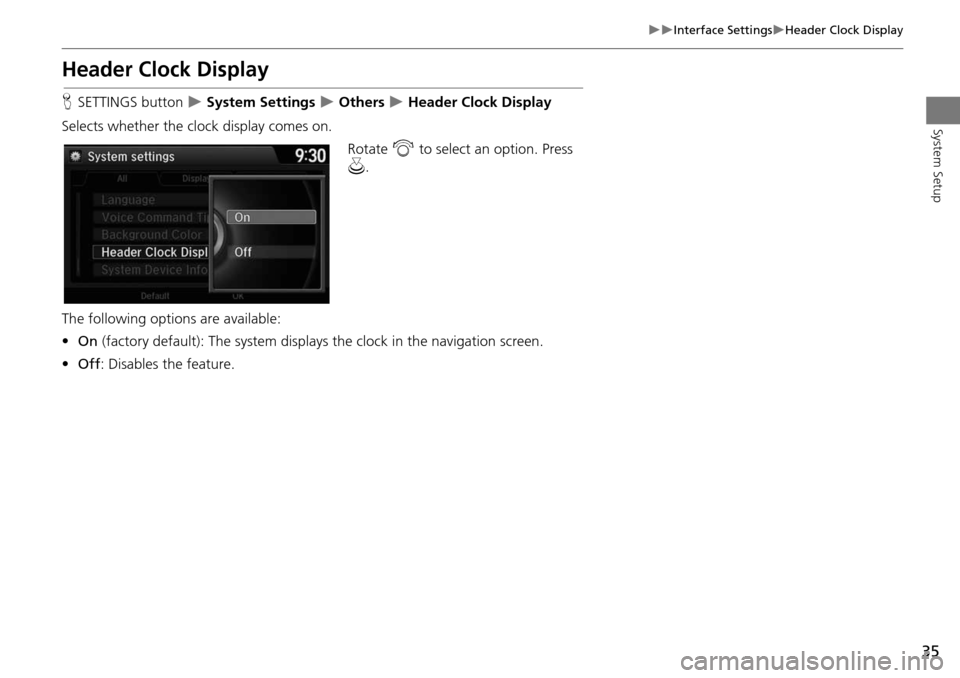
HSETTINGS button System Settings Others Header Clock Display
Selects whether the clock display comes on. Rotate i to select an option. Press
u .
The following options are available:
• On (factory default): The system displa ys the clock in the navigation screen.
• Off : Disables the feature.
Page 38 of 325
37
Personal InformationAddress Book
System Setup
Address Book
HSETTINGS button Navi Settings Personal Info Address Book
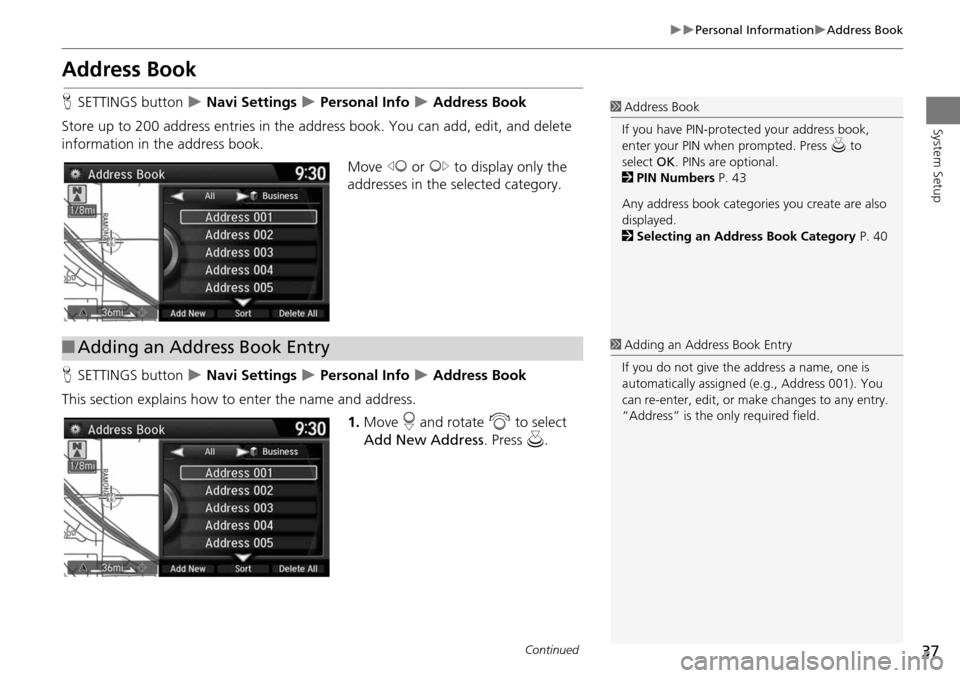
Store up to 200 address entries in the a ddress book. You can add, edit, and delete
information in the address book.
Move w or y to display only the
addresses in the selected category.
H SETTINGS button
Navi Settings Personal Info Address Book
This section explains how to enter the name and address. 1.Move r and rotate i to select
Add New Address . Press u.
1Address Book
If you have PIN-protec ted your address book,
enter your PIN when prompted. Press u to
select OK. PINs are optional.
2 PIN Numbers P. 43
Any address book categories you create are also
displayed.
2 Selecting an Address Book Category P. 40
■Adding an Address Book Entry1 Adding an Address Book Entry
If you do not give the address a name, one is
automatically assigned (e.g., Address 001). You
can re-enter, edit, or make changes to any entry.
“Address” is the only required field.
Continued
Page 39 of 325
38
Personal InformationAddress Book
System Setup
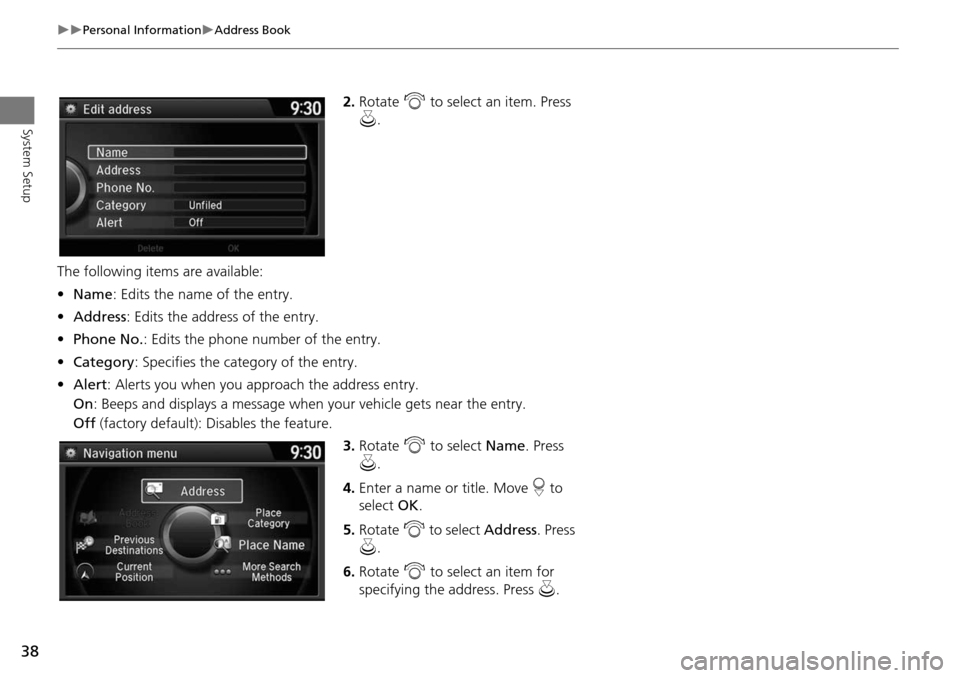
2.Rotate i to select an item. Press
u .
The following item s are available:
• Name : Edits the name of the entry.
• Address : Edits the address of the entry.
• Phone No. : Edits the phone number of the entry.
• Category : Specifies the category of the entry.
• Alert : Alerts you when you ap proach the address entry.
On : Beeps and displays a message when your vehicle gets near the entry.
Off (factory default): Disables the feature.
3.Rotate i to select Name . Press
u .
4. Enter a name or title. Move r to
select OK.
5. Rotate i to select Address . Press
u .
6. Rotate i to select an item for
specifying the address. Press u.
Page 40 of 325
39
Personal InformationAddress Book
System Setup
The following items are available:
•Current Position: Select your current location.
• Address: Enter an address on the character input screen when prompted.
2
Address P. 86
• Previous Destinations: Select a previous destination.
2
Previous Destination P. 93
• Place Name: Enter the name of a place/landmark.
2
Place Name P. 96
• Place Category: Select a category to search for a place/landmark (e.g., Banking,
Lodging).
2
Place Category P. 94
• More Search Methods : Displays additional search method entries.
2
Entering a Destination P. 84
H SETTINGS button
Navi Settings Personal Info Address Book
1. Rotate i to select the address to
edit. Press u.
2. Enter the name, address, phone
number, and category fields.
2
Adding an Address Book Entry
P. 37
3. Move r and rotate i to select
OK . Press u.
■Editing an Address Book Entry
1 Adding an Address Book Entry
When you use Place Name or Place Category ,
the phone number is au tomatically entered.
You can also add a phone number and category.
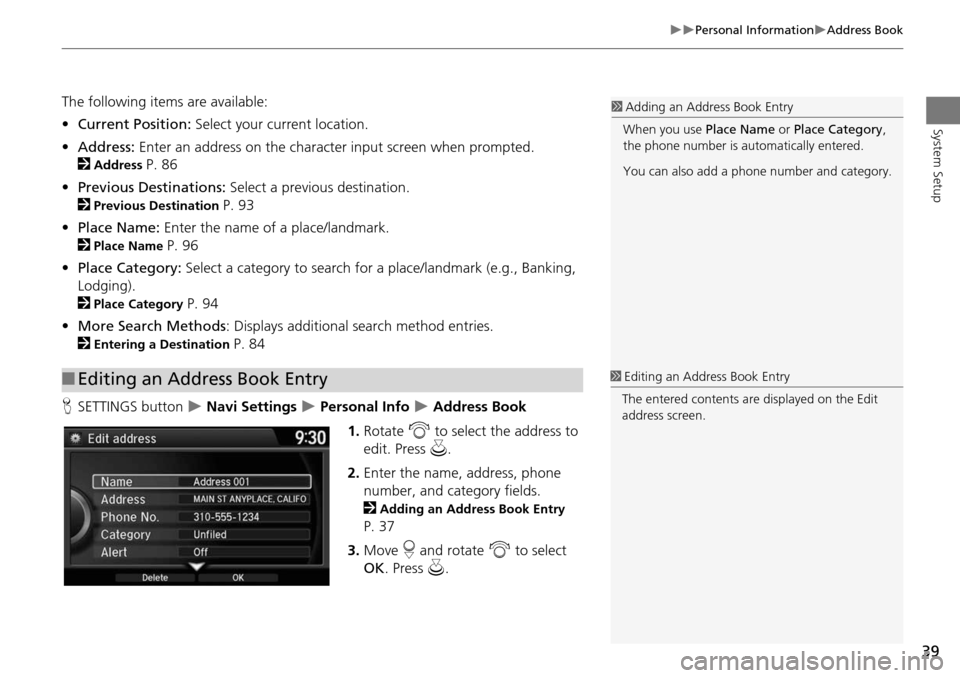
1 Editing an Address Book Entry
The entered contents are displayed on the Edit
address screen.
Page 44 of 325
43
Personal InformationPIN Numbers
System Setup
PIN Numbers
HSETTINGS button Navi Settings Personal Info PIN Number
Set a four-digit PIN for protecting personal addresses and your home address. Once
you set a PIN, you are prompted to enter it whenever you access a personal address
or a home address.
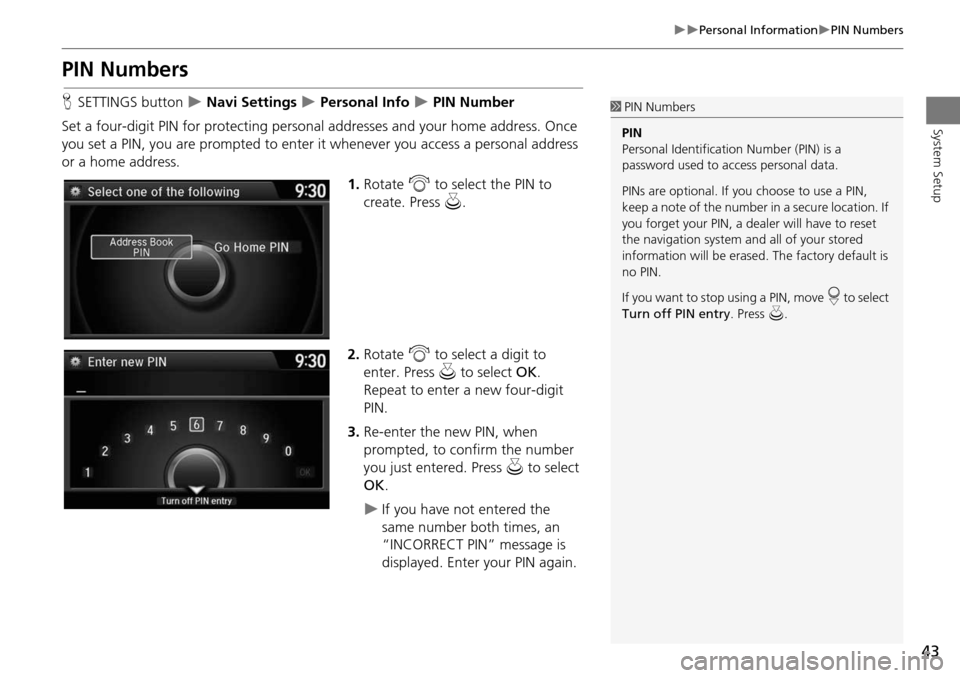
1.Rotate i to select the PIN to
create. Press u.
2. Rotate i to select a digit to
enter. Press u to select OK.
Repeat to enter a new four-digit
PIN.
3. Re-enter the new PIN, when
prompted, to confirm the number
you just entered. Press u to select
OK .
If you have not entered the
same number both times, an
“INCORRECT PIN” message is
displayed. Enter your PIN again.
1PIN Numbers
PIN
Personal Identification Number (PIN) is a
password used to access personal data.
PINs are optional. If you choose to use a PIN,
keep a note of the number in a secure location. If
you forget your PIN, a dealer will have to reset
the navigation system a nd all of your stored
information will be erased . The factory default is
no PIN.
If you want to stop using a PIN, move
r to select
Turn off PIN entry . Press u.
Page 49 of 325
48
Personal InformationDownload POI
System Setup
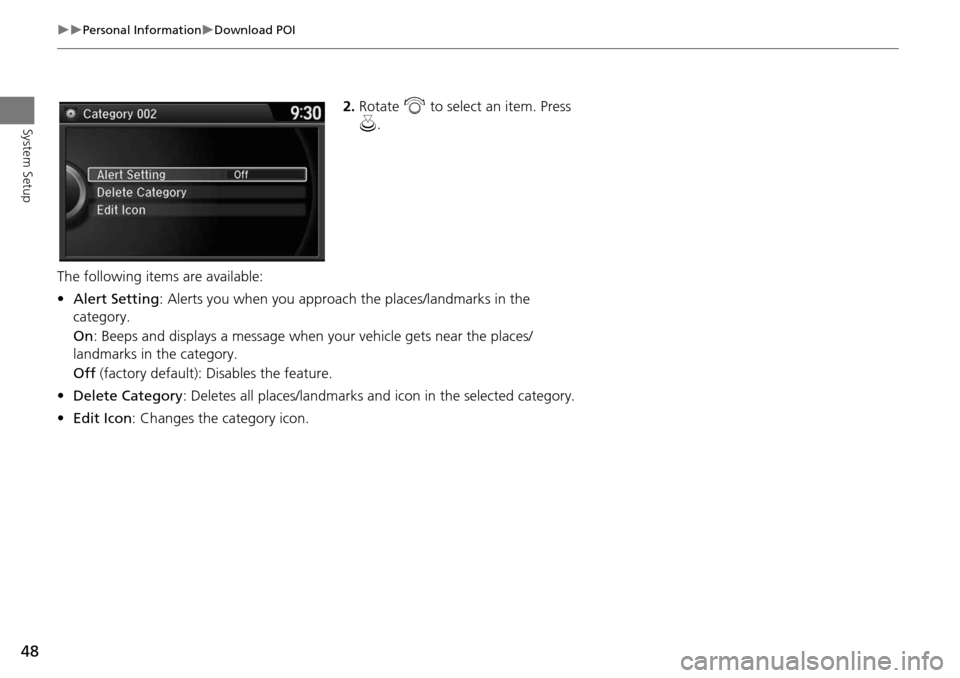
2.Rotate i to select an item. Press
u .
The following item s are available:
• Alert Setting : Alerts you when you approach the places/landmarks in the
category.
On : Beeps and displays a message when your vehicle gets near the places/
landmarks in the category.
Off (factory default): Disables the feature.
• Delete Category : Deletes all places/landmarks a nd icon in the selected category.
• Edit Icon : Changes the category icon.
Page 52 of 325
51
RoutingUnverified Routing
System Setup
Unverified Routing
HSETTINGS button Navi Settings Routing Unverified Routing
Receive turn-by-turn map and voice guidance in unverified areas. Rotate i to select On or Off . Press
u .1Unverified Routing
Unverified roads are found in rural areas, and
typically include residential streets away from the
center of a town. They may not be accurate, and
can contain errors in location, naming, and
address range.
Unverified roads are s hown only when viewing
the map in the 1/20, 1/8, or 1/4 mile map scales.
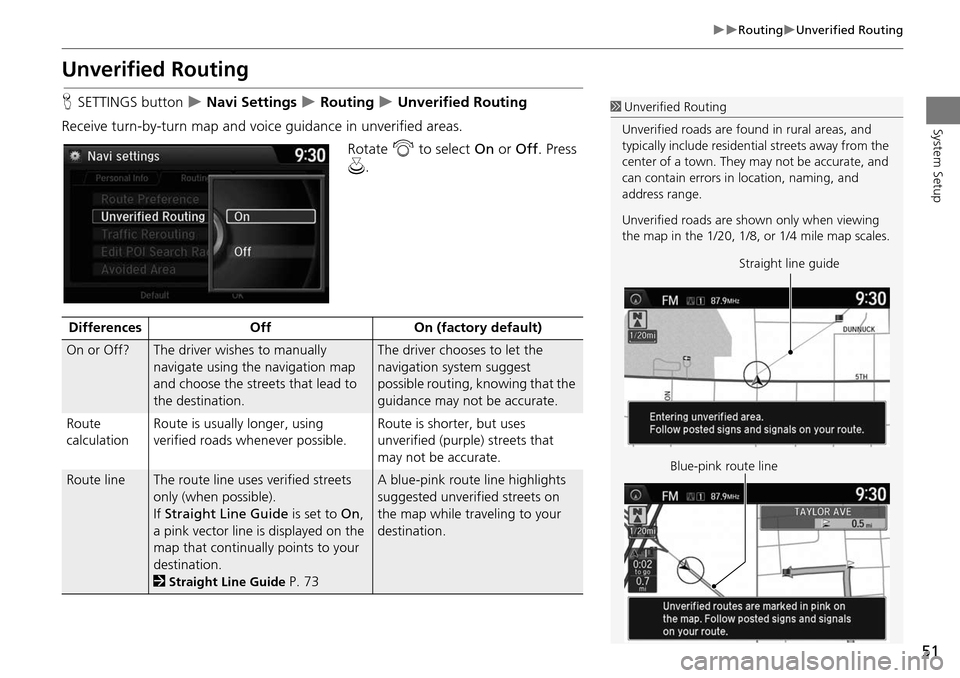
Straight line guide
Blue-pink route line
Differences OffOn (factory default)
On or Off?The driver wishes to manually
navigate using the navigation map
and choose the streets that lead to
the destination.The driver chooses to let the
navigation system suggest
possible routing, knowing that the
guidance may not be accurate.
Route
calculation Route is usually longer, using
verified roads whenever possible. Route is shorter, but uses
unverified (purple)
streets that
may not be accurate.
Route lineThe route line uses verified streets
only (when possible).
If Straight Line Guide is set to On,
a pink vector line is displayed on the
map that continually points to your
destination.
2
Straight Line Guide P. 73
A blue-pink route line highlights
suggested unverified streets on
the map while traveling to your
destination.
Page 56 of 325
55
RoutingAvoided Area
System Setup
Avoided Area
HSETTINGS button Navi Settings Routing Avoided Area
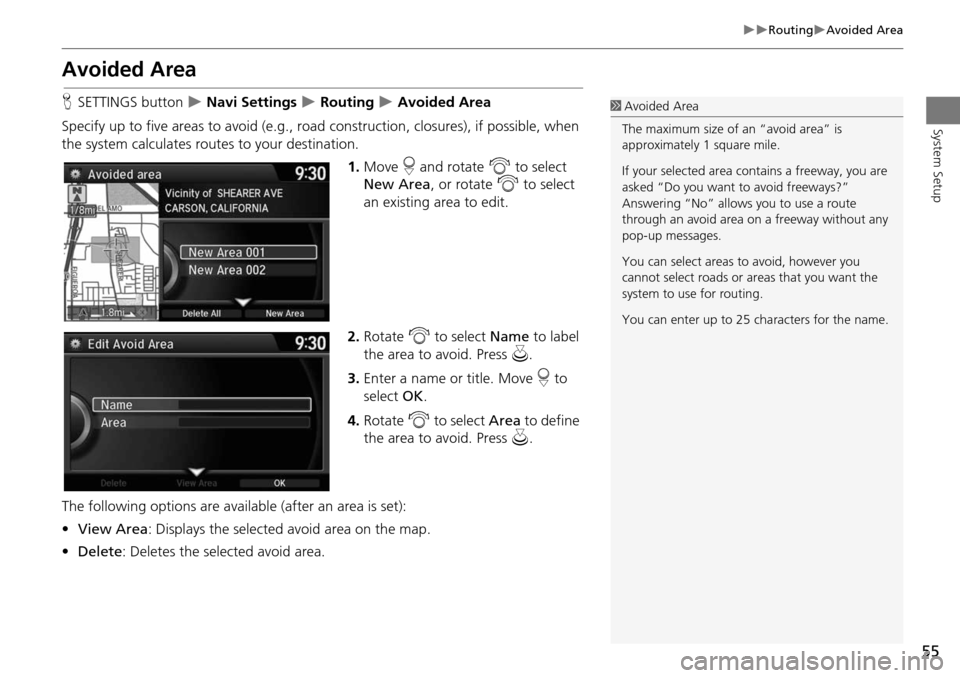
Specify up to five areas to avoid (e.g., road construction, closures), if possible, when
the system calculates routes to your destination.
1.Move r and rotate i to select
New Area , or rotate i to select
an existing area to edit.
2. Rotate i to select Name to label
the area to avoid. Press u.
3. Enter a name or title. Move r to
select OK.
4. Rotate i to select Area to define
the area to avoid. Press u.
The following options are available (after an area is set):
• View Area : Displays the selected avoid area on the map.
• Delete : Deletes the selected avoid area.1Avoided Area
The maximum size of an “avoid area” is
approximately 1 square mile.
If your selected area contains a freeway, you are
asked “Do you want to avoid freeways?”
Answering “No” allows you to use a route
through an avoid area on a freeway without any
pop-up messages.
You can select areas to avoid, however you
cannot select roads or areas that you want the
system to use for routing.
You can enter up to 25 ch aracters for the name.
Page 57 of 325
56
RoutingAvoided Area
System Setup
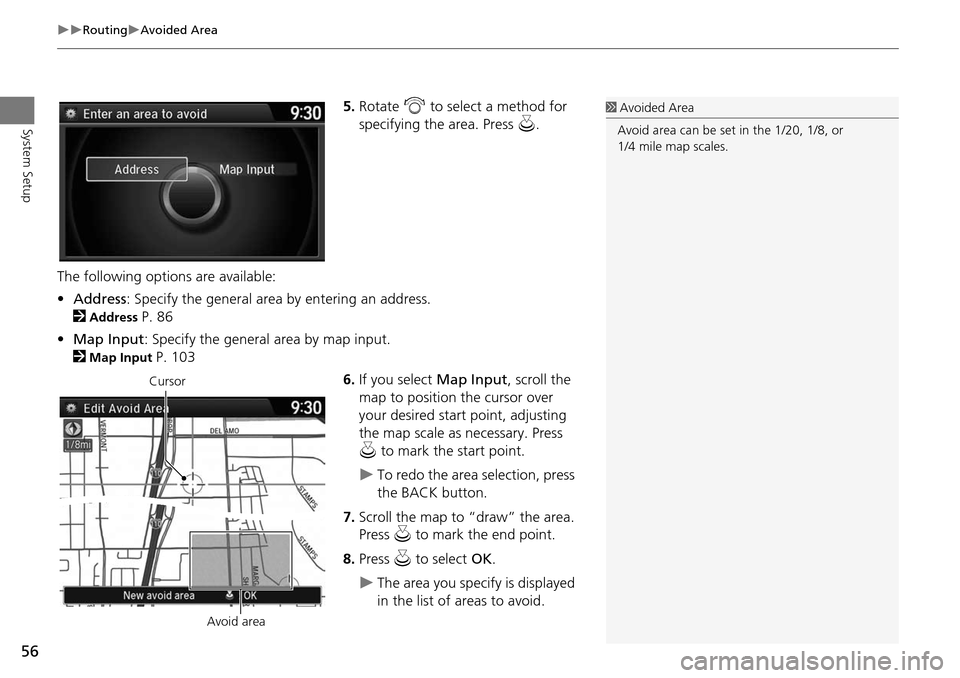
5.Rotate i to select a method for
specifying the area. Press u.
The following options are available:
• Address : Specify the general area by entering an address.
2
Address P. 86
• Map Input : Specify the general area by map input.
2
Map Input P. 103
6.If you select Map Input, scroll the
map to position the cursor over
your desired start point, adjusting
the map scale as necessary. Press
u to mark the start point.
To redo the area selection, press
the BACK button.
7. Scroll the map to “draw” the area.
Press u to mark the end point.
8. Press u to select OK.
The area you specify is displayed
in the list of areas to avoid.
1Avoided Area
Avoid area can be set in the 1/20, 1/8, or
1/4 mile map scales.
Cursor
Avoid area