ac label HONDA ODYSSEY 2018 (in English) Owner's Guide
[x] Cancel search | Manufacturer: HONDA, Model Year: 2018, Model line: ODYSSEY, Model: HONDA ODYSSEY 2018Pages: 763, PDF Size: 47.02 MB
Page 677 of 763
675
uuChecking and Maintaining Tires uTire Labeling
Maintenance
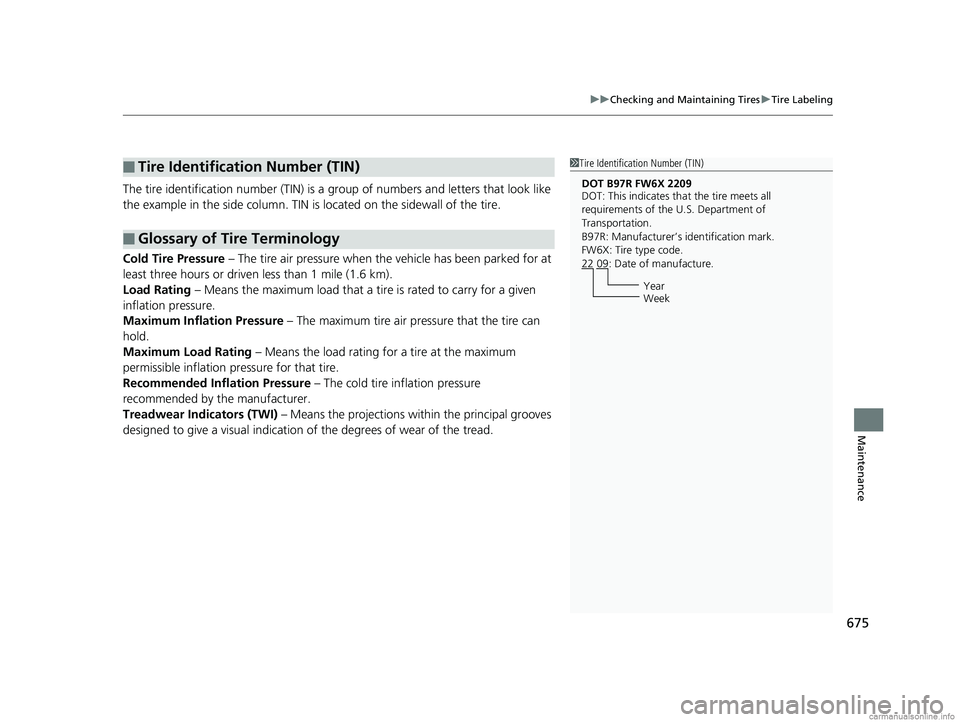
The tire identification number (TIN) is a group of numbers and letters that look like
the example in the side column. TIN is located on the sidewall of the tire.
Cold Tire Pressure – The tire air pressure when the vehicle has been parked for at
least three hours or driven less than 1 mile (1.6 km).
Load Rating – Means the maximum load that a ti re is rated to carry for a given
inflation pressure.
Maximum Inflation Pressure – The maximum tire air pressure that the tire can
hold.
Maximum Load Rating – Means the load rating for a tire at the maximum
permissible inflation pr essure for that tire.
Recommended Inflation Pressure – The cold tire inflation pressure
recommended by the manufacturer.
Treadwear Indicators (TWI) – Means the projections within the principal grooves
designed to give a visual indication of the degrees of wear of the tread.
■Tire Identification Number (TIN)
■Glossary of Tire Terminology
1Tire Identification Number (TIN)
DOT B97R FW6X 2209
DOT: This indicates that the tire meets all
requirements of the U.S. Department of
Transportation.
B97R: Manufacturer’s identification mark.
FW6X: Tire type code.
22 09: Date of manufacture.
Year
Week
18 US ODYSSEY-31THR6010.book 675 ページ 2018年12月6日 木曜日 午後4時18分
Page 685 of 763
683
uuBattery uCharging the Battery
Maintenance
Charging the Battery
Disconnect both battery cables to prevent damaging your vehicle’s electrical system.
Always disconnect the negative (–) cable first, and reconnect it last.
Charging the AGM Battery
AGM labeled batteries like those installed in your vehicle require a compatible
charger to be properly charged. Damage to the battery can result if the battery is
charged improperly or with the wrong equi pment. For more information on how to
charge your vehicle’s AGM battery, consult a dealer.
Models without Auto Idle Stop
1 Battery
The battery installed in this vehicle is specifically
designed for a model wi th Auto Idle Stop.
Using a battery other than this specified type may
shorten the battery life, a nd prevent Auto Idle Stop
from activating. If you need to replace the battery,
make sure to select the specified type. Ask a dealer
for more details.
Models with Auto Idle Stop
Models with Auto Idle Stop
18 US ODYSSEY-31THR6010.book 683 ページ 2018年12月6日 木曜日 午後4時18分
Page 689 of 763
687
Maintenance
Climate Control System Maintenance
Air Conditioning
To ensure proper and safe operation, the Society of Automotive Engineers (SAE
J2845) recommends that the refrigerant system only be serviced by trained and
certified technicians.
Never repair or replace the air conditio ning evaporator (cooling coil) with one
removed from a used or salvaged vehicle.
New replacement mobile air conditioning evaporators must be certified (and
labeled) as meeting SAE Standard J2842.
Dust and Pollen Filter
The climate control system is equipped with a dust and pollen filter that collects
pollen, dust, and other debris in the air. The Maintenance MinderTM messages will let
you know when to replace the filter.
We recommend that you replace the dust an d pollen filter sooner when using your
vehicle in areas with high concentrations of dust.
1 Air Conditioning
NOTICE
Vented refrigerant is harmful to the environment.
To avoid refrigerant from venting, never replace the
evaporator with one re moved from a used or
salvaged vehicle.
Refrigerant in your vehicle’s air conditioning system is
flammable and can be igni ted during servicing if
proper procedures are not followed.
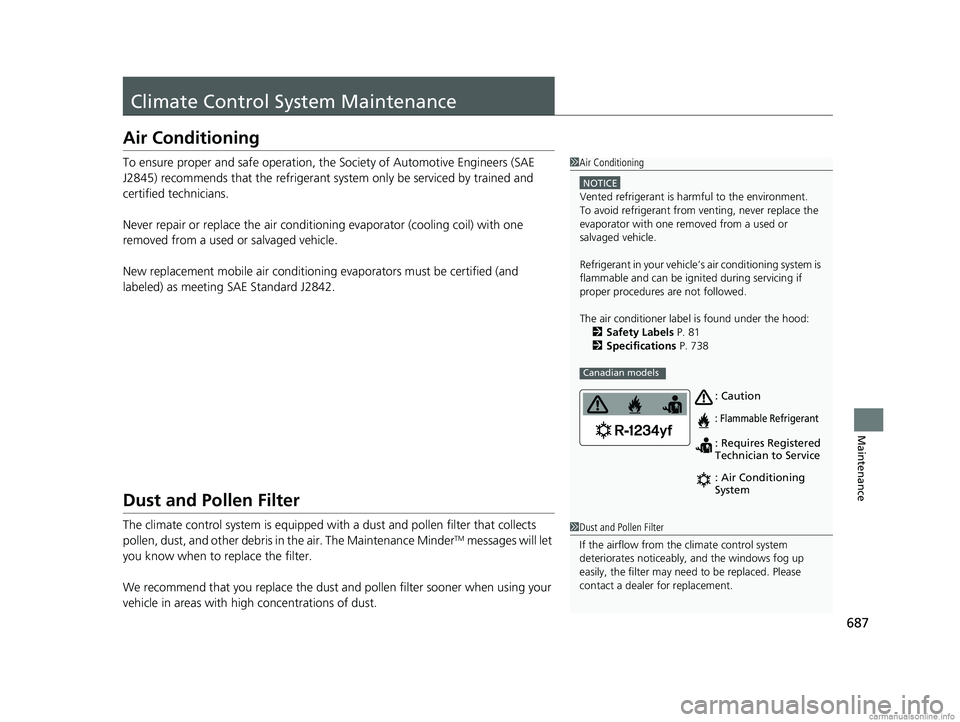
The air conditioner labe l is found under the hood:
2 Safety Labels P. 81
2 Specifications P. 738
Canadian models
: Caution
: Flammable Refrigerant
: Requires Registered
Technician to Service
: Air Conditioning
System
1Dust and Pollen Filter
If the airflow from the climate control system
deteriorates noticeably, and the windows fog up
easily, the filter may need to be replaced. Please
contact a dealer for replacement.
18 US ODYSSEY-31THR6010.book 687 ページ 2018年12月6日 木曜日 午後4時18分
Page 722 of 763
720
uuIndicator, Coming On/Blinking uIf the Electric Power Steering (EPS) System Indicator Comes On
Handling the Unexpected
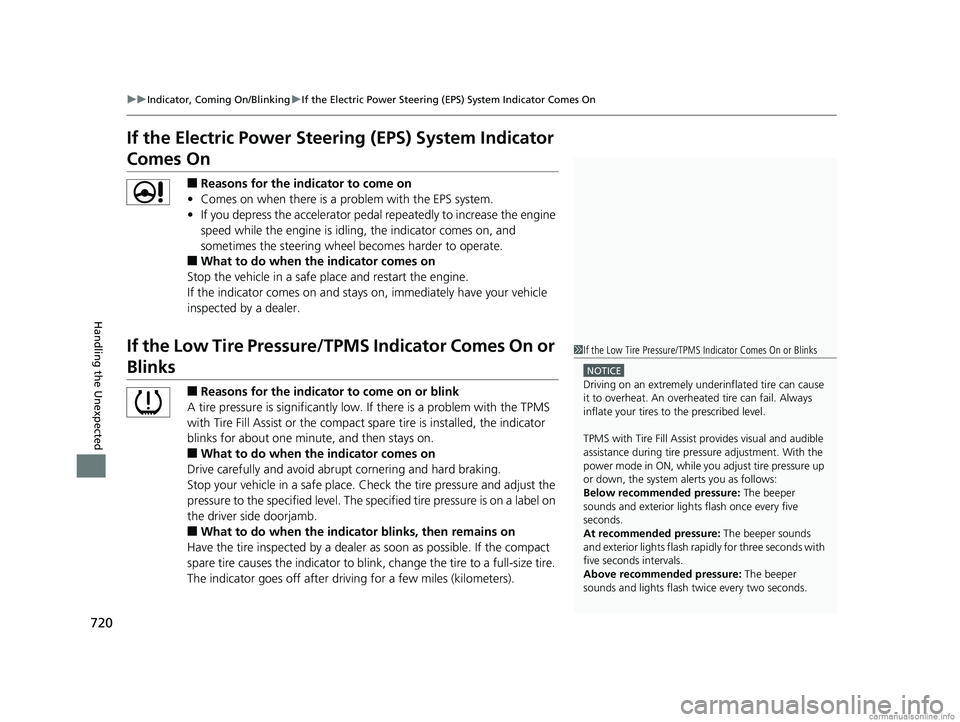
If the Electric Power Steeri ng (EPS) System Indicator
Comes On
■Reasons for the indicator to come on
• Comes on when there is a problem with the EPS system.
• If you depress the accelerator pedal repeatedly to increase the engine
speed while the engine is idling, the indicator comes on, and
sometimes the steering wheel becomes harder to operate.
■What to do when the indicator comes on
Stop the vehicle in a safe place and restart the engine.
If the indicator comes on and stays on, immediately have your vehicle
inspected by a dealer.
If the Low Tire Pressure/TPMS Indicator Comes On or
Blinks
■Reasons for the indicator to come on or blink
A tire pressure is significantly low. If there is a problem with the TPMS
with Tire Fill Assist or the compact spare tire is installed, the indicator
blinks for about one mi nute, and then stays on.
■What to do when the indicator comes on
Drive carefully and avoid abrupt cornering and hard braking.
Stop your vehicle in a safe place. Ch eck the tire pressure and adjust the
pressure to the specified level. The sp ecified tire pressure is on a label on
the driver side doorjamb.
■What to do when the indicator blinks, then remains on
Have the tire inspected by a dealer as soon as possible. If the compact
spare tire causes the indicator to blink, change the tire to a full-size tire.
The indicator goes off after driv ing for a few miles (kilometers).
1If the Low Tire Pressure/TPMS Indicator Comes On or Blinks
NOTICE
Driving on an extremely unde rinflated tire can cause
it to overheat. An overheated tire can fail. Always
inflate your tires to the prescribed level.
TPMS with Tire Fill Assist provides visual and audible
assistance during tire pre ssure adjustment. With the
power mode in ON, while y ou adjust tire pressure up
or down, the system alerts you as follows:
Below recommended pressure: The beeper
sounds and exterior lights flash once every five
seconds.
At recommended pressure: The beeper sounds
and exterior lights flash rapi dly for three seconds with
five seconds intervals.
Above recommended pressure: The beeper
sounds and lights flash tw ice every two seconds.
18 US ODYSSEY-31THR6010.book 720 ページ 2018年12月6日 木曜日 午後4時18分
Page 726 of 763
724
uuFuses uFuse Locations
Handling the Unexpected
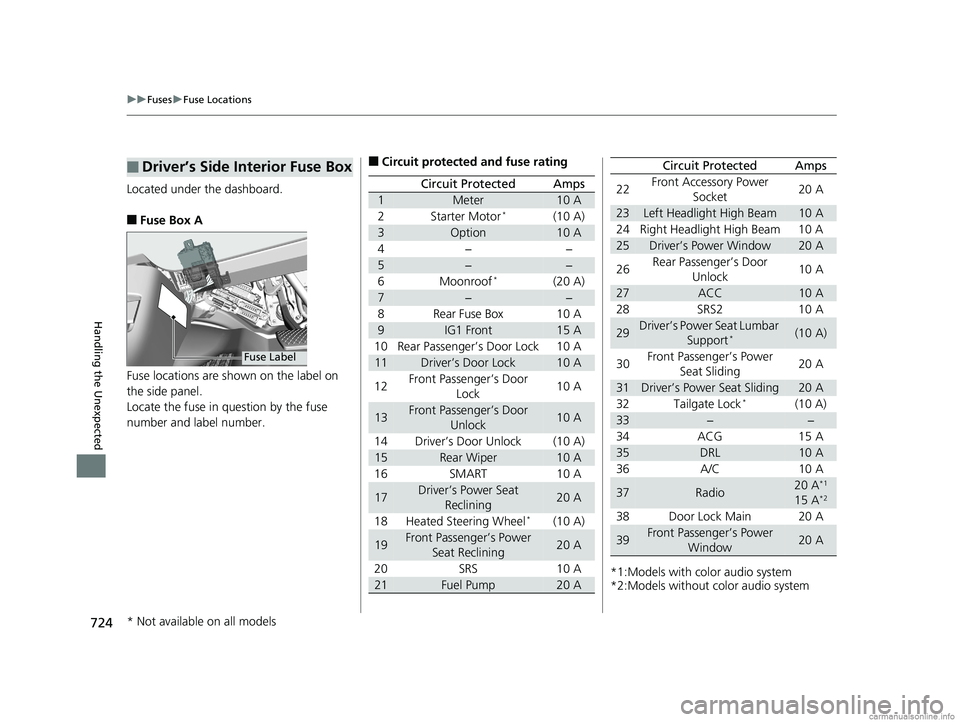
Located under the dashboard.
■Fuse Box A
Fuse locations are shown on the label on
the side panel.
Locate the fuse in question by the fuse
number and label number.
■Driver’s Side Interior Fuse Box
Fuse Label
■Circuit protected and fuse rating
Circuit ProtectedAmps
1Meter10 A
2Starter Motor*(10 A)
3Option10 A
4−−
5−−
6Moonroof*(20 A)
7−−
8Rear Fuse Box10 A
9IG1 Front15 A
10 Rear Passenger’s Door Lock 10 A
11Driver’s Door Lock10 A
12 Front Passenger’s Door
Lock 10 A
13Front Passenger’s Door
Unlock10 A
14 Driver’s Door Unlock (10 A)
15Rear Wiper10 A
16 SMART 10 A
17Driver’s Power Seat Reclining20 A
18 Heated Steering Wheel
*(10 A)
19Front Passenger’s Power Seat Reclining20 A
20 SRS 10 A
21Fuel Pump20 A*1:Models with color audio system
*2:Models without color audio system22
Front Accessory Power
Socket 20 A
23Left Headlight High Beam10 A
24 Right Headlight High Beam 10 A
25Driver’s Power Window20 A
26 Rear Passenger’s Door
Unlock 10 A
27ACC10 A
28 SRS2 10 A
29Driver’s Power Seat Lumbar Support*(10 A)
30 Front Passenger’s Power
Seat Sliding 20 A
31Driver’s Power Seat Sliding20 A
32 Tailgate Lock*(10 A)
33−−
34 ACG 15 A
35DRL10 A
36 A/C 10 A
37Radio20 A*1
15 A*2
38 Door Lock Main 20 A
39Front Passenger’s Power Window20 A
Circuit ProtectedAmps
* Not available on all models
18 US ODYSSEY-31THR6010.book 724 ページ 2018年12月6日 木曜日 午後4時18分
Page 727 of 763
725
uuFuses uFuse Locations
Continued
Handling the Unexpected
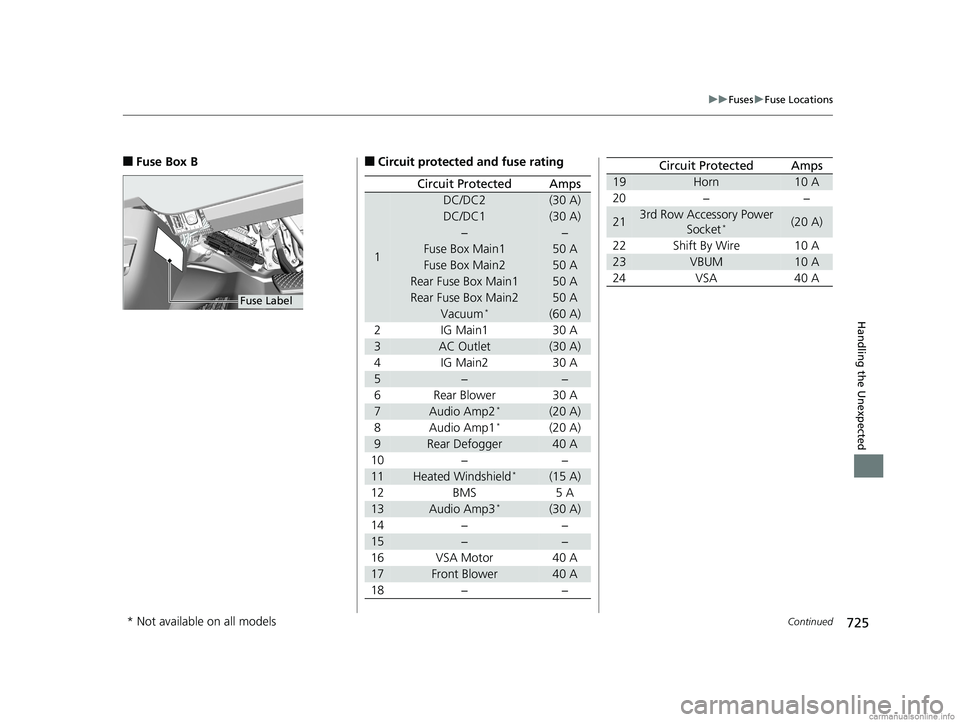
■Fuse Box B
Fuse Label
■Circuit protected and fuse rating
Circuit ProtectedAmps
1
DC/DC2(30 A)
DC/DC1(30 A)
−−
Fuse Box Main150 A
Fuse Box Main250 A
Rear Fuse Box Main150 A
Rear Fuse Box Main250 A
Vacuum*(60 A)
2 IG Main1 30 A
3AC Outlet(30 A)
4 IG Main2 30 A
5−−
6 Rear Blower 30 A
7Audio Amp2*(20 A)
8Audio Amp1*(20 A)
9Rear Defogger40 A
10 − −
11Heated Windshield*(15 A)
12 BMS 5 A
13Audio Amp3*(30 A)
14 − −
15−−
16 VSA Motor 40 A
17Front Blower40 A
18 − −
19Horn10 A
20 − −
213rd Row Accessory Power Socket*(20 A)
22 Shift By Wire 10 A
23VBUM10 A
24 VSA 40 A
Circuit ProtectedAmps
* Not available on all models
18 US ODYSSEY-31THR6010.book 725 ページ 2018年12月6日 木曜日 午後4時18分
Page 728 of 763
726
uuFuses uFuse Locations
Handling the Unexpected
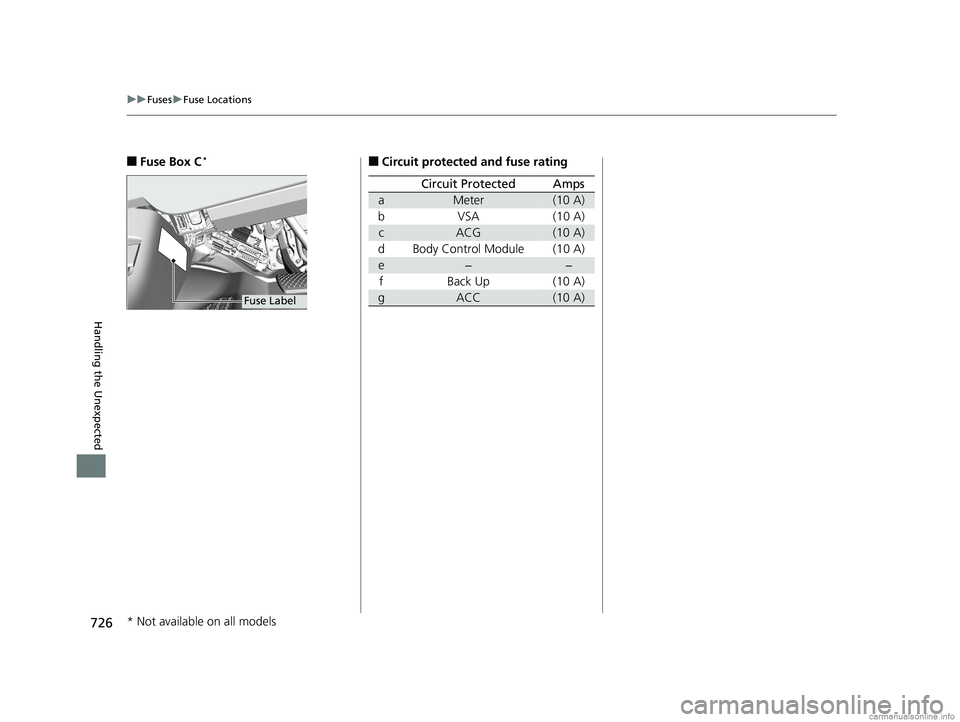
■Fuse Box C*
Fuse Label
■Circuit protected and fuse rating
Circuit ProtectedAmps
aMeter(10 A)
bVSA (10 A)
cACG(10 A)
d Body Control Module (10 A)
e−−
f Back Up (10 A)
gACC(10 A)
* Not available on all models
18 US ODYSSEY-31THR6010.book 726 ページ 2018年12月6日 木曜日 午後4時18分
Page 730 of 763
728
uuFuses uInspecting and Changing Fuses
Handling the Unexpected
Inspecting and Changing Fuses
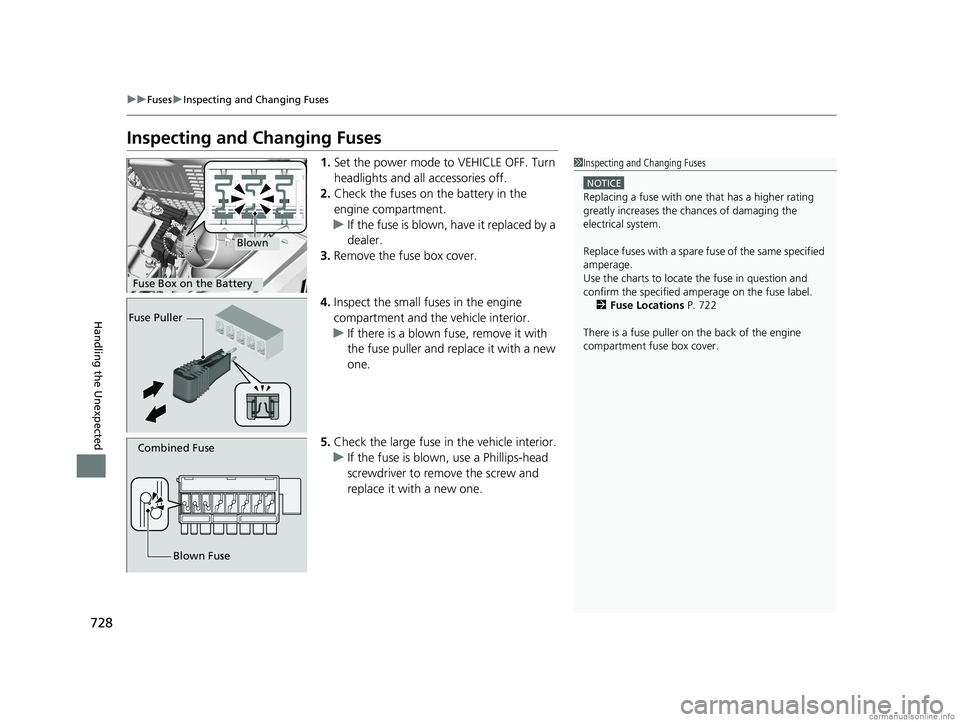
1. Set the power mode to VEHICLE OFF. Turn
headlights and all accessories off.
2. Check the fuses on the battery in the
engine compartment.
u If the fuse is blown, have it replaced by a
dealer.
3. Remove the fuse box cover.
4. Inspect the small fuses in the engine
compartment and the vehicle interior.
u If there is a blown fuse, remove it with
the fuse puller and replace it with a new
one.
5. Check the large fuse in the vehicle interior.
u If the fuse is blown, use a Phillips-head
screwdriver to remo ve the screw and
replace it with a new one.1 Inspecting and Changing Fuses
NOTICE
Replacing a fuse with on e that has a higher rating
greatly increases the chances of damaging the
electrical system.
Replace fuses with a spare fuse of the same specified
amperage.
Use the charts to locate the fuse in question and
confirm the specified amperage on the fuse label. 2 Fuse Locations P. 722
There is a fuse puller on the back of the engine
compartment fuse box cover.
Blown
Fuse Box on the Battery
Fuse Puller
Combined Fuse
Blown Fuse
18 US ODYSSEY-31THR6010.book 728 ページ 2018年12月6日 木曜日 午後4時18分
Page 742 of 763
740
Information
Identification Numbers
Vehicle Identification Number (VIN), Engine Number,
and Transmission Number
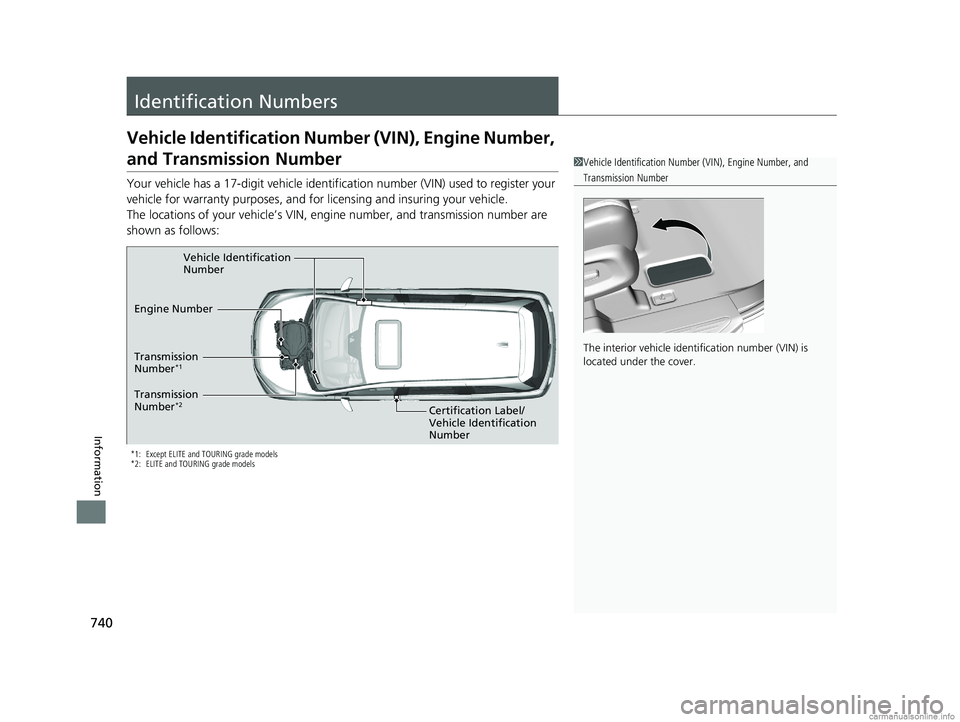
Your vehicle has a 17-digit vehicle identification number (V IN) used to register your
vehicle for warranty purposes, and for licensing and insuring your vehicle.
The locations of your vehicle’s VIN, en gine number, and transmission number are
shown as follows:
*1: Except ELITE and TOURING grade models
*2: ELITE and TOURING grade models
1 Vehicle Identification Number (VIN), Engine Number, and
Transmission Number
The interior vehicle identification number (VIN) is
located under the cover.
Vehicle Identification
Number
Certification Label/
Vehicle Identification
Number
Engine Number
Transmission
Number
*2
Transmission
Number*1
18 US ODYSSEY-31THR6010.book 740 ページ 2018年12月6日 木曜日 午後4時18分
Page 754 of 763
752
Index
C
CabinTalkTM............................................... 522
CabinWatchTM........................................... 521
Car Wash Mode ........................................ 548
Carbon Monoxide Gas ................................ 80
Cargo Hooks .............................................. 239
Carrying Cargo .................................. 525, 527
CD Player ................................................... 332
Center Pocket ............................................ 230
Certification Label .................................... 740
Changing Bulbs ......................................... 658
Charging System Indicator ................. 87, 716
Child Safety ................................................. 62
Childproof Door Locks ............................. 157
Child Seat .................................................... 62
Booster Seats ............................................. 79
Child Seat for Infants ................................. 64
Child Seat for Small Children ..................... 65
Installing a Child Seat wi th a Lap/Shoulder Seat
Belt .......................................................... 72
Larger Children .......................................... 78
Rear-facing Child Seat ............................... 64
Selecting a Child Seat ................................ 66
Using a Tether ........................................... 74
Childproof Door Locks .............................. 157
Cleaning the Exterior ............................... 691
Cleaning the Interior ................................ 688
Climate Control System .................... 248, 252
Changing the Mode ........................ 248, 252
Defrosting the Windshield and Windows ....................................... 249, 253 Dust and Pollen Filter............................... 687
Recirculation/Fresh Air Mode ................... 248
Sensors ................................................... 257
Using Automatic Climate Control .... 248, 252
Clock .......................................................... 142
Coat Hooks ............................................... 238
Collision Mitigation Braking System
TM
(CMBSTM) Indicator ............................ 99, 100
Compact Spare Tire .......................... 699, 739
Console Box .............................................. 228
Console Compartment with Lid .............. 229
Controls ..................................................... 141
Coolant (Engine) ...................................... 653
Adding to the Radiator ............................ 654
Adding to the Reserve Tank..................... 653
Overheating ............................................ 713
Temperature Gauge ................................ 119
Creeping (Automatic Transmission) ........ 543
Cruise Control ........................................... 559
Indicator.................................................... 95
Cup Holders .............................................. 231
Customer Service Information ................. 749
Customized Features ........................ 133, 442
D
Daytime Running Lights .......................... 193
Dead Battery ............................................. 711
Defaulting All the Settings ...................... 466
Defrosting the Windshield and
Windows ......................................... 249, 253 Detachable Anchor
.................................... 43
Devices that Emit Radio Waves ............... 741
Dimming Headlights .............................................. 189
Rearview Mirror ...................................... 206
Dipstick (Engine Oil) ................................ 649
Directional Signals (Turn Signal) ............. 189
Door Mirrors ............................................. 207
Doors ........................................................ 144
Auto Door Locking.................................. 158
Auto Door Unlocking .............................. 158
Door and Tailgate Open Message ............. 37
Keys........................................................ 144
Locking/Unlocking the Doors from
the Inside .............................................. 154
Locking/Unlocking the Doors from the Outside ........................................... 147
Lockout Prevention System ..................... 153
DOT Tire Quality Grading ........................ 676
Driver Information Interface ................... 120
Accessing Content .................................. 122
Warning and Information Messages ........ 102
Driving ...................................................... 523
Automatic Transmission .......................... 543
Braking ................................................... 600
Cruise Control ........................................ 559
Shifting Gear .......................................... 544
Starting the Engine ................................. 536
Driving Position Memory System ............ 203
Dust and Pollen Filter .............................. 687
18 US ODYSSEY-31THR6010.book 752 ページ 2018年12月6日 木曜日 午後4時18分