HONDA PILOT 2016 3.G Owners Manual
Manufacturer: HONDA, Model Year: 2016, Model line: PILOT, Model: HONDA PILOT 2016 3.GPages: 661, PDF Size: 37.79 MB
Page 181 of 661
uuAdjusting the Seats uAdjusting the Seat Positions
180
Controls
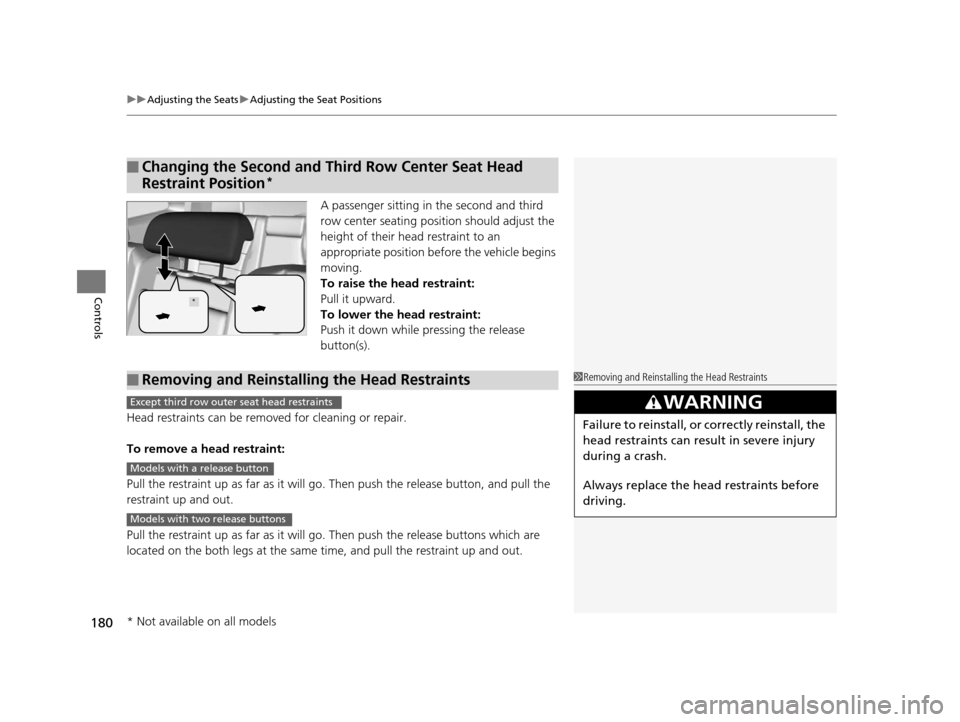
A passenger sitting in the second and third
row center seating position should adjust the
height of their head restraint to an
appropriate position befo re the vehicle begins
moving.
To raise the head restraint:
Pull it upward.
To lower the head restraint:
Push it down while pressing the release
button(s).
Head restraints can be removed for cleaning or repair.
To remove a head restraint:
Pull the restraint up as far as it will go. Then push the release button, and pull the
restraint up and out.
Pull the restraint up as far as it will go. Then push the releas e buttons which are
located on the both legs at the same time, and pull the restraint up and out.
■Changing the Second and Third Row Center Seat Head
Restraint Position
*
*
■Removing and Reinstalling the Head Restraints1 Removing and Reinstalling the Head Restraints
3WARNING
Failure to reinstall, or correctly reinstall, the
head restraints can result in severe injury
during a crash.
Always replace the he ad restraints before
driving.
Except third row outer seat head restraints
Models with a release button
Models with two release buttons
* Not available on all models
16 PILOT-31TG76000.book 180 ページ 2015年6月15日 月曜日 午前11時30分
Page 182 of 661
181
uuAdjusting the Seats uAdjusting the Seat Positions
Continued
Controls
To reinstall a head restraint:
Insert the legs back in place, then adjust the head restraint to an appropriate height
while pressing the release button (s). Pull up on the restraint to make sure it is locked
in position.
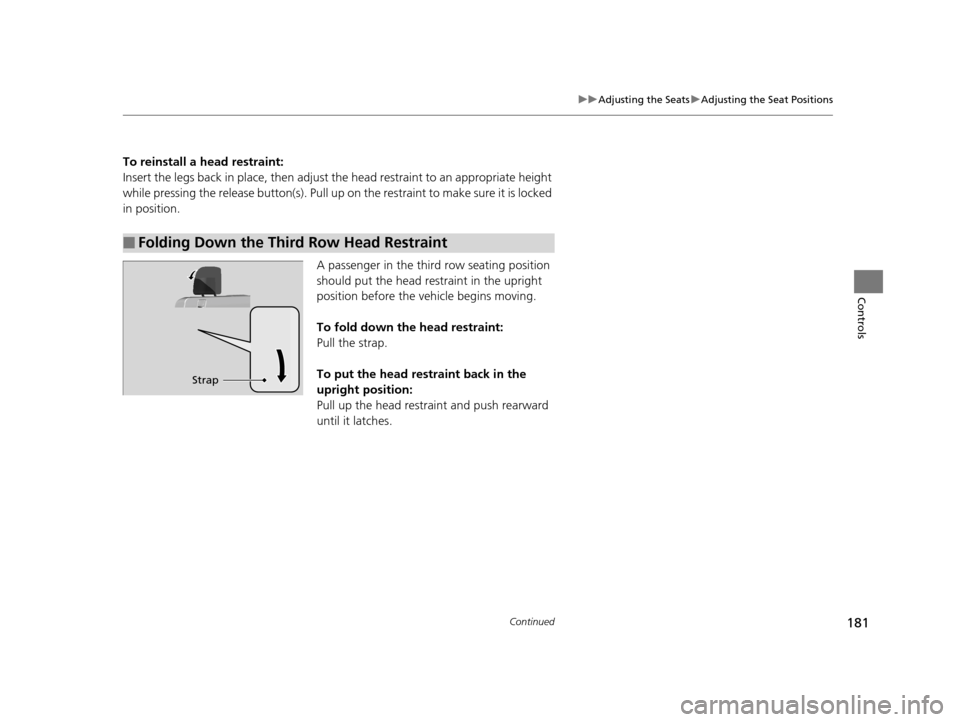
A passenger in the third row seating position
should put the head restraint in the upright
position before the vehicle begins moving.
To fold down the head restraint:
Pull the strap.
To put the head restraint back in the
upright position:
Pull up the head restraint and push rearward
until it latches.
■Folding Down the Third Row Head Restraint
Strap
16 PILOT-31TG76000.book 181 ページ 2015年6月15日 月曜日 午前11時30分
Page 183 of 661
uuAdjusting the Seats uAdjusting the Seat Positions
182
Controls
After all occupants have adjusted their seats and head restraints, and put on their
seat belts, it is very important that they continue to sit upright, well back in their
seats, with their feet on the floor until the vehicle is safely park ed and the engine is
off.
Sitting improperly can increase the chance of injury during a crash. For example, if
an occupant slouches, lies down, turns si deways, sits forward, leans forward or
sideways, or puts one or both feet up, the chance of injury during a crash is greatly
increased.
In addition, an occupant who is out of position in the front seat can be seriously or
fatally injured in a crash by striking interior parts of the vehicle or being struck by an
inflating front airbag.
■Maintain a Proper Sitting Position1 Maintain a Proper Sitting Position
3WARNING
Sitting improperly or out of position can
result in serious injury or death in a crash.
Always sit upright, well back in the seat,
with your feet on the floor.
16 PILOT-31TG76000.book 182 ページ 2015年6月15日 月曜日 午前11時30分
Page 184 of 661
183
uuAdjusting the Seats uRear Seats
Continued
Controls
Rear Seats
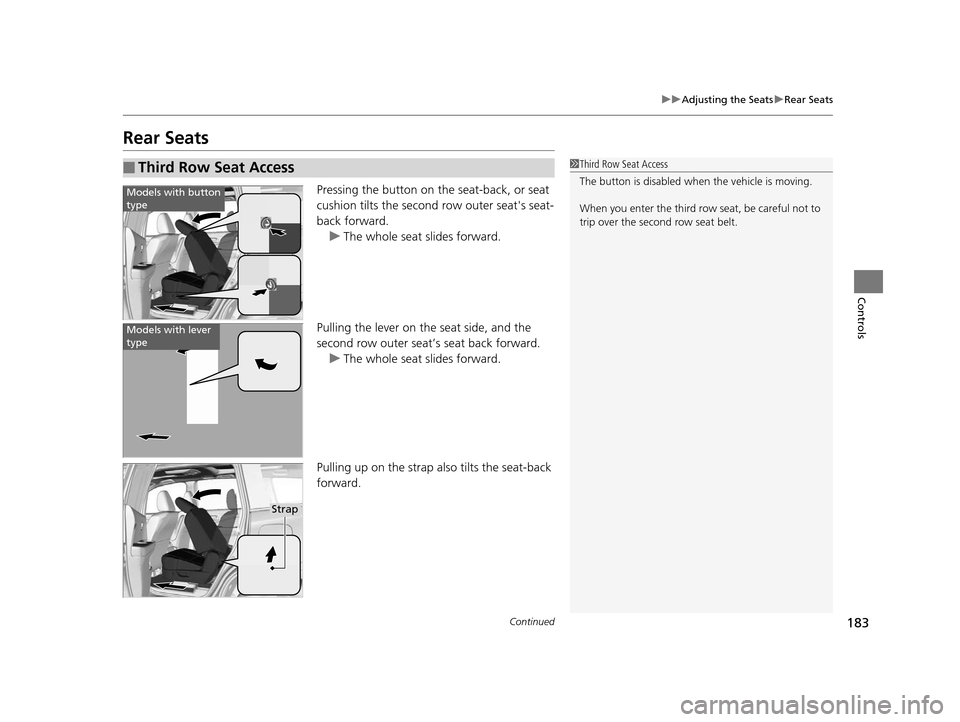
Pressing the button on the seat-back, or seat
cushion tilts the second row outer seat's seat-
back forward.
u The whole seat slides forward.
Pulling the lever on the seat side, and the
second row outer seat’s seat back forward. u The whole seat slides forward.
Pulling up on the strap also tilts the seat-back
forward.
■Third Row Seat Access1 Third Row Seat Access
The button is disabled wh en the vehicle is moving.
When you enter the third row seat, be careful not to
trip over the second row seat belt.
Models with button
type
Models with lever
type
Strap
16 PILOT-31TG76000.book 183 ページ 2015年6月15日 月曜日 午前11時30分
Page 185 of 661
uuAdjusting the Seats uRear Seats
184
Controls
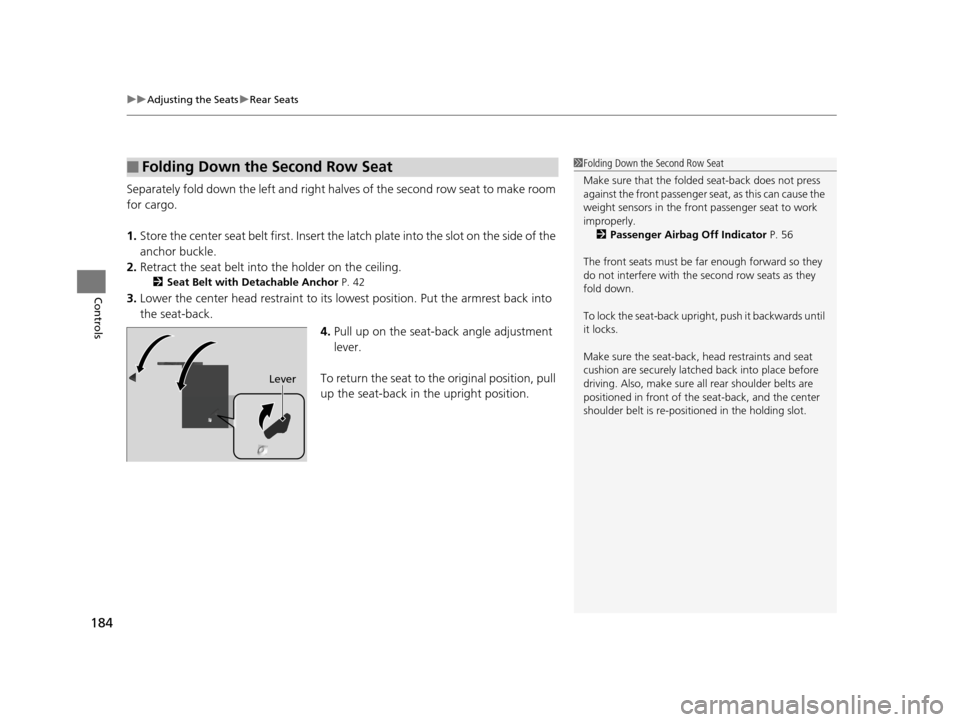
Separately fold down the left and right halves of the second row seat to make room
for cargo.
1. Store the center seat belt first. Insert the latch plate into the slot on the side of the
anchor buckle.
2. Retract the seat belt into the holder on the ceiling.
2 Seat Belt with Detachable Anchor P. 42
3.Lower the center head restraint to its lo west position. Put the armrest back into
the seat-back.
4.Pull up on the seat-back angle adjustment
lever.
To return the seat to th e original position, pull
up the seat-back in the upright position.
■Folding Down the Second Row Seat1Folding Down the Second Row Seat
Make sure that the folded seat-back does not press
against the front passenger seat, as this can cause the
weight sensors in the front passenger seat to work
improperly. 2 Passenger Airbag Off Indicator P. 56
The front seats must be far enough forward so they
do not interfere with the second row seats as they
fold down.
To lock the seat-back upri ght, push it backwards until
it locks.
Make sure the seat-back, head restraints and seat
cushion are securely latche d back into place before
driving. Also, make sure all rear shoulder belts are
positioned in front of the seat-back, and the center
shoulder belt is re-posit ioned in the holding slot.
Lever
16 PILOT-31TG76000.book 184 ページ 2015年6月15日 月曜日 午前11時30分
Page 186 of 661
185
uuAdjusting the Seats uRear Seats
Controls
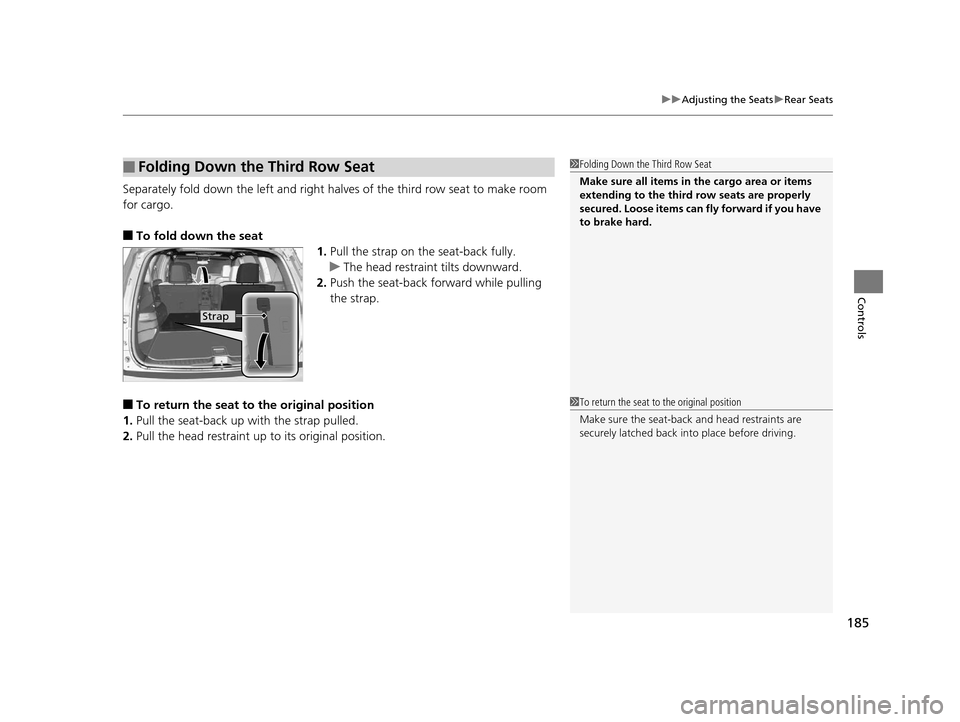
Separately fold down the left and right halv es of the third row seat to make room
for cargo.
■To fold down the seat 1.Pull the strap on the seat-back fully.
u The head restraint tilts downward.
2. Push the seat-back forward while pulling
the strap.
■To return the seat to the original position
1. Pull the seat-back up with the strap pulled.
2. Pull the head restraint up to its original position.
■Folding Down the Third Row Seat1Folding Down the Third Row Seat
Make sure all items in the cargo area or items
extending to the third row seats are properly
secured. Loose items can fly forward if you have
to brake hard.
Strap
1To return the seat to the original position
Make sure the seat-back and head restraints are
securely latched back in to place before driving.
16 PILOT-31TG76000.book 185 ページ 2015年6月15日 月曜日 午前11時30分
Page 187 of 661
186
uuAdjusting the Seats uArmrest
Controls
Armrest
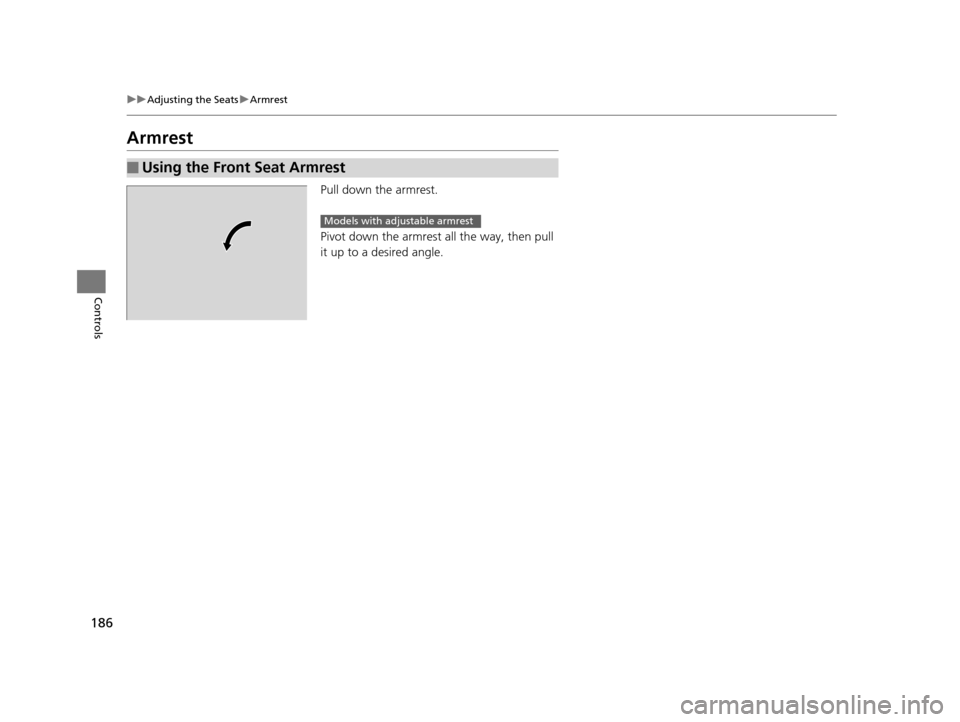
Pull down the armrest.
Pivot down the armrest all the way, then pull
it up to a desired angle.
■Using the Front Seat Armrest
Models with adjustable armrest
16 PILOT-31TG76000.book 186 ページ 2015年6月15日 月曜日 午前11時30分
Page 188 of 661
187
uuAdjusting the Seats uArmrest
Controls
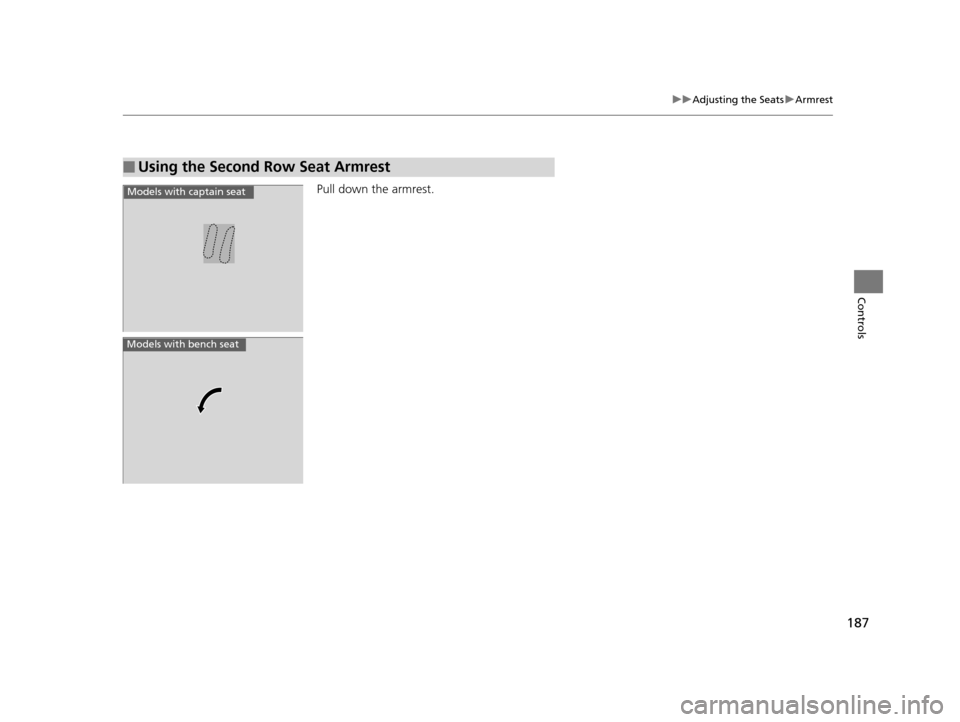
Pull down the armrest.
■Using the Second Row Seat Armrest
Models with captain seat
Models with bench seat
16 PILOT-31TG76000.book 187 ページ 2015年6月15日 月曜日 午前11時30分
Page 189 of 661
188
Controls
Interior Lights/Interior Convenience Items
Interior Lights
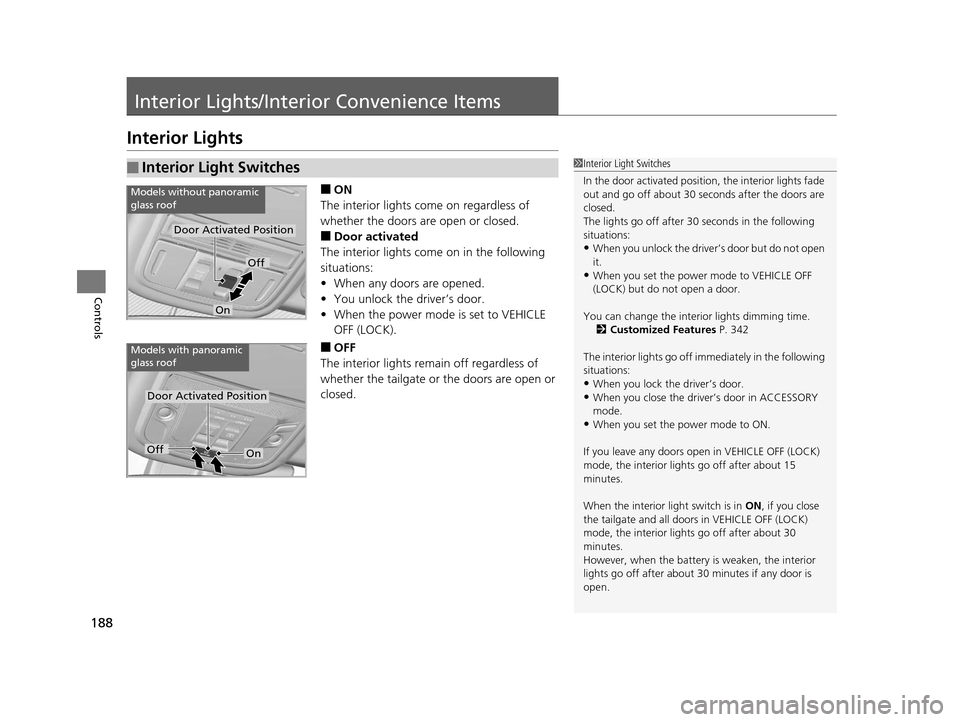
■ON
The interior lights come on regardless of
whether the doors are open or closed.
■Door activated
The interior lights come on in the following
situations:
• When any doors are opened.
• You unlock the driver’s door.
• When the power mode is set to VEHICLE
OFF (LOCK).
■OFF
The interior lights remain off regardless of
whether the tailgate or the doors are open or
closed.
■Interior Light Switches1 Interior Light Switches
In the door activated position, the interior lights fade
out and go off about 30 se conds after the doors are
closed.
The lights go off after 30 seconds in the following
situations:
•When you unlock the driver’s door but do not open
it.
•When you set the power mode to VEHICLE OFF
(LOCK) but do not open a door.
You can change the interi or lights dimming time.
2 Customized Features P. 342
The interior lights go off i mmediately in the following
situations:
•When you lock the driver’s door.
•When you close the driver’s door in ACCESSORY
mode.
•When you set the power mode to ON.
If you leave any doors open in VEHICLE OFF (LOCK)
mode, the interior light s go off after about 15
minutes.
When the interior light switch is in ON, if you close
the tailgate and all doors in VEHICLE OFF (LOCK)
mode, the interior light s go off after about 30
minutes.
However, when the battery is weaken, the interior
lights go off after about 30 minutes if any door is
open.
Door Activated Position
Off
On
Models without panoramic
glass roof
Door Activated Position
Models with panoramic
glass roof
OffOn
16 PILOT-31TG76000.book 188 ページ 2015年6月15日 月曜日 午前11時30分
Page 190 of 661
Continued189
uuInterior Lights/Interior Convenience Items uInterior Lights
Controls
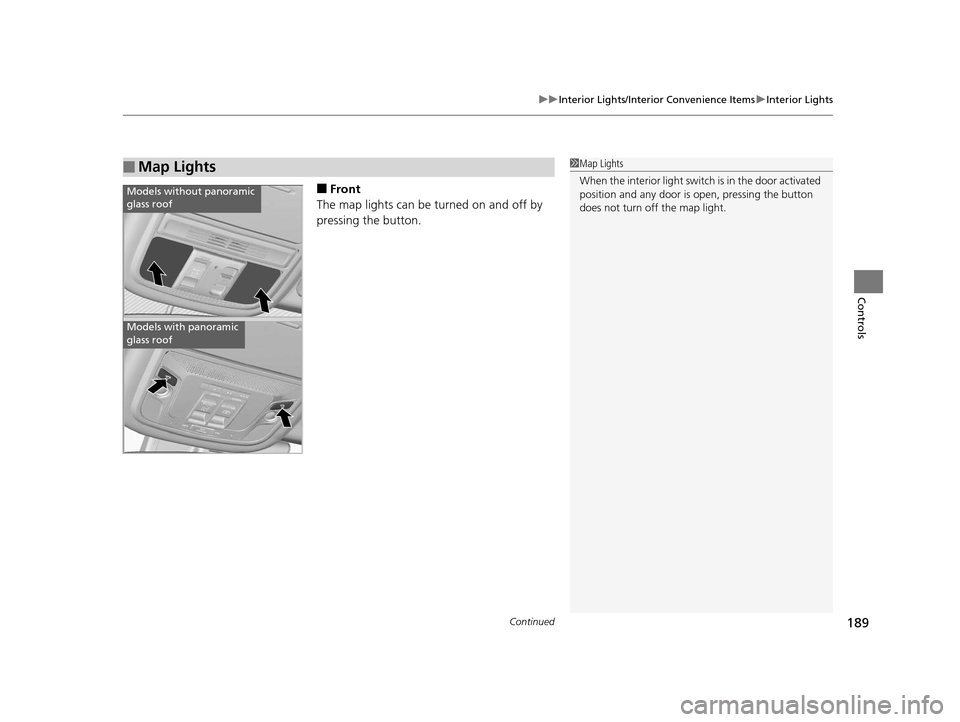
■Front
The map lights can be turned on and off by
pressing the button.
■Map Lights1 Map Lights
When the interior light swit ch is in the door activated
position and any door is open, pressing the button
does not turn off the map light.
Models without panoramic
glass roof
Models with panoramic
glass roof
16 PILOT-31TG76000.book 189 ページ 2015年6月15日 月曜日 午前11時30分