check engine HONDA PRELUDE 1992 Owners Manual
[x] Cancel search | Manufacturer: HONDA, Model Year: 1992, Model line: PRELUDE, Model: HONDA PRELUDE 1992Pages: 225, PDF Size: 2.1 MB
Page 15 of 225
Supplemental Restraint System
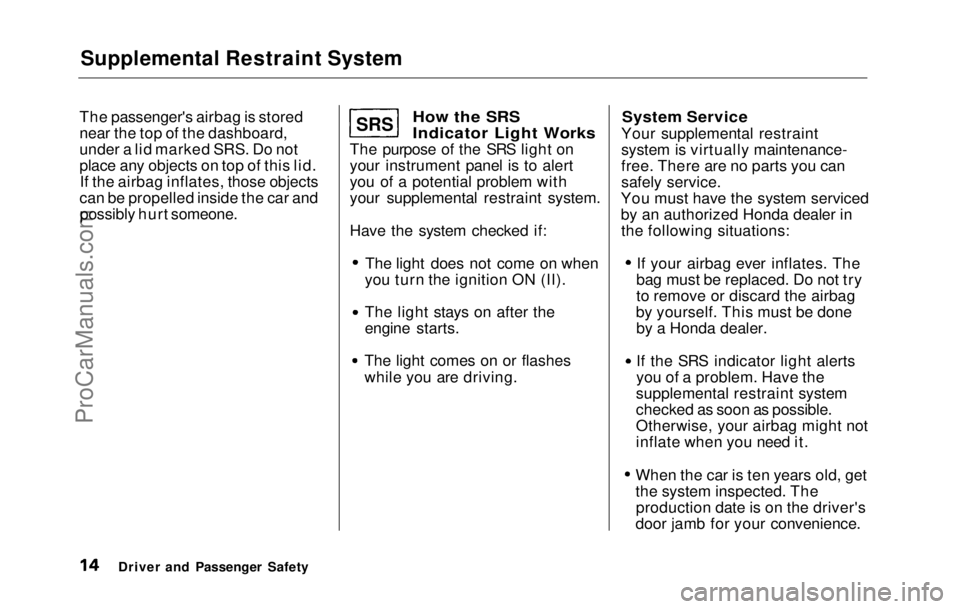
The passenger's airbag is stored
near the top of the dashboard,
under a lid marked SRS. Do not
place any objects on top of this lid. If the airbag inflates, those objects
can be propelled inside the car and possibly hurt someone.
How the SRS
Indicator Light Works
The purpose of the SRS light on
your instrument panel is to alert
you of a potential problem with
your supplemental restraint system.
Have the system checked if:
The light does not come on when
you turn the ignition ON (II). The light stays on after the
engine starts.
The light comes on or flashes
while you are driving.
System Service
Your supplemental restraint
system is virtually maintenance-
free. There are no parts you can
safely service.
You must have the system serviced
by an authorized Honda dealer in the following situations: If your airbag ever inflates. The
bag must be replaced. Do not try
to remove or discard the airbag
by yourself. This must be done by a Honda dealer.
If the SRS indicator light alerts
you of a problem. Have the
supplemental restraint system
checked as soon as possible.
Otherwise, your airbag might not
inflate when you need it. When the car is ten years old, get
the system inspected. The
production date is on the driver's
door jamb for your convenience.
Driver and Passenger Safety
SRS
ProCarManuals.comMain Menu Table of Contents s t
Page 32 of 225
Indicator Lights
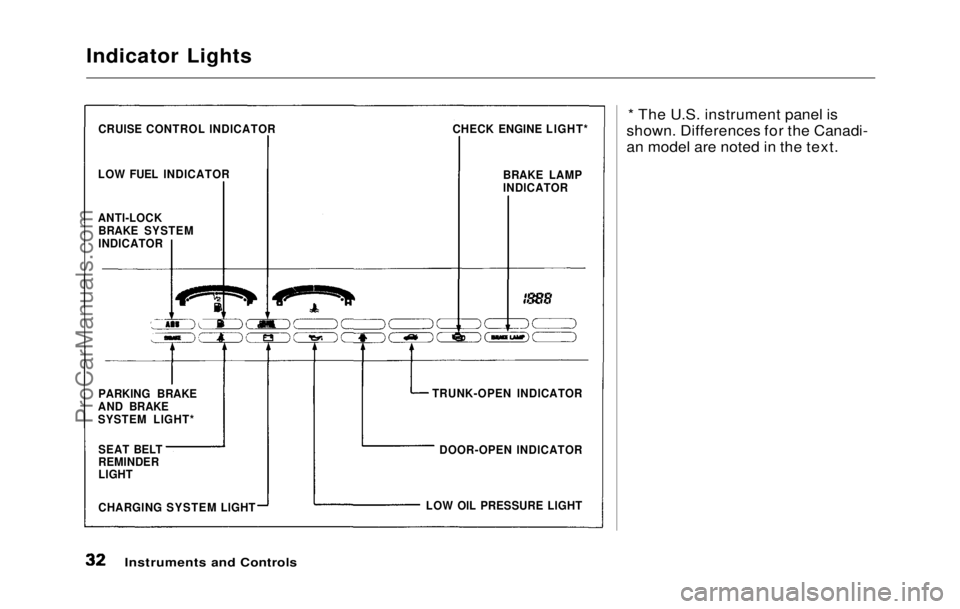
* The U.S. instrument panel is
shown. Differences for the Canadi-
an model are noted in the text.
Instruments and Controls
CRUISE CONTROL INDICATOR
LOW FUEL INDICATOR CHECK ENGINE LIGHT*
BRAKE LAMP
INDICATOR
TRUNK-OPEN INDICATOR DOOR-OPEN INDICATOR
LOW OIL PRESSURE LIGHT
CHARGING SYSTEM LIGHT SEAT BELT
REMINDER
LIGHT PARKING BRAKE
AND BRAKE
SYSTEM LIGHT* ANTI-LOCK BRAKE SYSTEM
INDICATORProCarManuals.comMain Menu Table of Contents s t
Page 33 of 225
Indicator Lights
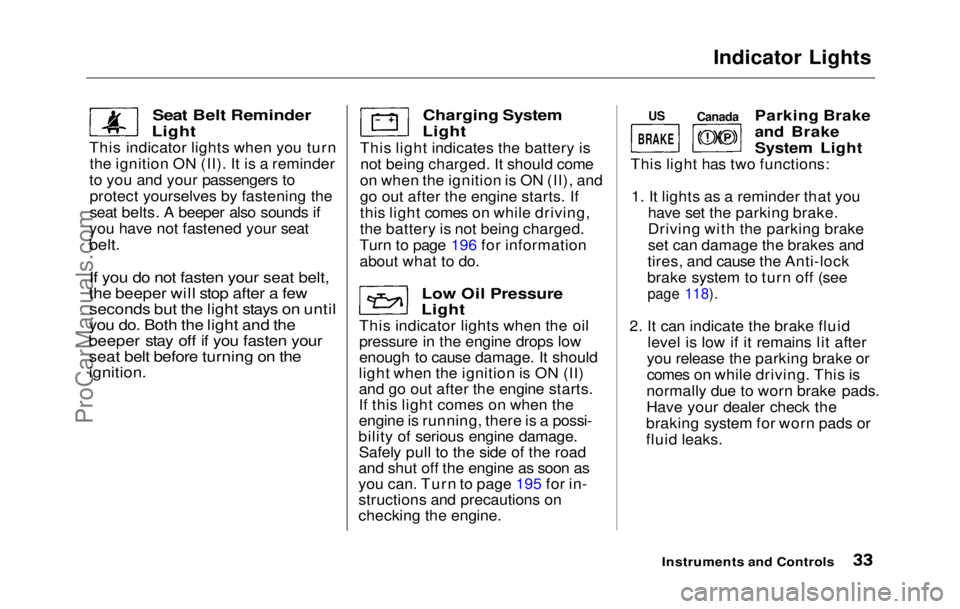
Seat Belt Reminder
Light
This indicator lights when you turn the ignition ON (II). It is a reminder
to you and your passengers to protect yourselves by fastening the
seat belts. A beeper also sounds if
you have not fastened your seat
belt.
If you do not fasten your seat belt,
the beeper will stop after a few seconds but the light stays on until
you do. Both the light and the
beeper stay off if you fasten your seat belt before turning on the
ignition.
Charging System
Light
This light indicates the battery is not being charged. It should come
on when the ignition is ON (II), and
go out after the engine starts. If
this light comes on while driving,
the battery is not being charged.
Turn to page 196 for information
about what to do.
Low Oil Pressure
Light
This indicator lights when the oil
pressure in the engine drops low
enough to cause damage. It should
light when the ignition is ON (II)
and go out after the engine starts.
If this light comes on when the
engine is running, there is a possi-
bility of serious engine damage. Safely pull to the side of the road
and shut off the engine as soon as
you can. Turn to page 195 for in-
structions and precautions on
checking the engine.
Canada
Parking Brake
and Brake
System Light
This light has two functions:
1. It lights as a reminder that you
have set the parking brake.
Driving with the parking brake
set can damage the brakes and
tires, and cause the Anti-lock
brake system to turn off (see
page 118).
2. I t
can indicate the brake fluid
level is low if it remains lit after
you release the parking brake or
comes on while driving. This is
normally due to worn brake pads.
Have your dealer check the
braking system for worn pads o r
flui d
leaks.
Instruments an d
Controls
US
BRAKEProCarManuals.comMain Menu Table of Contents s t
Page 34 of 225
Indicator Lights
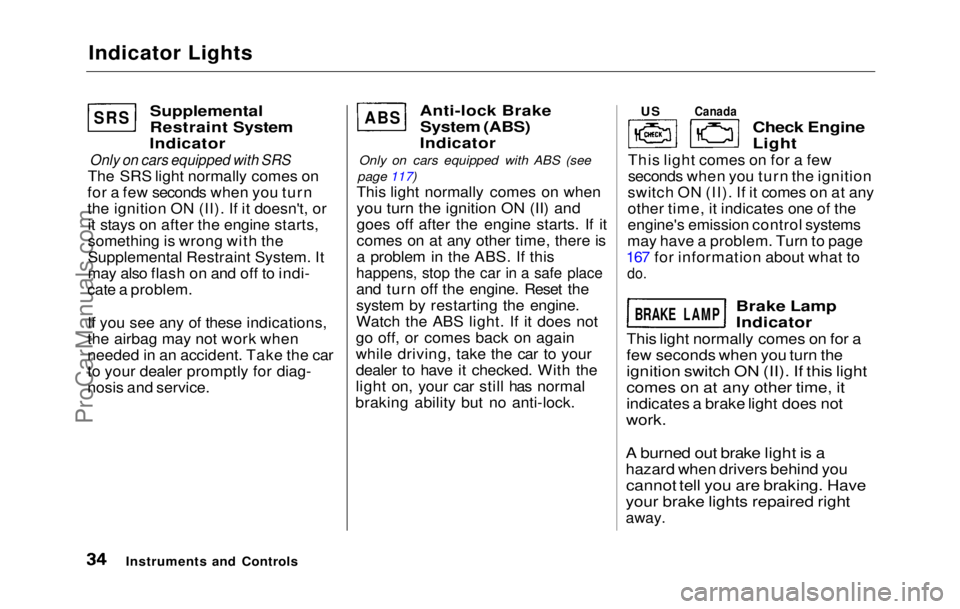
Supplemental
Restraint System
Indicator
Only on cars equipped with SRS
The SRS light normally comes on
for a few seconds when you turn
the ignition ON (II). If it doesn't, or it stays on after the engine starts,
something is wrong with the
Supplemental Restraint System. It
may also flash on and off to indi-
cate a problem.
If you see any of these indications,
the airbag may not work when
needed in an accident. Take the car
to your dealer promptly for diag-
nosis and service.
Anti-lock Brake
System (ABS)
Indicator
Only on cars equipped with ABS (see
page 117)
This light normally comes on whenyou turn the ignition ON (II) and
goes off after the engine starts. If it
comes on a
t any other time, there is
a problem in the ABS. If this
happens, stop the car in a safe place
and tur n
off the engine. Reset the
system by restarting the engine.
Watch the ABS light. If it does not
go off, or comes back on again
while driving, take the car to your
dealer to have it checked. With the
light on, your car still has normal
braking ability but no anti-lock.
Check Engine
Light
This light comes on for a few
seconds when you turn the ignition
switch ON (II). If it comes on at any
other time, it indicates one of the
engine's emission control systems
may have a problem. Turn to page
167 fo r
information about what to
do.
Brake Lam
p
Indicator
This light normally comes on for a
few seconds when you turn the
ignition switc h
ON (II). If this light
comes on at any other time, it
indicates a brake light does not
work.
A burned out brake light is a
hazard when drivers behind you
cannot tell you are braking. Have
your brake lights repaired right
away.
Instruments an d
Controls
SRS ABS US
Canada
BRAKE LAMP
ProCarManuals.comMain Menu Table of Contents s t
Page 35 of 225
Indicator Lights
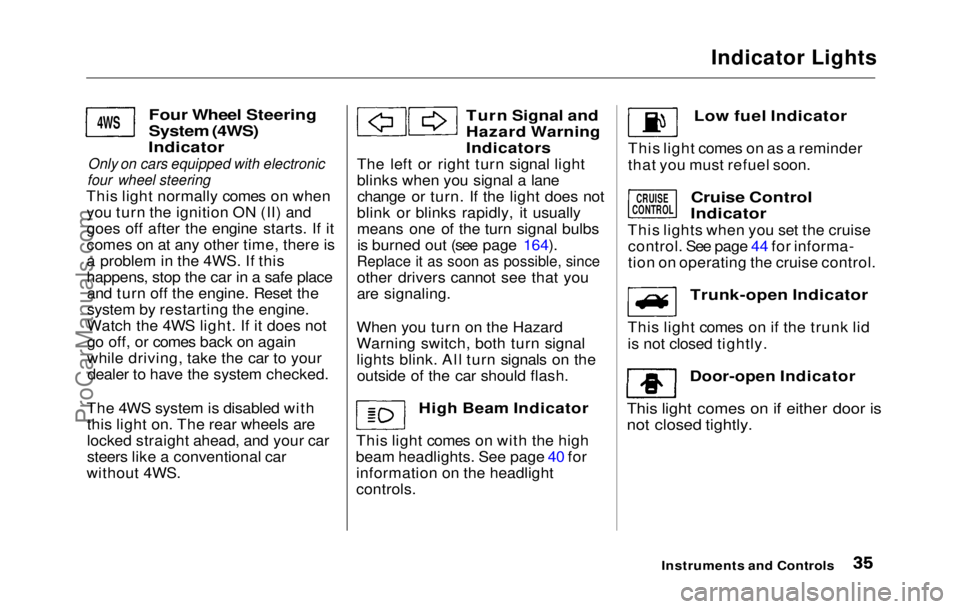
Four Wheel Steering
System (4WS)
Indicator
Only on cars equipped with electronic
four wheel steering
This light normally comes on when you turn the ignition ON (II) and
goes off after the engine starts. If it
comes on at any other time, there is
a problem in the 4WS. If this
happens, stop the car in a safe placeand turn off the engine. Reset the
system by restarting the engine.
Watch the 4WS light. If it does not
go off, or comes back on again
while driving, take the car to yourdealer to have the system checked.
The 4WS system is disabled with this light on. The rear wheels are
locked straight ahead, and your car
steers like a conventional car
without 4WS.
Turn Signal and
Hazard Warning
Indicators
The left or right turn signal light
blinks when you signal a lane change or turn. If the light does not
blink or blinks rapidly, it usually
means one of the turn signal bulbs is burned out (see page 164).Replace it as soon as possible, since
other driver s
cannot see that you
are signaling.
When you turn on the Hazard
Warning switch, both turn signal
lights blink. All turn signals on the outside of the car should flash.
High Beam Indicator
This light comes on with the high
beam headlights. See page 40 for information on the headlight
controls.
Instruments and Controls
4WS
Low fuel Indicator
This light comes on as a reminder
that you must refuel soon.
Cruise Control
Indicator
This lights when you set the cruise control. See page 44 for informa-
tion on operating the cruise control.
Trunk-open Indicator
This light comes on if the trunk lid
is not closed tightly.
Door-open Indicator
This light comes on if either door is
not closed tightly.
CRUISE
CONTROL
ProCarManuals.comMain Menu Table of Contents s t
Page 38 of 225
Gauges
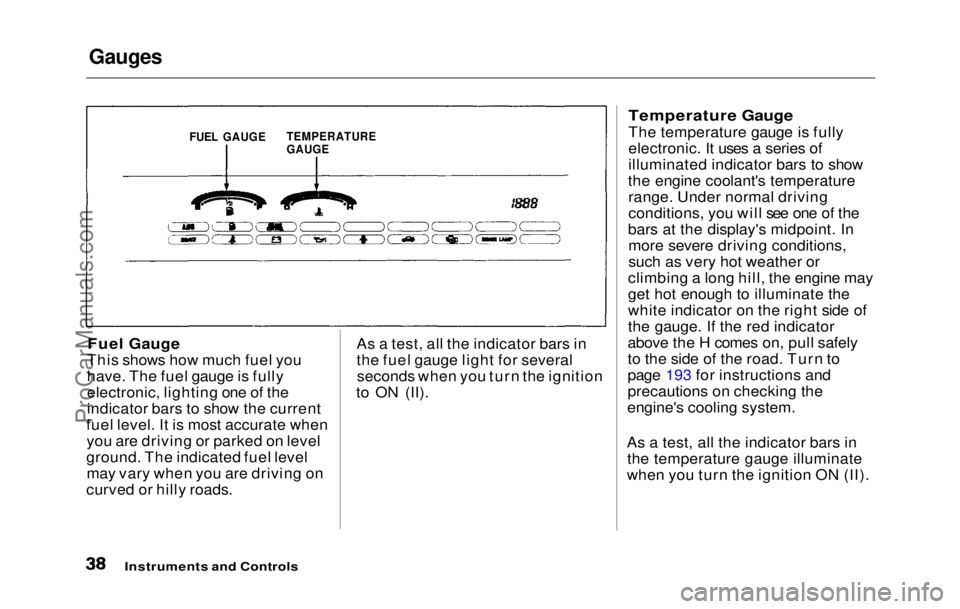
Fuel Gauge
This shows how much fuel you
have. The fuel gauge is fully
electronic, lighting one of the
indicator bars to show the current
fuel level. It is most accurate when you are driving or parked on level
ground. The indicated fuel level may vary when you are driving on
curved or hilly roads. As a test, all the indicator bars in
the fuel gauge light for several
seconds when you turn the ignition
to ON (II).
Temperature Gauge
The temperature gauge is fully
electronic. It uses a series of
illuminated indicator bars to show
the engine coolant's temperature range. Under normal driving
conditions, you will see one of the
bars at the display's midpoint. In more severe driving conditions,
such as very hot weather or
climbing a long hill, the engine may
get hot enough to illuminate the
white indicator on the right side of
the gauge. If the red indicator
above the H comes on, pull safely
to the side of the road. Turn to
page 193 for instructions and
precautions on checking the
engine's cooling system.
As a test, all the indicator bars in the temperature gauge illuminate
when you turn the ignition ON (II).
Instruments and Controls
FUEL GAUGE
TEMPERATURE
GAUGEProCarManuals.comMain Menu Table of Contents s t
Page 101 of 225
Service Station Procedures
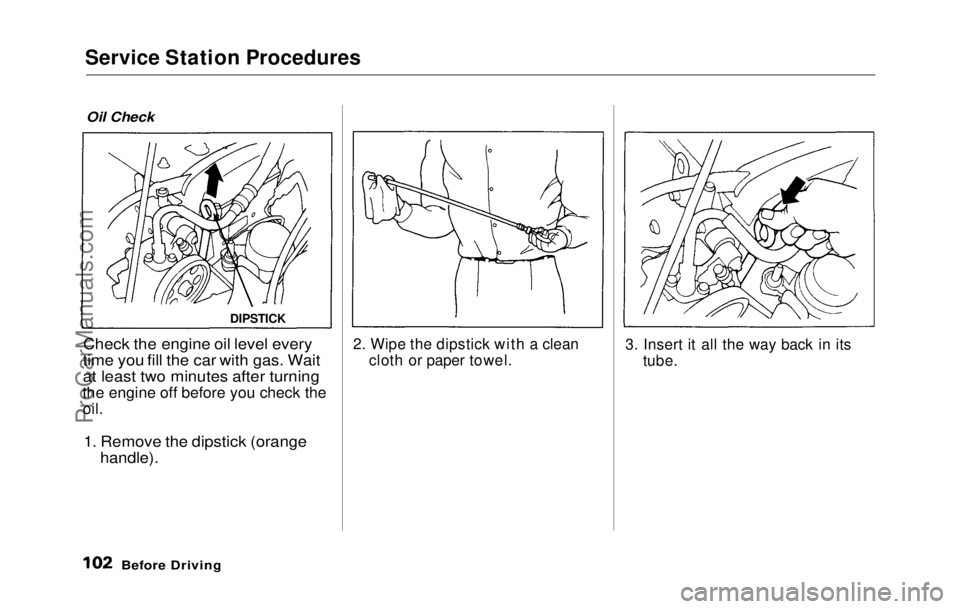
Oil Check
Check the engine oil level every
time you fill the car with gas. Wait
at least two minutes after turningthe engine off before you check the
oil.
1.
Remove the dipstick (orange
handle).
2. Wipe
the dipstick with a clean
cloth or paper towel. 3. Insert it all the way back in its
tube.
Before Drivin
g
DIPSTIC
KProCarManuals.comMain Menu Table of Contents s t
Page 103 of 225
Fuel Economy
The condition of your car and your
driving habits are the two most
important things that affect the
fuel mileage you get.
Vehicle Condition
Always maintain your car accord-
ing to the maintenance schedule.
This will keep it in top operating
condition.
An important part of that mainte-
nance is the Periodic Checks
(see page
133). For example an
underinflated tire causes more "rolling resistance," which uses
fuel. It also wears out faster, so check the tire pressure at least
monthly. In winter, the build-up of
snow on your car's underside adds
weight and rolling resistance.
Frequent cleaning helps your fuel
mileage and reduces the chance of
corrosion.
Driving
Habit
s
You can improve fuel economy by
driving moderately. Rapid acceler-
ation, abrupt cornering, and hard
braking use more fuel. Always
drive in the highest gear that al-
lows the engine to run and acceler-
ate smoothly. Depending on traffic
conditions, try to maintain a con-
stant speed. Every time you slow
down and speed up, your car uses
extra fuel. Use the cruise control,
when appropriate, to increase fuel
economy.
A cold engine uses more fuel than a
warm engine. It is not necessary to "warm-up" a cold engine by letting
it idle for a long time. You can
drive away in about a minute, no
matter how cold it is outside. The
engine will warm up faster, and you
get better fuel economy. To cut
down on the number of "cold starts,"
try to combine several short trips
into one. The air conditioner puts an extra
load on the engine which makes it
use more fuel. Turn off the A/C to
cut down on air conditioner use.
Use the flow-through ventilation
when the outside air temperature is moderate.
Before DrivingProCarManuals.comMain Menu Table of Contents s t
Page 107 of 225
Preparing to Drive
You should do the following checks and adjustments every day before
you drive your car.
1. Make sure all windows, mirrors, and outside lights are clean and
unobstructed. Remove frost,
snow, or ice.
2. Check that the hood and trunk are fully closed.
3. Check that any items you may be carrying with you inside are
stored properly or fastened down
securely. 4. Check the adjustment of the seat
(see page 51 ).
5. Check the adjustment of the
inside and outside mirrors (see
page 59 ).
6. Chec k
the adjustment of the
steering wheel (see page 43 ).
7. Make sure the doors are securely
closed and locked.
8. Fasten your seat belt. Check that your passengers have fastened
their seat belts (see page 7 ). 9. Turn the ignition ON (II). Check
the indicator lights in the instru-
ment panel.
10.Start th
e
engine.
11.Check the gauges and indicator
lights in the instrument panel
(see page 31 ).
Driving
ProCarManuals.comMain Menu Table of Contents s t
Page 114 of 225
Automatic Transmission
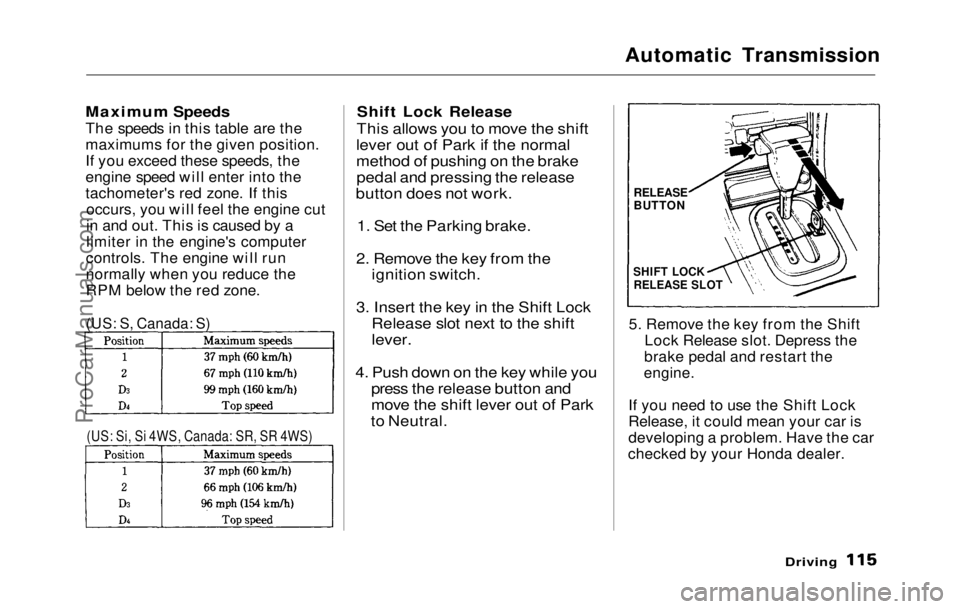
Maximum Speeds
The speeds in this table are the
maximums for the given position.
If you exceed these speeds, the
engine speed will enter into the
tachometer's red zone. If this occurs, you will feel the engine cut
in and out. This is caused by a
limiter in the engine's computer
controls. The engine will run
normally when you reduce the
RPM below the red zone.
Shift Lock Release
This allows you to move the shift
lever out of Park if the normal
method of pushing on the brake pedal and pressing the release
button does not work.
1. Set the Parking brake.
2. Remove the key from the ignition switch.
3. Insert the key in the Shift Lock Release slot next to the shift
lever.
4. Push down on the key while you press the release button and
move the shift lever out of Park
to Neutral.
5. Remove the key from the Shift
Lock Release slot. Depress the
brake pedal and restart the
engine.
If you need to use the Shift Lock
Release, it could mean your car is
developing a problem. Have the car
checked by your Honda dealer.
Driving
(US: S, Canada: S)
(US: Si, Si 4WS, Canada: SR, SR 4WS)
RELEASE
BUTTON
SHIFT LOCK
RELEASE SLOTProCarManuals.comMain Menu Table of Contents s t