HUMMER H2 2004 Owners Manual
Manufacturer: HUMMER, Model Year: 2004, Model line: H2, Model: HUMMER H2 2004Pages: 472, PDF Size: 5.01 MB
Page 131 of 472

Vent:The vent position allows you to open the rear
of the sunroof by tilting it upward. To use the vent
position, start with the sunroof in the fully closed
position, then press and hold the front side of the
switch until the sunroof reaches the desired
vent position or until it stops moving. To close the
sunroof from the vent position, press and hold
the rear side of the switch until the sunroof is fully
closed.
Do not to leave the sunroof open for long periods of
time as debris may collect in the tracks.
Sunshade Operation
The sunshade will open automatically when opening the
sunroof.
To adjust the sunshade, pull it backward or forward to
the desired position. The sunshade can not be
closed further than the current closed position of the
sunroof.
Although the sunshade opens automatically when
opening the sunroof, it must be manually pulled closed
after closing the sunroof.
Vehicle Personalization
Memory Seat
If your vehicle has this
feature, the controls for the
memory function are
located on the driver’s door.
These buttons are used to program and recall memory
settings for the driver’s seat, both the driver’s and
passenger’s outside mirror, the radio station presets,
and the previously used climate control system settings.
The settings for these features can be personalized
for both driver 1 and driver 2. Driver 1 or driver 2
corresponds to the memory buttons labeled 1 and 2 on
the driver’s door and the numbers on the back of
the remote keyless entry transmitters.
2-51
Page 132 of 472
To store the memory settings, do the following:
1. Adjust the driver’s seat (including the seatback
recliner, lumbar, and side wing area), both of the
outside mirrors, and the radio station presets to your
preference.
2. Press and hold the 1 or 2 (for driver 1 or 2) button
of the memory control for three seconds. A double
chime will sound to let you know that the position
has been stored.
To repeat the procedure for a second driver, follow the
preceding steps, but press the other numbered
memory control button.
Each time button 1 or 2 is pressed and released while
the vehicle is in PARK (P), a single chime will sound and
the memory position will be recalled.If you use the unlock button on the remote keyless entry
transmitter to enter your vehicle, the preset driver’s
seat, mirror positions, radio station presets and
the previously used climate control system settings will
be recalled if programmed to do so through the
Driver Information Center (DIC). SeeDIC Operation and
Displays on page 3-44. The numbers on the back of
the transmitters, 1 or 2, correspond to the numbers on
the memory controls.
The seat, radio station presets and mirror positions can
also be recalled when placing the key in the ignition
if programmed to do so through the Driver Information
Center (DIC). SeeDIC Operation and Displays on
page 3-44.
To stop recall movement of the memory seat feature at
any time, press one of the memory buttons or power
seat controls.
2-52
Page 133 of 472
Easy Exit Seat
The controls for this memory function are located on the
driver’s door.
B(Easy Exit Seat):This button is used to program
and recall the desired driver’s seat position when
exiting/entering the vehicle. The seat position, can be
personalized for both driver 1 and driver 2.
To store the seat exit position for driver 1 or 2, do the
following:
1. Press and release the 1 or 2 button or press the
unlock button on the desired remote keyless entry
transmitter. The seat will move to the stored
memory position.
2. Adjust the seat to the desired exit position.3. Press and hold the exit button of the memory
control for three seconds. A double chime will sound
to let you know that the position has been stored
for the identi�ed driver (1 or 2).
To use the seat exit position, do one of the following:
Press the exit button on the memory control.
Or, if this feature is activated in the DIC, then
remove the key from the ignition; the seat will then
move to the exit position.
SeeDIC Operation and Displays on page 3-44for more
information on activating this feature in the DIC.
2-53
Page 134 of 472

✍NOTES
2-54
Page 135 of 472
Instrument Panel Overview...............................3-2
Hazard Warning Flashers................................3-4
Other Warning Devices...................................3-5
Horn.............................................................3-5
Tilt Wheel.....................................................3-5
Turn Signal/Multifunction Lever.........................3-6
Exterior Lamps.............................................3-13
Interior Lamps..............................................3-16
Accessory Power Outlets...............................3-18
Ashtrays and Cigarette Lighter........................3-18
Climate Controls............................................3-19
Automatic Climate Control System...................3-19
Outlet Adjustment.........................................3-25
Climate Controls Personalization.....................3-25
Warning Lights, Gages, and Indicators............3-26
Instrument Panel Cluster................................3-27
Speedometer and Odometer...........................3-28
Tachometer.................................................3-28
Safety Belt Reminder Light.............................3-28
Air Bag Readiness Light................................3-28
Air Bag Off Light..........................................3-30
Charging System Light..................................3-32
Voltmeter Gage............................................3-32
Brake System Warning Light..........................3-33
Anti-Lock Brake System Warning Light.............3-34
Traction Off Light..........................................3-35Engine Coolant Temperature Gage..................3-35
Transmission Temperature Gage.....................3-36
Malfunction Indicator Lamp.............................3-38
Oil Pressure Gage........................................3-41
Security Light...............................................3-42
Cruise Control Light......................................3-42
Tow/Haul Mode Light....................................3-42
Fuel Gage...................................................3-43
Low Fuel Warning Light.................................3-43
Driver Information Center (DIC).......................3-44
DIC Operation and Displays...........................3-44
DIC Warnings and Messages.........................3-56
Audio System(s).............................................3-62
Setting the Time...........................................3-62
Radio with Cassette and CD..........................3-63
Radio with Six-Disc CD.................................3-74
Navigation/Radio System...............................3-86
Rear Seat Audio (RSA).................................3-87
Theft-Deterrent Feature..................................3-88
Audio Steering Wheel Controls.......................3-89
Radio Reception...........................................3-90
Care of Your Cassette Tape Player.................3-90
Care of Your CDs and DVDs.........................3-92
Care of Your CD and DVD Player...................3-92
Fixed Mast Antenna......................................3-92
Chime Level Adjustment................................3-92
Section 3 Instrument Panel
3-1
Page 136 of 472

Instrument Panel Overview
3-2
Page 137 of 472
The main components of your instrument panel are the
following:
A. Air Outlets. SeeOutlet Adjustment on page 3-25.
B. Exterior Lamps Control. SeeExterior Lamps
on page 3-13.
C. OnStar
®and Radio Steering Wheel Buttons (If
Equipped). SeeOnStar®System on page 2-40and
Audio Steering Wheel Controls on page 3-89.
D. Instrument Panel Cluster. SeeInstrument Panel
Cluster on page 3-27.
E. Locking Rear Axle and All-wheel Drive Buttons. See
Locking Rear Axle on page 4-11andAll-Wheel
Drive on page 2-25.
F. Audio System. SeeAudio System(s) on page 3-62.
G. Air Bag Switch. SeeAir Bag Off Switch on
page 1-68.
H. Glove Box. SeeGlove Box on page 2-45.
I. Rear Wiper/Washer Control. See “Rear Window
Washer/Wiper” underTurn Signal/Multifunction Lever
on page 3-6.
J. Dome Override Button. SeeInterior Lamps on
page 3-16.
K. Turn Signal/Multifunction Lever. SeeTurn
Signal/Multifunction Lever on page 3-6.L. Tilt Lever. SeeTilt Wheel on page 3-5.
M. Driver Information Center (DIC) Buttons. SeeDriver
Information Center (DIC) on page 3-44.
N. Parking Brake Release. SeeParking Brake on
page 2-29.
O. Traction Control Button. SeeTraction Control
System (TCS) on page 4-9.
P. Tow/Haul Selector Button. See “Tow/Haul Mode”
underAutomatic Transmission Operation on
page 2-22.
Q. Ride Height Selector Button (If Equipped). See
Selectable Extended Rear Ride Height on page 4-73.
R. Cigarette Lighter (If Equipped). SeeAshtrays and
Cigarette Lighter on page 3-18.
S. Shift Lever. SeeAutomatic Transmission Operation
on page 2-22.
T. Accessory Power Outlets (If Equipped). See
Accessory Power Outlets on page 3-18.
U. OnStar Buttons. SeeOnStar
®System on page 2-40.
V. Rear Window Defogger Button. See “Rear Window
Defogger” underAutomatic Climate Control
System on page 3-19.
W. Comfort Control System. SeeAutomatic Climate
Control System on page 3-19.
3-3
Page 138 of 472
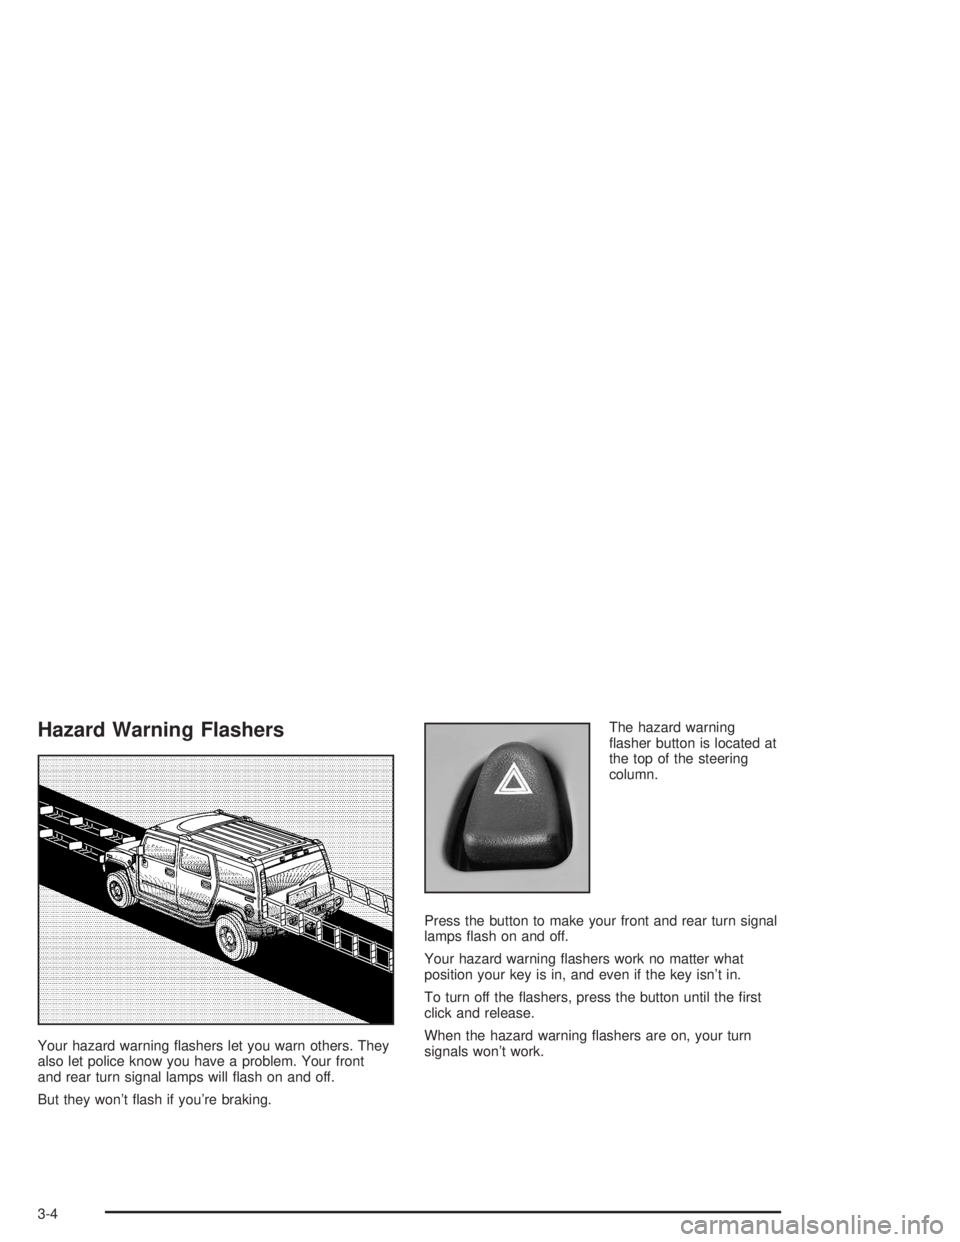
Hazard Warning Flashers
Your hazard warning �ashers let you warn others. They
also let police know you have a problem. Your front
and rear turn signal lamps will �ash on and off.
But they won’t �ash if you’re braking.The hazard warning
�asher button is located at
the top of the steering
column.
Press the button to make your front and rear turn signal
lamps �ash on and off.
Your hazard warning �ashers work no matter what
position your key is in, and even if the key isn’t in.
To turn off the �ashers, press the button until the �rst
click and release.
When the hazard warning �ashers are on, your turn
signals won’t work.
3-4
Page 139 of 472
Other Warning Devices
If you carry re�ective triangles, you can use them to
warn others. Set one up at the side of the road about
300 feet (100 m) behind your vehicle.
Horn
To sound the horn, press the center pad on the steering
wheel.
Tilt Wheel
The tilt steering wheel allows you to adjust the steering
wheel before you drive. You can raise it to the highest
level to give your legs more room when you enter
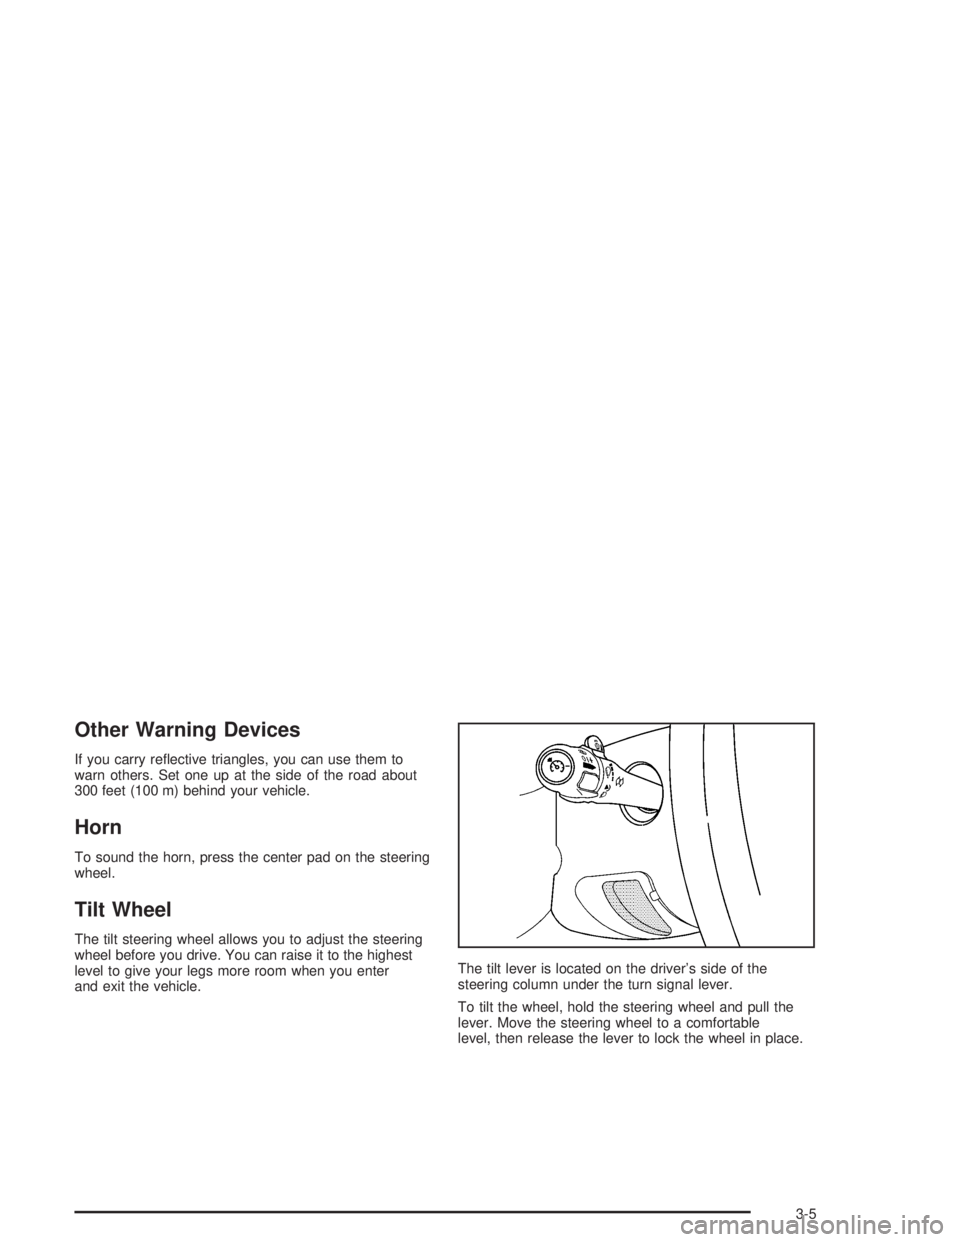
and exit the vehicle.The tilt lever is located on the driver’s side of the
steering column under the turn signal lever.
To tilt the wheel, hold the steering wheel and pull the
lever. Move the steering wheel to a comfortable
level, then release the lever to lock the wheel in place.
3-5
Page 140 of 472
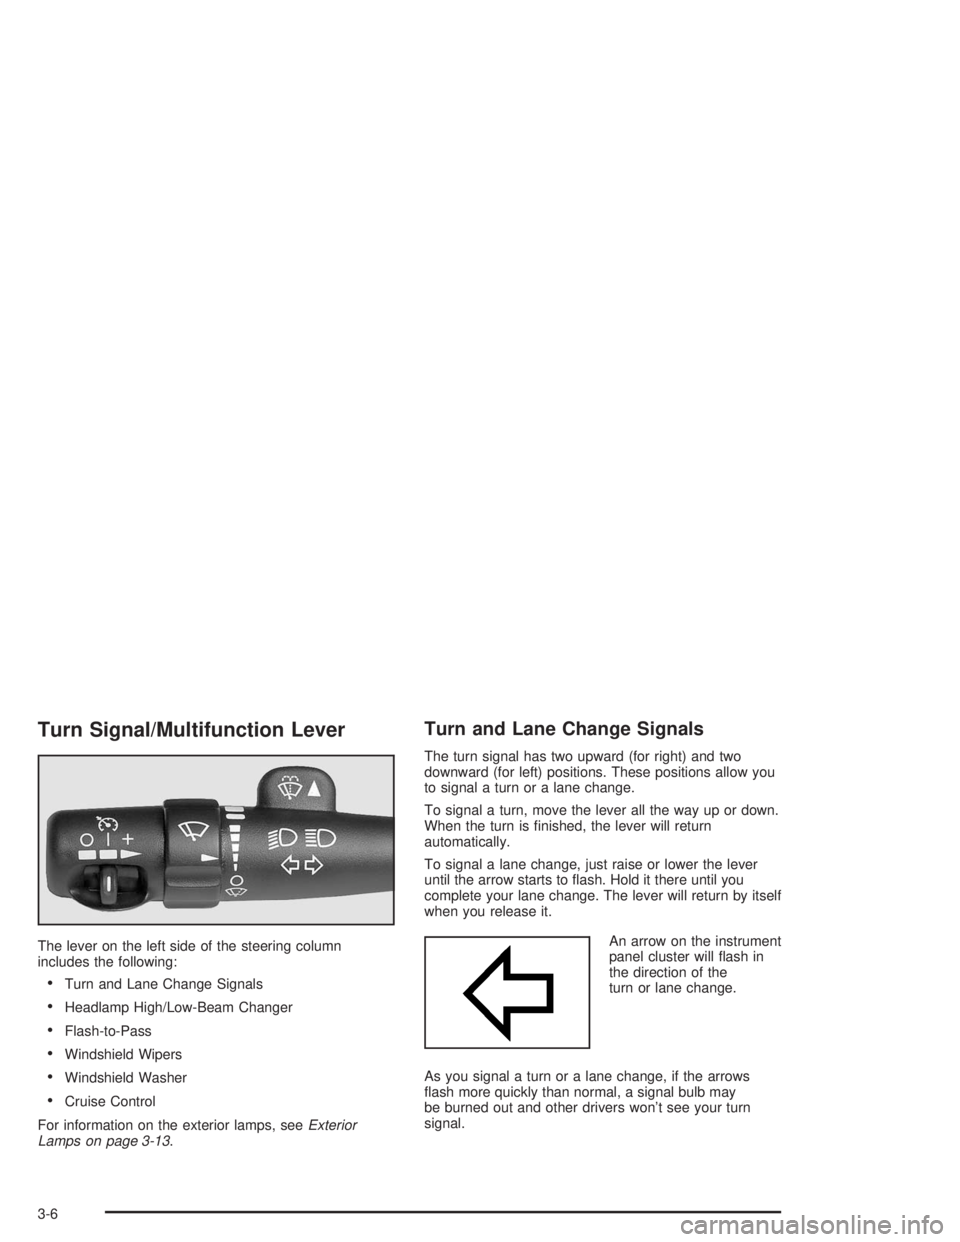
Turn Signal/Multifunction Lever
The lever on the left side of the steering column
includes the following:
Turn and Lane Change Signals
Headlamp High/Low-Beam Changer
Flash-to-Pass
Windshield Wipers
Windshield Washer
Cruise Control
For information on the exterior lamps, seeExterior
Lamps on page 3-13.
Turn and Lane Change Signals
The turn signal has two upward (for right) and two
downward (for left) positions. These positions allow you
to signal a turn or a lane change.
To signal a turn, move the lever all the way up or down.
When the turn is �nished, the lever will return
automatically.
To signal a lane change, just raise or lower the lever
until the arrow starts to �ash. Hold it there until you
complete your lane change. The lever will return by itself
when you release it.
An arrow on the instrument
panel cluster will �ash in
the direction of the
turn or lane change.
As you signal a turn or a lane change, if the arrows
�ash more quickly than normal, a signal bulb may
be burned out and other drivers won’t see your turn
signal.
3-6