light HUMMER H2 2005 Owner's Guide
[x] Cancel search | Manufacturer: HUMMER, Model Year: 2005, Model line: H2, Model: HUMMER H2 2005Pages: 468, PDF Size: 3.21 MB
Page 129 of 468
Gate Operator and Canadian
Programming
Canadian radio-frequency laws require transmitter
signals to “time out” or quit after several seconds of
transmission. This may not be long enough for
HomeLink
®to pick up the signal during programming.
Similarly, some U.S. gate operators are manufactured to
“time out” in the same manner.
If you live in Canada, or you are having difficulty
programming a gate operator by using the
“Programming HomeLink
®” procedures (regardless of
where you live), replace Step 3 under “Programming
HomeLink
®” with the following:
Continue to press and hold the HomeLink
®button while
you press and release every two seconds (cycle)
your hand-held transmitter until the frequency signal has
been successfully accepted by HomeLink
®. The
indicator light will �ash slowly at �rst and then rapidly.
Proceed with Step 4 under “Programming HomeLink
®”
to complete.
Using HomeLink®
Press and hold the appropriate HomeLink®button for at
least half of a second. The indicator light will come
on while the signal is being transmitted.
Erasing HomeLink®Buttons
To erase programming from the three buttons do the
following:
1. Press and hold down the two outside buttons until
the indicator light begins to �ash, after 20 seconds.
Do not hold the two outside buttons for longer
than 30 seconds.
2. Release both buttons.
HomeLink
®is now in the train (learning) mode and can
be programmed at any time beginning with Step 2
under “Programming HomeLink
®” shown earlier in this
section.
Individual buttons can not be erased, but they can be
reprogrammed. See “Reprogramming a Single
HomeLink
®Button” following this section.
2-53
Page 130 of 468
Reprogramming a Single HomeLink®
Button
To program a device to HomeLink®using a HomeLink®
button previously trained, follow these steps:
1. Press and hold the desired HomeLink
®button. Do
not release the button.
2. The indicator light will begin to �ash after
20 seconds. While still holding the HomeLink
®
button, proceed with Step 2 under “Programming
HomeLink®” shown earlier in this section.
Resetting Defaults
To reset HomeLink®to default settings do the following:
1. Hold down the two outside buttons for about
20 seconds until the indicator light begins to �ash.
2. Continue to hold both buttons until the HomeLink
®
indicator light turns off.
3. Release both buttons.
For questions or comments, contact HomeLink
®at
1-800-355-3515, or on the internet at
www.homelink.com.
Storage Areas
Glove Box
Open the glove box by pulling the bottom of the handle
upward. Close the glove box with a �rm push.
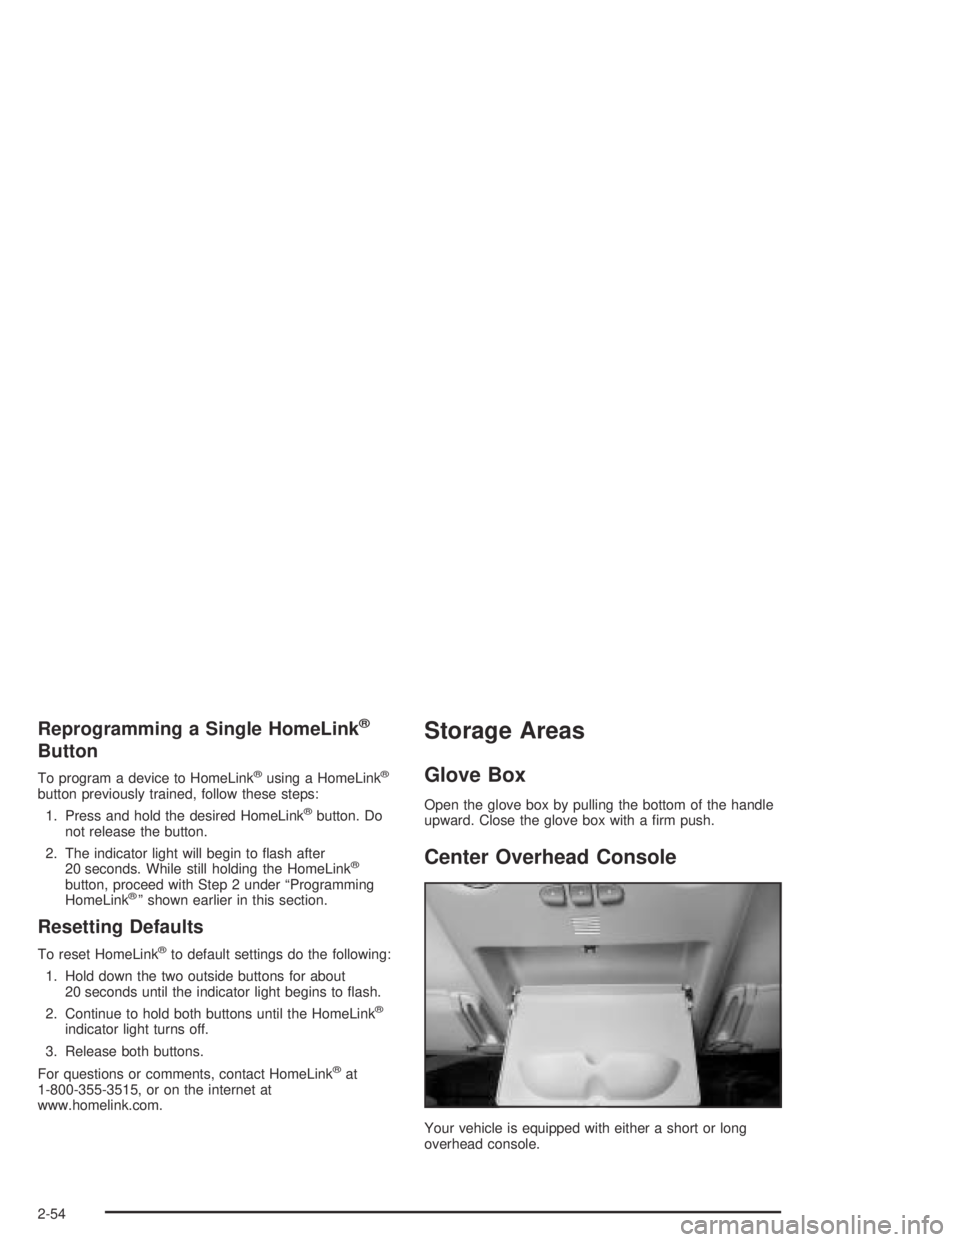
Center Overhead Console
Your vehicle is equipped with either a short or long
overhead console.
2-54
Page 141 of 468
Instrument Panel Overview...............................3-4
Hazard Warning Flashers................................3-6
Other Warning Devices...................................3-6
Horn.............................................................3-6
Tilt Wheel.....................................................3-6
Turn Signal/Multifunction Lever.........................3-7
Turn and Lane-Change Signals........................3-7
Headlamp High/Low-Beam Changer..................3-8
Flash-to-Pass.................................................3-8
Windshield Wipers..........................................3-9
Windshield Washer.........................................3-9
Cruise Control..............................................3-10
Exterior Lamps.............................................3-13
Headlamps on Reminder................................3-14
Daytime Running Lamps................................3-14
Automatic Headlamp System..........................3-15
Off-Road Lamps...........................................3-16
Instrument Panel Brightness...........................3-16
Dome Lamps...............................................3-17
Entry/Exit Lighting.........................................3-17
Reading Lamps............................................3-17
Battery Run-Down Protection..........................3-17
Accessory Power Outlets...............................3-18
Ashtrays and Cigarette Lighter.........................3-18Climate Controls............................................3-19
Dual Automatic Climate Control System...........3-19
Outlet Adjustment.........................................3-25
Climate Controls Personalization.....................3-25
Warning Lights, Gages, and Indicators............3-26
Instrument Panel Cluster................................3-27
Speedometer and Odometer...........................3-28
Tachometer.................................................3-28
Safety Belt Reminder Light.............................3-28
Airbag Readiness Light..................................3-29
Airbag Off Light............................................3-30
Charging System Light..................................3-31
Voltmeter Gage............................................3-32
Brake System Warning Light..........................3-32
Anti-Lock Brake System Warning Light.............3-34
Traction Off Light..........................................3-34
Engine Coolant Temperature Gage..................3-35
Transmission Temperature Gage.....................3-35
Malfunction Indicator Lamp.............................3-37
Oil Pressure Gage........................................3-40
Security Light...............................................3-41
Cruise Control Light......................................3-41
Highbeam On Light.......................................3-41
Tow/Haul Mode Light....................................3-42
Section 3 Instrument Panel
3-1
Page 142 of 468
Fuel Gage...................................................3-42
Low Fuel Warning Light.................................3-43
Driver Information Center (DIC).......................3-43
DIC Operation and Displays...........................3-44
DIC Warnings and Messages.........................3-47
DIC Vehicle Personalization............................3-54
Audio System(s).............................................3-60
Setting the Time...........................................3-61
Radio with Cassette and CD..........................3-61
Radio with Six-Disc CD.................................3-74Navigation/Radio System...............................3-87
Rear Seat Audio (RSA).................................3-87
Theft-Deterrent Feature..................................3-89
Audio Steering Wheel Controls.......................3-89
Radio Reception...........................................3-90
Care of Your Cassette Tape Player.................3-91
Care of Your CDs.........................................3-92
Care of Your CD Player................................3-92
Fixed Mast Antenna......................................3-92
Chime Level Adjustment................................3-92
Section 3 Instrument Panel
3-2
Page 145 of 468
The main components of your instrument panel are the following:
A. Air Outlets. SeeOutlet Adjustment on page 3-25.
B. Exterior Lamps Control. SeeExterior Lamps
on page 3-13.
C. OnStar
®and Radio Steering Wheel Buttons (If
Equipped). SeeOnStar®System on page 2-48and
Audio Steering Wheel Controls on page 3-89.
D. Instrument Panel Cluster. SeeInstrument Panel
Cluster on page 3-27.
E. Locking Rear Axle and All-wheel Drive Buttons. See
Locking Rear Axle on page 4-10andAll-Wheel
Drive on page 2-32.
F. Audio System. SeeAudio System(s) on page 3-60.
G. Airbag Switch. SeeAirbag Off Switch on page 1-65.
H. Glove Box. SeeGlove Box on page 2-54.
I. Midgate Glass Up/Down Switch (SUT). SeeMidgate
(SUT) on page 2-14. Rear Wiper/Washer Switch
(SUV). SeeWindshield Washer on page 3-9.
J. Dome Override Button. SeeDome Lamps on
page 3-17.
K. Turn Signal/Multifunction Lever. SeeTurn
Signal/Multifunction Lever on page 3-7.
L. Tilt Lever. SeeTilt Wheel on page 3-6.
M. Driver Information Center (DIC) Buttons. SeeDriver
Information Center (DIC) on page 3-43.N. Parking Brake Release. SeeParking Brake on
page 2-36.
O. Traction Control Button. SeeTraction Control
System (TCS) on page 4-9.
P. Tow/Haul Selector Button. SeeTow/Haul Mode Light
on page 3-42.
Q. Ride Height Selector Button (If Equipped). See
Selectable Extended Rear Ride Height on page 4-65.
R. Cigarette Lighter or Accessory Power Outlet (If
Equipped). SeeAshtrays and Cigarette Lighter on
page 3-18 Accessory Power Outlets on page 3-18.
S. Shift Lever. SeeAutomatic Transmission Operation
on page 2-28.
T. Accessory Power Outlets. SeeAccessory Power
Outlets on page 3-18.
U. OnStar Buttons. SeeOnStar
®System on page 2-48.
V. Rear Window Defogger Button. See “Rear Window
Defogger” underDual Automatic Climate Control
System on page 3-19.
W. Comfort Control System. SeeDual Automatic
Climate Control System on page 3-19.
3-5
Page 148 of 468
If a bulb is burned out, replace it to help avoid an
accident. If the arrows don’t go on at all when you signal
a turn, check for burned-out bulbs and a blown fuse.
SeeInstrument Panel Fuse Block on page 5-103
andUnderhood Fuse Block on page 5-107.
Turn Signal On Chime
If your turn signal is left on for more than 3/4 of a mile
(1.2 km), a chime will sound at each �ash of the
turn signal and the message TURN SIGNAL ON will
also appear in the DIC. To turn the chime and message
off, move the turn signal lever to the off position.
Headlamp High/Low-Beam Changer
53(Headlamp High/Low Beam Changer):To
change the headlamps from low to high beam, push the
lever toward the instrument panel. To return to
low-beam headlamps, pull the multifunction lever toward
you. Then release it.
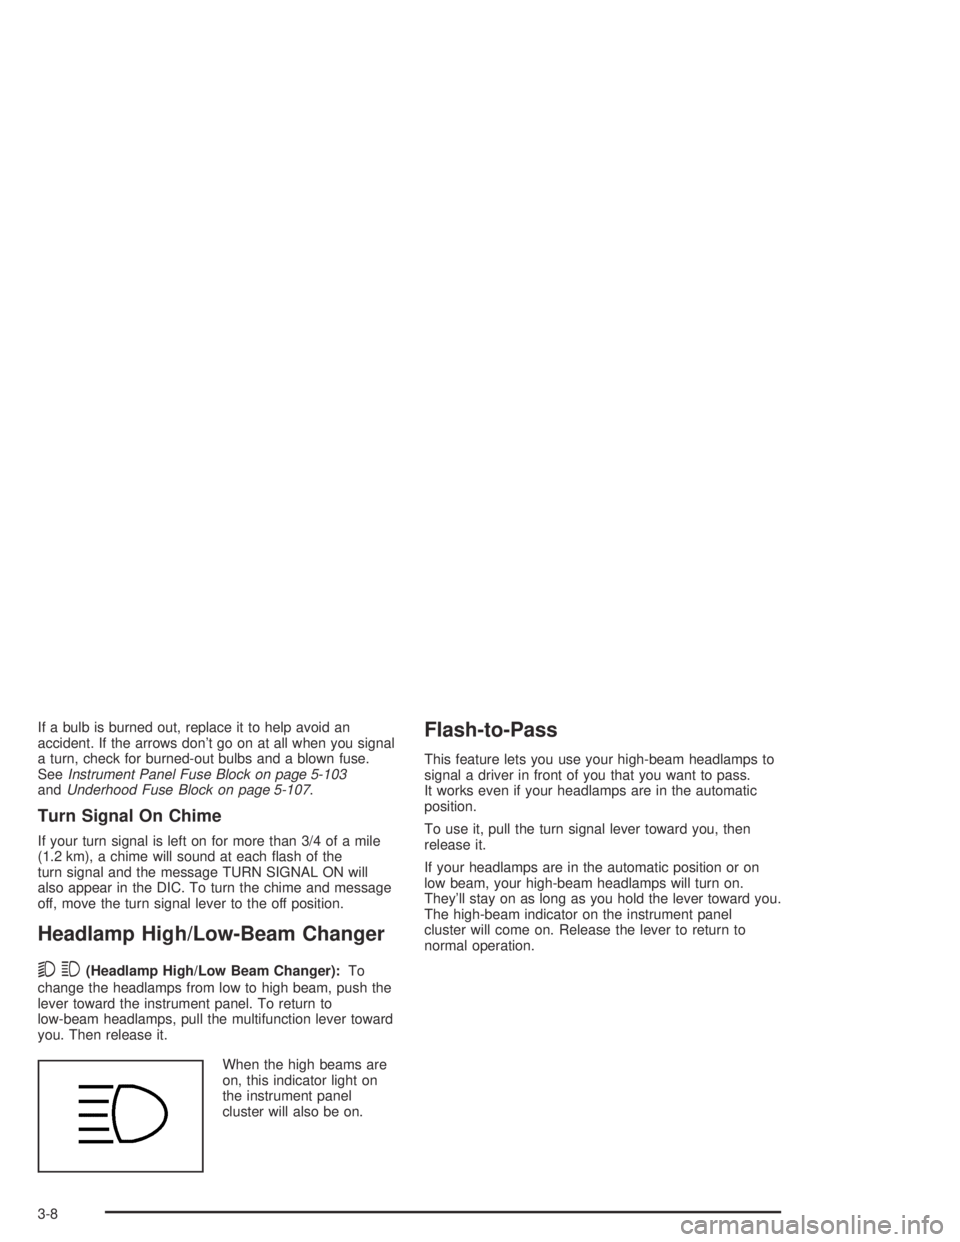
When the high beams are
on, this indicator light on
the instrument panel
cluster will also be on.
Flash-to-Pass
This feature lets you use your high-beam headlamps to
signal a driver in front of you that you want to pass.
It works even if your headlamps are in the automatic
position.
To use it, pull the turn signal lever toward you, then
release it.
If your headlamps are in the automatic position or on
low beam, your high-beam headlamps will turn on.
They’ll stay on as long as you hold the lever toward you.
The high-beam indicator on the instrument panel
cluster will come on. Release the lever to return to
normal operation.
3-8
Page 149 of 468
Windshield Wipers
You control the windshield wipers by turning the band
with the wiper symbol on it.
8(Mist):For a single wiping cycle, turn the band to
mist. Hold it there until the wipers start. Then let go. The
wipers will stop after one wipe. If you want more
wipes, hold the band on mist longer.
N(Delay):You can set the wiper speed for a long or
short delay between wipes. This can be very useful
in light rain or snow. Turn the band to choose the delay
time. The closer to the top of the lever, the shorter
the delay.
6(Low Speed):For steady wiping at low speed,
turn the band away from you to the �rst solid band past
the delay settings.
1(High Speed):For high-speed wiping, turn the
band further, to the second solid band past the
delay settings.
9(Off):To stop the wipers, move the band to off.
Be sure to clear ice and snow from the wiper blades
before using them. If they’re frozen to the windshield,
carefully loosen or thaw them. If your blades do become
worn or damaged, get new blades or blade inserts.
Windshield Washer
L(Washer Fluid):There is a paddle marked with the
windshield washer symbol at the top of the multifunction
lever. To spray washer �uid on the windshield, push
the paddle. The wipers will clear the window and then
either stop or return to your preset speed.
{CAUTION:
In freezing weather, do not use your washer
until the windshield is warmed. Otherwise the
washer �uid can form ice on the windshield,
blocking your vision.
3-9
Page 153 of 468
Using Cruise Control on Hills
How well your cruise control will work on hills depends
upon your speed, load and the steepness of the
hills. When going up steep hills, you may want to step
on the accelerator pedal to maintain your speed.
When going downhill, you may have to brake or shift to
a lower gear to keep your speed down. Of course,
applying the brake takes you out of cruise control. Many
drivers �nd this to be too much trouble and don’t use
cruise control on steep hills.
Ending Cruise Control
There are four ways to turn off the cruise control:
Step lightly on the brake pedal,
move the cruise control switch to off, or
shift the transmission to NEUTRAL (N).
If road conditions cause the traction control system
to activate, cruise control will turn off. SeeTraction
Control System (TCS) on page 4-9.
If the accelerator pedal is held for 60 seconds or
longer, cruise control will turn off.
Erasing Speed Memory
When you turn off the cruise control or the ignition, your
cruise control set speed memory is erased.
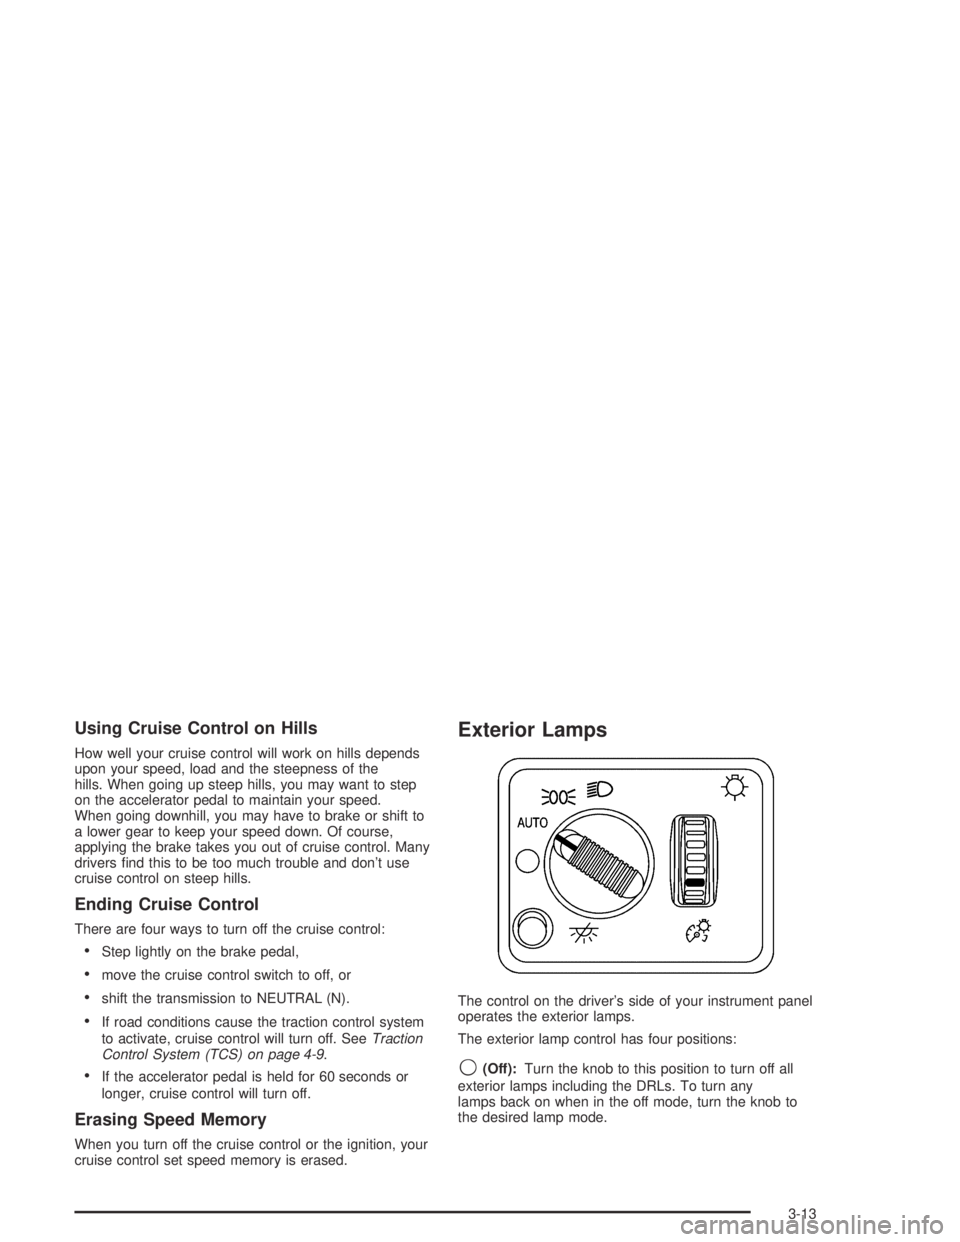
Exterior Lamps
The control on the driver’s side of your instrument panel
operates the exterior lamps.
The exterior lamp control has four positions:
9(Off):Turn the knob to this position to turn off all
exterior lamps including the DRLs. To turn any
lamps back on when in the off mode, turn the knob to
the desired lamp mode.
3-13
Page 154 of 468
AUTO:Turn the control to this position to put the
system into automatic headlamp mode. The Daytime
Running Lamps (DRL) will also be activated if it is light
enough outside.
;(Parking Lamps):Turn the control to this position
to turn on the parking lamps, together with the
following:
Sidemarker Lamps
Taillamps
License Plate Lamps
Roof Marker Lamps
Instrument Panel Lights
2(Headlamps):Turn the control to this position to
turn on the headlamps, together with the previously
listed lamps and lights.
When the vehicle is turned off and the headlamps are in
AUTO, the headlamps may automatically remain on
for a set time. You can change this delay time using the
DIC. SeeDriver Information Center (DIC) on page 3-43.
You can switch your headlamps from low to high-beam
by pushing the turn signal/multifunction lever toward
the instrument panel.
Headlamps on Reminder
If a door is open, a reminder chime will sound when
your headlamps or parking lamps are manually turned
on and your key is out of the ignition. To turn off
the chime, turn the headlamp switch to off or AUTO and
then back on. In the AUTO mode, the headlamps
turn off once the ignition is in LOCK or may remain on
until the exit delay ends (if enabled in the DIC).
Daytime Running Lamps
Daytime Running Lamps (DRL) can make it easier for
others to see the front of your vehicle during the
day. DRL can be helpful in many different driving
conditions, but they can be especially helpful in the short
periods after dawn and before sunset. Fully functional
daytime running lamps are required on all vehicles
�rst sold in Canada.
The DRL system will come on when the following
conditions are met:
The ignition is on,
the exterior lamps control is in AUTO,
the transmission is not in PARK (P), and
the light sensor determines it is daytime.
3-14
Page 155 of 468

When the DRL are on, only your DRL lamps will be on.
The taillamps, sidemarker and other lamps won’t be
on. The instrument panel won’t be lit up either.
When it begins to get dark, the automatic headlamp
system will switch from DRL to the headlamps.
As with any vehicle, you should turn on the regular
headlamp system when you need it.
Automatic Headlamp System
When it is dark enough outside and the headlamp
switch is in AUTO, your automatic headlamp system will
turn on your headlamps at the normal brightness
along with other lamps such as the taillamps,
sidemarker, parking lamps, roof marker lamps and the
instrument panel lights. The radio lights will also be dim.
To turn off the automatic headlamp system, turn the
exterior lamps switch to the off position and then
release.
Your vehicle has a light sensor located on the top of the
instrument panel. Be sure it is not covered, or the
system will be on whenever the ignition is on.The system may also turn on your headlamps when
driving through a parking garage, heavy overcast
weather or a tunnel. This is normal.
There is a delay in the transition between the daytime
and nighttime operation of the Daytime Running
Lamps (DRL) and the automatic headlamp systems so
that driving under bridges or bright overhead street
lights does not affect the system. The DRL and
automatic headlamp system will only be affected when
the light sensor sees a change in lighting lasting
longer than the delay.
If you start your vehicle in a dark garage, the automatic
headlamp system will come on immediately. Once
you leave the garage, it will take approximately
one minute for the automatic headlamp system to
change to DRL if it is light outside. During that delay,
your instrument panel cluster may not be as bright
as usual. Make sure your instrument panel brightness
control is in the full bright position. SeeInstrument Panel
Brightness on page 3-16.
3-15