odometer HUMMER H2 2007 Owners Manual
[x] Cancel search | Manufacturer: HUMMER, Model Year: 2007, Model line: H2, Model: HUMMER H2 2007Pages: 570, PDF Size: 3.34 MB
Page 171 of 570
Instrument Panel Overview........................ 174
Hazard Warning Flashers.......................... 176
Other Warning Devices............................. 177
Horn.......................................................... 177
Tilt Wheel.................................................. 177
Turn Signal/Multifunction Lever.................. 178
Turn and Lane-Change Signals................. 178
Headlamp High/Low-Beam Changer.......... 179
Flash-to-Pass............................................ 180
Windshield Wipers..................................... 180
Windshield Washer.................................... 181
Rear Window Wiper/Washer (SUV)........... 182
Cruise Control........................................... 183
Exterior Lamps.......................................... 186
Headlamps on Reminder........................... 188
Daytime Running Lamps (DRL)................. 188
Automatic Headlamp System..................... 189
Off-Road Lamps........................................ 190
Instrument Panel Brightness...................... 191
Dome Lamps............................................. 191
Dome Lamp Override................................ 191Entry/Exit Lighting...................................... 191
Reading Lamps......................................... 192
Battery Run-Down Protection..................... 192
Rear Vision Camera.................................. 192
Accessory Power Outlet(s)........................ 196
Ashtray(s) and Cigarette Lighter................ 197
Climate Controls......................................... 197
Dual Automatic Climate Control System....... 197
Outlet Adjustment...................................... 203
Warning Lights, Gages, and Indicators........ 204
Instrument Panel Cluster........................... 205
Speedometer and Odometer...................... 206
Trip Odometer........................................... 206
Tachometer............................................... 206
Safety Belt Reminder Light........................ 206
Airbag Readiness Light............................. 207
Airbag Off Light......................................... 208
Charging System Light.............................. 209
Voltmeter Gage......................................... 210
Brake System Warning Light..................... 211
Anti-Lock Brake System Warning Light...... 212
Section 3 Instrument Panel
171
Page 206 of 570
Speedometer and Odometer
Your speedometer lets you see your speed in
both miles per hour (mph) and kilometers
per hour (km/h).
Your vehicle’s odometer works together with the
driver information center. You can set a Trip A and
Trip B odometer. See “Trip Information” under
DIC Operation and Displays on page 222.
The odometer mileage can be checked without the
vehicle running. Simply press the trip stem on
the instrument panel cluster.
If your vehicle ever needs a new odometer
installed, the new one will be set to the correct
mileage total of the old odometer.
Trip Odometer
The trip odometer can tell you how far your
vehicle has been driven since you last set the trip
odometer to zero.
Press the reset button, located on the instrument
panel cluster next to the trip odometer display,
to toggle between the trip odometer and the
regular odometer. Holding the reset button for
approximately one second while the trip odometer
is displayed will reset it.To display the odometer reading with the ignition
off, press the reset button.
Tachometer
Your tachometer displays the engine speed in
revolutions per minute (rpm).
Safety Belt Reminder Light
When the key is turned to RUN or START, a chime
will be provided for several seconds to remind
people to buckle their safety belts. The driver safety
belt light will also be provided and stay on for
several seconds, then it will �ash for several more.
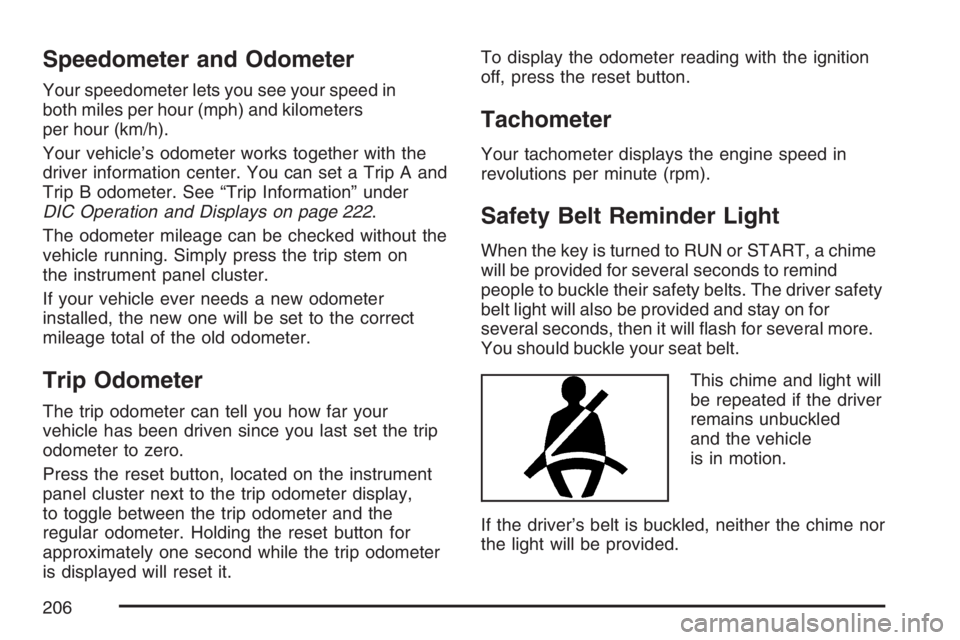
You should buckle your seat belt.
This chime and light will
be repeated if the driver
remains unbuckled
and the vehicle
is in motion.
If the driver’s belt is buckled, neither the chime nor
the light will be provided.
206
Page 222 of 570
Driver Information Center (DIC)
The Driver Information Center (DIC) display is
located on the instrument panel cluster, below the
speedometer. The DIC buttons are located on
the steering wheel. The DIC can display
information such as the trip odometer, fuel
economy, customization features and
warning/status messages.
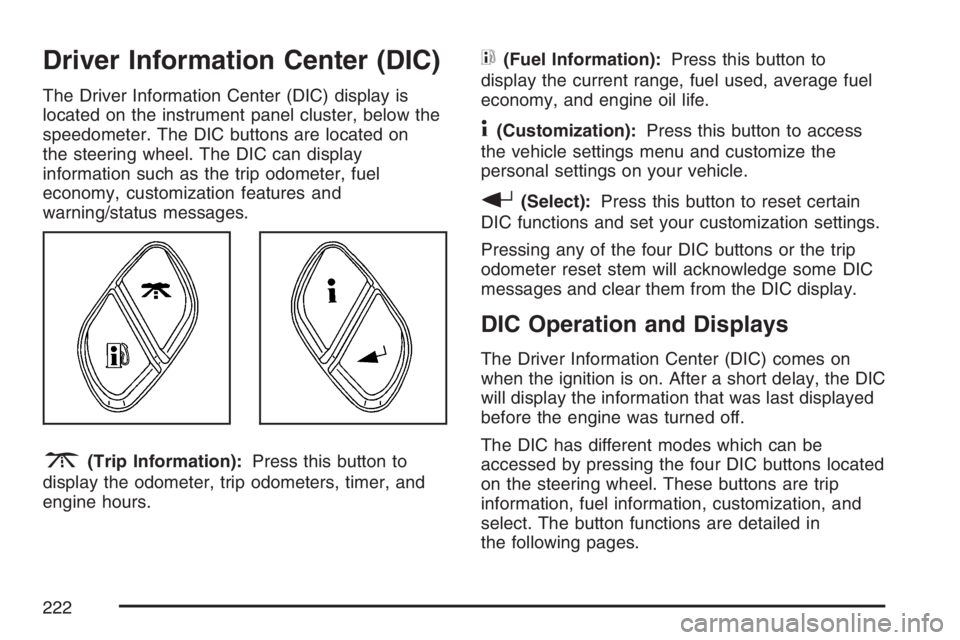
3(Trip Information):Press this button to
display the odometer, trip odometers, timer, and
engine hours.
t(Fuel Information):Press this button to
display the current range, fuel used, average fuel
economy, and engine oil life.
4(Customization):Press this button to access
the vehicle settings menu and customize the
personal settings on your vehicle.
r(Select):Press this button to reset certain
DIC functions and set your customization settings.
Pressing any of the four DIC buttons or the trip
odometer reset stem will acknowledge some DIC
messages and clear them from the DIC display.
DIC Operation and Displays
The Driver Information Center (DIC) comes on
when the ignition is on. After a short delay, the DIC
will display the information that was last displayed
before the engine was turned off.
The DIC has different modes which can be
accessed by pressing the four DIC buttons located
on the steering wheel. These buttons are trip
information, fuel information, customization, and
select. The button functions are detailed in
the following pages.
222
Page 223 of 570
Trip Information Button
3
(Trip Information):Press the trip
information button to scroll through the
ODOMETER, TRIP A, TRIP B, TIMER, and
ENGINE HOURS.
Odometer:Press the trip information button until
ODOMETER appears on the display. This mode
shows the total distance the vehicle has been
driven in either miles or kilometers. Pressing the
reset stem located on the instrument cluster with
the vehicle off will also display the odometer.
Trip A:Press the trip information button until
TRIP A appears on the display. This mode shows
the current distance traveled since the last
reset for TRIP A in either miles or kilometers.
Trip B:Press the trip information button
until TRIP B appears on the display. This mode
shows the current distance traveled since the last
reset for TRIP B in either miles or kilometers.
To reset TRIP A or TRIP B information, press and
hold the select button for one second while in
one of the trip modes. This will reset the
information for TRIP A or TRIP B.You can also reset TRIP A or TRIP B while they
are displayed by pressing the reset stem on
the cluster. If you press and hold the reset stem or
the select button for four seconds, the display
will show the distance traveled since the last
ignition cycle for TRIP A or TRIP B.
SeeTrip Odometer on page 206for more
information.
Timer:The DIC can be used as a timer. Press the
select button while TIMER is displayed to start the
timer. The display will show the amount of time that
has passed since the timer was last reset, not
including time the ignition is off. Time will continue
to be counted as long as the ignition is on, even if
another display is being shown on the DIC. The
timer will record up to 99 hours, 59 minutes and
59 seconds (99:59:59) after which the display will
roll back to zero.
To stop the counting of time, press the select button
brie�y while TIMER is displayed.
To reset the timer to zero, press and hold the select
button while TIMER is displayed.
223
Page 224 of 570
Engine Hours:Press the trip information button
until ENGINE HOURS appears on the display.
This mode shows the total number of hours
the engine has run. Pressing and holding the reset
stem located on the instrument cluster for about
four seconds will also display the engine hour
information after the odometer is displayed when
the vehicle is off.
Fuel Information Button
t
(Fuel Information):Press the fuel information
button to scroll through the range, fuel used,
average fuel economy, and the engine oil
life system.
Fuel Range:Press the fuel information button
until RANGE appears on the display. This
mode shows the remaining distance you can drive
without refueling. It is based on fuel economy
and the fuel remaining in the fuel tank. The display
will show LOW if the fuel level is low.The fuel economy data used to determine fuel
range is an average of recent driving conditions.
As your driving conditions change, this data is
gradually updated. Fuel range cannot be reset.
Fuel Used:Press the fuel information button until
FUEL USED appears on the display. This mode
shows the number of gallons or liters of fuel used
since the last reset of this menu item. To reset
the fuel used information, press and hold the select
button for one second while FUEL USED is
displayed.
Average Fuel Economy:Press the fuel
information button until AVG ECON appears on
the display. This mode shows how many miles per
gallon (MPG) or liters per 100 kilometers
(L/100 km) your vehicle is getting based on
current and past driving conditions.
Press and hold the select button for one second
while AVG ECON is displayed to reset the average
fuel economy. Average fuel economy will then
be calculated starting from that point. If the
average fuel economy is not reset, it will be
continually updated each time you drive.
224
Page 225 of 570
Engine Oil Life System:Press the fuel
information button until ENGINE OIL LIFE appears
on the display. The engine oil life system shows
an estimate of the oil’s remaining useful life. It will
show 100% when the system is reset after an
oil change. It will alert you to change your oil on a
schedule consistent with your driving conditions.
Always reset the engine oil life system after an oil
change. To reset the engine oil life system, see
Engine Oil Life System on page 407.
In addition to the engine oil life system monitoring
the oil life, additional maintenance is recommended
in the Maintenance Schedule in this manual. See
Engine Oil on page 404andScheduled
Maintenance on page 517.Customization Button
4
(Customization):Press the customization
button to access the VEHICLE SETTINGS menu
and customize the settings to your vehicle.
SeeDIC Vehicle Customization on page 234for
more information.
Select Button
r
(Select):Press the select button to reset
certain DIC functions and set your customization
settings. For example, this button will reset
the trip odometers and enables you to scroll
through and select the language in which the DIC
information will appear.
225
Page 226 of 570
DIC Warnings and Messages
Messages are displayed on the DIC to notify the
driver that the status of the vehicle has changed
and that some action may be needed by the driver
to correct the condition. Multiple messages may
appear one after another.
Some messages may not require immediate
action. Press any of the DIC buttons on the
steering wheel or the trip odometer reset stem
located on the instrument panel cluster to
acknowledge that you received the messages and
to clear them from the display.
Some messages cannot be cleared from the
display because they are more urgent. These
messages require action before they can be
removed from the DIC display. Take any messages
that appear on the display seriously and remember
that clearing the messages will only make the
messages disappear, not correct the problem.
The following are the possible messages that can
be displayed and some information about them.
BATTERY NOT CHARGING
This message displays if the battery is not
charging during operation. Driving with this
problem could drain the battery. Have the electrical
system checked as soon as possible by your
dealer. SeeCharging System Light on page 209
andVoltmeter Gage on page 210for more
information. Press any of the DIC buttons, or the
trip stem, to acknowledge this message and
clear it from the DIC display.
CHANGE ENGINE OIL
This message displays when the engine oil needs
to be changed. See “Engine Oil Life System”
underDIC Operation and Displays on page 222
andEngine Oil Life System on page 407for
information on how to reset the message. Also,
seeEngine Oil on page 404for more information.
This message clears itself after 10 seconds
until the next ignition cycle.
226
Page 240 of 570
Language
To select your preference for display language,
press the select button while LANGUAGE is
displayed on the DIC. Pressing the select button
will scroll through the following languages:
ENGLISH
FRANCAIS (French)
ESPANOL (Spanish)
Choose one of the available options and press the
customization button while it is displayed on the
DIC to select it.
If you accidentally choose a language that you
do not want or understand, press and hold
the customization button and the trip information
button at the same time. The DIC will begin
scrolling through the languages in their particular
language. English will be in English, Francais
will be in French, and Espanol will be in Spanish.
When you see the language that you would
like, release both buttons. The DIC will then
display the information in the language you chose.
You can also scroll through the different
languages by pressing and holding the trip reset
stem for four seconds, as long as you are in the
odometer mode.
Display Units
Press the customization button until DISPLAY
UNITS appears in the display. To select English or
metric, press the select button while DISPLAY
UNITS is displayed on the DIC. Pressing the select
button will scroll through the following choices:
DISPLAY UNITS: ENGLISH
DISPLAY UNITS: METRIC
If you choose English, all information will be
displayed in English units.
If you choose metric, all information will be
displayed in metric units.
Choose one of the available options and press the
customization button while it is displayed on the
DIC to select it and end out of the customizable
options.
240
Page 464 of 570
Wheel Replacement
Replace any wheel that is bent, cracked, or badly
rusted or corroded. If wheel nuts keep coming
loose, the wheel, wheel bolts, and wheel
nuts should be replaced. If the wheel leaks air,
replace it (except some aluminum wheels,
which can sometimes be repaired). See your
dealer if any of these conditions exist.
Your dealer will know the kind of wheel you need.
Each new wheel should have the same
load-carrying capacity, diameter, width, offset and
be mounted the same way as the one it replaces.
If you need to replace any of your wheels, wheel
bolts, or wheel nuts, replace them only with
new GM original equipment parts. This way,
you will be sure to have the right wheel, wheel
bolts, and wheel nuts for your vehicle.{CAUTION:
Using the wrong replacement wheels,
wheel bolts, or wheel nuts on your vehicle
can be dangerous. It could affect the
braking and handling of your vehicle,
make your tires lose air and make you
lose control. You could have a collision
in which you or others could be injured.
Always use the correct wheel, wheel bolts,
and wheel nuts for replacement.
Notice:The wrong wheel can also cause
problems with bearing life, brake cooling,
speedometer or odometer calibration,
headlamp aim, bumper height, vehicle ground
clearance, and tire or tire chain clearance
to the body and chassis.
SeeChanging a Flat Tire on page 468for more
information.
464
Page 532 of 570
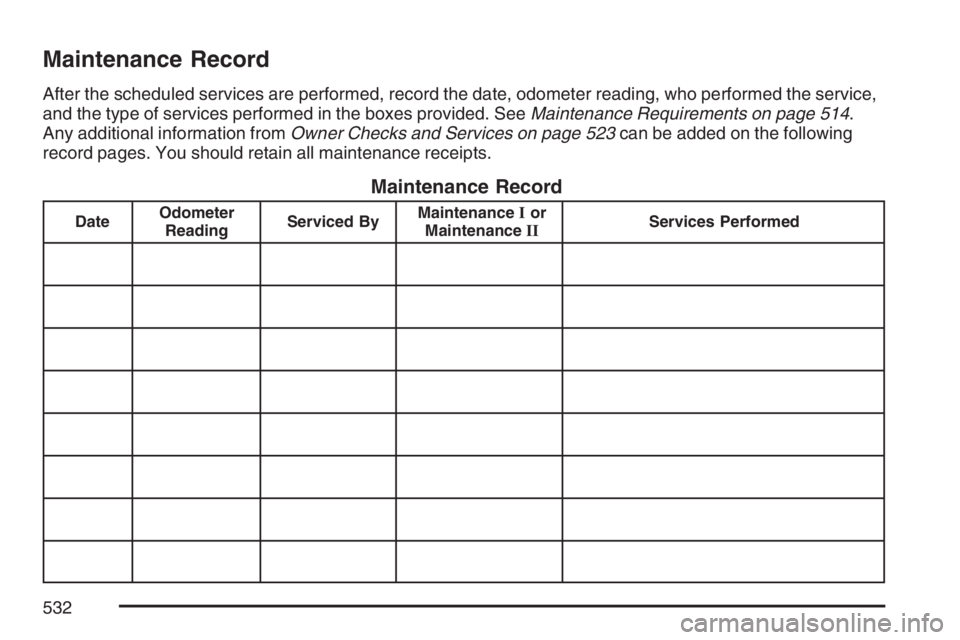
Maintenance Record
After the scheduled services are performed, record the date, odometer reading, who performed the service,
and the type of services performed in the boxes provided. SeeMaintenance Requirements on page 514.
Any additional information fromOwner Checks and Services on page 523can be added on the following
record pages. You should retain all maintenance receipts.
Maintenance Record
DateOdometer
ReadingServiced ByMaintenanceIor
MaintenanceIIServices Performed
532