HUMMER H2 2009 Owners Manual
Manufacturer: HUMMER, Model Year: 2009, Model line: H2, Model: HUMMER H2 2009Pages: 524, PDF Size: 3.1 MB
Page 151 of 524

Center Console Storage
To open the front center console, press the button and
lift up.
Luggage Carrier
For vehicles with this feature, cargo can be loaded on
the vehicle.
The luggage carrier consists of siderails attached to the
roof. The crossrails attach into the siderails and can
be moved back and forth to accommodate securing
various cargo sizes.
See your dealer/retailer for more information.
Notice:Loading cargo on the luggage carrier
that weighs more than 300 lbs. (136 kg) or hangs
over the rear or sides of the vehicle can damage
the vehicle. Load cargo only on top of the crossrails
and tie the cargo down to the crossrail support
cargo tie-down loops, making sure to fasten
it securely.
Do not exceed the maximum vehicle capacity when
loading the vehicle. For more information on vehicle
capacity and loading, seeLoading the Vehicle on
page 4-44.
Rear Seat Armrest
This vehicle has a rear seat armrest with cupholders.
Pull the tab on the armrest forward, to access it.
2-65
Page 152 of 524

Cargo Tie Downs (SUT)
There are four oval shaped openings (A) in the cargo
bed that allow access to four tie downs. The tie
downs can be used to secure cargo.
All-Weather Cargo Area (SUT)
The vehicle has features to help it resist the elements
and protect cargo inside the cargo area.
Even when the water management system is working
properly and the cover system is on, there can be
instances when water may be present in the drain holes.
See “Cargo Area Floor Drains” later in this section for
more information.
Removal and Cleaning
To ensure that the water management system performs
properly, make sure that the midgate, tailgate and cover
system are fully closed and that each part of the water
management system is clean and not blocked with
debris. Follow the instructions given next in this section
for the proper procedures on cleaning each part of the
water management system.
2-66
Page 153 of 524

Side Rail Channels
Both side rail channels are located on top of the roof
and the cargo area. Flush them out with clean water if
debris collects inside of them.
When loading cargo into the cargo area, be careful not
to damage the rails.
For more information on this feature seeLuggage
Carrier on page 2-65.
Cargo Area Floor Drains
For vehicles with a cargo mat, located under it are
four cargo-area �oor drains (A) near the sides of the
cargo area. These drains should be cleaned periodically
to allow water to exit the cargo area.
The cargo mat has cutouts for the drains. Flush the
drains through the cutouts, but if the cargo area is
extremely dirty lift up the edges of the cargo �oor mat or
take the whole mat out and �ush the drains with water.
The drain grates can be removed to clear any debris that
has accumulated in the drain.
2-67
Page 154 of 524

Sunroof
The vehicle may have
a power sliding sunroof.
The ignition must be
in ON/RUN or ACC/
ACCESSORY or Retained
Accessory Power (RAP)
must be active.
SeeRetained Accessory Power (RAP) on page 2-29.
The switch used to operate the sunroof is located in
the overhead console.
Express-Open/Close Sunroof
The sunroof has a feature which allows the sunroof
panel to be opened or closed without continuously
pressing the switch. The express-open can be stopped
at any time by pushing the front of the switch a
second time.
The sunroof has four positions:
Comfort open stop:To open the sunroof and
sunshade, press the rear of the switch quickly and
release. The glass panel will open to an interim
position that reduces wind noise. For information on
using the sunshade, see “Sunshade Operation” later.
Full open stop:To open the sunroof further, press
the rear of the switch quickly once more.
Express close:To close the sunroof, press the front
of the switch quickly and release.
Vent:The vent position allows the rear of the sunroof
to be opened and tilted upward. With the sunroof in
the fully closed position, press and hold the front of
the switch until the sunroof reaches the desired vent
position or until it stops moving. To close the sunroof
from the vent position, press and hold the rear of the
switch until the sunroof is fully closed.
Do not leave the sunroof open for long periods of time
as debris may collect in the tracks.
2-68
Page 155 of 524

Anti-Pinch Protection Feature
If something gets caught between the glass panel
and roof frame while the sunroof is closing, the glass
panel will stop and open half way, and the de�ector
will raise fully.
If something gets caught between the glass panel
and the roof frame during the tilt down operation,
the glass panel will stop and open fully.
If the sunroof panel receives a strong impact, the
anti-pinch protection feature may work even if nothing
gets caught between the glass panel and roof frame.
Sunshade Operation
The sunshade will open automatically when opening the
sunroof.
However, it can manually be pulled shut after the
sunroof is closed. To adjust the sunshade, push it
backward or pull it forward to the desired position.
The sunshade cannot be adjusted further than
the current closed position of the sunroof.
Notice:If you force the sunshade forward of the
sliding glass panel, damage will occur and the
sunroof may not open or close properly. Always
close the glass panel before closing the sunshade.
2-69
Page 156 of 524

✍NOTES
2-70
Page 157 of 524

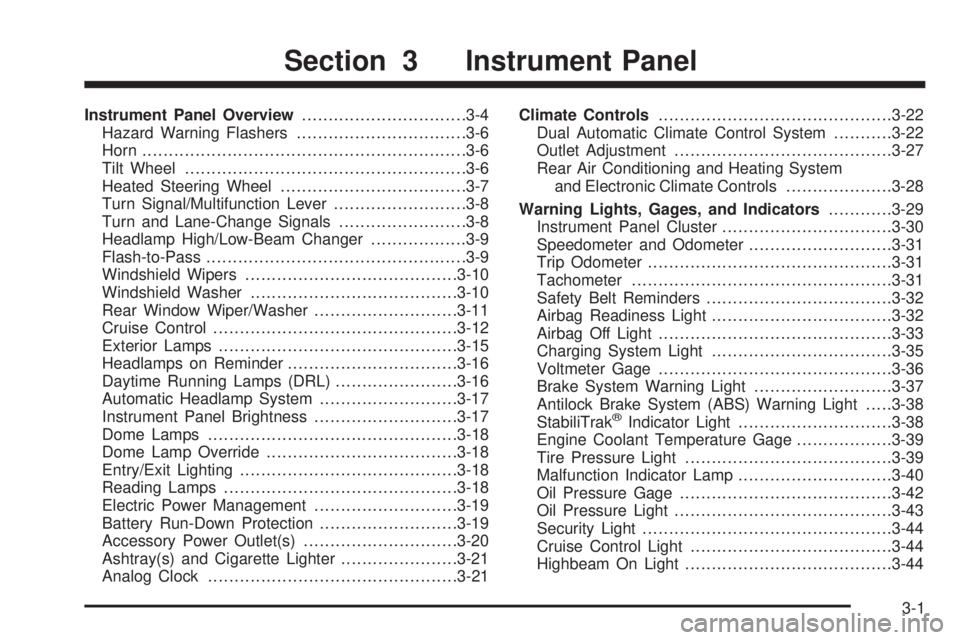
Instrument Panel Overview...............................3-4
Hazard Warning Flashers................................3-6
Horn .............................................................3-6
Tilt Wheel.....................................................3-6
Heated Steering Wheel...................................3-7
Turn Signal/Multifunction Lever.........................3-8
Turn and Lane-Change Signals........................3-8
Headlamp High/Low-Beam Changer..................3-9
Flash-to-Pass.................................................3-9
Windshield Wipers........................................3-10
Windshield Washer.......................................3-10
Rear Window Wiper/Washer...........................3-11
Cruise Control..............................................3-12
Exterior Lamps.............................................3-15
Headlamps on Reminder................................3-16
Daytime Running Lamps (DRL).......................3-16
Automatic Headlamp System..........................3-17
Instrument Panel Brightness...........................3-17
Dome Lamps ...............................................3-18
Dome Lamp Override....................................3-18
Entry/Exit Lighting.........................................3-18
Reading Lamps............................................3-18
Electric Power Management...........................3-19
Battery Run-Down Protection..........................3-19
Accessory Power Outlet(s).............................3-20
Ashtray(s) and Cigarette Lighter......................3-21
Analog Clock...............................................3-21Climate Controls............................................3-22
Dual Automatic Climate Control System...........3-22
Outlet Adjustment.........................................3-27
Rear Air Conditioning and Heating System
and Electronic Climate Controls....................3-28
Warning Lights, Gages, and Indicators............3-29
Instrument Panel Cluster................................3-30
Speedometer and Odometer...........................3-31
Trip Odometer..............................................3-31
Tachometer.................................................3-31
Safety Belt Reminders...................................3-32
Airbag Readiness Light..................................3-32
Airbag Off Light............................................3-33
Charging System Light..................................3-35
Voltmeter Gage............................................3-36
Brake System Warning Light..........................3-37
Antilock Brake System (ABS) Warning Light.....3-38
StabiliTrak
®Indicator Light.............................3-38
Engine Coolant Temperature Gage..................3-39
Tire Pressure Light.......................................3-39
Malfunction Indicator Lamp.............................3-40
Oil Pressure Gage........................................3-42
Oil Pressure Light.........................................3-43
Security Light...............................................3-44
Cruise Control Light......................................3-44
Highbeam On Light.......................................3-44
Section 3 Instrument Panel
3-1
Page 158 of 524

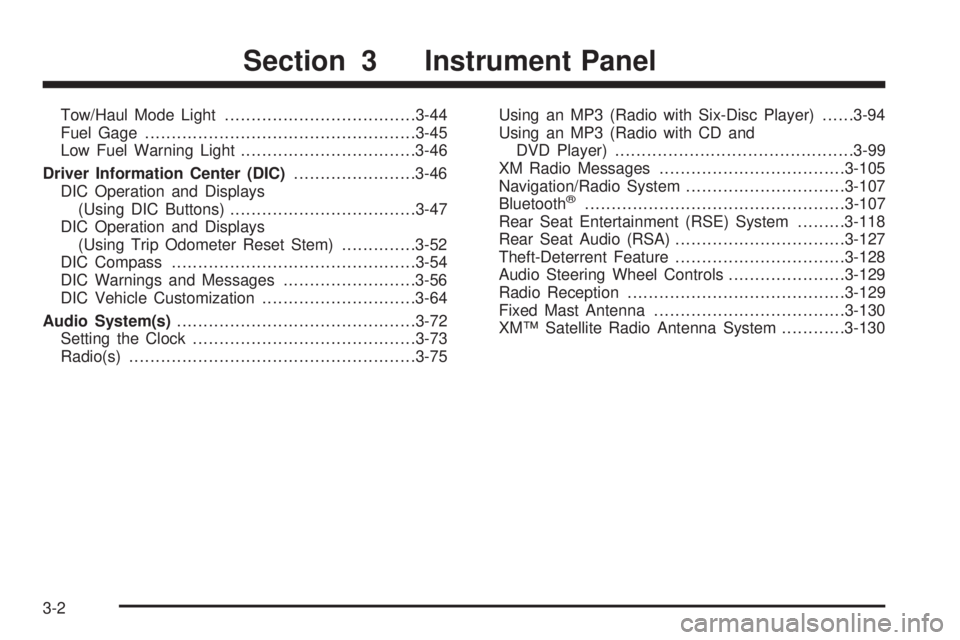
Tow/Haul Mode Light....................................3-44
Fuel Gage...................................................3-45
Low Fuel Warning Light.................................3-46
Driver Information Center (DIC).......................3-46
DIC Operation and Displays
(Using DIC Buttons)...................................3-47
DIC Operation and Displays
(Using Trip Odometer Reset Stem)..............3-52
DIC Compass..............................................3-54
DIC Warnings and Messages.........................3-56
DIC Vehicle Customization.............................3-64
Audio System(s).............................................3-72
Setting the Clock..........................................3-73
Radio(s)......................................................3-75Using an MP3 (Radio with Six-Disc Player)......3-94
Using an MP3 (Radio with CD and
DVD Player).............................................3-99
XM Radio Messages...................................3-105
Navigation/Radio System..............................3-107
Bluetooth
®.................................................3-107
Rear Seat Entertainment (RSE) System.........3-118
Rear Seat Audio (RSA)................................3-127
Theft-Deterrent Feature................................3-128
Audio Steering Wheel Controls......................3-129
Radio Reception.........................................3-129
Fixed Mast Antenna....................................3-130
XM™ Satellite Radio Antenna System............3-130
Section 3 Instrument Panel
3-2
Page 159 of 524

✍NOTES
3-3
Page 160 of 524

Instrument Panel Overview
3-4