ignition HUMMER H2 2009 User Guide
[x] Cancel search | Manufacturer: HUMMER, Model Year: 2009, Model line: H2, Model: HUMMER H2 2009Pages: 524, PDF Size: 3.1 MB
Page 94 of 524

Laws in some communities may restrict the use of
remote starters. For example, some laws may require
a person using the remote start to have the vehicle
in view when doing so. Check local regulations for
any requirements on remote starting of vehicles.
Do not use the remote start feature if your vehicle is low
on fuel. Your vehicle may run out of fuel.
If your vehicle has the remote start feature, the RKE
transmitter functions will have an increased range
of operation. However, the range may be less while
the vehicle is running.
There are other conditions which can affect the
performance of the transmitter, seeRemote Keyless
Entry (RKE) System on page 2-4for additional
information.
/(Remote Start):Press and release the lock button
and then press and hold the remote start button to
start the vehicle.To start the vehicle using the remote start feature:
1. Aim the transmitter at the vehicle.
2. Press and release the transmitter’s lock button,
then immediately press and hold the transmitter’s
remote start button until the turn signal lights �ash.
If you cannot see the vehicle’s lights, press and hold
the remote start button for at least four seconds.
The vehicle’s doors will lock. Pressing the remote
start button again after the vehicle has started will
turn off the ignition.
When the vehicle starts, the parking lamps will turn
on and remain on while the vehicle is running.
3. If it is the �rst remote start since the vehicle has
been driven, repeat these steps, while the engine
is still running, to extend the engine running time
by 10 minutes. Remote start can be extended
one time.
After entering the vehicle during a remote start, insert
and turn the key to ON/RUN to drive the vehicle.
2-8
Page 95 of 524
If the vehicle is left running it will automatically shut off
after 10 minutes unless a time extension has been done.
To manually shut off a remote start:
Aim the RKE transmitter at the vehicle and press
the remote start button until the parking lamps
turn off.
Turn on the hazard warning �ashers.
Turn the ignition switch on and then off.
The vehicle can be remote started two separate times
between driving sequences. The engine will run for
10 minutes after each remote start.
Or, you can extend the engine run time by another
10 minutes within the �rst 10 minute remote start time
frame, and before the engine stops.
For example, if the lock button and then the remote
start buttons are pressed again after the vehicle
has been running for �ve minutes, 10 minutes are
added, allowing the engine to run for 15 minutes.The additional ten minutes are considered a second
remote vehicle start.
Once two remote starts, or a single remote start with
one time extension has been done, the vehicle must
be started with the key. After the key is removed from
the ignition, the vehicle can be remote started again.
The vehicle cannot be remote started if the key is in
the ignition, the hood is not closed, or if there is
an emission control system malfunction.
Also, the engine will turn off during a remote vehicle
start if the coolant temperature gets too high or if the
oil pressure gets low.
Vehicles that have the remote vehicle start feature are
shipped from the factory with the remote vehicle start
system enabled. The system may be enabled or disabled
through the DIC. See “REMOTE START” underDIC
Vehicle Customization on page 3-64for additional
information. If your vehicle does not have DIC buttons,
see your dealer/retailer to enable or disable the remote
vehicle start system.
2-9
Page 97 of 524

Power Door Locks
The power door lock switches are located on the
front doors.
Q(Lock):Remove the key from the ignition and press
to lock all of the doors.
K(Unlock):Press once to unlock the driver’s door,
and twice to unlock all of the doors.
Delayed Locking
When locking the doors with the power lock switch or
the keyless entry transmitter and a door or the liftgate
(if equipped) is open, the delayed locking feature
will delay locking the doors until �ve seconds after
the last door is closed. Three chimes will sound to
signal that the delayed locking feature is in use.Pressing the power lock switch twice will override
the delayed locking feature and immediately lock
all the doors.
Delayed locking can be programmed using the DIC.
SeeDIC Vehicle Customization on page 3-64.
Programmable Automatic Door
Locks
The vehicle has an automatic power door lock/unlock
feature which can be programmed through the Driver
Information Center (DIC). SeeDIC Vehicle Customization
on page 3-64for more information on DIC programming.
2-11
Page 98 of 524

Rear Door Security Locks
The vehicle may have rear door security locks which
prevent passengers from opening the rear doors
from the inside.
The rear door security
locks are located on the
inside edge of each
rear door. The rear doors
must be open to access
them. The label depicting
lock and unlock positions
is located near the lock.
To set the locks:
1. Insert the key into the security lock slot and turn it
so the slot is in the horizontal position.
2. Close the door.To open a rear door when the security lock is on:
1. Unlock the door by lifting the rear door manual lock,
by pressing the power door lock switch, or if the
vehicle has one, by using the Remote Keyless
Entry (RKE) transmitter.
2. Open the door from the outside.
To cancel the rear door security lock:
1. Unlock the door and open it from the outside.
2. Insert the key into the security lock slot and turn it
so the slot is in the vertical position.
Lockout Protection
This feature protects you from locking your key in the
vehicle when the key is in the ignition and a door is open.
If the driver side power lock switch is pressed when a
door is open and the key is in the ignition, all of the
doors will lock and then the driver door will unlock.
If the passenger side power lock switch is pressed when
a door is open and the key is in the ignition, all of the
doors will lock and then the passenger door will unlock. Security Lock Label
shown
2-12
Page 100 of 524
Midgate®(SUT)
{CAUTION:
It can be dangerous to drive with the cargo area
covered and the tailgate and the Midgate®open
because carbon monoxide (CO) gas can come
into your vehicle. You can not see or smell CO.
It can cause unconsciousness and even death.
If you must drive with the cargo covers on and the
tailgate and Midgate
®open or if electrical wiring or
other cable connections must pass through the
seal between the body and the Midgate
®:
Make sure all windows are shut.
Turn the fan on your heating or cooling
system to its highest speed on the setting that
brings in outside air. This will force outside air
into your vehicle. SeeDual Automatic Climate
Control System on page 3-22.
If you have air outlets on or under the
instrument panel, open them all the way.
SeeEngine Exhaust on page 2-45.
The Midgate
®allows you to extend the length of the
vehicle’s cargo area into the cab.
Lowering the Midgate
The Midgate window must be completely lowered for
the Midgate®to be lowered. See “Midgate®Window”
underPower Windows on page 2-20.
Both the Midgate and the Midgate window can be
lowered while the ignition is in either ON/RUN or
ACC/ACCESSORY, or while in Retained Accessory
Power (RAP) mode. SeeRetained Accessory
Power (RAP) on page 2-29for more information.
To lower the Midgate:
1. Fold the rear seats forward. SeeSplit Folding Rear
Seat on page 1-11. The front seats may have to be
moved forward slightly.
2.
K(Midgate Window):Press the bottom part
of this switch to lower the Midgate window.
SeeInstrument Panel Overview on page 3-4
for the location of this switch.
The window can also be operated using the global
express-down button. See “Global Glass Feature”
underPower Windows on page 2-20.
2-14
Page 101 of 524
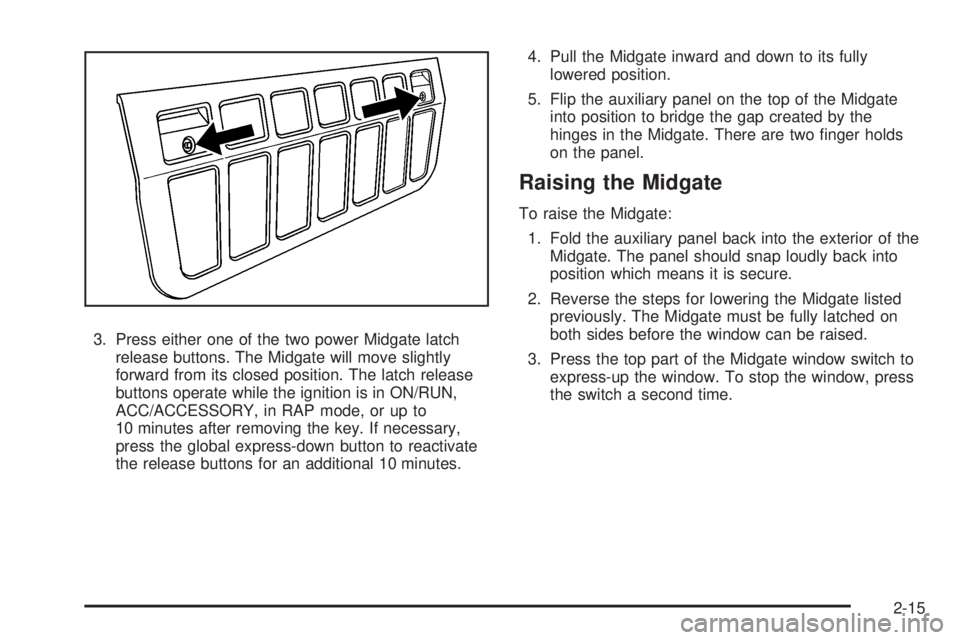
3. Press either one of the two power Midgate latch
release buttons. The Midgate will move slightly
forward from its closed position. The latch release
buttons operate while the ignition is in ON/RUN,
ACC/ACCESSORY, in RAP mode, or up to
10 minutes after removing the key. If necessary,
press the global express-down button to reactivate
the release buttons for an additional 10 minutes.4. Pull the Midgate inward and down to its fully
lowered position.
5. Flip the auxiliary panel on the top of the Midgate
into position to bridge the gap created by the
hinges in the Midgate. There are two �nger holds
on the panel.
Raising the Midgate
To raise the Midgate:
1. Fold the auxiliary panel back into the exterior of the
Midgate. The panel should snap loudly back into
position which means it is secure.
2. Reverse the steps for lowering the Midgate listed
previously. The Midgate must be fully latched on
both sides before the window can be raised.
3. Press the top part of the Midgate window switch to
express-up the window. To stop the window, press
the switch a second time.
2-15
Page 106 of 524

Power Windows
A power window switch is located on the armrest of
each side door. The switches operate while the ignition
is in ON/RUN or ACC/ACCESSORY or while Retained
Accessory Power (RAP) is active. SeeRetained
Accessory Power (RAP) on page 2-29.
The driver door also has a switch for each of the
passenger windows.
Press the front of the switch to the �rst position to lower
the window to the desired level. Pull up the front of
the switch to raise the window.
Window Lockout
This feature prevents the rear passengers from
operating their windows.
o(Window Lockout):This button is located near the
power window switches on the driver door. Press this
button to activate the window lockout feature. A light in
the lockout button will come on to show that lockout has
been activated. Press the button again to return to normal
operation.
Express-Down Windows
The window switches have an express-down feature
which allows the window to be lowered fully without
continuously pressing the switch.
Press the front of the window switch down all the way
and release. Express-down can be interrupted at
any time by pulling up the front of the switch.
2-20
Page 107 of 524
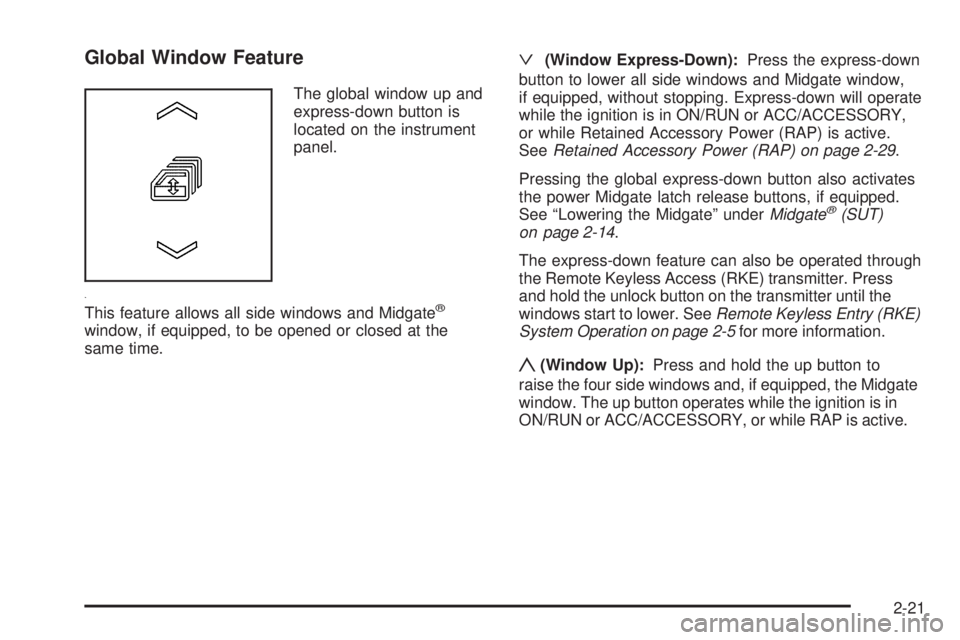
Global Window Feature
The global window up and
express-down button is
located on the instrument
panel.
This feature allows all side windows and Midgate
®
window, if equipped, to be opened or closed at the
same time.
ª(Window Express-Down):Press the express-down
button to lower all side windows and Midgate window,
if equipped, without stopping. Express-down will operate
while the ignition is in ON/RUN or ACC/ACCESSORY,
or while Retained Accessory Power (RAP) is active.
SeeRetained Accessory Power (RAP) on page 2-29.
Pressing the global express-down button also activates
the power Midgate latch release buttons, if equipped.
See “Lowering the Midgate” underMidgate
®(SUT)
on page 2-14.
The express-down feature can also be operated through
the Remote Keyless Access (RKE) transmitter. Press
and hold the unlock button on the transmitter until the
windows start to lower. SeeRemote Keyless Entry (RKE)
System Operation on page 2-5for more information.
y(Window Up):Press and hold the up button to
raise the four side windows and, if equipped, the Midgate
window. The up button operates while the ignition is in
ON/RUN or ACC/ACCESSORY, or while RAP is active.
2-21
Page 108 of 524
Midgate Window
K
(Midgate Window):On vehicles with a Midgate,
the switch to operate the window is located on the
instrument panel to the left of the steering wheel.
SeeInstrument Panel Overview on page 3-4.
ª:Press to express-down the window.
y:Press to express-up the window.
Press the top or bottom of the switch a second time to
stop the window.
The window switch will operate while the ignition is in
ON/RUN or ACC/ACCESSORY, or while Retained
Accessory Power (RAP) is active. SeeRetained
Accessory Power (RAP) on page 2-29.
The window can also be operated using the global
window buttons. See “Global Window Feature”
previously.
{CAUTION:
If express override is activated, the midgate
window will not reverse automatically. You or
others could be injured and the window could be
damaged. Before you use express override, make
sure that all people and obstructions are clear of
the midgate window path.
Midgate Window Express Override Mode
If an obstruction or weather condition such as severe
icing stops the window as it is moving upward, the
window will automatically reverse to a partially open
position. The window will return to normal operation
once the obstruction or condition is removed.
The window auto-reversal function can be overridden
in the express override mode. To override, the window
must be operated manually by pressing and holding the
Midgate window switch or the global window button.
This must be done within two seconds after the Midgate
window has stopped at a partially open position.
The express override mode only works immediately
following a window auto-reversal. Window express
functions will not work while in this mode.
2-22
Page 110 of 524
Content Theft-Deterrent
Your vehicle is equipped with a content theft-deterrent
alarm system.
With this system, the
security light in the
instrument panel cluster
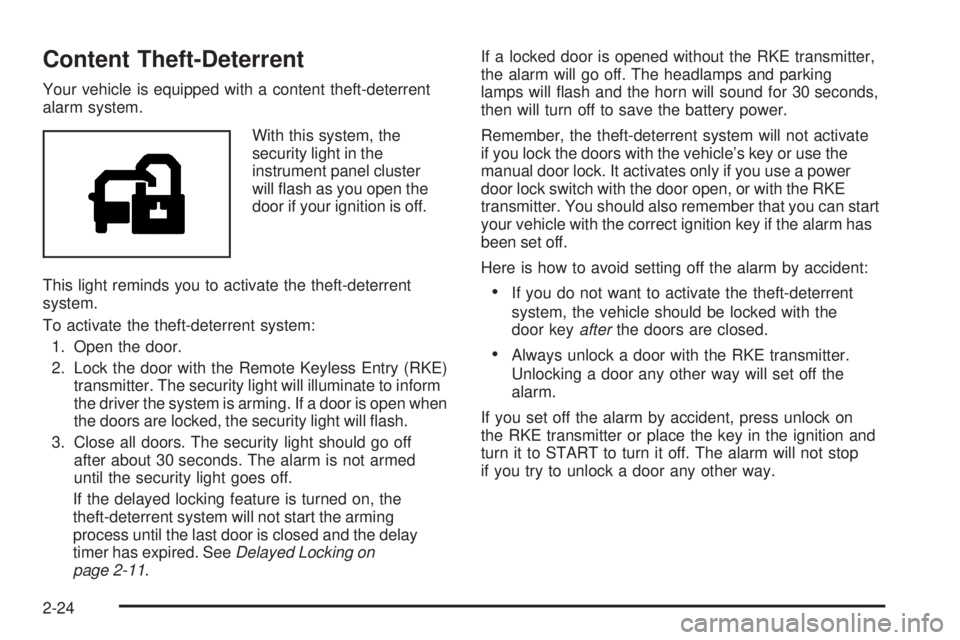
will �ash as you open the
door if your ignition is off.
This light reminds you to activate the theft-deterrent
system.
To activate the theft-deterrent system:
1. Open the door.
2. Lock the door with the Remote Keyless Entry (RKE)
transmitter. The security light will illuminate to inform
the driver the system is arming. If a door is open when
the doors are locked, the security light will �ash.
3. Close all doors. The security light should go off
after about 30 seconds. The alarm is not armed
until the security light goes off.
If the delayed locking feature is turned on, the
theft-deterrent system will not start the arming
process until the last door is closed and the delay
timer has expired. SeeDelayed Locking on
page 2-11.If a locked door is opened without the RKE transmitter,
the alarm will go off. The headlamps and parking
lamps will �ash and the horn will sound for 30 seconds,
then will turn off to save the battery power.
Remember, the theft-deterrent system will not activate
if you lock the doors with the vehicle’s key or use the
manual door lock. It activates only if you use a power
door lock switch with the door open, or with the RKE
transmitter. You should also remember that you can start
your vehicle with the correct ignition key if the alarm has
been set off.
Here is how to avoid setting off the alarm by accident:
If you do not want to activate the theft-deterrent
system, the vehicle should be locked with the
door keyafterthe doors are closed.
Always unlock a door with the RKE transmitter.
Unlocking a door any other way will set off the
alarm.
If you set off the alarm by accident, press unlock on
the RKE transmitter or place the key in the ignition and
turn it to START to turn it off. The alarm will not stop
if you try to unlock a door any other way.
2-24