headlamp HUMMER H3 2009 Owners Manual
[x] Cancel search | Manufacturer: HUMMER, Model Year: 2009, Model line: H3, Model: HUMMER H3 2009Pages: 382, PDF Size: 1.99 MB
Page 1 of 382
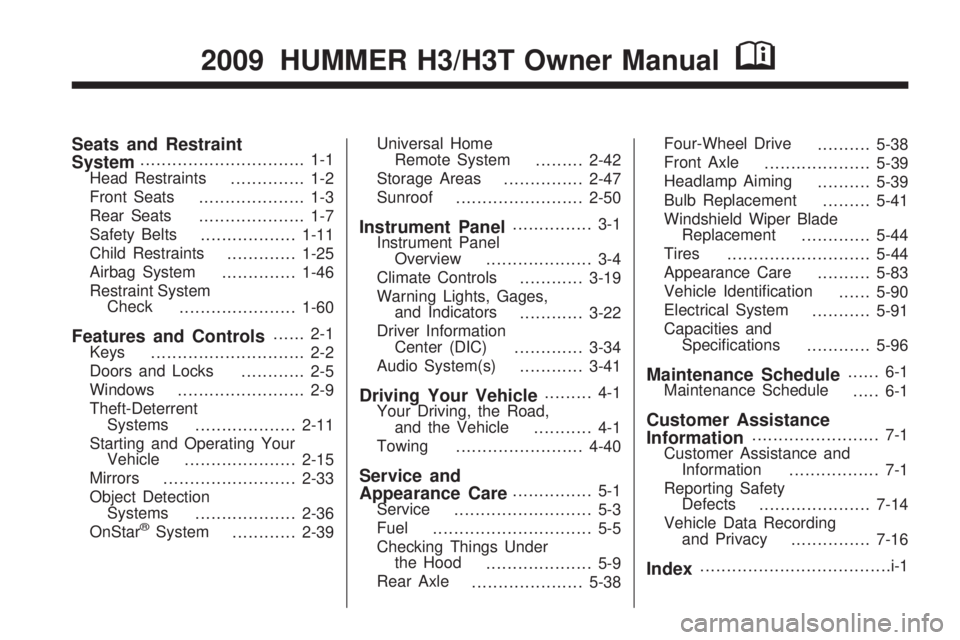
Seats and Restraint
System............................... 1-1
Head Restraints
.............. 1-2
Front Seats
.................... 1-3
Rear Seats
.................... 1-7
Safety Belts
..................1-11
Child Restraints
.............1-25
Airbag System
..............1-46
Restraint System
Check
......................1-60
Features and Controls...... 2-1
Keys
............................. 2-2
Doors and Locks
............ 2-5
Windows
........................ 2-9
Theft-Deterrent
Systems
...................2-11
Starting and Operating Your
Vehicle
.....................2-15
Mirrors
.........................2-33
Object Detection
Systems
...................2-36
OnStar
®System
............2-39Universal Home
Remote System
.........2-42
Storage Areas
...............2-47
Sunroof
........................2-50
Instrument Panel............... 3-1
Instrument Panel
Overview
.................... 3-4
Climate Controls
............3-19
Warning Lights, Gages,
and Indicators
............3-22
Driver Information
Center (DIC)
.............3-34
Audio System(s)
............3-41
Driving Your Vehicle......... 4-1
Your Driving, the Road,
and the Vehicle
........... 4-1
Towing
........................4-40
Service and
Appearance Care............... 5-1
Service
.......................... 5-3
Fuel
.............................. 5-5
Checking Things Under
the Hood
.................... 5-9
Rear Axle
.....................5-38Four-Wheel Drive
..........5-38
Front Axle
....................5-39
Headlamp Aiming
..........5-39
Bulb Replacement
.........5-41
Windshield Wiper Blade
Replacement
.............5-44
Tires
...........................5-44
Appearance Care
..........5-83
Vehicle Identi�cation
......5-90
Electrical System
...........5-91
Capacities and
Speci�cations
............5-96
Maintenance Schedule...... 6-1
Maintenance Schedule
..... 6-1
Customer Assistance
Information........................ 7-1
Customer Assistance and
Information
................. 7-1
Reporting Safety
Defects
.....................7-14
Vehicle Data Recording
and Privacy
...............7-16
Index....................................i-1
2009 HUMMER H3/H3T Owner ManualM
Page 4 of 382
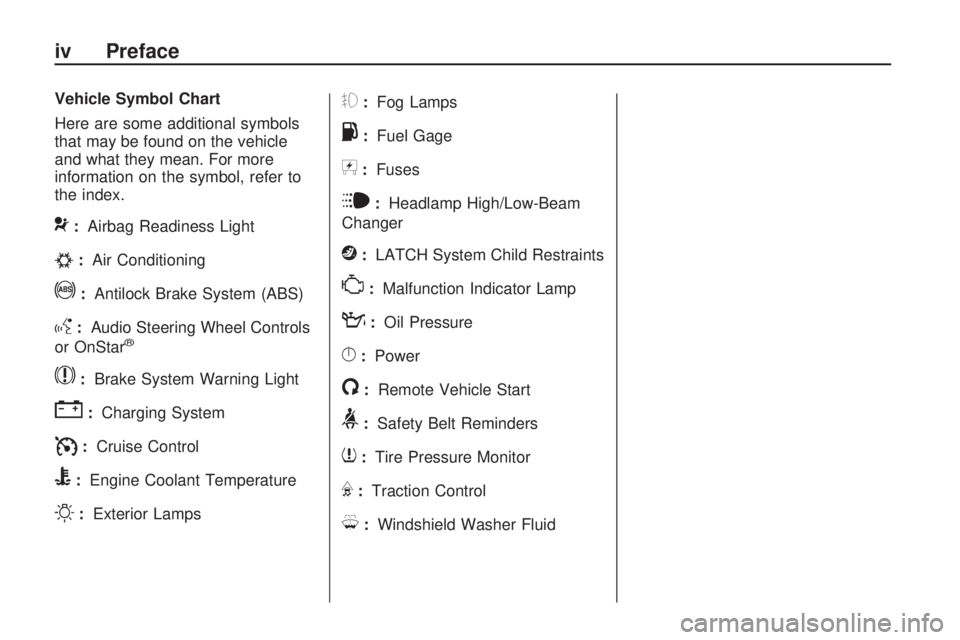
Vehicle Symbol Chart
Here are some additional symbols
that may be found on the vehicle
and what they mean. For more
information on the symbol, refer to
the index.
9:Airbag Readiness Light
#:Air Conditioning
!:Antilock Brake System (ABS)
g:Audio Steering Wheel Controls
or OnStar®
$:Brake System Warning Light
":Charging System
I:Cruise Control
B:Engine Coolant Temperature
O:Exterior Lamps
#:Fog Lamps
.:Fuel Gage
+:Fuses
i:Headlamp High/Low-Beam
Changer
j:LATCH System Child Restraints
*:Malfunction Indicator Lamp
::Oil Pressure
}:Power
/:Remote Vehicle Start
>:Safety Belt Reminders
7:Tire Pressure Monitor
F:Traction Control
M:Windshield Washer Fluid
iv Preface
Page 70 of 382

Remote Keyless Entry
(RKE) System Operation
The Remote Keyless Entry (RKE)
transmitter functions work up to
30 feet (9 m) away from the vehicle.
There are other conditions which
can affect the performance of
the transmitter. SeeRemote Keyless
Entry (RKE) System on page 2-3.
LOCK:Press to lock all the doors.
The parking lamps may �ash
and the horn may chirp.
If a door is open or ajar when LOCK
is pressed, the doors lock, but the
theft-deterrent system does not
arm until the open door is closed.Pressing LOCK may arm the content
theft-deterrent system. SeeContent
Theft-Deterrent on page 2-11for
additional information.
UNLOCK:Press to unlock only the
driver’s door. The interior lamps
come on, the parking lamps may
�ash, and the horn may sound.
Press UNLOCK again within
three seconds to unlock all the doors.
Pressing UNLOCK may disarm
the content theft-deterrent system.
SeeContent Theft-Deterrent on
page 2-11for additional information.
Different feedback choices can be
programmed through the Driver
Information Center (DIC). See
“Remote Keyless Entry Feedback”
underDIC Operation and Displays
on page 3-34.
L(Panic):Press to activate the
alarm. The horn sounds and the
headlamps and taillamps �ash for up
to 30 seconds. To turn the alarm off
press
Lagain, start the vehicle or
wait 30 seconds.
Programming Transmitters to
the Vehicle
Only RKE transmitters
programmed to this vehicle will
work. If a transmitter is lost
or stolen, a replacement can be
purchased and programmed
through your dealer/retailer.
When the replacement transmitter
is programmed to this vehicle,
all remaining transmitters must also
be reprogrammed. Any lost or
stolen transmitters will no longer
work once the new transmitter
is programmed. Each vehicle can
have up to four transmitters
programmed to it.
Battery Replacement
The battery in the transmitter is
weak and should be changed if it
does not work at the normal range
in any location.
2-4 Features and Controls
Page 99 of 382

Mirrors
Automatic Dimming
Rearview Mirror
The vehicle has an automatic
dimming rearview mirror with a
compass and temperature display.
Vehicles with OnStar
®have
three additional control buttons for
the OnStar
®system. See your
dealer/retailer for more information
about OnStar
®and how to
subscribe to it. SeeOnStar®
System on page 2-39for more
information about the services
OnStar
®provides.
z(On/Off):Press to turn the
dimming feature on or off.
The vehicle may also have a Rear
Vision Camera (RVC). SeeRear
Vision Camera (RVC) on page 2-36
for more information.
Automatic Dimming Mirror
Operation
Automatic dimming reduces the
glare from the headlamps of
the vehicle behind you. The dimming
feature comes on and the indicator
light illuminates each time the
ignition is turned to start.
Temperature Display
To adjust between Fahrenheit and
Celsius:
Presszfor approximately
four seconds to toggle the display
from F (Fahrenheit) to C (Celsius)
to OFF. Release the button after
the display has toggled to the
next state.
The temperature display will
remain in its current state each
time the ignition goes through
its cycle.
At start up, if the vehicle has been
off for less than two and a half
hours, and the last stored
temperature was less than the
current temperature, the sensor
will increase 1°F every
two minutes until the correct
temperature is displayed.
If the vehicle has been off more
than two and a half hours, or the
last stored temperature is greater
than the current temperature, the
current temperature immediately
displays.
If the temperature is 37°F (3°C) or
lower, ICE will �ash on the
temperature display. This display
will �ash every two seconds for a
period of one minute.
If an abnormal temperature reading
is displayed for an extended
period of time, see your
dealer/retailer. Under certain
circumstances, a delay in updating
the temperature is normal.
Features and Controls 2-33
Page 105 of 382
When the System Does Not Seem
To Work Properly
The rear vision camera system may
not work properly or display a
clear image:
In the dark.
When the sun or the beam of
headlamps is shining directly
into the camera lens.
If ice, snow, mud, or anything else
builds up on the camera lens.
Clean the lens, rinse it with water,
and wipe it with a soft cloth.
If the back of the vehicle is in an
accident, the position and
mounting angle of the camera
may change or the camera may
be affected. Be sure to have the
camera and its position and
mounting angle checked at your
dealer/retailer.
If there are extreme temperatures
or extreme temperature changes.The rear vision camera system
display in the rearview mirror may
turn off or not appear as expected
due to a loss of video signal, or
no video signal present during the
reverse cycle. The display will
be blank and the left indicator light
will slowly �ash as long as the
vehicle is in R (Reverse) or until the
condition returns to normal.
Pressing and holding
zwhen the
left indicator light is �ashing will
turn off the video display along with
the left indicator light.
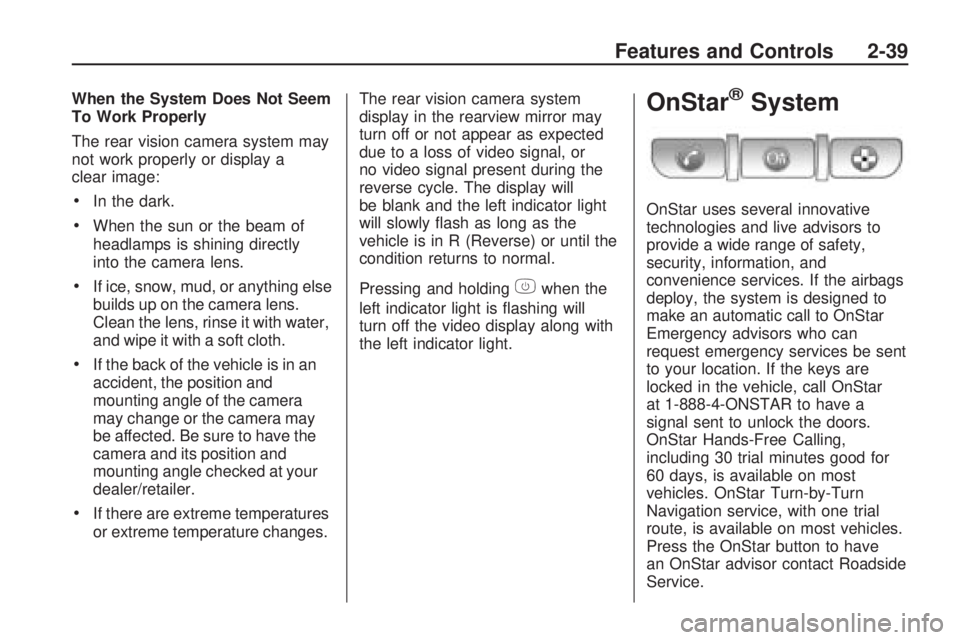
OnStar®System
OnStar uses several innovative
technologies and live advisors to
provide a wide range of safety,
security, information, and
convenience services. If the airbags
deploy, the system is designed to
make an automatic call to OnStar
Emergency advisors who can
request emergency services be sent
to your location. If the keys are
locked in the vehicle, call OnStar
at 1-888-4-ONSTAR to have a
signal sent to unlock the doors.
OnStar Hands-Free Calling,
including 30 trial minutes good for
60 days, is available on most
vehicles. OnStar Turn-by-Turn
Navigation service, with one trial
route, is available on most vehicles.
Press the OnStar button to have
an OnStar advisor contact Roadside
Service.
Features and Controls 2-39
Page 107 of 382

Most vehicles include 30 trial
minutes good for 60 days.
Hands-Free Calling can also be
linked to a Verizon Wireless service
plan in the U.S. or a Bell Mobility
service plan in Canada, depending
on eligibility. To �nd out more,
refer to the OnStar Owner’s Guide
in the vehicle’s glove box, visit
onstar.com or onstar.ca, or speak
with an OnStar advisor by pressing
the OnStar button or calling
1-888-4-ONSTAR (1-888-466-7827).
OnStar Turn-by-Turn
Navigation
Vehicles with the OnStar
Turn-by-Turn Navigation system
can provide voice-guided driving
directions. Press the OnStar button
to have an OnStar advisor locate
a business or address and download
driving directions to the vehicle.
Voice-guided directions to the
desired destination will play
through the audio system speakers.
See the OnStar Owner’s Guide
for more information.
OnStar Virtual Advisor
OnStar Virtual Advisor is a feature
of OnStar Hands-Free Calling
that uses minutes to access
location-based weather, local traffic
reports, and stock quotes. Press
the phone button and give a
few simple voice commands to
browse through the various topics.
See the OnStar Owner’s Guide
for more information. This feature is
only available in the continental U.S.
Additional OnStar Controls
The vehicle may have a button,
located on the driver side of the
instrument panel near the headlamp
controls, that can be used to
interact with OnStar.Use this button to dial numbers
into voicemail systems or to
dial phone number extensions.
See the OnStar Owner’s Guide for
more information.
How OnStar Service Works
The OnStar system can record
and transmit vehicle information.
This information is automatically
sent to an OnStar Call Center when
the OnStar button is pressed, the
emergency button is pressed,
or if the airbags or AACN system
deploy. This information usually
includes the vehicle’s GPS location
and, in the event of a crash,
additional information regarding
the crash that the vehicle was
involved in (e.g. the direction from
which the vehicle was hit). When the
Virtual Advisor feature of OnStar
Hands-Free Calling is used,
the vehicle also sends OnStar the
vehicle’s GPS location so they
can provide services where
it is located.
Features and Controls 2-41
Page 119 of 382
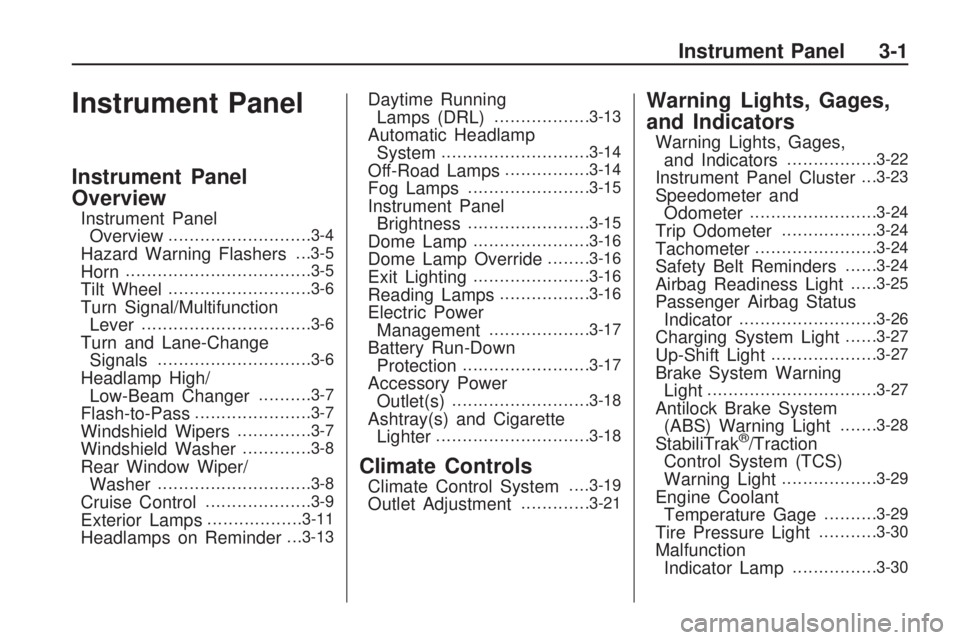
Instrument Panel
Instrument Panel
Overview
Instrument Panel
Overview...........................3-4
Hazard Warning Flashers. . .3-5
Horn...................................3-5
Tilt Wheel...........................3-6
Turn Signal/Multifunction
Lever................................3-6
Turn and Lane-Change
Signals.............................3-6
Headlamp High/
Low-Beam Changer..........3-7
Flash-to-Pass......................3-7
Windshield Wipers..............3-7
Windshield Washer.............3-8
Rear Window Wiper/
Washer.............................3-8
Cruise Control....................3-9
Exterior Lamps..................3-11
Headlamps on Reminder. . .3-13
Daytime Running
Lamps (DRL)..................3-13
Automatic Headlamp
System............................3-14
Off-Road Lamps................3-14
Fog Lamps.......................3-15
Instrument Panel
Brightness.......................3-15
Dome Lamp......................3-16
Dome Lamp Override........3-16
Exit Lighting......................3-16
Reading Lamps.................3-16
Electric Power
Management...................3-17
Battery Run-Down
Protection........................3-17
Accessory Power
Outlet(s)..........................3-18
Ashtray(s) and Cigarette
Lighter.............................3-18
Climate Controls
Climate Control System. . . .3-19
Outlet Adjustment.............3-21
Warning Lights, Gages,
and Indicators
Warning Lights, Gages,
and Indicators.................3-22
Instrument Panel Cluster. . .3-23
Speedometer and
Odometer........................3-24
Trip Odometer..................3-24
Tachometer.......................3-24
Safety Belt Reminders......3-24
Airbag Readiness Light.....3-25
Passenger Airbag Status
Indicator..........................3-26
Charging System Light......3-27
Up-Shift Light....................3-27
Brake System Warning
Light................................3-27
Antilock Brake System
(ABS) Warning Light.......3-28
StabiliTrak®/Traction
Control System (TCS)
Warning Light
..................3-29
Engine Coolant
Temperature Gage..........3-29
Tire Pressure Light...........3-30
Malfunction
Indicator Lamp................3-30
Instrument Panel 3-1
Page 124 of 382
Tilt Wheel
A tilt wheel allows the steering
wheel to be adjusted.
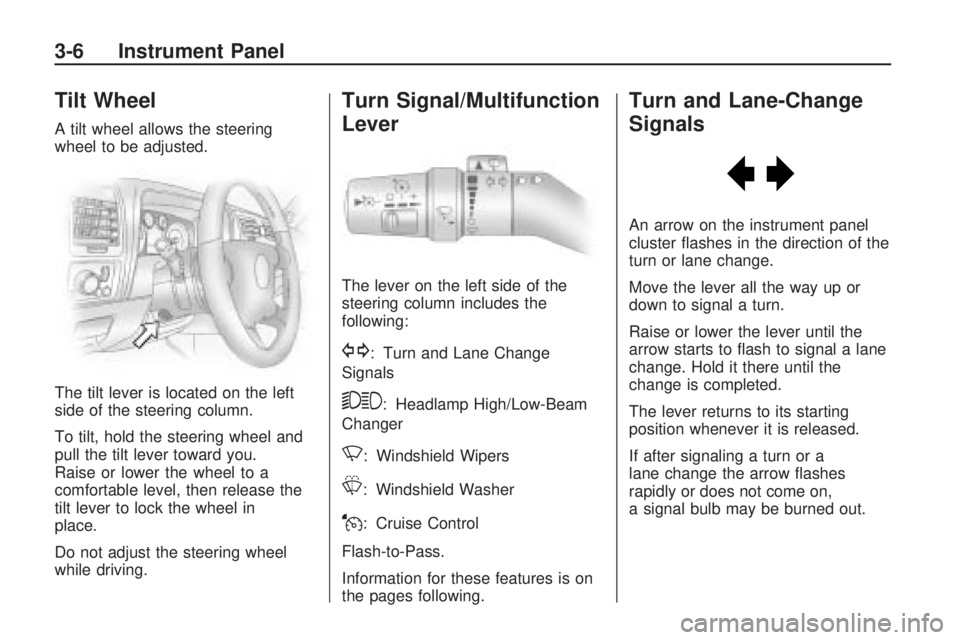
The tilt lever is located on the left
side of the steering column.
To tilt, hold the steering wheel and
pull the tilt lever toward you.
Raise or lower the wheel to a
comfortable level, then release the
tilt lever to lock the wheel in
place.
Do not adjust the steering wheel
while driving.
Turn Signal/Multifunction
Lever
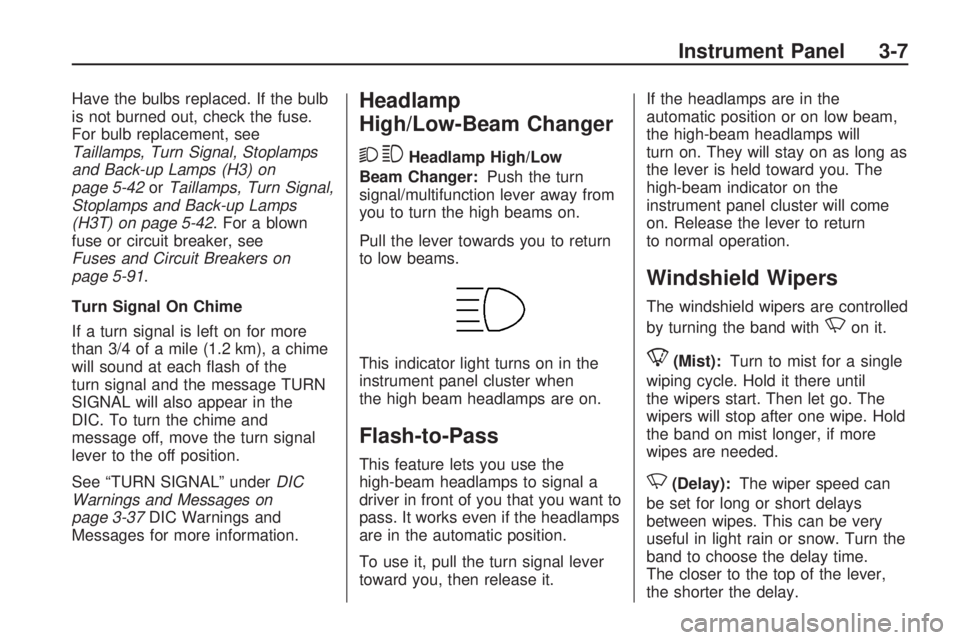
The lever on the left side of the
steering column includes the
following:
G: Turn and Lane Change
Signals
53: Headlamp High/Low-Beam
Changer
N: Windshield Wipers
L: Windshield Washer
J: Cruise Control
Flash-to-Pass.
Information for these features is on
the pages following.
Turn and Lane-Change
Signals
An arrow on the instrument panel
cluster �ashes in the direction of the
turn or lane change.
Move the lever all the way up or
down to signal a turn.
Raise or lower the lever until the
arrow starts to �ash to signal a lane
change. Hold it there until the
change is completed.
The lever returns to its starting
position whenever it is released.
If after signaling a turn or a
lane change the arrow �ashes
rapidly or does not come on,
a signal bulb may be burned out.
3-6 Instrument Panel
Page 125 of 382
Have the bulbs replaced. If the bulb
is not burned out, check the fuse.
For bulb replacement, see
Taillamps, Turn Signal, Stoplamps
and Back-up Lamps (H3) on
page 5-42orTaillamps, Turn Signal,
Stoplamps and Back-up Lamps
(H3T) on page 5-42. For a blown
fuse or circuit breaker, see
Fuses and Circuit Breakers on
page 5-91.
Turn Signal On Chime
If a turn signal is left on for more
than 3/4 of a mile (1.2 km), a chime
will sound at each �ash of the
turn signal and the message TURN
SIGNAL will also appear in the
DIC. To turn the chime and
message off, move the turn signal
lever to the off position.
See “TURN SIGNAL” underDIC
Warnings and Messages on
page 3-37DIC Warnings and
Messages for more information.Headlamp
High/Low-Beam Changer
23
Headlamp High/Low
Beam Changer:Push the turn
signal/multifunction lever away from
you to turn the high beams on.
Pull the lever towards you to return
to low beams.
This indicator light turns on in the
instrument panel cluster when
the high beam headlamps are on.
Flash-to-Pass
This feature lets you use the
high-beam headlamps to signal a
driver in front of you that you want to
pass. It works even if the headlamps
are in the automatic position.
To use it, pull the turn signal lever
toward you, then release it.If the headlamps are in the
automatic position or on low beam,
the high-beam headlamps will
turn on. They will stay on as long as
the lever is held toward you. The
high-beam indicator on the
instrument panel cluster will come
on. Release the lever to return
to normal operation.
Windshield Wipers
The windshield wipers are controlled
by turning the band with
Non it.
8(Mist):Turn to mist for a single
wiping cycle. Hold it there until
the wipers start. Then let go. The
wipers will stop after one wipe. Hold
the band on mist longer, if more
wipes are needed.
N(Delay):The wiper speed can
be set for long or short delays
between wipes. This can be very
useful in light rain or snow. Turn the
band to choose the delay time.
The closer to the top of the lever,
the shorter the delay.
Instrument Panel 3-7
Page 130 of 382
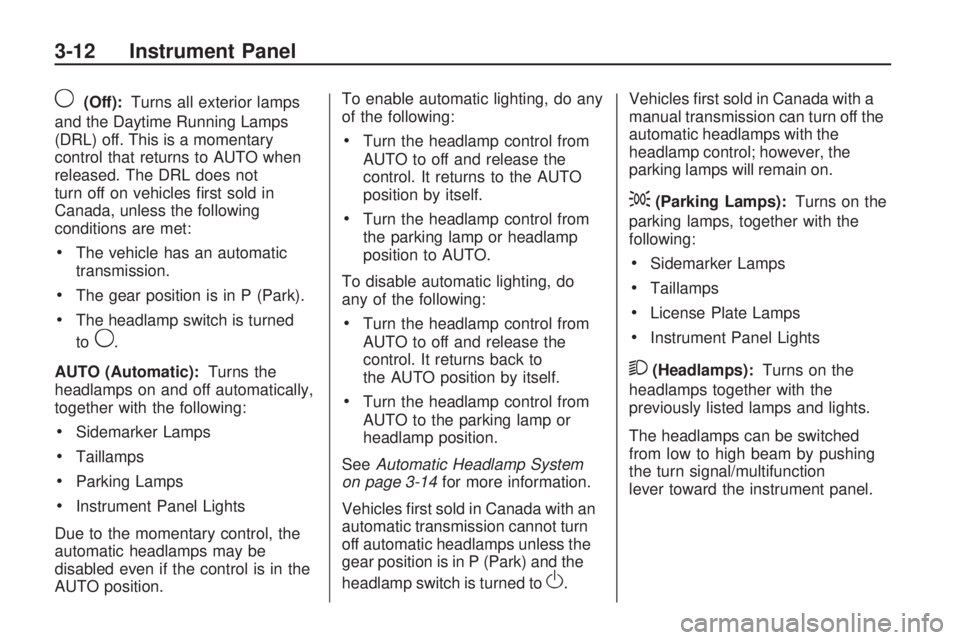
9(Off):Turns all exterior lamps
and the Daytime Running Lamps
(DRL) off. This is a momentary
control that returns to AUTO when
released. The DRL does not
turn off on vehicles �rst sold in
Canada, unless the following
conditions are met:
The vehicle has an automatic
transmission.
The gear position is in P (Park).
The headlamp switch is turned
to
9.
AUTO (Automatic):Turns the
headlamps on and off automatically,
together with the following:
Sidemarker Lamps
Taillamps
Parking Lamps
Instrument Panel Lights
Due to the momentary control, the
automatic headlamps may be
disabled even if the control is in the
AUTO position.To enable automatic lighting, do any
of the following:
Turn the headlamp control from
AUTO to off and release the
control. It returns to the AUTO
position by itself.
Turn the headlamp control from
the parking lamp or headlamp
position to AUTO.
To disable automatic lighting, do
any of the following:
Turn the headlamp control from
AUTO to off and release the
control. It returns back to
the AUTO position by itself.
Turn the headlamp control from
AUTO to the parking lamp or
headlamp position.
SeeAutomatic Headlamp System
on page 3-14for more information.
Vehicles �rst sold in Canada with an
automatic transmission cannot turn
off automatic headlamps unless the
gear position is in P (Park) and the
headlamp switch is turned to
O.Vehicles �rst sold in Canada with a
manual transmission can turn off the
automatic headlamps with the
headlamp control; however, the
parking lamps will remain on.
;(Parking Lamps):Turns on the
parking lamps, together with the
following:
Sidemarker Lamps
Taillamps
License Plate Lamps
Instrument Panel Lights
2(Headlamps):Turns on the
headlamps together with the
previously listed lamps and lights.
The headlamps can be switched
from low to high beam by pushing
the turn signal/multifunction
lever toward the instrument panel.
3-12 Instrument Panel