door lock Hyundai Accent 2006 Workshop Manual
[x] Cancel search | Manufacturer: HYUNDAI, Model Year: 2006, Model line: Accent, Model: Hyundai Accent 2006Pages: 599, PDF Size: 17.59 MB
Page 415 of 599
1CONTROLS AND EQUIPMENT
8ANTI-THEFT ALARM SYSTEM
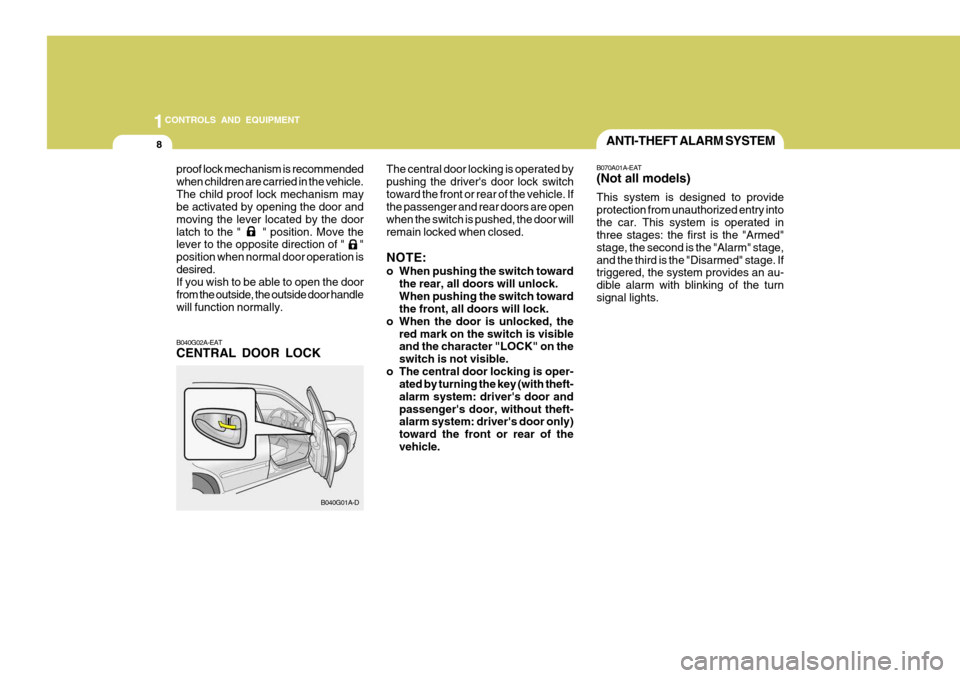
B040G02A-EAT CENTRAL DOOR LOCK
proof lock mechanism is recommended when children are carried in the vehicle.The child proof lock mechanism may be activated by opening the door and moving the lever located by the doorlatch to the " " position. Move the lever to the opposite direction of " " position when normal door operation isdesired. If you wish to be able to open the door from the outside, the outside door handlewill function normally. B040G01A-DThe central door locking is operated bypushing the driver's door lock switchtoward the front or rear of the vehicle. If the passenger and rear doors are open when the switch is pushed, the door willremain locked when closed. NOTE:
o When pushing the switch toward
the rear, all doors will unlock. When pushing the switch toward the front, all doors will lock.
o When the door is unlocked, the red mark on the switch is visibleand the character "LOCK" on the switch is not visible.
o The central door locking is oper- ated by turning the key (with theft-alarm system: driver's door andpassenger's door, without theft- alarm system: driver's door only) toward the front or rear of thevehicle. B070A01A-EAT (Not all models) This system is designed to provide protection from unauthorized entry intothe car. This system is operated in three stages: the first is the "Armed" stage, the second is the "Alarm" stage,and the third is the "Disarmed" stage. If triggered, the system provides an au- dible alarm with blinking of the turnsignal lights.
Page 416 of 599
9
1
CONTROLS AND EQUIPMENT
CAUTION:
Do not arm the system until all pas- sengers have left the car. If the sys- tem is armed while a passenger(s) remains in the car, the alarm may beactivated when the remaining passenger(s) leaves the car.! B070C04A-EAT Alarm Stage The alarm will be activated if any of the following occurs while the car is parkedand the system is armed.
1) A door or hatchback door (3/5 Door)
is opened without using the trans- mitter.
2) The boot lid (4 Door) is opened with- out using the key.
3) The engine bonnet is opened. The alarming horn will sound and the turn signal light will blink continuously for 27 seconds. To turn off the system,unlock the door or hatchback door with the transmitter.
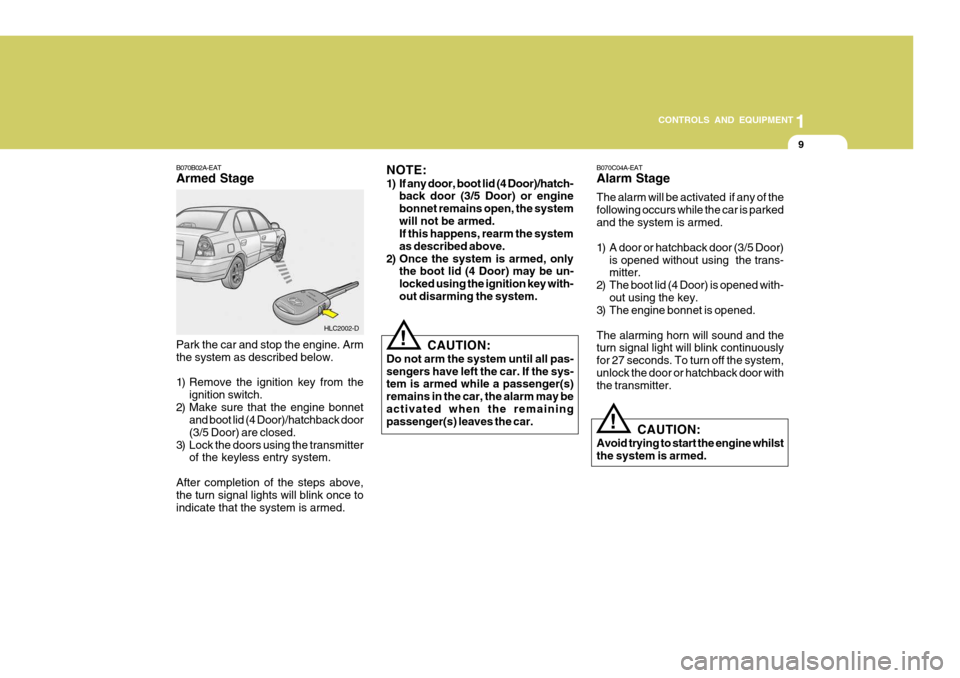
Park the car and stop the engine. Arm the system as described below.
1) Remove the ignition key from the
ignition switch.
2) Make sure that the engine bonnet and boot lid (4 Door)/hatchback door (3/5 Door) are closed.
3) Lock the doors using the transmitter of the keyless entry system.
After completion of the steps above, the turn signal lights will blink once to indicate that the system is armed. HLC2002-D
B070B02A-EAT Armed Stage
NOTE:
1) If any door, boot lid (4 Door)/hatch-
back door (3/5 Door) or engine bonnet remains open, the systemwill not be armed. If this happens, rearm the system as described above.
2) Once the system is armed, only the boot lid (4 Door) may be un-locked using the ignition key with-out disarming the system.
CAUTION:
Avoid trying to start the engine whilst the system is armed.
!
Page 417 of 599
1CONTROLS AND EQUIPMENT
10
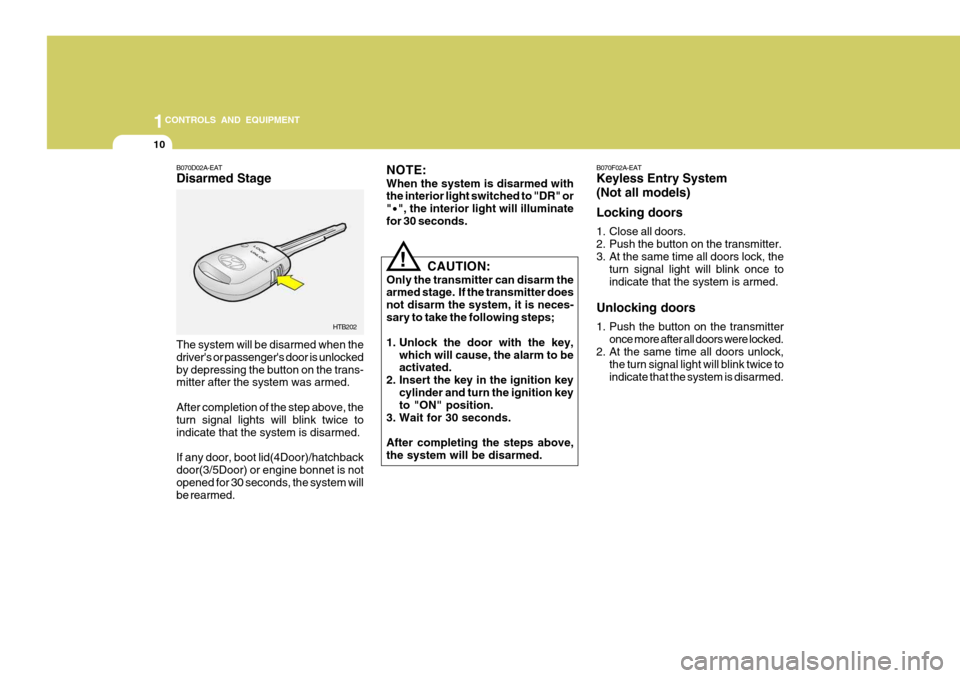
B070D02A-EAT Disarmed Stage The system will be disarmed when the driver's or passenger's door is unlockedby depressing the button on the trans- mitter after the system was armed. After completion of the step above, the turn signal lights will blink twice to indicate that the system is disarmed. If any door, boot lid(4Door)/hatchback door(3/5Door) or engine bonnet is notopened for 30 seconds, the system will be rearmed. HTB202
CAUTION:
Only the transmitter can disarm thearmed stage. If the transmitter does not disarm the system, it is neces-sary to take the following steps;
1. Unlock the door with the key, which will cause, the alarm to be activated.
2. Insert the key in the ignition key
cylinder and turn the ignition keyto "ON" position.
3. Wait for 30 seconds. After completing the steps above, the system will be disarmed.
!
NOTE: When the system is disarmed with the interior light switched to "DR" or "
· ", the interior light will illuminate
for 30 seconds. B070F02A-EAT Keyless Entry System (Not all models) Locking doors
1. Close all doors.
2. Push the button on the transmitter.
3. At the same time all doors lock, the
turn signal light will blink once toindicate that the system is armed.
Unlocking doors
1. Push the button on the transmitter once more after all doors were locked.
2. At the same time all doors unlock,
the turn signal light will blink twice to indicate that the system is disarmed.
Page 418 of 599
11
1
CONTROLS AND EQUIPMENT
POWER WINDOWS
B060A01E-AAT
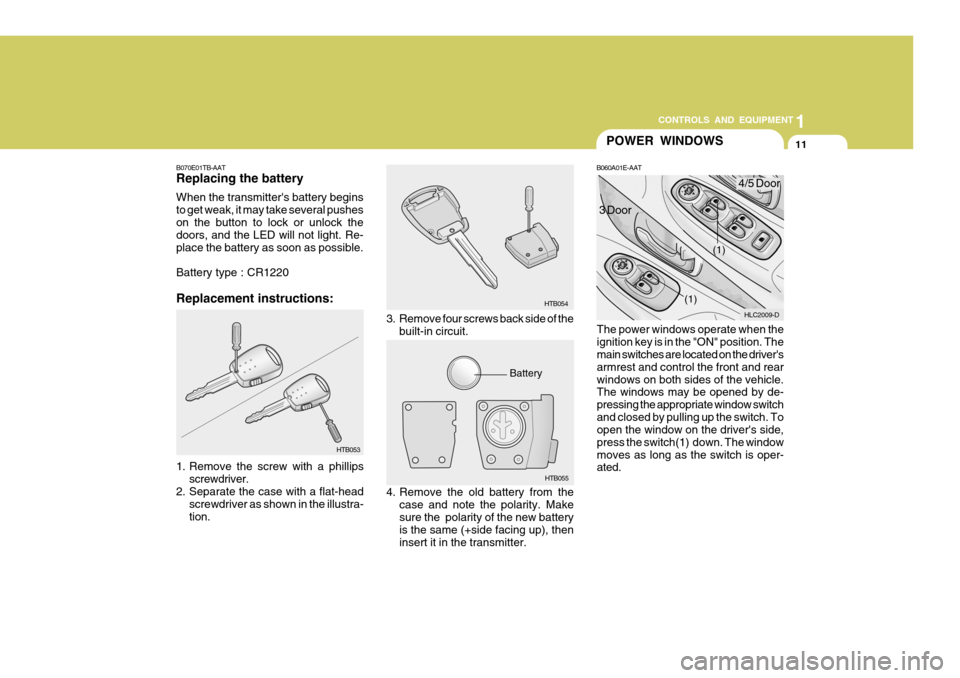
The power windows operate when the ignition key is in the "ON" position. The main switches are located on the driver's armrest and control the front and rearwindows on both sides of the vehicle. The windows may be opened by de- pressing the appropriate window switchand closed by pulling up the switch. To open the window on the driver's side, press the switch(1) down. The windowmoves as long as the switch is oper- ated.
3. Remove four screws back side of the
built-in circuit. HTB054
HTB055
Battery HLC2009-D
(1)
(1)4/5 Door
3 Door
4. Remove the old battery from the case and note the polarity. Make sure the polarity of the new battery is the same (+side facing up), then insert it in the transmitter.
B070E01TB-AAT Replacing the battery When the transmitter's battery begins to get weak, it may take several pusheson the button to lock or unlock the doors, and the LED will not light. Re- place the battery as soon as possible. Battery type : CR1220 Replacement instructions:
1. Remove the screw with a phillips
screwdriver.
2. Separate the case with a flat-head
screwdriver as shown in the illustra- tion. HTB053
Page 419 of 599
1CONTROLS AND EQUIPMENT
12SEAT
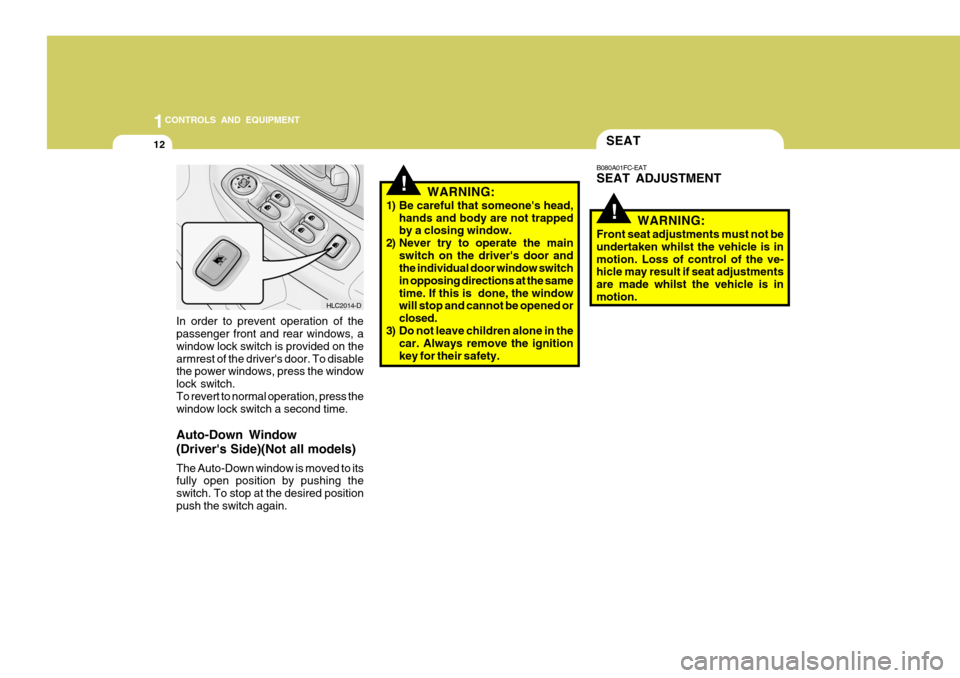
In order to prevent operation of the passenger front and rear windows, a window lock switch is provided on thearmrest of the driver's door. To disable the power windows, press the window lock switch.To revert to normal operation, press the window lock switch a second time. Auto-Down Window (Driver's Side)(Not all models) The Auto-Down window is moved to its fully open position by pushing the switch. To stop at the desired positionpush the switch again. HLC2014-D
!
!
B080A01FC-EAT SEAT ADJUSTMENT
WARNING:
Front seat adjustments must not be undertaken whilst the vehicle is inmotion. Loss of control of the ve- hicle may result if seat adjustments are made whilst the vehicle is inmotion.
WARNING:
1) Be careful that someone's head, hands and body are not trapped by a closing window.
2) Never try to operate the main switch on the driver's door andthe individual door window switch in opposing directions at the sametime. If this is done, the window will stop and cannot be opened or closed.
3) Do not leave children alone in the car. Always remove the ignitionkey for their safety.
Page 422 of 599

15
1
CONTROLS AND EQUIPMENT
HLC2028-D
B080F01S-EAT Seat Cushion Height Adjustment (Driver's seat only)(Not all models) To raise or lower the front part of the seat cushion, turn the front knob for- ward or rearward.To raise or lower the rear part of the seat cushion, turn the rear knob forward or rearward.Clockwise raises the seat, counter- clockwise lowers the seat. B130A02A-EAT REAR SEAT ENTRY (For 3-door model)
HTB258-D
(1)
(2)
The driver's and front passenger's seatback should be tilted to enter the rear seat.By pulling up on the recliner control lever (1) at the outside of the driver's and front passenger's seat, the seatbackwill tilt forward and the seat will auto- matically slide forward. Rear seat occupants can tilt the frontpassenger seatback by depressing the foot lever (2) as shown in the drawing. (Front passenger's seat only)
B080G02A-D
B080F01S-EAT Adjusting Armrest Angle (Driver's seat only) The armrest will be raised or lowered manually. To raise the armrest, pull it up.To lower it, press the armrest down.
Page 427 of 599
1CONTROLS AND EQUIPMENT
20
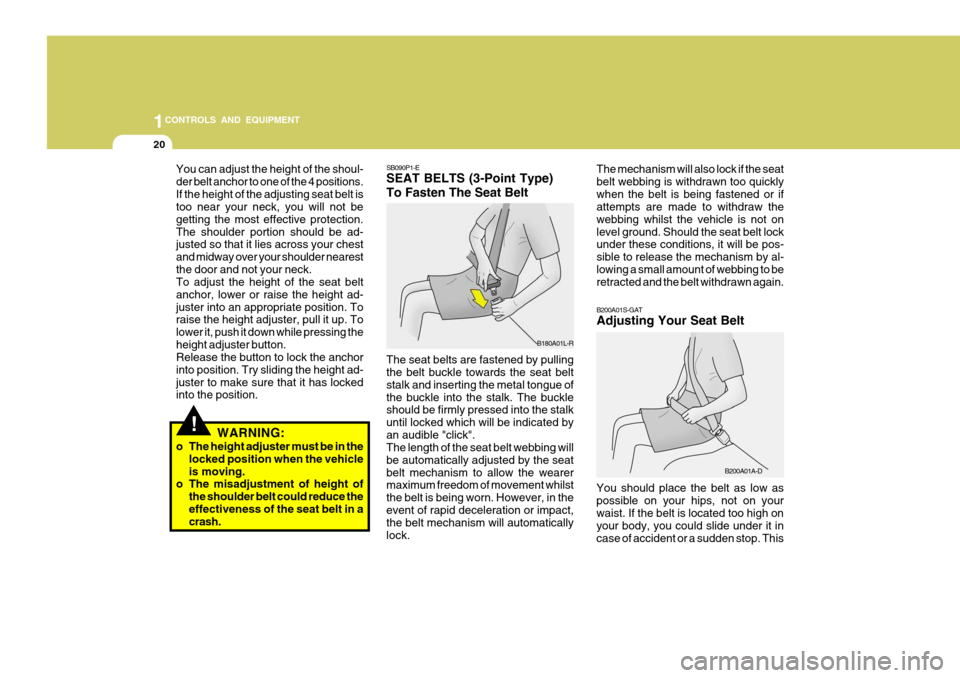
SB090P1-E SEAT BELTS (3-Point Type) To Fasten The Seat Belt The seat belts are fastened by pulling the belt buckle towards the seat belt stalk and inserting the metal tongue ofthe buckle into the stalk. The buckle should be firmly pressed into the stalk until locked which will be indicated byan audible "click". The length of the seat belt webbing will be automatically adjusted by the seatbelt mechanism to allow the wearer maximum freedom of movement whilst the belt is being worn. However, in theevent of rapid deceleration or impact, the belt mechanism will automatically lock. B180A01L-R
B200A01S-GAT Adjusting Your Seat Belt
B200A01A-D
The mechanism will also lock if the seat belt webbing is withdrawn too quicklywhen the belt is being fastened or if attempts are made to withdraw the webbing whilst the vehicle is not onlevel ground. Should the seat belt lock under these conditions, it will be pos- sible to release the mechanism by al-lowing a small amount of webbing to be retracted and the belt withdrawn again.
You should place the belt as low as possible on your hips, not on your waist. If the belt is located too high on your body, you could slide under it incase of accident or a sudden stop. This
!
You can adjust the height of the shoul- der belt anchor to one of the 4 positions.If the height of the adjusting seat belt is too near your neck, you will not be getting the most effective protection.The shoulder portion should be ad- justed so that it lies across your chest and midway over your shoulder nearestthe door and not your neck. To adjust the height of the seat belt anchor, lower or raise the height ad-juster into an appropriate position. To raise the height adjuster, pull it up. To lower it, push it down while pressing theheight adjuster button. Release the button to lock the anchor into position. Try sliding the height ad-juster to make sure that it has locked into the position. WARNING:
o The height adjuster must be in the locked position when the vehicle is moving.
o The misadjustment of height of
the shoulder belt could reduce theeffectiveness of the seat belt in a crash.
Page 428 of 599
21
1
CONTROLS AND EQUIPMENT
could result of death, serious injury or property damage. Both arms should notbe under or over the belt. Rather, one should be over and the other under, as shown in the illustration.Never wear the seat belt under the arm nearest the door.
B210A01A-AAT To Release the Seat Belt
The seat belt is released by pressing the release button in the locking buckle. When it is released, the belt should automatically draw back into the retrac-tor. If this does not happen, check the belt to be sure it is not twisted, then try again. B210A01L-R
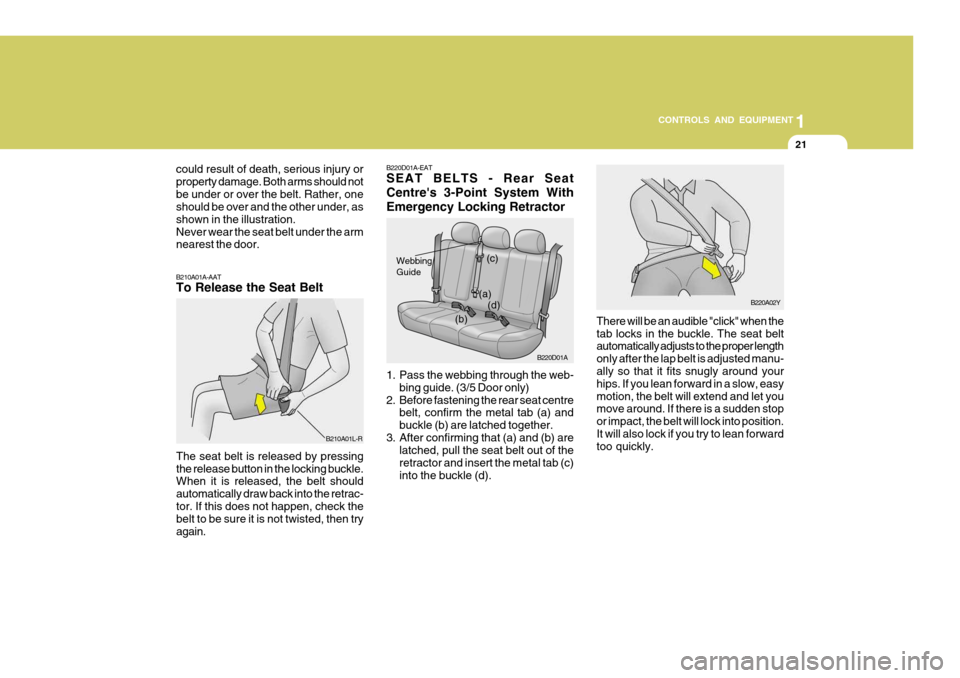
B220D01A-EAT SEAT BELTS - Rear Seat Centre's 3-Point System WithEmergency Locking Retractor
1. Pass the webbing through the web-
bing guide. (3/5 Door only)
2. Before fastening the rear seat centre belt, confirm the metal tab (a) and buckle (b) are latched together.
3. After confirming that (a) and (b) are latched, pull the seat belt out of theretractor and insert the metal tab (c)into the buckle (d). B220D01A
(a)
Webbing Guide
(c)
(d)
(b) B220A02Y
There will be an audible "click" when the tab locks in the buckle. The seat belt automatically adjusts to the proper length only after the lap belt is adjusted manu- ally so that it fits snugly around your hips. If you lean forward in a slow, easymotion, the belt will extend and let you move around. If there is a sudden stop or impact, the belt will lock into position.It will also lock if you try to lean forward too quickly.
Page 442 of 599
35
1
CONTROLS AND EQUIPMENT
!
Side airbag sensor
WARNING:
o The side impact airbag is supple- mental to the driver's and the passenger's three point seat beltsystems and is not a substitute for them. Therefore your seat belts must be worn at all times whilstthe vehicle is in motion. The airbags deploy only in certain side impact conditions severe enoughto cause significant injury to the vehicle occupants. HLC2036-D
o For best protection from the side
impact airbag system and to avoid being injured is by the deploying side impact airbag, both front seatoccupants should sit in an upright position with the seat belt prop- erly fastened. The driver's handsshould be placed on the steering wheel at the 9:00 and 3:00 o'clock positions. The passenger's armsand hands should be placed in their laps.
o Do not use any accessory seat covers.
o Use of seat covers could reduce or prevent the effectiveness of the system.
o Do not install any accessories on the side or near the side impactairbag.
o Do not use excessive force on the side of the seat.
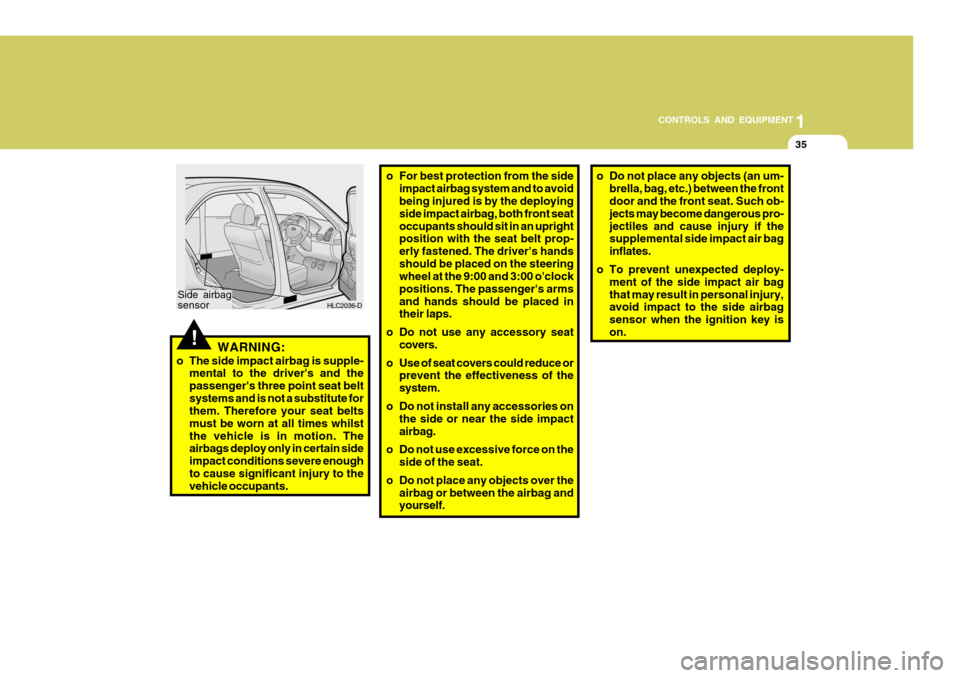
o Do not place any objects over the airbag or between the airbag and yourself.o Do not place any objects (an um-brella, bag, etc.) between the front door and the front seat. Such ob- jects may become dangerous pro-jectiles and cause injury if the supplemental side impact air bag inflates.
o To prevent unexpected deploy- ment of the side impact air bagthat may result in personal injury, avoid impact to the side airbag sensor when the ignition key ison.
Page 452 of 599
45
1
CONTROLS AND EQUIPMENT
B260S01B-GAT
Diesel Pre-heat Indicator Light(Diesel Engine)
The indicator light illuminates amber when the ignition switch is placed at the "ON" position. The engine can bestarted after the pre-heat indicator light goes off. The illuminating time varies with the water temperature, air tem-perature and battery condition. NOTE: If the engine were not started within 10 seconds after the preheating is completed, turn the ignition key once more to the "LOCK" position, andthen to the "ON" position, in order to preheat again.
B260U01TB-EAT Immobilizer Warning Indicator Light
This indicator light comes on for some seconds after the ignition key is turned to the "ON" position. At this time, youcan start the engine. The light goes out after the engine is running. In case this light goes out before you start the en-gine, you must turn to the "LOCK" position and restart the engine. In case this light blinks for five seconds whenthe ignition key is turned to "ON" posi- tion, this indicates that the immobilizer system is out of order. At this time,consult to the Hyundai dealer.
B900A01A-GAT ACOUSTIC WARNING SOUND The acoustic warning chime sounds when the tail lights are on and the door in driver side is open. This prevents the battery from discharging when the caris left with the tail lights on. The chime sounds until the tail lights are turned off.
B265A01B-GAT Fuel Filter Warning Light (Diesel Engine)
This light illuminates when the ignition switch is set to the "ON" position and goes off after the engine has started. If it lights up while the engine is running,
the "ON" position, take your car to your nearest authorized Hyundai dealer andhave the system checked. it indicates that water has accumulatedinside the fuel filter. If this happens,remove the water from the fuel filter. (Refer to "6-26 page") SB210S1-E BRAKE PAD WEAR INDICATOR The front brake disc pads are fitted with an audible wear indicator which will cause a high pitched noise to be emit- ted when the remaining amount of fric-tion lining is below the specified value. When the wear indicator is heard, the brake pads should be replaced withoutdelay to avoid damage occurring to the brake discs and a severe reduction in braking efficiency.