tow Hyundai Accent 2007 Owner's Manual
[x] Cancel search | Manufacturer: HYUNDAI, Model Year: 2007, Model line: Accent, Model: Hyundai Accent 2007Pages: 282, PDF Size: 10.55 MB
Page 16 of 282
1FEATURES OF YOUR HYUNDAI
4KEYS
B020B01FC-GAT During the First 1,000 Km (600 Miles) (Diesel Engine) No formal "break-in" procedure is re- quired with your new Hyundai. How- ever, you can contribute to the eco- nomical operation and durability of your Hyundai by observing the following rec- ommendations during the first 1,000km (600 miles).
o While driving, keep your engine speed (rpm, or revolutions per minute) within 3,000 rpm.
o While driving, keep under three quar- ters of maximum speed.
o Use moderate acceleration. Don't
start, depress the accelerator pedal fully.
o For the first 300 km (200 miles), try
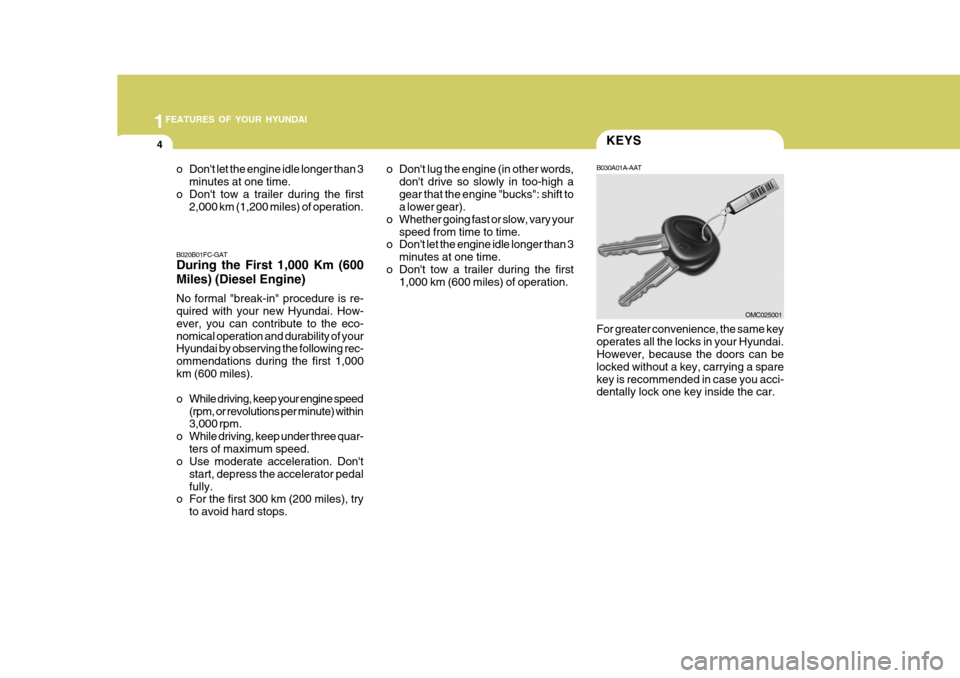
to avoid hard stops. B030A01A-AAT For greater convenience, the same key operates all the locks in your Hyundai. However, because the doors can be locked without a key, carrying a sparekey is recommended in case you acci- dentally lock one key inside the car.
o Don't lug the engine (in other words,
don't drive so slowly in too-high a gear that the engine "bucks": shift to a lower gear).
o Whether going fast or slow, vary your speed from time to time.
o Don't let the engine idle longer than 3
minutes at one time.
o Don't tow a trailer during the first 1,000 km (600 miles) of operation.
OMC025001
o Don't let the engine idle longer than 3
minutes at one time.
o Don't tow a trailer during the first 2,000 km (1,200 miles) of operation.
Page 19 of 282
1
FEATURES OF YOUR HYUNDAI
7
!
DOOR LOCKS
NOTE: If the engine dies while driving after limp home procedure, you can start your engine within 8 seconds with-out limp home procedure again.
5. If the immobilizer indicator blinks for five seconds, you have to try the limp home procedure again from the beginning.
After doing the limp home procedure,you have to consult with your autho-rized Hyundai dealer as soon as pos- sible.
! CAUTION:
o If you fail to try the limp home procedure with the sequence of three times, you have to wait for about one hour to do the limp home procedure again.
o If you cannot start your engine in spite of limp home procedure, haveyour vehicle towed by an autho-rized Hyundai dealer.
B040A02Y-AAT B040B01A-AAT
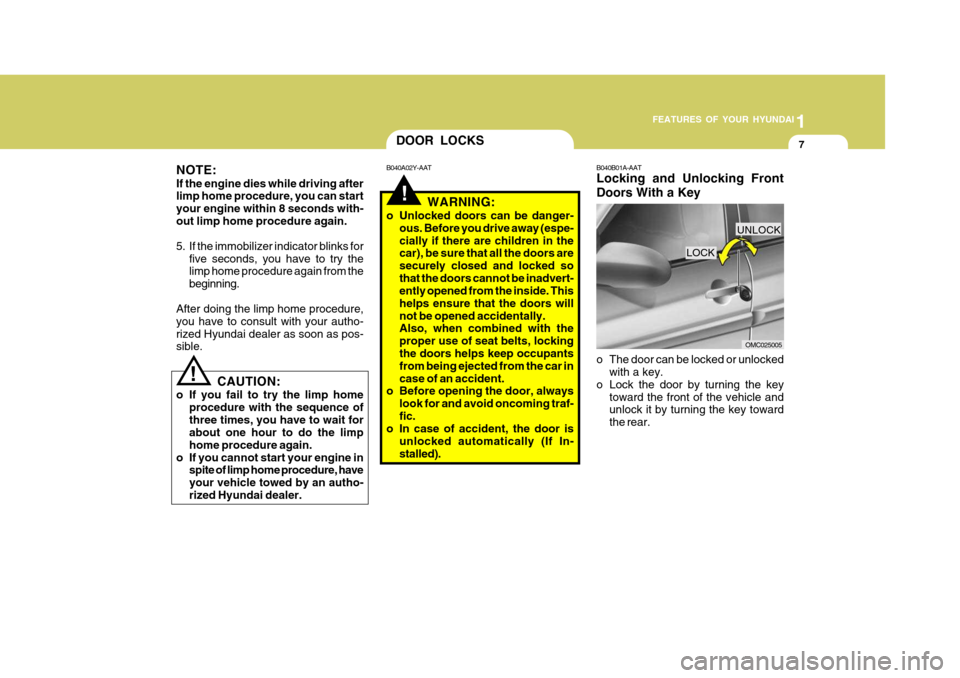
Locking and Unlocking Front Doors With a Key
WARNING:
o Unlocked doors can be danger- ous. Before you drive away (espe- cially if there are children in the car), be sure that all the doors are securely closed and locked sothat the doors cannot be inadvert- ently opened from the inside. This helps ensure that the doors willnot be opened accidentally. Also, when combined with the proper use of seat belts, locking the doors helps keep occupants from being ejected from the car incase of an accident.
o Before opening the door, always
look for and avoid oncoming traf-fic.
o In case of accident, the door is
unlocked automatically (If In-stalled). o The door can be locked or unlocked
with a key.
o Lock the door by turning the key
toward the front of the vehicle and unlock it by turning the key toward the rear.
LOCK
UNLOCK
OMC025005
Page 21 of 282
1
FEATURES OF YOUR HYUNDAI
9THEFT-ALARM SYSTEM
To engage the child-protector feature so the door cannot be opened from theinside, move the child-protector lever to the " " position and close the door. Move the lever to the " " positionwhen normal door operation is desired. If you wish to be able to open the door from the outside, the outside door handle will function normally.
B070A01A-AAT (If Installed) This system is designed to provide protection from unauthorized entry intothe car. This system is operated in three stages: the first is the "Armed" stage, the second is the "Alarm" stage,and the third is the "Disarmed" stage. If triggered, the system provides an au- dible alarm with blinking of the turnsignal lights.NOTE:
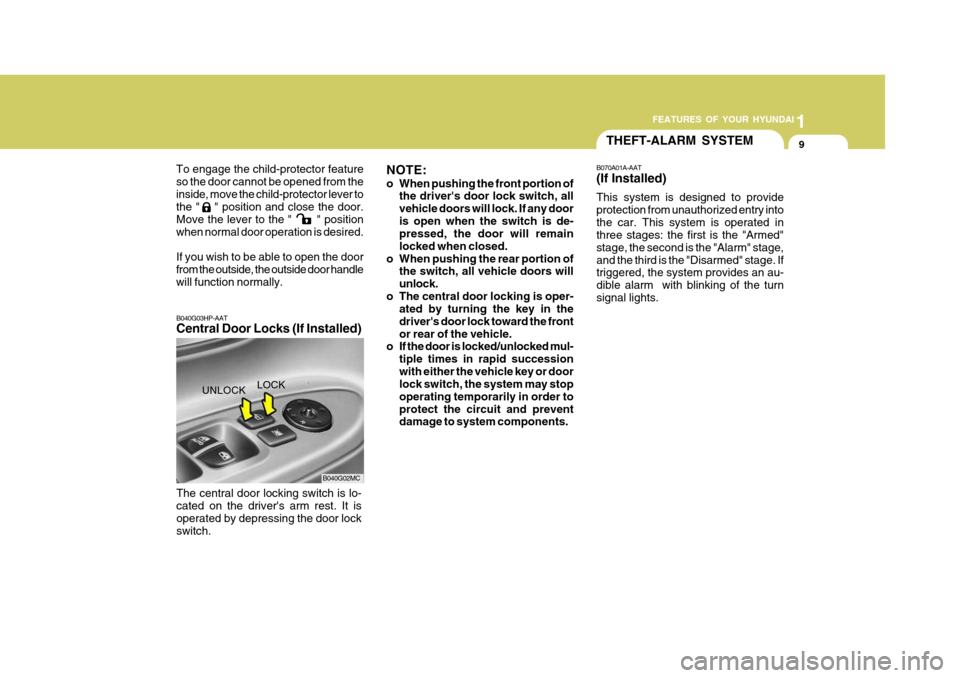
o When pushing the front portion of the driver's door lock switch, all vehicle doors will lock. If any dooris open when the switch is de- pressed, the door will remain locked when closed.
o When pushing the rear portion of the switch, all vehicle doors willunlock.
o The central door locking is oper- ated by turning the key in thedriver's door lock toward the frontor rear of the vehicle.
o If the door is locked/unlocked mul-
tiple times in rapid successionwith either the vehicle key or door lock switch, the system may stop operating temporarily in order toprotect the circuit and prevent damage to system components.
B040G03HP-AAT Central Door Locks (If Installed) The central door locking switch is lo- cated on the driver's arm rest. It is operated by depressing the door lock switch.
B040G02MC
UNLOCK
LOCK
Page 27 of 282
1
FEATURES OF YOUR HYUNDAI
15
!
!
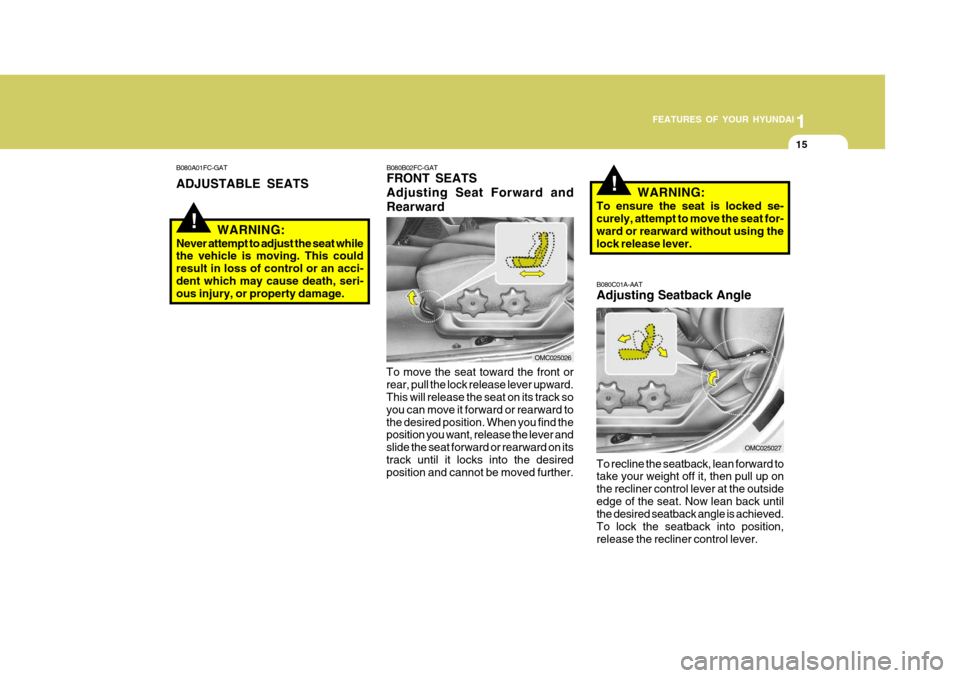
To recline the seatback, lean forward to take your weight off it, then pull up on the recliner control lever at the outsideedge of the seat. Now lean back until the desired seatback angle is achieved. To lock the seatback into position,release the recliner control lever.
B080C01A-AAT Adjusting Seatback Angle
To move the seat toward the front or rear, pull the lock release lever upward. This will release the seat on its track so you can move it forward or rearward tothe desired position. When you find the position you want, release the lever and slide the seat forward or rearward on itstrack until it locks into the desired position and cannot be moved further. WARNING:
To ensure the seat is locked se-curely, attempt to move the seat for- ward or rearward without using thelock release lever.
B080A01FC-GAT ADJUSTABLE SEATS
B080B02FC-GAT FRONT SEATS Adjusting Seat Forward andRearward
WARNING:
Never attempt to adjust the seat while the vehicle is moving. This could result in loss of control or an acci-dent which may cause death, seri- ous injury, or property damage.
OMC025026
OMC025027
Page 29 of 282

1
FEATURES OF YOUR HYUNDAI
17
B100A01Y-AAT SEAT WARMER (If Installed) The seat warmer is provided to warm the front seats during cold weather. With the ignition key in the "ON" posi- tion, push either of the switches towarm the driver's seat or the passenger's seat. During mild weather or under conditionsthat the operation of the seat warmer is not needed, keep the switches in the "OFF" position.
B080F01S-AAT Seat Cushion Height Adjustment (Driver's Seat Only) (If Installed)
To raise or lower the front part of the seat cushion, turn the front knob for- ward or rearward. To raise or lower the rear part of the seat cushion, turn therear knob forward or rearward.o Do not adjust the headrest height while the vehicle is in motion.
B080F01MC
OMC025033
B080G01A-GAT Adjusting Armrest Angle (Driver's side only) (If Installed)
OMC025031
The armrest will be raised or lowered manually. To raise the armrest, pull it up. To lower it, press the armrest down.
Page 32 of 282
1FEATURES OF YOUR HYUNDAI
20
B090A02MC
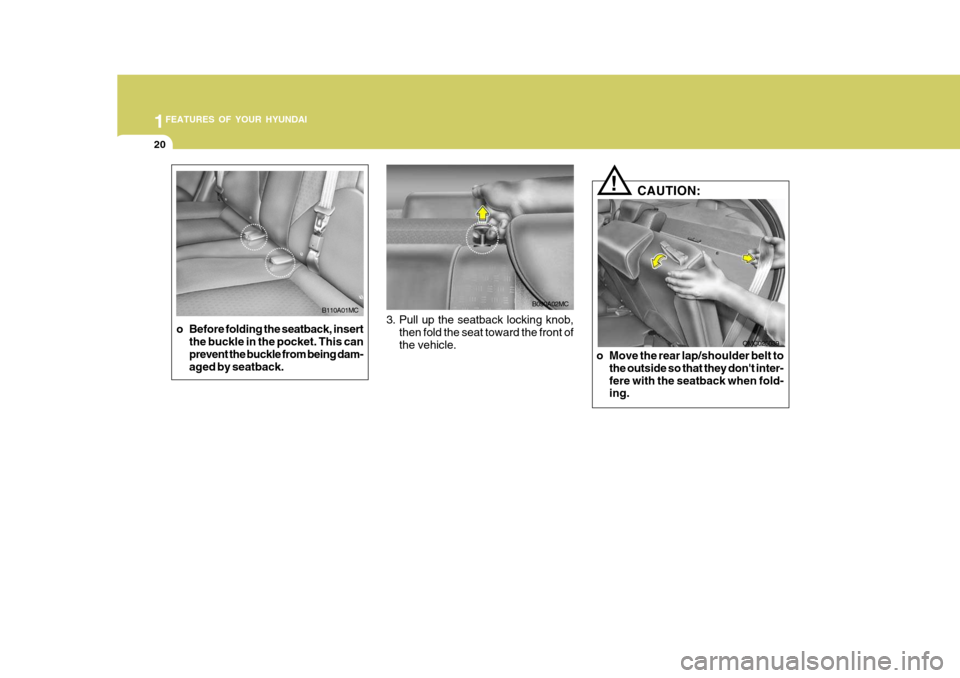
3. Pull up the seatback locking knob, then fold the seat toward the front of the vehicle. CAUTION:
!
OMC025039
o Move the rear lap/shoulder belt to the outside so that they don't inter- fere with the seatback when fold- ing.
o Before folding the seatback, insert
the buckle in the pocket. This canprevent the buckle from being dam- aged by seatback.
B110A01MC
Page 47 of 282
1
FEATURES OF YOUR HYUNDAI
35
If you need to tighten the belt, pull more webbing toward the retractor. NOTE:
o Before installing the child restraint system, read the instructions sup- plied by the child restraint systemmanufacturer.
o If the seat belt does not operate as
described, have the systemchecked immediately by your au- thorized Hyundai dealer.
!
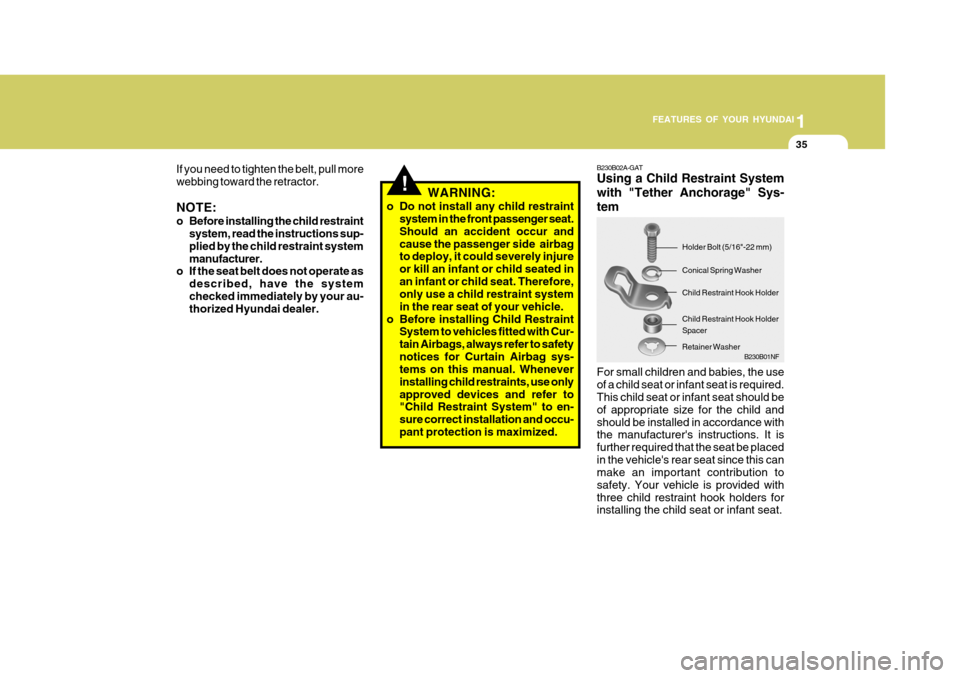
B230B01NF
WARNING:
o Do not install any child restraint system in the front passenger seat. Should an accident occur andcause the passenger side airbag to deploy, it could severely injure or kill an infant or child seated inan infant or child seat. Therefore, only use a child restraint system in the rear seat of your vehicle.
o Before installing Child Restraint System to vehicles fitted with Cur-tain Airbags, always refer to safetynotices for Curtain Airbag sys- tems on this manual. Whenever installing child restraints, use onlyapproved devices and refer to "Child Restraint System" to en- sure correct installation and occu-pant protection is maximized. Child Restraint Hook Holder Spacer
B230B02A-GAT Using a Child Restraint System with "Tether Anchorage" Sys-tem For small children and babies, the use of a child seat or infant seat is required. This child seat or infant seat should be of appropriate size for the child andshould be installed in accordance with the manufacturer's instructions. It is further required that the seat be placedin the vehicle's rear seat since this can make an important contribution to safety. Your vehicle is provided withthree child restraint hook holders for installing the child seat or infant seat. Holder Bolt (5/16"-22 mm) Conical Spring Washer Child Restraint Hook Holder
Retainer Washer
Page 65 of 282
1
FEATURES OF YOUR HYUNDAI
53
o Modification to SRS components
or wiring, including the addition of any kind of badges to the padcovers or modifications to the body structure, can adversely affect SRS performance and lead to possibleinjury.
o For cleaning the airbag pad cov-
ers, use only a soft, dry cloth orone which has been moistened with plain water. Solvents or clean- ers could adversely affect theairbag covers and proper deploy- ment of the system.
o No objects should be placed over or near the airbag modules on the steering wheel, instrument panel,and the front passenger's panel above the glove box, because any such object could cause harm ifthe vehicle is in a crash severe enough to cause the airbags to inflate.
o If the airbags inflate, they must be replaced by an authorized Hyundaidealer.o Do not tamper with or disconnect
SRS wiring, or other components of the SRS system. Doing so could result in injury, due to accidentalfiring of the airbags or by render- ing the SRS inoperative.
o If components of the airbag sys- tem must be discarded, or if thevehicle must be scrapped, certain safety precautions must be ob-served. Your Hyundai dealer knows these precautions and can give you the necessary informa-tion. Failure to follow these pre- cautions and procedures could increase the risk of personal in-jury.
o If you sell your vehicle, make cer-
tain that this manual is transferredto the new owner.
o If your car was flooded and has
soaked carpeting or water on floor-ing, you shouldn't try to start en- gine; have the car towed to autho- rized Hyundai dealer.
Page 72 of 282
1FEATURES OF YOUR HYUNDAI
60
!
B260H03A-AAT
Parking Brake/Low Brake Fluid Level Warning LightB260G01A-AATLow Oil Pressure Warning Light
!CAUTION:
If the oil pressure warning light stays on while the engine is running, seri- ous engine damage may result. Theoil pressure warning light comes on whenever there is insufficient oil pres- sure. In normal operation, it shouldcome on when the ignition switch is turned on, then go out when the en- gine is started. If the oil pressurewarning light stays on while the en- gine is running, there may be a seri- ous malfunction.If this happens, stop the car as soon as it is safe to do so, turn off the
engine and check the oil level. If the oil level is low, fill the engine oil to the proper level and start the engine again. If the light stays on with theengine running, turn the engine off immediately. In any instance where the oil light stays on when the engineis running, the engine should be checked by an authorized Hyundai dealer before the car is driven again. WARNING:
If you suspect brake trouble, have your brakes checked by a Hyundai dealer as soon as possible. Drivingyour car with a problem in either the brake electrical system or brake hy- draulic system is dangerous, andcould result in a serious injury or death.
Warning Light Operation The parking brake/brake fluid level warn- ing light should come on when theparking brake is applied and the ignition switch is turned to "ON" or "START". After the engine is started, the lightshould go out when the parking brake is released. If the parking brake is not applied, thewarning light should come on when the ignition switch is turned to "ON" or "START", then go out when the enginestarts. If the light comes on at any other time,you should slow the vehicle and bring itto a complete stop in a safe location off the roadway. The brake fluid level warn- ing light indicates that the brake fluidlevel in the brake master cylinder is low and hydraulic brake fluid conforming to DOT 3 or DOT 4 specifications shouldbe added. After adding fluid, if no other trouble is found, the car should be immediately and carefully driven to aHyundai dealer for inspection. If further trouble is experienced, the vehicle should not be driven at all but taken toa dealer by a professional towing ser- vice or some other safe method. Your Hyundai is equipped with dual-diagonal braking systems. This means you still have braking on two wheels even if one of the dual systems shouldfail. With only one of the dual systems working, more than normal pedal travel and greater pedal pressure are requiredto stop the car. Also, the car will not stop in as short a distance with only half of the brake system working. If thebrakes fail while you are driving, shift to a lower gear for additional engine brak- ing and stop the car as soon as it is safeto do so.
Page 85 of 282
1
FEATURES OF YOUR HYUNDAI
73
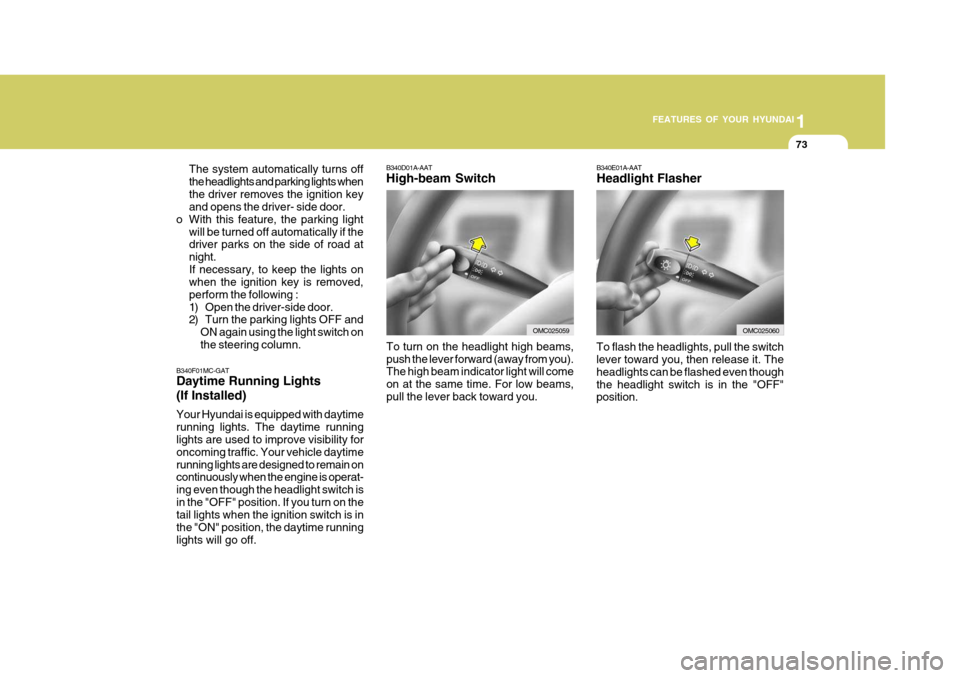
B340E01A-AAT Headlight Flasher
To flash the headlights, pull the switch lever toward you, then release it. The headlights can be flashed even thoughthe headlight switch is in the "OFF" position.
B340D01A-AAT High-beam Switch
B340F01MC-GAT Daytime Running Lights (If Installed) Your Hyundai is equipped with daytime running lights. The daytime running lights are used to improve visibility for oncoming traffic. Your vehicle daytimerunning lights are designed to remain on continuously when the engine is operat- ing even though the headlight switch isin the "OFF" position. If you turn on the tail lights when the ignition switch is in the "ON" position, the daytime runninglights will go off. The system automatically turns offthe headlights and parking lights whenthe driver removes the ignition key and opens the driver- side door.
o With this feature, the parking light
will be turned off automatically if thedriver parks on the side of road at night.If necessary, to keep the lights on when the ignition key is removed, perform the following :
1) Open the driver-side door.
2) Turn the parking lights OFF andON again using the light switch on the steering column.
OMC025060
To turn on the headlight high beams, push the lever forward (away from you). The high beam indicator light will come on at the same time. For low beams,pull the lever back toward you.OMC025059