heating Hyundai Accent 2016 - RHD (UK. Australia) User Guide
[x] Cancel search | Manufacturer: HYUNDAI, Model Year: 2016, Model line: Accent, Model: Hyundai Accent 2016Pages: 425, PDF Size: 8.62 MB
Page 168 of 425
Features of your vehicle
98 4
Manual heating and air condition-
ing
The heating and cooling system can be
controlled manually by pushing buttons
other than the AUTO button. In this case,
the system works sequentially according
to the order of buttons selected.
When pressing any button except the
AUTO button whilst using automatic
operation, the functions not selected will
be controlled automatically.
1. Start the engine.
2. Set the mode to the desired position.
For improving the effectiveness of
heating and cooling;
- Heating:
- Cooling:
3. Set the temperature control to the
desired position.
4. Set the air intake control to the outside
(fresh) air position.
5. Set the fan speed control to the
desired speed.
6. If air conditioning is desired, turn the
air conditioning system on.
Press the AUTO button in order to con-
vert to full automatic control of the sys-
tem.
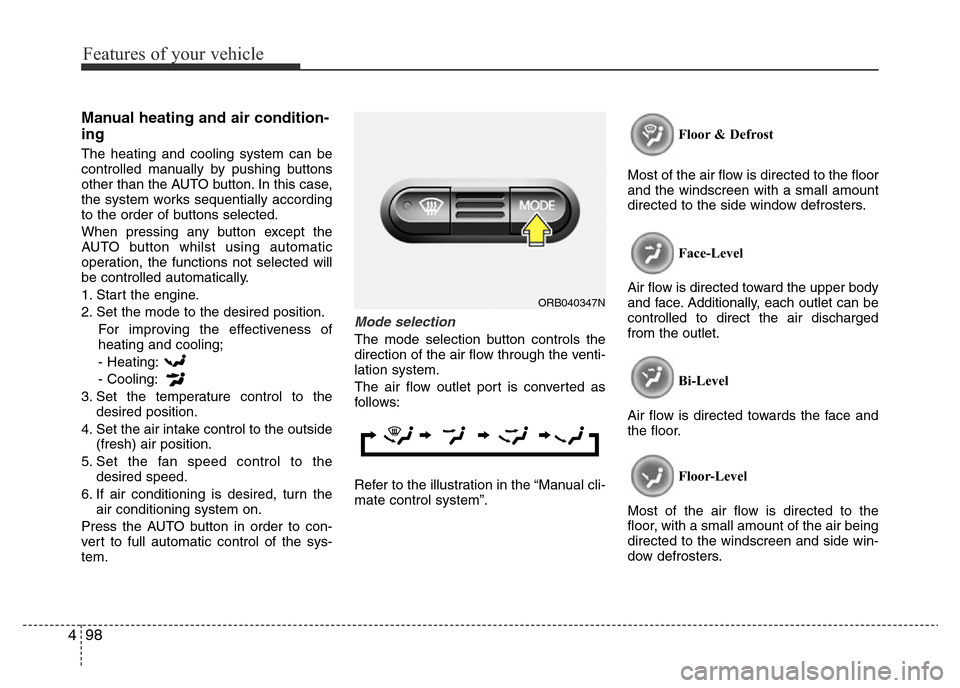
Mode selection
The mode selection button controls the
direction of the air flow through the venti-
lation system.
The air flow outlet port is converted as
follows:
Refer to the illustration in the “Manual cli-
mate control system”.Floor & Defrost
Most of the air flow is directed to the floor
and the windscreen with a small amount
directed to the side window defrosters.
Face-Level
Air flow is directed toward the upper body
and face. Additionally, each outlet can be
controlled to direct the air discharged
from the outlet.
Bi-Level
Air flow is directed towards the face and
the floor.
Floor-Level
Most of the air flow is directed to the
floor, with a small amount of the air being
directed to the windscreen and side win-
dow defrosters.
ORB040347N
Page 170 of 425
Features of your vehicle
100 4
Temperature conversion (if equipped)
You can switch the temperature mode
between Centigrade to Fahrenheit as fol-
lows:
Whilst pressing the OFF button, press
the AUTO button for 4 seconds or more.
The display will change from Centigrade
to Fahrenheit, or from Fahrenheit to
Centigrade.
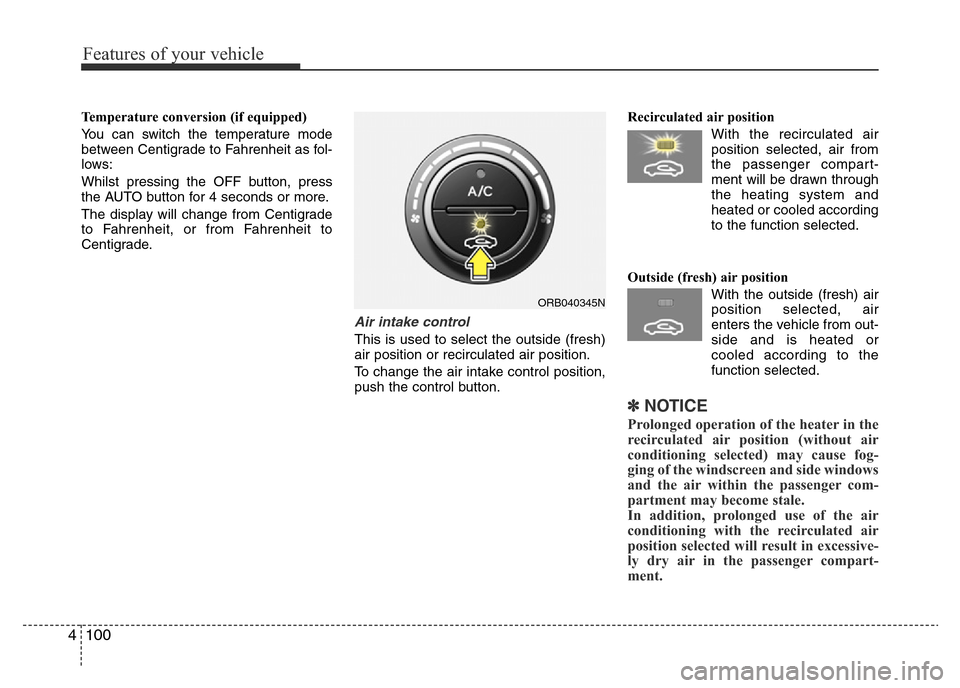
Air intake control
This is used to select the outside (fresh)
air position or recirculated air position.
To change the air intake control position,
push the control button.Recirculated air position
With the recirculated air
position selected, air from
the passenger compart-
ment will be drawn through
the heating system and
heated or cooled according
to the function selected.
Outside (fresh) air position
With the outside (fresh) air
position selected, air
enters the vehicle from out-
side and is heated or
cooled according to the
function selected.
✽NOTICE
Prolonged operation of the heater in the
recirculated air position (without air
conditioning selected) may cause fog-
ging of the windscreen and side windows
and the air within the passenger com-
partment may become stale.
In addition, prolonged use of the air
conditioning with the recirculated air
position selected will result in excessive-
ly dry air in the passenger compart-
ment.
ORB040345N
Page 171 of 425
4101
Features of your vehicle
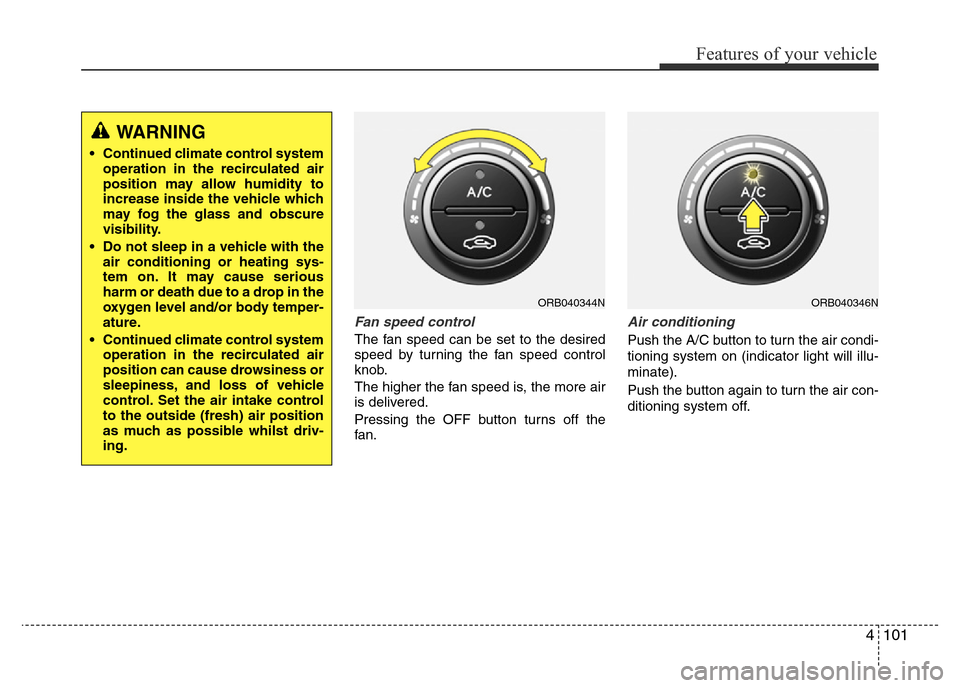
Fan speed control
The fan speed can be set to the desired
speed by turning the fan speed control
knob.
The higher the fan speed is, the more air
is delivered.
Pressing the OFF button turns off the
fan.
Air conditioning
Push the A/C button to turn the air condi-
tioning system on (indicator light will illu-
minate).
Push the button again to turn the air con-
ditioning system off.
WARNING
• Continued climate control system
operation in the recirculated air
position may allow humidity to
increase inside the vehicle which
may fog the glass and obscure
visibility.
• Do not sleep in a vehicle with the
air conditioning or heating sys-
tem on. It may cause serious
harm or death due to a drop in the
oxygen level and/or body temper-
ature.
• Continued climate control system
operation in the recirculated air
position can cause drowsiness or
sleepiness, and loss of vehicle
control. Set the air intake control
to the outside (fresh) air position
as much as possible whilst driv-
ing.
ORB040344NORB040346N
Page 173 of 425
4103
Features of your vehicle
• For maximum defrosting, set the tem-
perature control to the extreme
right/hot position and the fan speed
control to the highest speed.
• If warm air to the floor is desired whilst
defrosting or defogging, set the mode
to the floor-defrost position.
• Before driving, clear all snow and ice
from the windscreen, rear window, out-
side rear view mirrors, and all side win-
dows.
• Clear all snow and ice from the bonnet
and air inlet in the cowl grill to improve
heater and defroster efficiency and to
reduce the probability of fogging up the
inside of the windscreen.
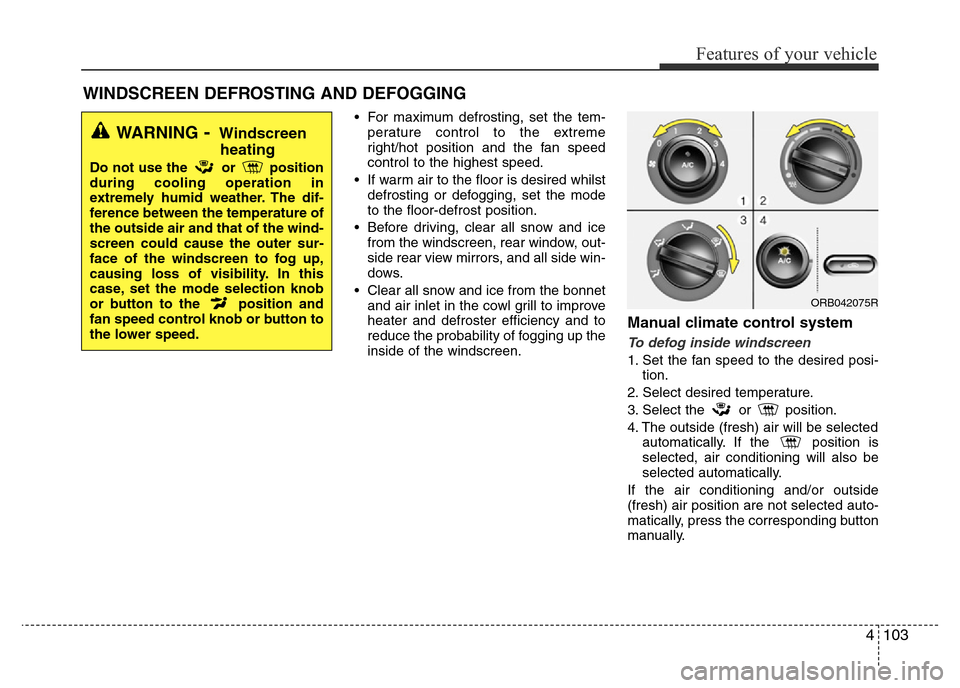
Manual climate control system
To defog inside windscreen
1. Set the fan speed to the desired posi-
tion.
2. Select desired temperature.
3. Select the or position.
4. The outside (fresh) air will be selected
automatically. If the position is
selected, air conditioning will also be
selected automatically.
If the air conditioning and/or outside
(fresh) air position are not selected auto-
matically, press the corresponding button
manually.
WINDSCREEN DEFROSTING AND DEFOGGING
WARNING- Windscreen
heating
Do not use the or position
during cooling operation in
extremely humid weather. The dif-
ference between the temperature of
the outside air and that of the wind-
screen could cause the outer sur-
face of the windscreen to fog up,
causing loss of visibility. In this
case, set the mode selection knob
or button to the position and
fan speed control knob or button to
the lower speed.
ORB042075R
Page 180 of 425
Features of your vehicle
110 4
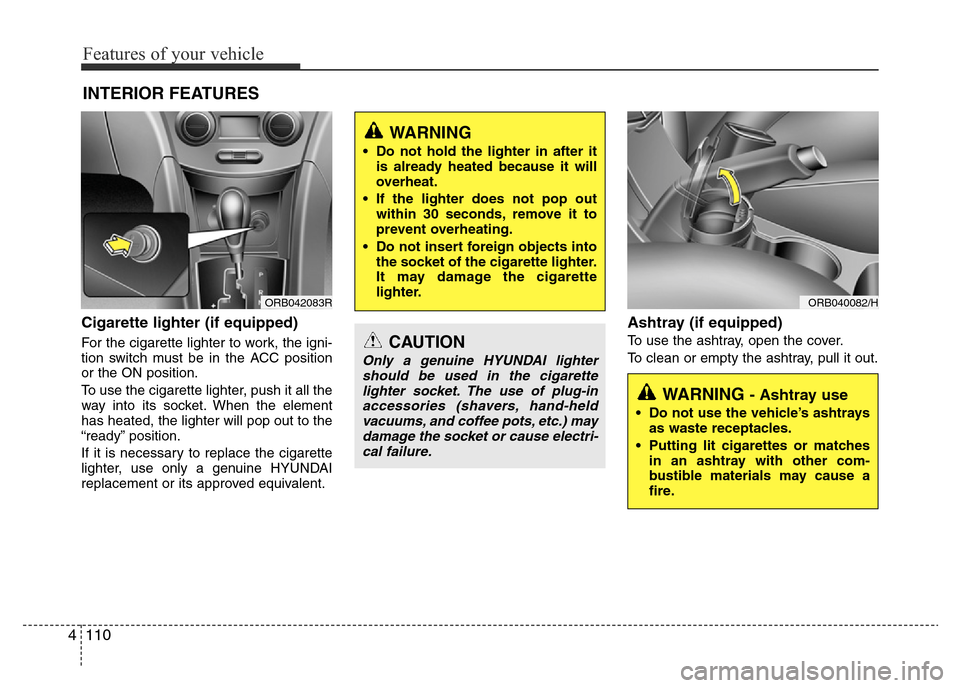
Cigarette lighter (if equipped)
For the cigarette lighter to work, the igni-
tion switch must be in the ACC position
or the ON position.
To use the cigarette lighter, push it all the
way into its socket. When the element
has heated, the lighter will pop out to the
“ready” position.
If it is necessary to replace the cigarette
lighter, use only a genuine HYUNDAI
replacement or its approved equivalent.
Ashtray (if equipped)
To use the ashtray, open the cover.
To clean or empty the ashtray, pull it out.
INTERIOR FEATURES
CAUTION
Only a genuine HYUNDAI lighter
should be used in the cigarette
lighter socket. The use of plug-in
accessories (shavers, hand-held
vacuums, and coffee pots, etc.) may
damage the socket or cause electri-
cal failure.
WARNING
• Do not hold the lighter in after it
is already heated because it will
overheat.
• If the lighter does not pop out
within 30 seconds, remove it to
prevent overheating.
• Do not insert foreign objects into
the socket of the cigarette lighter.
It may damage the cigarette
lighter.
ORB042083R
WARNING - Ashtray use
• Do not use the vehicle’s ashtrays
as waste receptacles.
• Putting lit cigarettes or matches
in an ashtray with other com-
bustible materials may cause a
fire.
ORB040082/H
Page 244 of 425
57
Driving your vehicle
Starting the diesel engine
(if equipped)
To start the diesel engine when the
engine is cold, it has to be pre-heated
before starting the engine and then also
has to be warmed up before starting to
drive.
1. Make sure the parking brake is
applied.
2.Manual Transaxle- Depress the
clutch pedal fully and shift the into
Neutral. Keep the clutch pedal and
brake pedal depressed whilst turning
the ignition switch to the start position.
Automatic transaxle / Dual clutch
transmission- Place the shift lever in
P (park). Depress the brake pedal fully.
You can also start the engine when the
shift lever is in the N (neutral) position.
3. Turn the ignition switch to the ON posi-
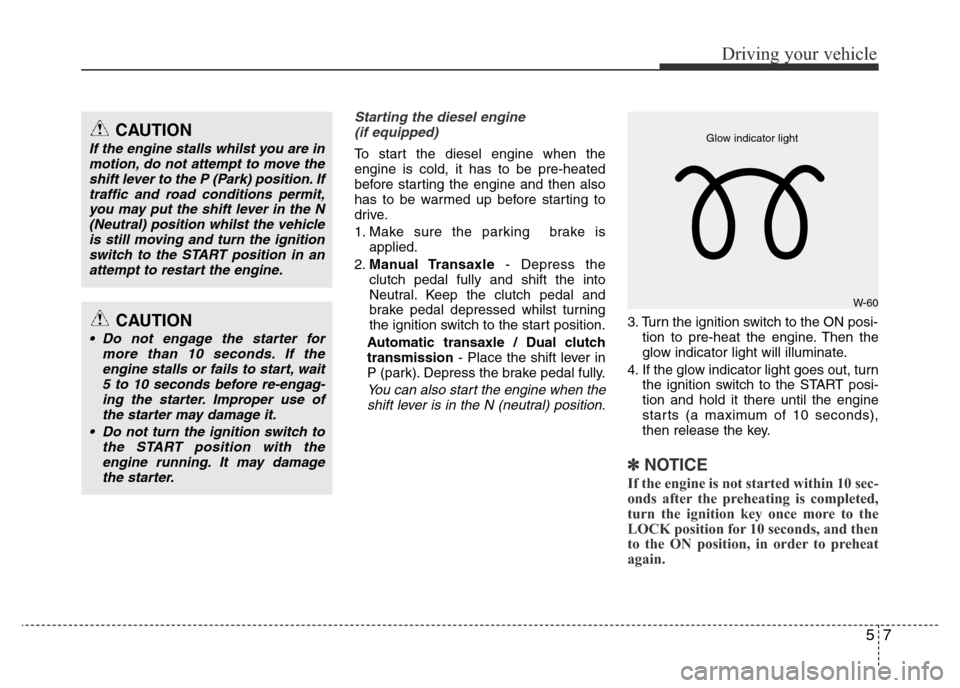
tion to pre-heat the engine. Then the
glow indicator light will illuminate.
4. If the glow indicator light goes out, turn
the ignition switch to the START posi-
tion and hold it there until the engine
starts (a maximum of 10 seconds),
then release the key.
✽ NOTICE
If the engine is not started within 10 sec-
onds after the preheating is completed,
turn the ignition key once more to the
LOCK position for 10 seconds, and then
to the ON position, in order to preheat
again.
CAUTION
If the engine stalls whilst you are in
motion, do not attempt to move the
shift lever to the P (Park) position. If
traffic and road conditions permit,
you may put the shift lever in the N
(Neutral) position whilst the vehicle
is still moving and turn the ignition
switch to the START position in an
attempt to restart the engine.
CAUTION
• Do not engage the starter for
more than 10 seconds. If the
engine stalls or fails to start, wait
5 to 10 seconds before re-engag-
ing the starter. Improper use of
the starter may damage it.
• Do not turn the ignition switch to
the START position with the
engine running. It may damage
the starter.
W-60 Glow indicator light
Page 285 of 425
Driving your vehicle
48 5
Hill-start assist control (HAC)
(if equipped)
A vehicle may have tendency to slip back
on a steep hill when it starts to go after
stopping. The Hill-start Assist Control
(HAC) prevents the vehicle from slipping
back by operating the brakes automati-
cally for about 2 seconds. The brakes are
released when the accelerator pedal is
pressed or after about 2 seconds.
✽NOTICE
• The HAC does not operate when the
shift lever is in the P (Park) or N
(Neutral) position.
• The HAC activates even though the
ESC is off but it does not activate
when the ESC has malfunctioned.
Good braking practices• After parking the vehicle, check to be
sure the parking brake is not engaged
and that the parking brake indicator
light is out before driving away.
• Driving through water may get the
brakes wet. They can also get wet
when the car is washed. Wet brakes
can be dangerous! Your car will not
stop as quickly if the brakes are wet.
Wet brakes may cause the car to pull
to one side.
To dry the brakes, apply the brakes
lightly until the braking action returns to
normal, taking care to keep the car
under control at all times. If the braking
action does not return to normal, stop
as soon as it is safe to do so and call
an authorised HYUNDAI dealer for
assistance.
• Don't coast down hills with the car out
of gear. This is extremely hazardous.
Keep the car in gear at all times, use
the brakes to slow down, then shift to a
lower gear so that engine braking will
help you maintain a safe speed.
• Don't "ride" the brake pedal. Resting
your foot on the brake pedal whilst driv-
ing can be dangerous because it can
result in the brakes overheating and
losing their effectiveness. It also
increases the wear of the brake com-
ponents.
WARNING
• Whenever leaving the vehicle or
parking, always set the parking
brake as far as possible and fully
engage P (Park) for an automatic
transaxle and 1st or R (Reverse)
for a manual transaxle.
Vehicles not fully engaged in P
(park) for an automatic transaxle
or 1st or R (reverse) for a manual
transaxle with the parking brake
set, are at risk for moving inad-
vertently and injuring yourself or
others.
• All vehicles should always have
the parking brake fully engaged
when parking to avoid inadver-
tent movement of the car which
can injure occupants or pedestri-
ans.
WARNING
The HAC is activated only for about
2 seconds, so when the vehicle is
starting off always press the accel-
erator pedal.
Page 293 of 425
Driving your vehicle
56 5
Hazardous driving conditions
When hazardous driving conditions are
encountered such as water, snow, ice,
mud, sand, or similar hazards, follow
these suggestions:
• Drive cautiously and allow extra dis-
tance for braking.
• Avoid sudden movements in braking or
steering.
• When braking with non-ABS brakes
pump the brake pedal with a light up-
and-down motion until the vehicle is
stopped.• If stalled in snow, mud, or sand, use
second gear. Accelerate slowly to
avoid spinning the drive wheels.
• Use sand, rock salt, tyre chains, or
other non-slip material under the drive
wheels to provide traction when stalled
in ice, snow, or mud.
Rocking the vehicle
If it is necessary to rock the vehicle to
free it from snow, sand, or mud, first turn
the steering wheel right and left to clear
the area around your front wheels. Then,
shift back and forth between 1st (First)
and R (Reverse) in vehicles equipped
with a manual transaxle or R (Reverse)
and any forward gear in vehicles
equipped with an automatic transaxle/
Continuously Variable Transaxle/Dual
clutch transmission. Do not race the
engine, and spin the wheels as little as
possible. If you are still stuck after a few
tries, have the vehicle pulled out by a tow
vehicle to avoid engine overheating and
possible damage to the transaxle.
SPECIAL DRIVING CONDITIONS
1JBB3302
WARNING - ABS
Do not pump the brake pedal on a
vehicle equipped with ABS.
CAUTION
Prolonged rocking may cause
engine over-heating, transaxle dam-
age or failure, and tyre damage.
WARNING - Downshifting
Downshifting with an automatic
transaxle/Continuously Variable
Transaxle/Dual clutch transmission
whilst driving on slippery surfaces
can cause an accident.
The sudden change in tire speed
could cause the tires to skid. Be
careful when downshifting on slip-
pery surfaces.
Page 296 of 425
559
Driving your vehicle
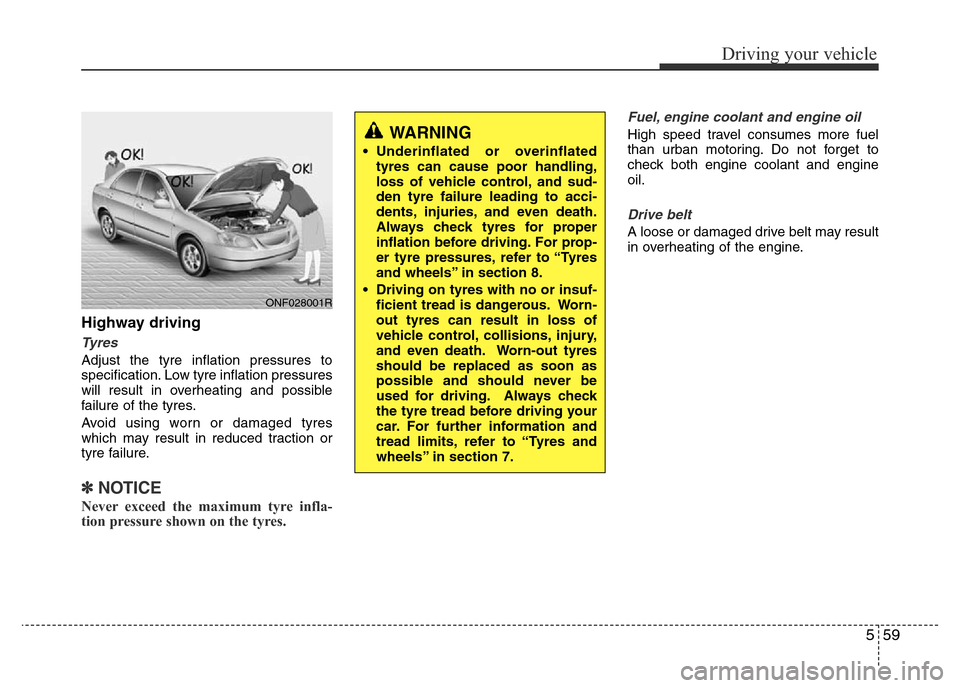
Highway driving
Tyres
Adjust the tyre inflation pressures to
specification. Low tyre inflation pressures
will result in overheating and possible
failure of the tyres.
Avoid using worn or damaged tyres
which may result in reduced traction or
tyre failure.
✽NOTICE
Never exceed the maximum tyre infla-
tion pressure shown on the tyres.
Fuel, engine coolant and engine oil
High speed travel consumes more fuel
than urban motoring. Do not forget to
check both engine coolant and engine
oil.
Drive belt
A loose or damaged drive belt may result
in overheating of the engine.
WARNING
• Underinflated or overinflated
tyres can cause poor handling,
loss of vehicle control, and sud-
den tyre failure leading to acci-
dents, injuries, and even death.
Always check tyres for proper
inflation before driving. For prop-
er tyre pressures, refer to “Tyres
and wheels” in section 8.
• Driving on tyres with no or insuf-
ficient tread is dangerous. Worn-
out tyres can result in loss of
vehicle control, collisions, injury,
and even death. Worn-out tyres
should be replaced as soon as
possible and should never be
used for driving. Always check
the tyre tread before driving your
car. For further information and
tread limits, refer to “Tyres and
wheels” in section 7.
ONF028001R
Page 304 of 425
567
Driving your vehicle
Turn signals when towing a trailer
When you tow a trailer, your vehicle has
to have a different turn signal flasher and
extra wiring. The green arrows on your
instrument panel will flash whenever you
signal a turn or lane change. Properly
connected, the trailer lights will also flash
to alert other drivers you’re about to turn,
change lanes, or stop.
When towing a trailer, the green arrows
on your instrument panel will flash for
turns even if the bulbs on the trailer are
burned out. Thus, you may think drivers
behind you are seeing your signals
when, in fact, they are not. It’s important
to check occasionally to be sure the trail-
er bulbs are still working. You must also
check the lights every time you discon-
nect and then reconnect the wires.
Do not connect a trailer lighting system
directly to your vehicle’s lighting system.
Use only an approved trailer wiring har-
ness.
An authorised HYUNDAI dealer can
assist you in installing the genuine wiring
harness.
Driving on grades
Reduce speed and shift to a lower gear
before you start down a long or steep
downgrade. If you do not down shift, you
may have to use extended braking, cre-
ating heat and potentially reducing brak-
ing efficiency.
On a long uphill grade, shift to a lower
gear and reduce your speed to around
70 km/h (45 mph) to reduce the possibil-
ity of to engine and transaxle overheat-
ing.WARNING
Failure to use an approved trailer
wiring harness could result in dam-
age to the vehicle electrical system
and/or personal injury.
CAUTION
• When towing a trailer on steep
grades (in excess of 6%) pay
close attention to the engine
coolant temperature gauge to
ensure the engine does not over-
heat. If the needle of the coolant
temperature gauge moves across
the dial towards “H” (HOT), pull
over and stop as soon as it is safe
to do so, and allow the engine to
idle until it cools down. You may
proceed once the engine has
cooled sufficiently.
• You must decide driving speed
depending on trailer weight and
uphill grade to reduce the possi-
bility of engine and transaxle
overheating.