engine light on Hyundai Accent 2019 Owner's Manual
[x] Cancel search | Manufacturer: HYUNDAI, Model Year: 2019, Model line: Accent, Model: Hyundai Accent 2019Pages: 442, PDF Size: 14.14 MB
Page 62 of 442
2-45
Safety system of your vehicle
2
9. Side pressure sensors
10. Emergency Fastening DeviceSystem
11. Occupant classification system
The SRSCM (Supplemental Restraint
System Control Module) continually
monitors all SRS components while
the ignition switch is in the ON position
to determine if a crash impact is
severe enough to require air bag
deployment or pre-tensioner seat belt
deployment.SRS warning light
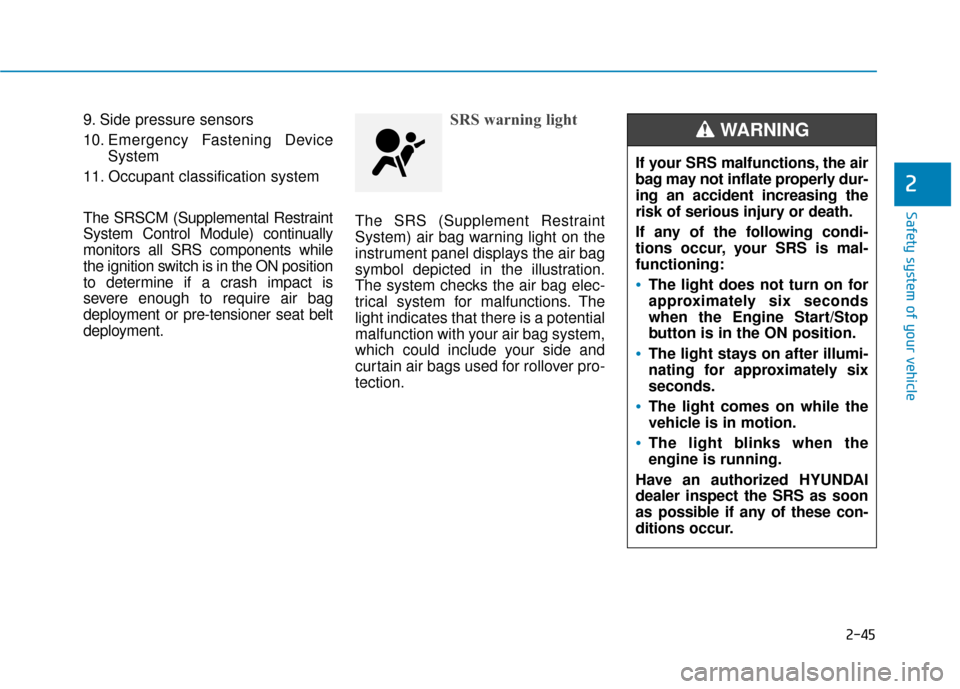
The SRS (Supplement Restraint
System) air bag warning light on the
instrument panel displays the air bag
symbol depicted in the illustration.
The system checks the air bag elec-
trical system for malfunctions. The
light indicates that there is a potential
malfunction with your air bag system,
which could include your side and
curtain air bags used for rollover pro-
tection.
If your SRS malfunctions, the air
bag may not inflate properly dur-
ing an accident increasing the
risk of serious injury or death.
If any of the following condi-
tions occur, your SRS is mal-
functioning:
The light does not turn on for
approximately six seconds
when the Engine Start/Stop
button is in the ON position.
The light stays on after illumi-
nating for approximately six
seconds.
The light comes on while the
vehicle is in motion.
The light blinks when the
engine is running.
Have an authorized HYUNDAI
dealer inspect the SRS as soon
as possible if any of these con-
ditions occur.
WARNING
Page 81 of 442
3-3
Convenient features of your vehicle
Remote Key (if equipped)
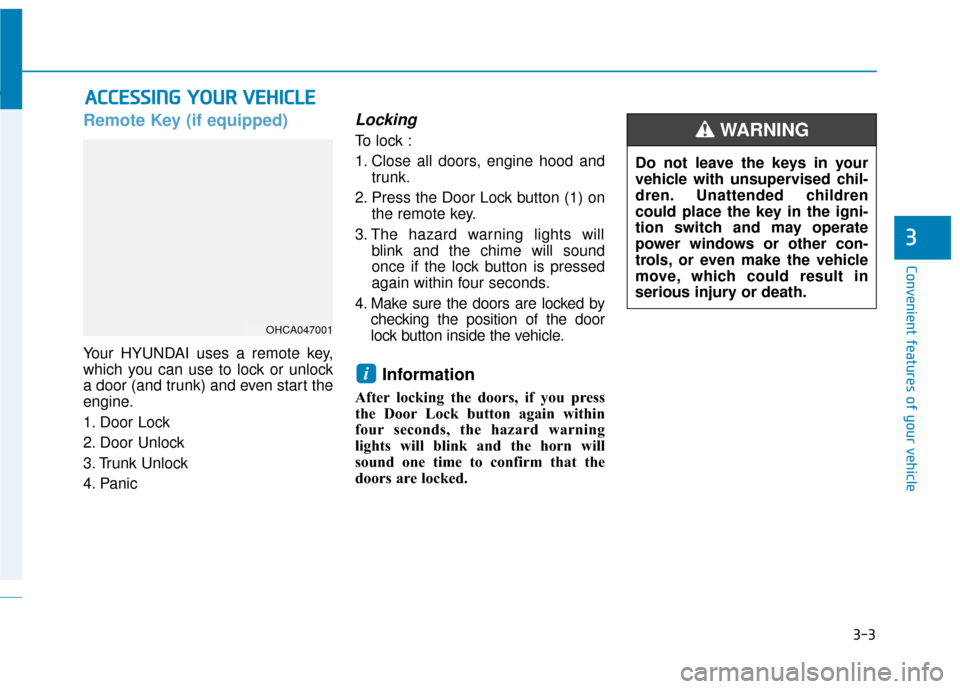
Your HYUNDAI uses a remote key,
which you can use to lock or unlock
a door (and trunk) and even start the
engine.
1. Door Lock
2. Door Unlock
3. Trunk Unlock
4. Panic
Locking
To lock :
1. Close all doors, engine hood andtrunk.
2. Press the Door Lock button (1) on the remote key.
3. The hazard warning lights will blink and the chime will sound
once if the lock button is pressed
again within four seconds.
4. Make sure the doors are locked by checking the position of the door
lock button inside the vehicle.
Information
After locking the doors, if you press
the Door Lock button again within
four seconds, the hazard warning
lights will blink and the horn will
sound one time to confirm that the
doors are locked.
i
A AC
CC
CE
E S
SS
SI
IN
N G
G
Y
Y O
O U
UR
R
V
V E
EH
H I
IC
C L
LE
E
3
OHCA047001
Do not leave the keys in your
vehicle with unsupervised chil-
dren. Unattended children
could place the key in the igni-
tion switch and may operate
power windows or other con-
trols, or even make the vehicle
move, which could result in
serious injury or death.
WARNING
Page 85 of 442
3-7
Convenient features of your vehicle
Locking
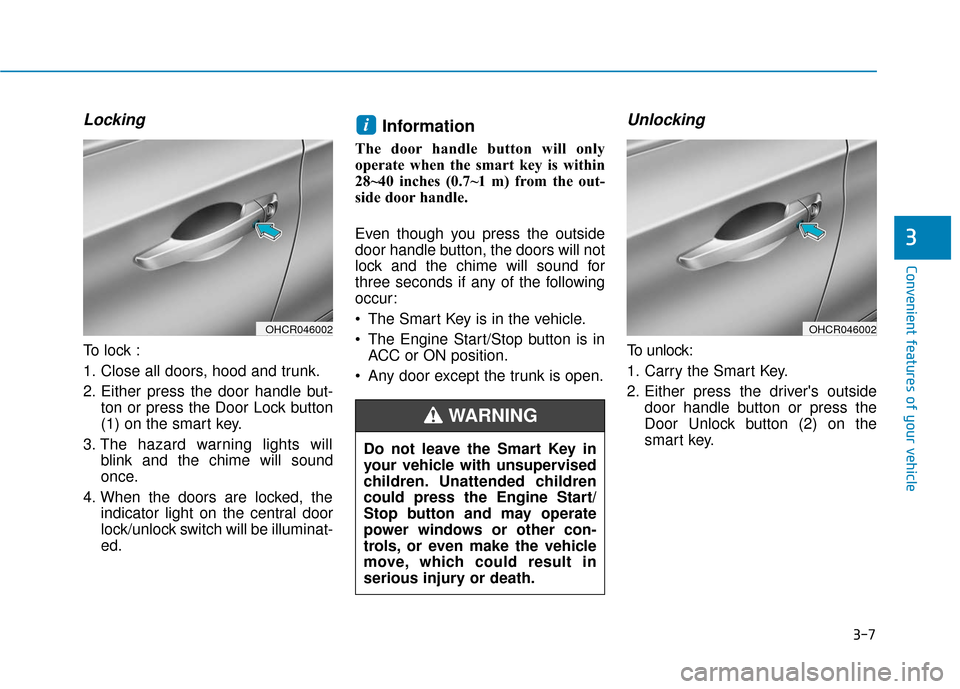
To lock :
1. Close all doors, hood and trunk.
2. Either press the door handle but-ton or press the Door Lock button
(1) on the smart key.
3. The hazard warning lights will blink and the chime will sound
once.
4. When the doors are locked, the indicator light on the central door
lock/unlock switch will be illuminat-
ed.
Information
The door handle button will only
operate when the smart key is within
28~40 inches (0.7~1 m) from the out-
side door handle.
Even though you press the outside
door handle button, the doors will not
lock and the chime will sound for
three seconds if any of the following
occur:
The Smart Key is in the vehicle.
The Engine Start/Stop button is inACC or ON position.
Any door except the trunk is open.
Unlocking
To unlock:
1. Carry the Smart Key.
2. Either press the driver's outside door handle button or press the
Door Unlock button (2) on the
smart key.
i
3
OHCR046002OHCR046002
Do not leave the Smart Key in
your vehicle with unsupervised
children. Unattended children
could press the Engine Start/
Stop button and may operate
power windows or other con-
trols, or even make the vehicle
move, which could result in
serious injury or death.
WARNING
Page 95 of 442
3-17
Convenient features of your vehicle
3
This system helps to protect your vehi-
cle and valuables. The horn will sound
and the hazard warning lights will blink
continuously if any of the following
occur:
- A door is opened without using theremote key or smart key.
- The trunk is opened without using the remote key or smart key.
- The engine hood is opened.
The alarm continues for 30 seconds,
then the system resets. To turn off the
alarm, unlock the doors with the
remote key or smart key.
The Theft Alarm System automatically
sets 30 seconds after you lock the
doors and the trunk. For the system to
activate, you must lock the doors and
the trunk from outside the vehicle with
the remote key or smart key or by
pressing the button on the outside of
the door handle with the smart key in
your possession.
The hazard warning lights will blink
and the chime will sound once to indi-
cate the system is armed.
Once the security system is set, open-
ing any door, the trunk, or the hood
without using the remote key or smart
key will cause the alarm to activate. The Theft Alarm System will not set if
the hood, the trunk, or any door is not
fully closed. If the system will not set,
check the hood, the trunk, or the doors
are fully closed.
Do not attempt to alter this system or
add other devices to it.
Information
• Do not lock the doors until all pas-
sengers have left the vehicle. If the
remaining passenger leaves the
vehicle when the system is armed,
the alarm will be activated.
• If the vehicle is not disarmed with the remote key or smart key, open the
doors by using the mechanical key
and place the ignition switch in the
ON position (for remote key) or start
the engine (for smart key) by direct-
ly pressing the ignition switch with
the smart key.
• If the system is disarmed by unlock- ing the vehicle, but neither a door or
the trunk is opened within 30 sec-
onds, the doors will relock and the
system will rearm automatically.
Electric Power Steering (EPS)
The system assists you with steering
the vehicle. If the vehicle is turned off
or if the power steering system
becomes inoperative, you may still
steer the vehicle, but it will require
increased steering effort.
Should you notice any change in the
effort required to steer during normal
vehicle operation, have the system
checked by an authorized HYUNDAI
dealer.
i
T TH
H E
EF
FT
T -
-A
A L
LA
A R
RM
M
S
S Y
Y S
ST
T E
EM
M S
ST
T E
EE
ER
R I
IN
N G
G
W
W H
HE
EE
EL
L
If the Electric Power Steering
System does not operate nor-
mally, the warning light ( ) will
illuminate on the instrument
cluster. You may steer the vehi-
cle, but it will require increased
steering efforts. Take your vehi-
cle to an authorized HYUNDAI
dealer and have the system
checked as soon as possible.
CAUTION
Page 99 of 442
3-21
Convenient features of your vehicle
3
Electric Chromic Mirror (ECM)(For America only, if equipped)
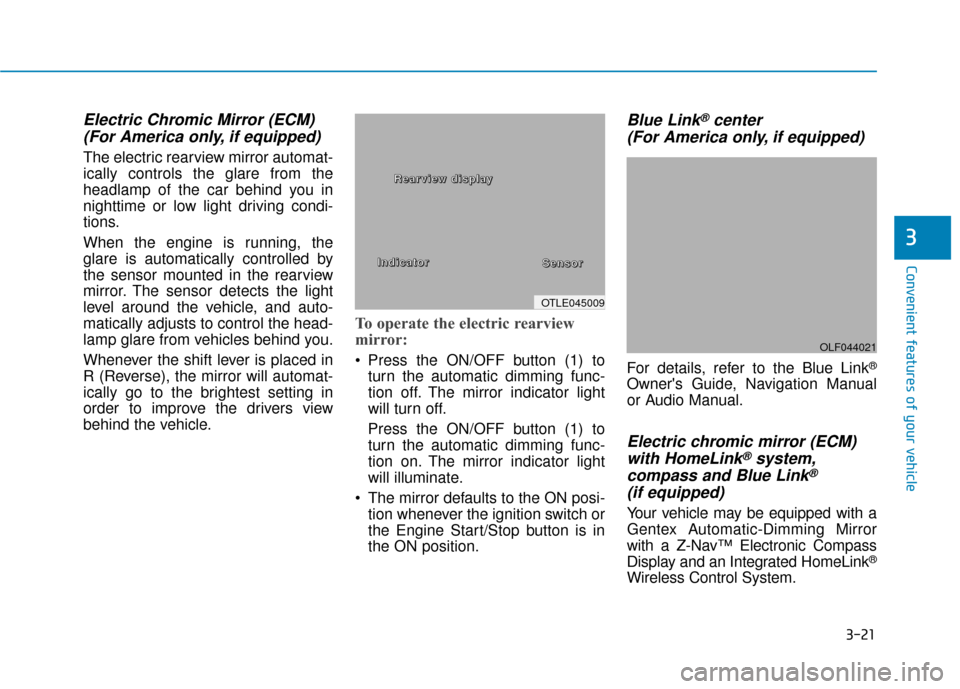
The electric rearview mirror automat-
ically controls the glare from the
headlamp of the car behind you in
nighttime or low light driving condi-
tions.
When the engine is running, the
glare is automatically controlled by
the sensor mounted in the rearview
mirror. The sensor detects the light
level around the vehicle, and auto-
matically adjusts to control the head-
lamp glare from vehicles behind you.
Whenever the shift lever is placed in
R (Reverse), the mirror will automat-
ically go to the brightest setting in
order to improve the drivers view
behind the vehicle.
To operate the electric rearview
mirror:
Press the ON/OFF button (1) to
turn the automatic dimming func-
tion off. The mirror indicator light
will turn off.
Press the ON/OFF button (1) to
turn the automatic dimming func-
tion on. The mirror indicator light
will illuminate.
The mirror defaults to the ON posi- tion whenever the ignition switch or
the Engine Start/Stop button is in
the ON position.
Blue Link®center
(For America only, if equipped)
For details, refer to the Blue Link®
Owner's Guide, Navigation Manual
or Audio Manual.
Electric chromic mirror (ECM) with HomeLink®system,
compass and Blue Link®
(if equipped)
Your vehicle may be equipped with a
Gentex Automatic-Dimming Mirror
with a Z-Nav™ Electronic Compass
Display and an Integrated HomeLink
®
Wireless Control System.
OLF044021
OTLE045009
I
I
I
I
n
n
n
n
d
d
d
d
i
i
i
i
c
c
c
c
a
a
a
a
t
t
t
t
o
o
o
o
r
r
r
r
S
S
S
S
e
e
e
e
n
n
n
n
s
s
s
s
o
o
o
o
r
r
r
r
R
R
R
R
e
e
e
e
a
a
a
a
r
r
r
r
v
v
v
v
i
i
i
i
e
e
e
e
w
w
w
w
d
d
d
d
ii
i
i
s
s
s
s
p
p
p
p
l
l
l
l
a
a
a
a
y
y
y
y
Page 116 of 442
3-38
Convenient features of your vehicle
Sunshade
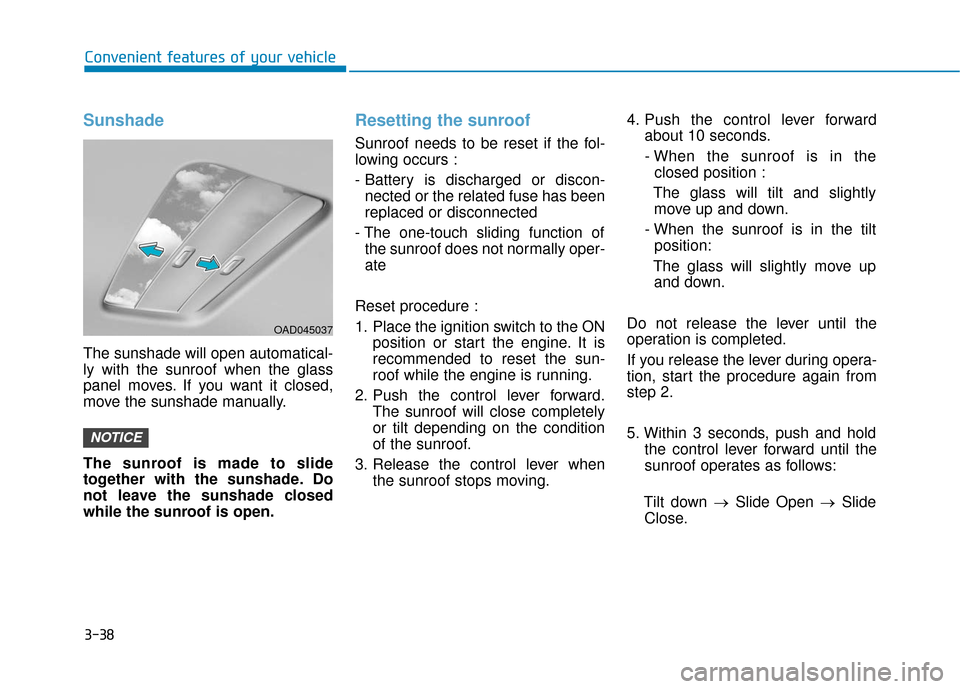
The sunshade will open automatical-
ly with the sunroof when the glass
panel moves. If you want it closed,
move the sunshade manually.
The sunroof is made to slide
together with the sunshade. Do
not leave the sunshade closed
while the sunroof is open.
Resetting the sunroof
Sunroof needs to be reset if the fol-
lowing occurs :
- Battery is discharged or discon-nected or the related fuse has been
replaced or disconnected
- The one-touch sliding function of the sunroof does not normally oper-
ate
Reset procedure :
1. Place the ignition switch to the ON position or start the engine. It is
recommended to reset the sun-
roof while the engine is running.
2. Push the control lever forward. The sunroof will close completely
or tilt depending on the condition
of the sunroof.
3. Release the control lever when the sunroof stops moving. 4. Push the control lever forward
about 10 seconds.
- When the sunroof is in the closed position :
The glass will tilt and slightly move up and down.
- When the sunroof is in the tilt position:
The glass will slightly move up and down.
Do not release the lever until the
operation is completed.
If you release the lever during opera-
tion, start the procedure again from
step 2.
5. Within 3 seconds, push and hold the control lever forward until the
sunroof operates as follows:
Tilt down → Slide Open → Slide
Close.
NOTICE
OAD045037
Page 119 of 442
3-41
Convenient features of your vehicle
3
Hood
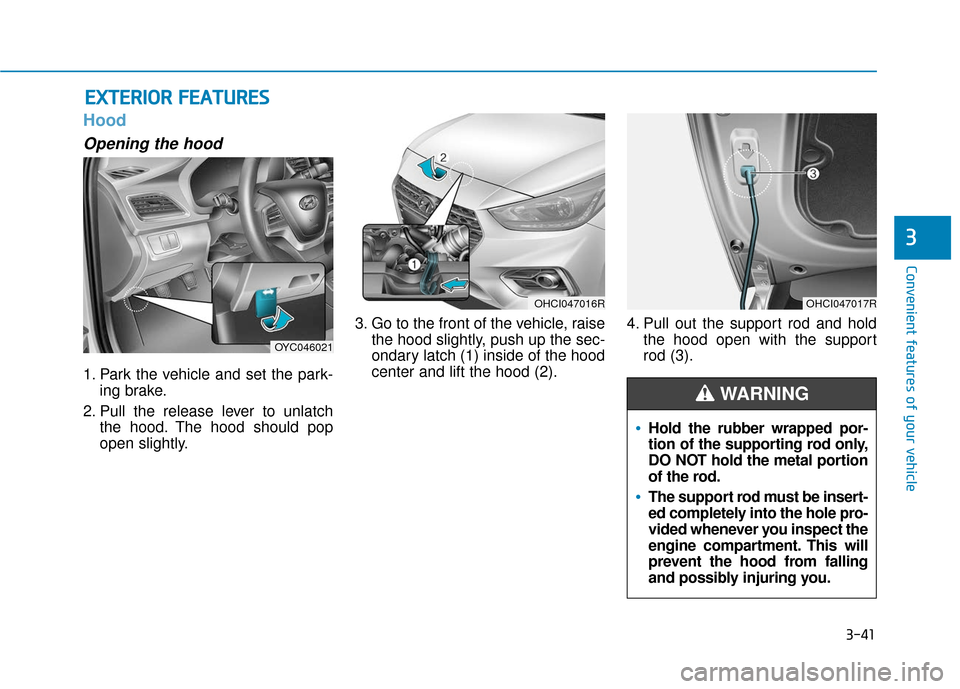
Opening the hood
1. Park the vehicle and set the park-ing brake.
2. Pull the release lever to unlatch the hood. The hood should pop
open slightly. 3. Go to the front of the vehicle, raise
the hood slightly, push up the sec-
ondary latch (1) inside of the hood
center and lift the hood (2). 4. Pull out the support rod and hold
the hood open with the support
rod (3).
E EX
X T
TE
ER
R I
IO
O R
R
F
F E
E A
A T
TU
U R
RE
ES
S
Hold the rubber wrapped por-
tion of the supporting rod only,
DO NOT hold the metal portion
of the rod.
The support rod must be insert-
ed completely into the hole pro-
vided whenever you inspect the
engine compartment. This will
prevent the hood from falling
and possibly injuring you.
WARNING
OYC046021
OHCI047016ROHCI047017R
Page 120 of 442
3-42
Convenient features of your vehicle
Closing the hood
1. Before closing the hood, check thefollowing:
ment must be correctly installed.
bustible material must be
removed from the engine com-
partment.
2. Lower the hood halfway (lifted approximately 12 inches (30 cm)
from the closed position) and push
down to securely lock in place.
Then double check to be sure the
hood is secure. If the hood can be
raised slightly, it is not securely
locked. Open it again and close it
with more force.
Hood open warning (if equipped)
The warning message will appear on
the LCD display when hood is open.
The warning chime will operate when
the vehicle is being driven at or
above 3 km/h with the hood open.
Trunk
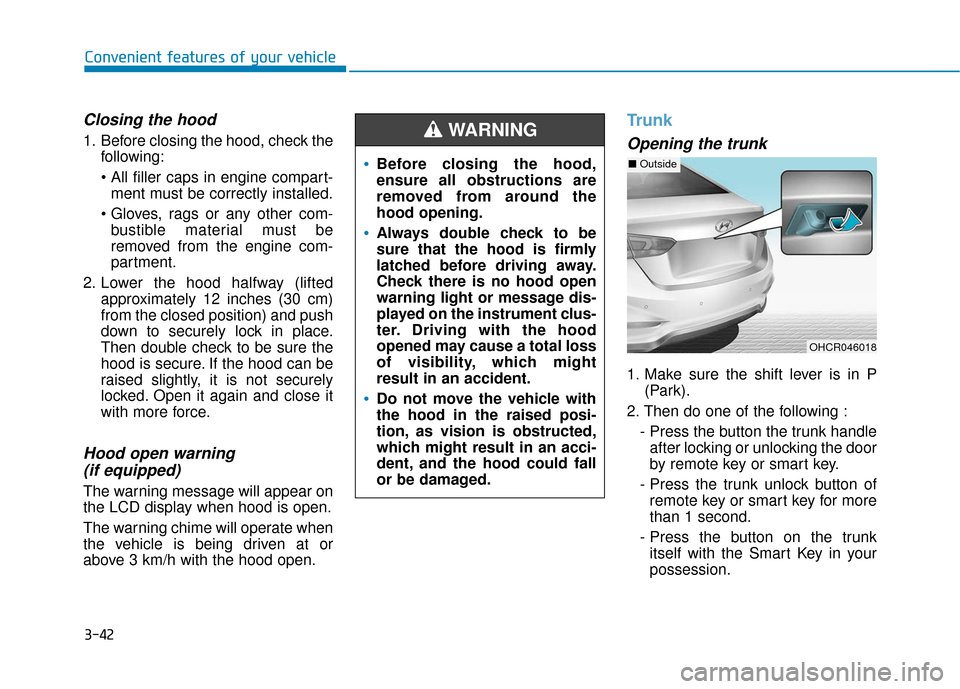
Opening the trunk
1. Make sure the shift lever is in P
(Park).
2. Then do one of the following : - Press the button the trunk handleafter locking or unlocking the door
by remote key or smart key.
- Press the trunk unlock button of remote key or smart key for more
than 1 second.
- Press the button on the trunk itself with the Smart Key in your
possession.
Before closing the hood,
ensure all obstructions are
removed from around the
hood opening.
Always double check to be
sure that the hood is firmly
latched before driving away.
Check there is no hood open
warning light or message dis-
played on the instrument clus-
ter. Driving with the hood
opened may cause a total loss
of visibility, which might
result in an accident.
Do not move the vehicle with
the hood in the raised posi-
tion, as vision is obstructed,
which might result in an acci-
dent, and the hood could fall
or be damaged.
WARNING
OHCR046018
■ Outside
Page 126 of 442
3-48
Convenient features of your vehicle
Fuel Filler Door
Opening the fuel filler door
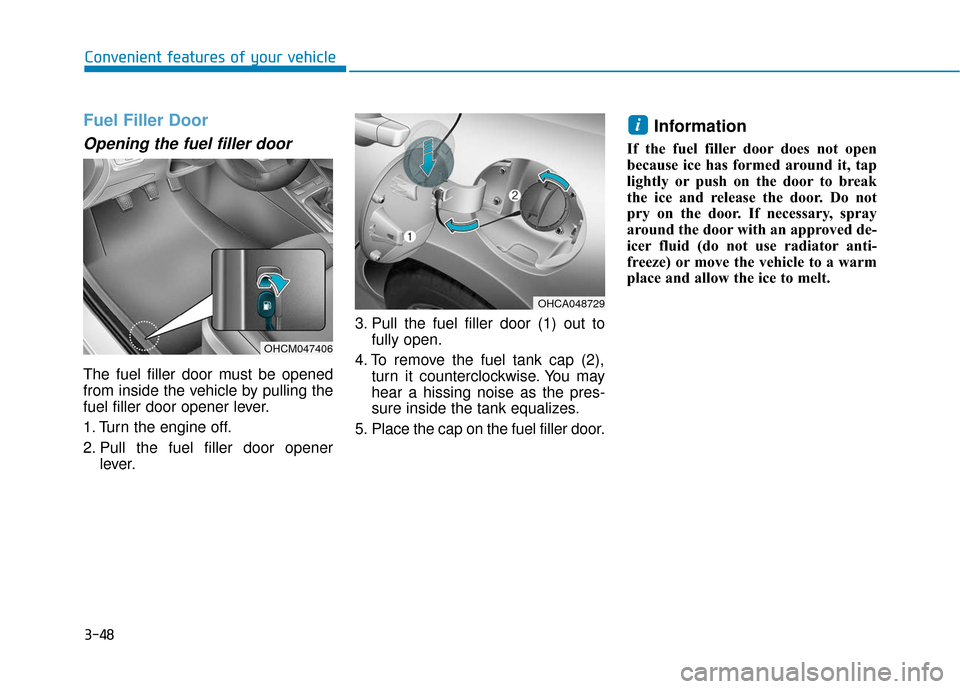
The fuel filler door must be opened
from inside the vehicle by pulling the
fuel filler door opener lever.
1. Turn the engine off.
2. Pull the fuel filler door openerlever. 3. Pull the fuel filler door (1) out to
fully open.
4. To remove the fuel tank cap (2), turn it counterclockwise. You may
hear a hissing noise as the pres-
sure inside the tank equalizes.
5. Place the cap on the fuel filler door.
Information
If the fuel filler door does not open
because ice has formed around it, tap
lightly or push on the door to break
the ice and release the door. Do not
pry on the door. If necessary, spray
around the door with an approved de-
icer fluid (do not use radiator anti-
freeze) or move the vehicle to a warm
place and allow the ice to melt.
i
OHCM047406
OHCA048729
Page 128 of 442
3-50
Convenient features of your vehicle
Information
Make sure to refuel your vehicle
according to the "Fuel Requirements"
suggested in the Introduction chapter.
Do not spill fuel on the exteriorsurfaces of the vehicle. Any type
of fuel spilled on painted sur-
faces may damage the paint.
If the fuel filler cap requires replacement, use only a genuine
HYUNDAI cap or the equivalent
specified for your vehicle. An
incorrect fuel filler cap can
result in a serious malfunction
of the fuel system or emission
control system.
NOTICE
i(Continued)
Do not over-fill or top-off your
vehicle tank, which can cause
gasoline spillage.
If a fire breaks out during refu-
eling, leave the vicinity of the
vehicle, and immediately con-
tact the manager of the gas
station and then contact the
local fire department. Follow
any safety instructions they
provide.
If pressurized fuel sprays out,
it can cover your clothes or
skin and thus subject you to
the risk of fire and burns.
Always remove the fuel cap
carefully and slowly. If the cap
is venting fuel or if you hear a
hissing sound, wait until the
condition stops before com-
pletely removing the cap.
Always check that the fuel cap
is installed securely to pre-
vent fuel spillage in the event
of an accident.
(Continued)
Once refueling has begun,
contact between your bare
hand and the vehicle should
be maintained until the filling
is complete.
Use only approved portable
plastic fuel containers designed
to carry and store gasoline.
When refueling, always move
the shift lever to the P (Park)
position (for automatic transmis-
sion
) or first gear or R (Reverse,
for manual transmission), set
the parking brake, and place the
ignition switch to the LOCK/ OFF
position. Sparks produced by
electrical components related to
the engine can ignite fuel vapors
causing a fire.
Do not use matches or a
lighter and do not smoke or
leave a lit cigarette in your
vehicle while at a gas station,
especially during refueling.
(Continued)