Ignition System Hyundai Azera 2010 Owner's Guide
[x] Cancel search | Manufacturer: HYUNDAI, Model Year: 2010, Model line: Azera, Model: Hyundai Azera 2010Pages: 334, PDF Size: 12.24 MB
Page 84 of 334
1
FEATURES OF YOUR HYUNDAI
71
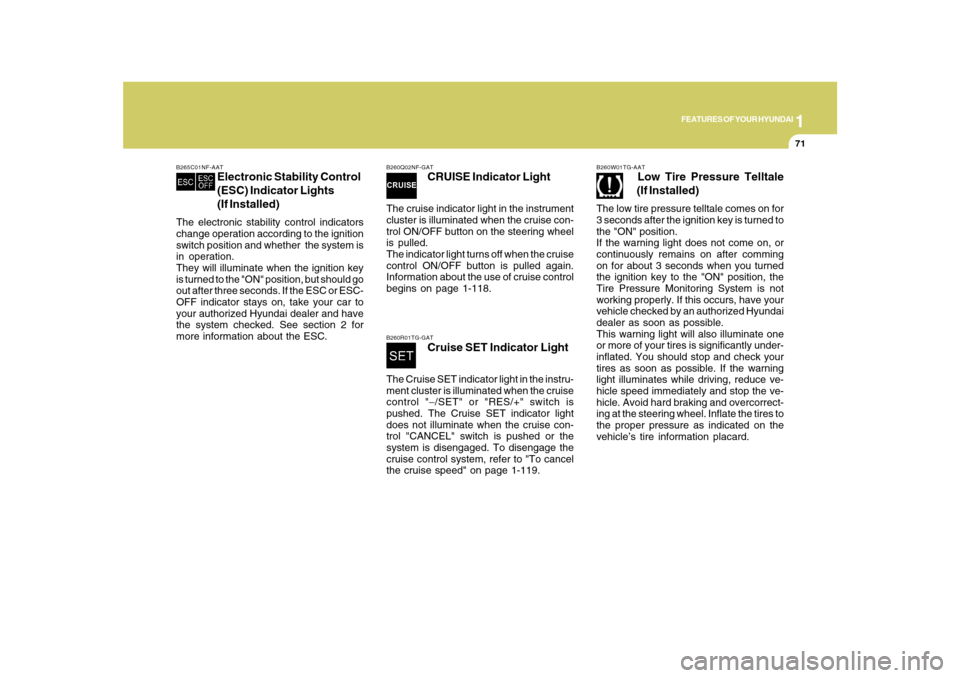
B260Q02NF-GAT
CRUISE Indicator Light
The cruise indicator light in the instrument
cluster is illuminated when the cruise con-
trol ON/OFF button on the steering wheel
is pulled.
The indicator light turns off when the cruise
control ON/OFF button is pulled again.
Information about the use of cruise control
begins on page 1-118.B260R01TG-GAT
Cruise SET Indicator Light
The Cruise SET indicator light in the instru-
ment cluster is illuminated when the cruise
control "−/SET" or "RES/+" switch is
pushed. The Cruise SET indicator light
does not illuminate when the cruise con-
trol "CANCEL" switch is pushed or the
system is disengaged. To disengage the
cruise control system, refer to "To cancel
the cruise speed" on page 1-119.
B265C01NF-AAT
Electronic Stability Control
(ESC) Indicator Lights
(If Installed)
The electronic stability control indicators
change operation according to the ignition
switch position and whether the system is
in operation.
They will illuminate when the ignition key
is turned to the "ON" position, but should go
out after three seconds. If the ESC or ESC-
OFF indicator stays on, take your car to
your authorized Hyundai dealer and have
the system checked. See section 2 for
more information about the ESC.
B260W01TG-AAT
Low Tire Pressure Telltale
(If Installed)
The low tire pressure telltale comes on for
3 seconds after the ignition key is turned to
the "ON" position.
If the warning light does not come on, or
continuously remains on after comming
on for about 3 seconds when you turned
the ignition key to the "ON" position, the
Tire Pressure Monitoring System is not
working properly. If this occurs, have your
vehicle checked by an authorized Hyundai
dealer as soon as possible.
This warning light will also illuminate one
or more of your tires is significantly under-
inflated. You should stop and check your
tires as soon as possible. If the warning
light illuminates while driving, reduce ve-
hicle speed immediately and stop the ve-
hicle. Avoid hard braking and overcorrect-
ing at the steering wheel. Inflate the tires to
the proper pressure as indicated on the
vehicle’s tire information placard.
Page 85 of 334
1FEATURES OF YOUR HYUNDAI72
!
WARNING:
Significantly low tire pressure makes
the vehicle unstable and can contribute
to loss of vehicle control and increased
braking distances.
Continued driving on low pressure tires
will cause the tires to overheat and fail.
!
B265W01TG-AAT
TPMS (Tire Pressure Moni-
toring System) Malfunction
Indicator (If Installed)
TPMS malfunction indicator comes on for
3 seconds after the ignition key is turned to
the "ON" position. If the warning light does
not come on, or continuously remains on
after comming on for about 3 seconds
when you turned the ignition key to the
"ON" position, the Tire Pressure Monitor-
ing System is not working porperly. If this
occurs, have your vehicle checked by an
authorized Hyundai dealer as soon as
possible.
The warning light also comes on and stays
on when there is a problem with the Tire
Pressure Monitoring System.
If this happens, the system may not monitor
the tire pressure. Have the system checked
by an authorized Hyundai dealer as soon
as possible.
WARNING:
o The TPMS cannot alert you to severe
and sudden tire damage caused by
external factors.
o If you feel any vehicle instability, im-
mediately take your foot off the accel-
erator, apply the brakes gradually and
with light force, and slowly move to a
safe position off the road.
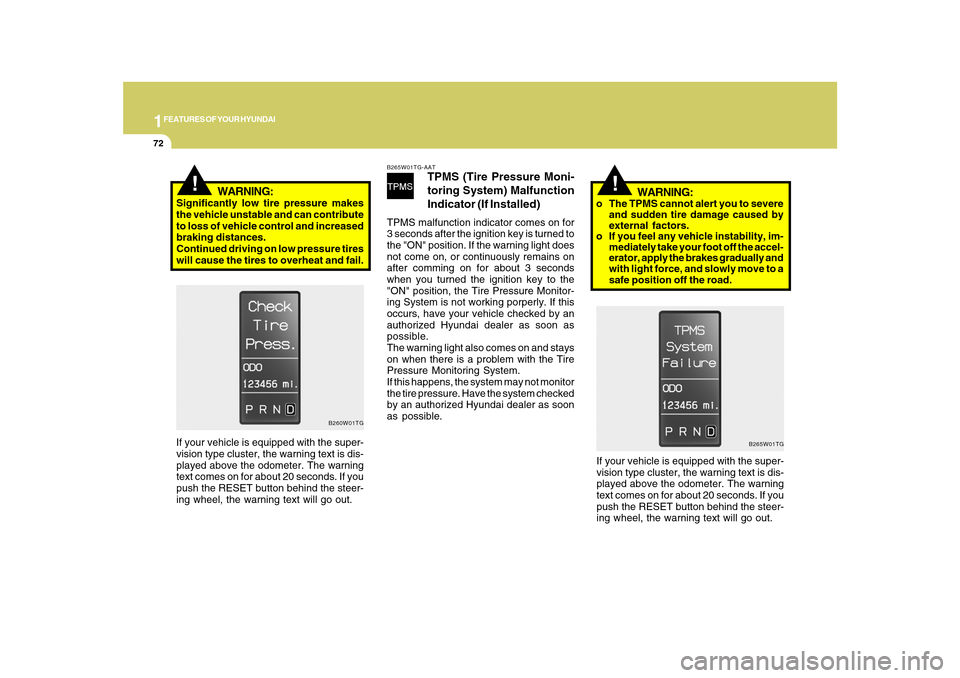
If your vehicle is equipped with the super-
vision type cluster, the warning text is dis-
played above the odometer. The warning
text comes on for about 20 seconds. If you
push the RESET button behind the steer-
ing wheel, the warning text will go out.
B260W01TG
If your vehicle is equipped with the super-
vision type cluster, the warning text is dis-
played above the odometer. The warning
text comes on for about 20 seconds. If you
push the RESET button behind the steer-
ing wheel, the warning text will go out.
B265W01TG
Page 86 of 334
1
FEATURES OF YOUR HYUNDAI
73
B260U01TB-AAT
Immobilizer Warning Light
This indicator light comes on for a few
seconds after the ignition key is turned to
the "ON" position. At this time, you can start
the engine. The light goes out after the
engine is running. In case this light goes
out before you start the engine, you must
turn to the "LOCK" position and restart the
engine. In case this light blinks for five
seconds when the ignition key is turned to
the "ON" position, this indicates that the
immobilizer system is out of order. At this
time, refer to the explanation of the "Limp
Home" mode and related procedures (See
page 1-6) or consult your Hyundai dealer.B270A01O-AATBRAKE PAD WEAR WARNING SOUNDThe front and rear disc brake pads have
wear indicators that should make a high-
pitched squealing or scraping noise when
new pads are needed. The sound may
come and go or be heard all the time when
the vehicle is moving. It may also be heard
when the brake pedal is pushed down
firmly. Excessive rotor damage will result
if the worn pads are not replaced. See your
Hyundai dealer immediately.
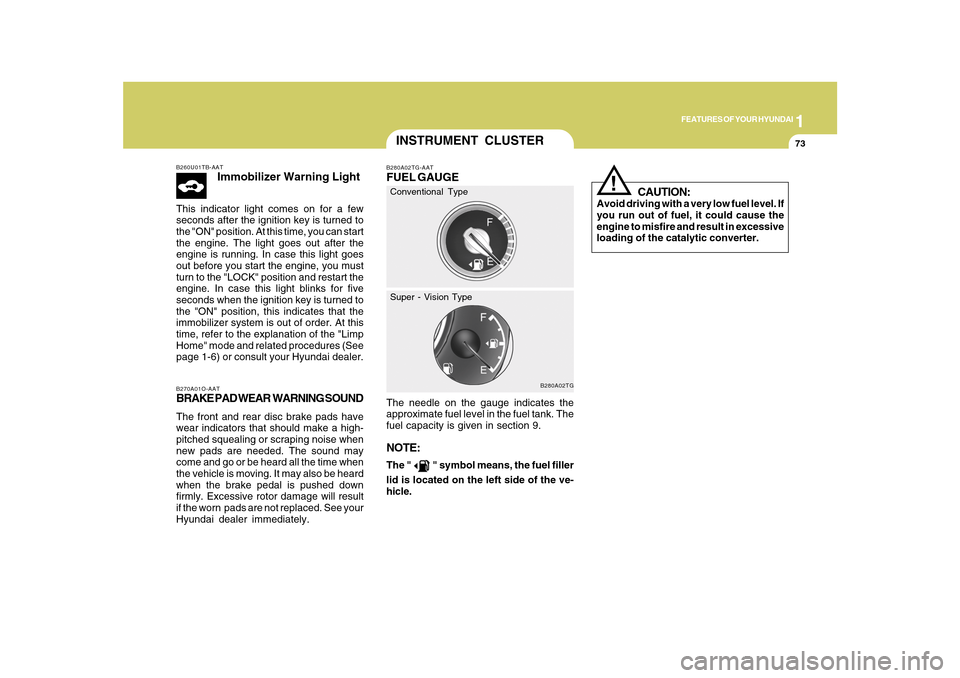
INSTRUMENT CLUSTERB280A02TG-AATFUEL GAUGEThe needle on the gauge indicates the
approximate fuel level in the fuel tank. The
fuel capacity is given in section 9.NOTE:The "
" symbol means, the fuel filler
lid is located on the left side of the ve-
hicle.
B280A02TG
Conventional Type
Super - Vision Type
CAUTION:
Avoid driving with a very low fuel level. If
you run out of fuel, it could cause the
engine to misfire and result in excessive
loading of the catalytic converter.
!
Page 93 of 334
1FEATURES OF YOUR HYUNDAI80
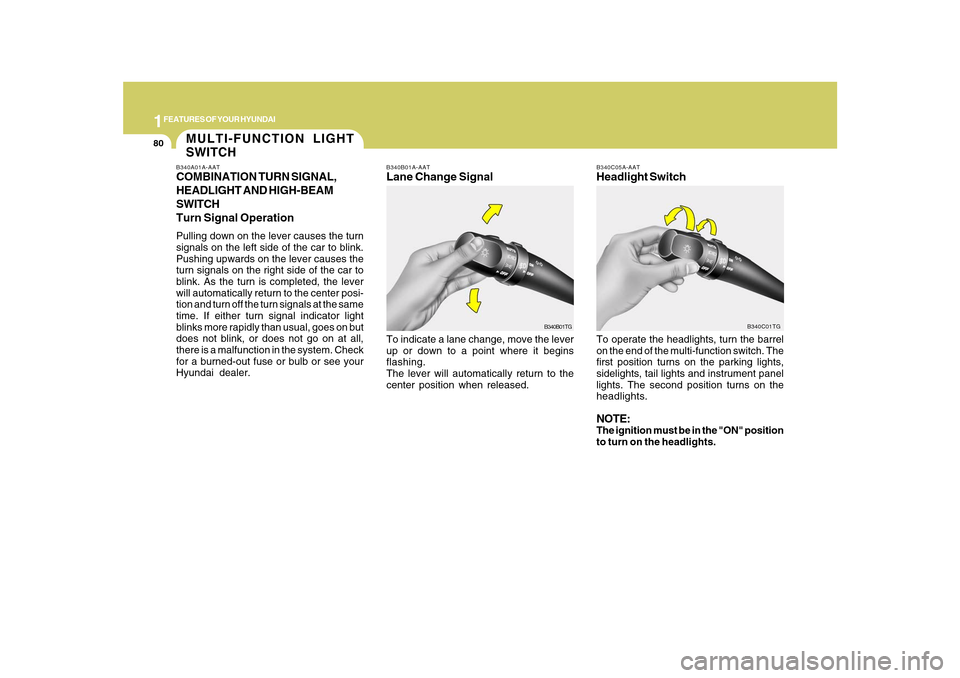
B340B01A-AATLane Change SignalTo indicate a lane change, move the lever
up or down to a point where it begins
flashing.
The lever will automatically return to the
center position when released.
B340C05A-AATHeadlight SwitchTo operate the headlights, turn the barrel
on the end of the multi-function switch. The
first position turns on the parking lights,
sidelights, tail lights and instrument panel
lights. The second position turns on the
headlights.NOTE:The ignition must be in the "ON" position
to turn on the headlights.
B340B01TGB340C01TG
MULTI-FUNCTION LIGHT
SWITCHB340A01A-AATCOMBINATION TURN SIGNAL,
HEADLIGHT AND HIGH-BEAM
SWITCH
Turn Signal OperationPulling down on the lever causes the turn
signals on the left side of the car to blink.
Pushing upwards on the lever causes the
turn signals on the right side of the car to
blink. As the turn is completed, the lever
will automatically return to the center posi-
tion and turn off the turn signals at the same
time. If either turn signal indicator light
blinks more rapidly than usual, goes on but
does not blink, or does not go on at all,
there is a malfunction in the system. Check
for a burned-out fuse or bulb or see your
Hyundai dealer.
Page 94 of 334
1
FEATURES OF YOUR HYUNDAI
81
B340G01LZ-AATAuto Light
B340G02TG
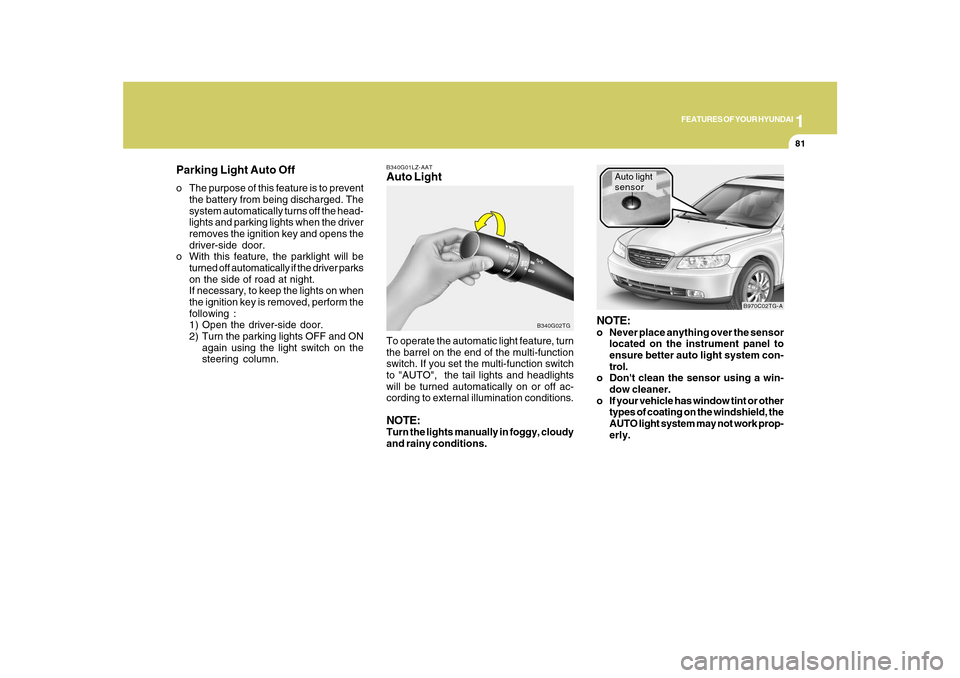
To operate the automatic light feature, turn
the barrel on the end of the multi-function
switch. If you set the multi-function switch
to "AUTO", the tail lights and headlights
will be turned automatically on or off ac-
cording to external illumination conditions.NOTE:Turn the lights manually in foggy, cloudy
and rainy conditions.
NOTE:o Never place anything over the sensor
located on the instrument panel to
ensure better auto light system con-
trol.
o Don't clean the sensor using a win-
dow cleaner.
o If your vehicle has window tint or other
types of coating on the windshield, the
AUTO light system may not work prop-
erly.
Auto light
sensor
B970C02TG-A
Parking Light Auto Offo The purpose of this feature is to prevent
the battery from being discharged. The
system automatically turns off the head-
lights and parking lights when the driver
removes the ignition key and opens the
driver-side door.
o With this feature, the parklight will be
turned off automatically if the driver parks
on the side of road at night.
If necessary, to keep the lights on when
the ignition key is removed, perform the
following :
1) Open the driver-side door.
2) Turn the parking lights OFF and ON
again using the light switch on the
steering column.
Page 97 of 334
1FEATURES OF YOUR HYUNDAI84
!
B350A03TG-A
Rain Sensor
B350B02TG-GATAuto Wiper Operation
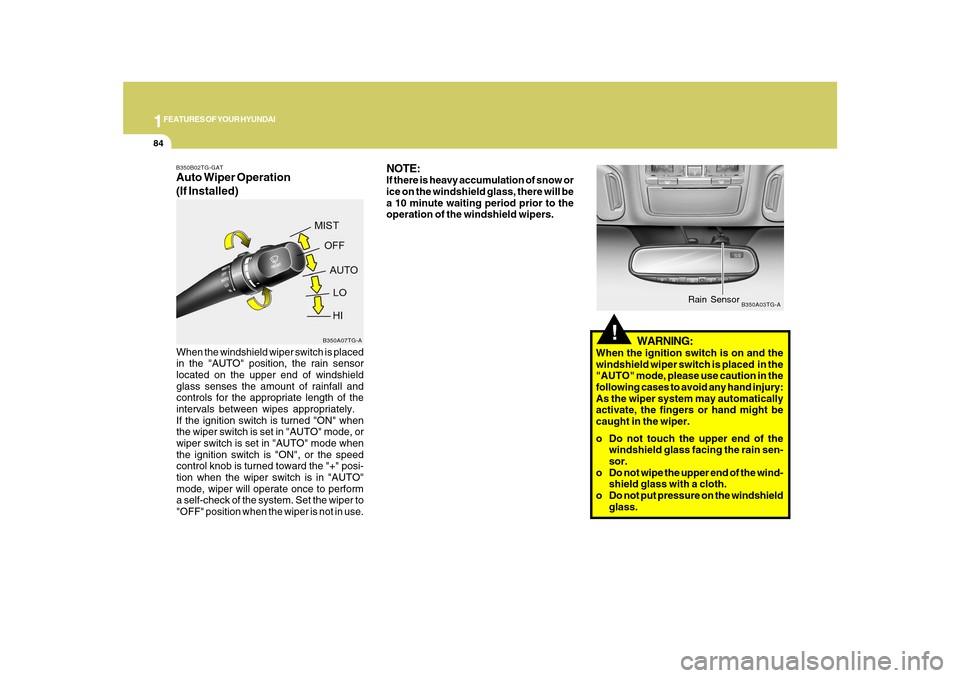
(If Installed)When the windshield wiper switch is placed
in the "AUTO" position, the rain sensor
located on the upper end of windshield
glass senses the amount of rainfall and
controls for the appropriate length of the
intervals between wipes appropriately.
If the ignition switch is turned "ON" when
the wiper switch is set in "AUTO" mode, or
wiper switch is set in "AUTO" mode when
the ignition switch is "ON", or the speed
control knob is turned toward the "+" posi-
tion when the wiper switch is in "AUTO"
mode, wiper will operate once to perform
a self-check of the system. Set the wiper to
"OFF" position when the wiper is not in use.
B350A07TG-A
NOTE:If there is heavy accumulation of snow or
ice on the windshield glass, there will be
a 10 minute waiting period prior to the
operation of the windshield wipers.
WARNING:
When the ignition switch is on and the
windshield wiper switch is placed in the
"AUTO" mode, please use caution in the
following cases to avoid any hand injury:
As the wiper system may automatically
activate, the fingers or hand might be
caught in the wiper.
o Do not touch the upper end of the
windshield glass facing the rain sen-
sor.
o Do not wipe the upper end of the wind-
shield glass with a cloth.
o Do not put pressure on the windshield
glass.
Page 99 of 334
1FEATURES OF YOUR HYUNDAI86
FRONT/REAR WINDOW
DEFROSTER SWITCH
B380A02TG-A B380A02HP-AAT
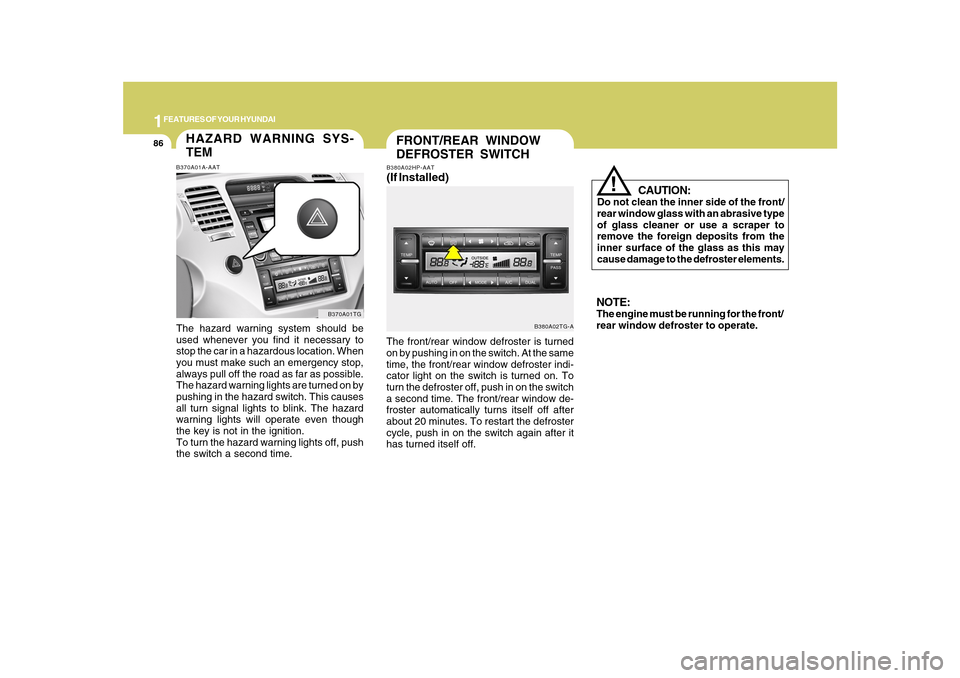
(If Installed)The front/rear window defroster is turned
on by pushing in on the switch. At the same
time, the front/rear window defroster indi-
cator light on the switch is turned on. To
turn the defroster off, push in on the switch
a second time. The front/rear window de-
froster automatically turns itself off after
about 20 minutes. To restart the defroster
cycle, push in on the switch again after it
has turned itself off.
CAUTION:
Do not clean the inner side of the front/
rear window glass with an abrasive type
of glass cleaner or use a scraper to
remove the foreign deposits from the
inner surface of the glass as this may
cause damage to the defroster elements.
!
NOTE:The engine must be running for the front/
rear window defroster to operate.
HAZARD WARNING SYS-
TEMB370A01A-AATThe hazard warning system should be
used whenever you find it necessary to
stop the car in a hazardous location. When
you must make such an emergency stop,
always pull off the road as far as possible.
The hazard warning lights are turned on by
pushing in the hazard switch. This causes
all turn signal lights to blink. The hazard
warning lights will operate even though
the key is not in the ignition.
To turn the hazard warning lights off, push
the switch a second time.
B370A01TG
Page 104 of 334
1
FEATURES OF YOUR HYUNDAI
91
!
Auto reverseIf an object or part of the body is detected
while the sunroof is closing automatically,
it will reverse direction, and then stop.
Auto reverse function does not work if a tiny
obstacle is blocked between the sliding
glass and the sunroof sash. You should
always check that all passengers and
objects are away from the sunroof before
closing it.
WARNING:
Be careful that someone’s head, hands
and body are not trapped by a closing
sunroof.Manual slide closePress the CLOSE button on the overhead
console for less than 0.5 second.
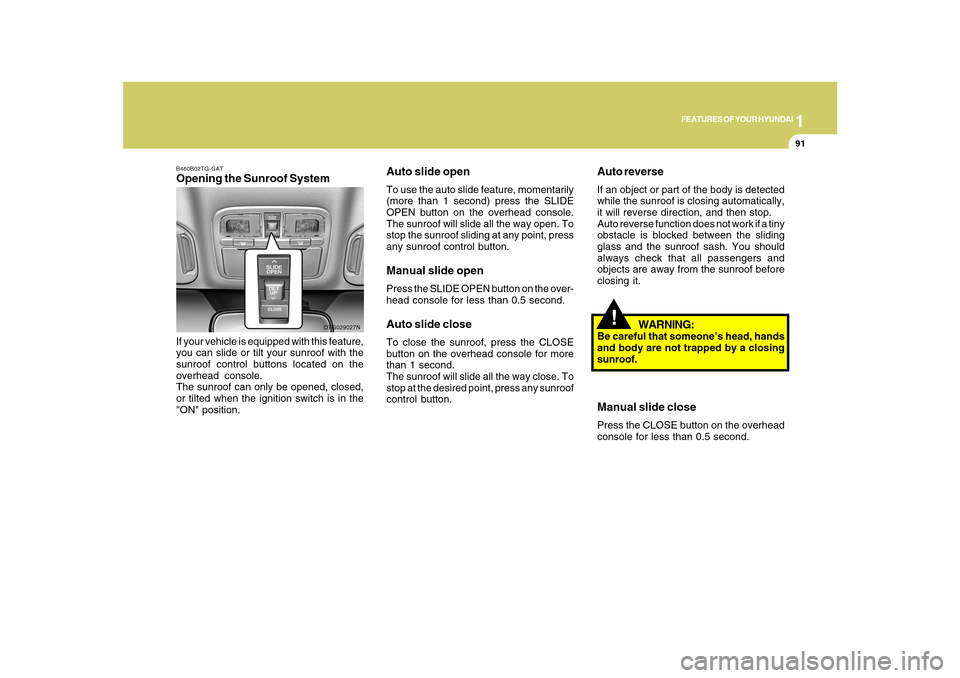
B460B02TG-GATOpening the Sunroof SystemIf your vehicle is equipped with this feature,
you can slide or tilt your sunroof with the
sunroof control buttons located on the
overhead console.
The sunroof can only be opened, closed,
or tilted when the ignition switch is in the
"ON" position.
OTG029027N
Auto slide openTo use the auto slide feature, momentarily
(more than 1 second) press the SLIDE
OPEN button on the overhead console.
The sunroof will slide all the way open. To
stop the sunroof sliding at any point, press
any sunroof control button.Manual slide openPress the SLIDE OPEN button on the over-
head console for less than 0.5 second.Auto slide closeTo close the sunroof, press the CLOSE
button on the overhead console for more
than 1 second.
The sunroof will slide all the way close. To
stop at the desired point, press any sunroof
control button.
Page 106 of 334
1
FEATURES OF YOUR HYUNDAI
93
!
CAUTION:
o Do not open the sunroof in severely
cold temperatures or when it is cov-
ered with ice or snow.
o Periodically remove any dirt that may
have accumulated on the guide rails.
o Do not press any sunroof control but-
ton longer than necessary. Damage
to the motor or system components
could occur.
!
B460E03TG-AATResetting the sunroofWhenever the vehicle battery is discon-
nected or discharged, or related fuse is
blown, you must reset your sunroof system
as follows:
1. Turn the ignition switch to the ON posi-
tion and close the sunroof completely.
2. Release the control button.
3. Press and hold the CLOSE button until
the sunroof tilts and slightly moves up
and down. Then, release the button.
4. Press and hold the CLOSE button until
the sunroof is operated as follows;
TILT DOWN → SLIDE OPEN → SLIDE
CLOSE
Then, release the control button.
When this is complete, the sunroof system
is reset.
CAUTION:
If the sunroof is not reset when the ve-
hicle battery is disconnected or dis-
charged, or related fuse is blown, the
sunroof may operate improperly.
Page 206 of 334
2
DRIVING YOUR HYUNDAI
3
!
!
PROPOSITION 65 WARNING:
Engine exhaust and a wide variety of
automobile components and parts, in-
cluding components found in the interior
furnishings in a vehicle, contain or emit
chemicals known to the State of Califor-
nia to cause cancer and birth defects
and reproductive harm. In addition, cer-
tain fluids contained in vehicles and cer-
tain products of component wear con-
tain or emit chemicals known to the State
of California to cause cancer and birth
defects or other reproductive harm.
BEFORE STARTING
THE ENGINEC020A02TG-AATBefore you start the engine, you should
always:
1. Look around the vehicle to be sure
there are no flat tires, puddles of oil,
water or other indications of possible
trouble.
2. After entering the car, check to be sure
the parking brake is engaged.
3. Check that all windows and lights are
clean.
4. Check that the interior and exterior
mirrors are clean and in position.
5. Check your seat, seatback and head-
rest to be sure they are in their proper
positions.
6. Lock all the doors.
7. Fasten your seat belt and be sure that
all other occupants have fastened
theirs.
8. Turn off all lights and accessories that
are not needed.
9. When you turn the ignition switch to
"ON", check that all appropriate warn-
ing lights are operating and that you
have sufficient fuel.
10. Check the operation of warning lights
and all bulbs when key is in the "ON"
position.
WARNING:
o Always wear appropriate shoes when
operating your vehicle. Unsuitable
shoes (high heels, ski boots, etc.) may
interfere with your ability to use the
brake and accelerator pedal.
o All passengers must be properly
belted whenever the vehicle is mov-
ing. Refer to pages: 1-27 through 1-
34 for more information on their proper
use.
o Always check the surrounding areas
near your vehicle for people, espe-
cially children, before putting a car
into 'drive'.
o When you intend to park or stop the
vehicle with the engine on, be careful
not to depress the accelerator pedal
for a long period of time. It may over-
heat the engine or exhaust system
and cause fire.