lights Hyundai Azera 2014 User Guide
[x] Cancel search | Manufacturer: HYUNDAI, Model Year: 2014, Model line: Azera, Model: Hyundai Azera 2014Pages: 403, PDF Size: 9.28 MB
Page 130 of 403
Features of your vehicle
54 4
Warnings and indicators
All warning lights are checked by turning
the ignition switch ON (do not start the
engine). Any light that does not illuminate
should be checked by an authorized
HYUNDAI dealer.
After starting the engine, check to make
sure that all warning lights are off. If any
are still on, this indicates a situation that
needs attention. When releasing the
parking brake, the brake system warning
light should go off. The fuel warning light
will stay on if the fuel level is low.
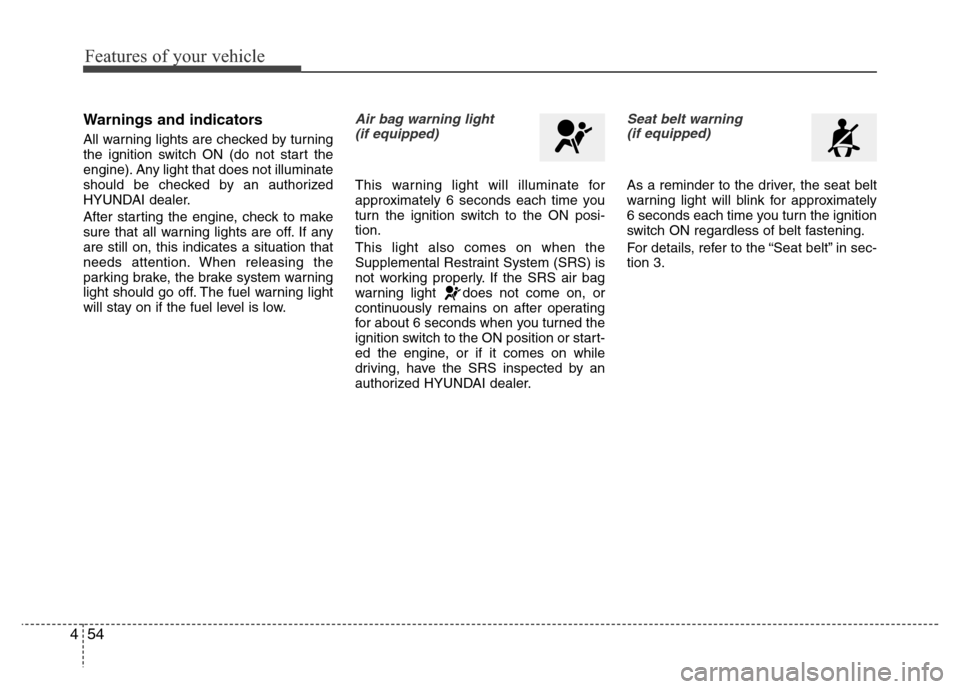
Air bag warning light
(if equipped)
This warning light will illuminate for
approximately 6 seconds each time you
turn the ignition switch to the ON posi-
tion.
This light also comes on when the
Supplemental Restraint System (SRS) is
not working properly. If the SRS air bag
warning light does not come on, or
continuously remains on after operating
for about 6 seconds when you turned the
ignition switch to the ON position or start-
ed the engine, or if it comes on while
driving, have the SRS inspected by an
authorized HYUNDAI dealer.
Seat belt warning
(if equipped)
As a reminder to the driver, the seat belt
warning light will blink for approximately
6 seconds each time you turn the ignition
switch ON regardless of belt fastening.
For details, refer to the “Seat belt” in sec-
tion 3.
Page 131 of 403
455
Features of your vehicle
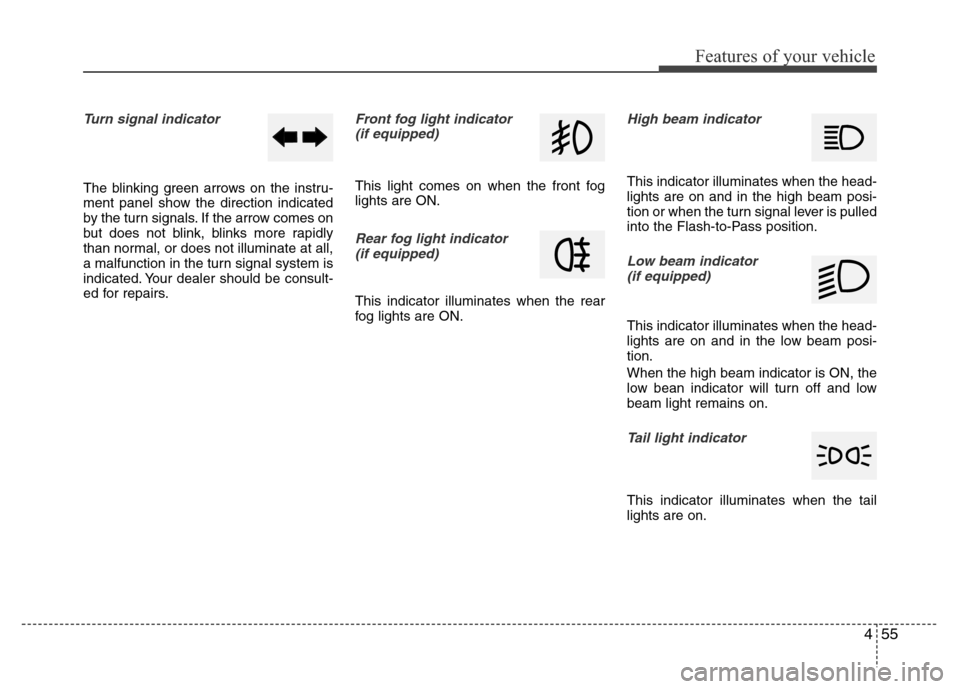
Turn signal indicator
The blinking green arrows on the instru-
ment panel show the direction indicated
by the turn signals. If the arrow comes on
but does not blink, blinks more rapidly
than normal, or does not illuminate at all,
a malfunction in the turn signal system is
indicated. Your dealer should be consult-
ed for repairs.
Front fog light indicator
(if equipped)
This light comes on when the front fog
lights are ON.
Rear fog light indicator
(if equipped)
This indicator illuminates when the rear
fog lights are ON.
High beam indicator
This indicator illuminates when the head-
lights are on and in the high beam posi-
tion or when the turn signal lever is pulled
into the Flash-to-Pass position.
Low beam indicator
(if equipped)
This indicator illuminates when the head-
lights are on and in the low beam posi-
tion.
When the high beam indicator is ON, the
low bean indicator will turn off and low
beam light remains on.
Tail light indicator
This indicator illuminates when the tail
lights are on.
Page 133 of 403
457
Features of your vehicle
Your vehicle is equipped with dual-diago-
nal braking systems. This means you still
have braking on two wheels even if one
of the dual systems should fail. With only
one of the dual systems working, more
than normal pedal travel and greater
pedal pressure are required to stop the
car. Also, the car will not stop in as short
a distance with only a portion of the
brake system working. If the brakes fail
while you are driving, shift to a lower gear
for additional engine braking and stop the
car as soon as it is safe to do so.
To check bulb operation, check whether
the parking brake and brake fluid warning
light illuminates when the ignition switch
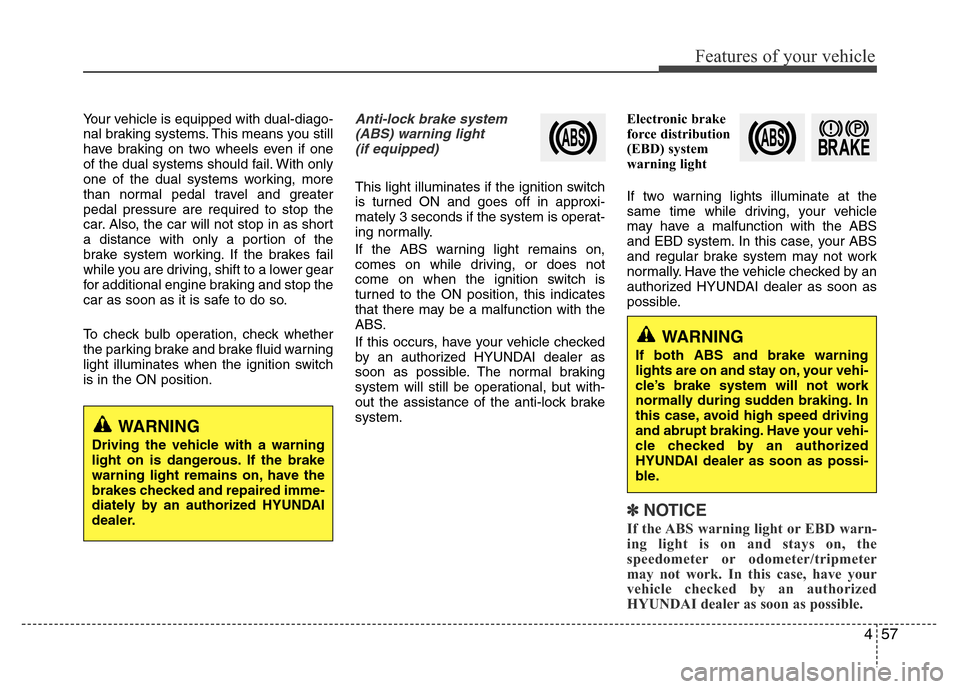
is in the ON position.Anti-lock brake system
(ABS) warning light
(if equipped)
This light illuminates if the ignition switch
is turned ON and goes off in approxi-
mately 3 seconds if the system is operat-
ing normally.
If the ABS warning light remains on,
comes on while driving, or does not
come on when the ignition switch is
turned to the ON position, this indicates
that there may be a malfunction with the
ABS.
If this occurs, have your vehicle checked
by an authorized HYUNDAI dealer as
soon as possible. The normal braking
system will still be operational, but with-
out the assistance of the anti-lock brake
system.Electronic brake
force distribution
(EBD) system
warning light
If two warning lights illuminate at the
same time while driving, your vehicle
may have a malfunction with the ABS
and EBD system. In this case, your ABS
and regular brake system may not work
normally. Have the vehicle checked by an
authorized HYUNDAI dealer as soon as
possible.
✽NOTICE
If the ABS warning light or EBD warn-
ing light is on and stays on, the
speedometer or odometer/tripmeter
may not work. In this case, have your
vehicle checked by an authorized
HYUNDAI dealer as soon as possible.
WARNING
Driving the vehicle with a warning
light on is dangerous. If the brake
warning light remains on, have the
brakes checked and repaired imme-
diately by an authorized HYUNDAI
dealer.
WARNING
If both ABS and brake warning
lights are on and stay on, your vehi-
cle’s brake system will not work
normally during sudden braking. In
this case, avoid high speed driving
and abrupt braking. Have your vehi-
cle checked by an authorized
HYUNDAI dealer as soon as possi-
ble.
Page 137 of 403
461
Features of your vehicle
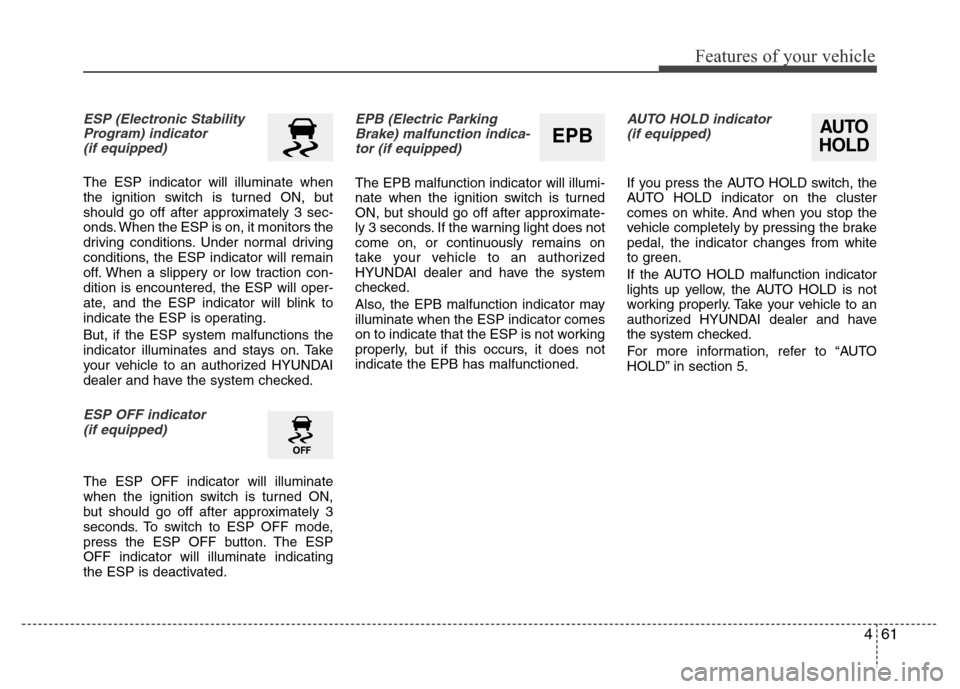
ESP (Electronic Stability
Program) indicator
(if equipped)
The ESP indicator will illuminate when
the ignition switch is turned ON, but
should go off after approximately 3 sec-
onds. When the ESP is on, it monitors the
driving conditions. Under normal driving
conditions, the ESP indicator will remain
off. When a slippery or low traction con-
dition is encountered, the ESP will oper-
ate, and the ESP indicator will blink to
indicate the ESP is operating.
But, if the ESP system malfunctions the
indicator illuminates and stays on. Take
your vehicle to an authorized HYUNDAI
dealer and have the system checked.
ESP OFF indicator
(if equipped)
The ESP OFF indicator will illuminate
when the ignition switch is turned ON,
but should go off after approximately 3
seconds. To switch to ESP OFF mode,
press the ESP OFF button. The ESP
OFF indicator will illuminate indicating
the ESP is deactivated.
EPB (Electric Parking
Brake) malfunction indica-
tor (if equipped)
The EPB malfunction indicator will illumi-
nate when the ignition switch is turned
ON, but should go off after approximate-
ly 3 seconds. If the warning light does not
come on, or continuously remains on
take your vehicle to an authorized
HYUNDAI dealer and have the system
checked.
Also, the EPB malfunction indicator may
illuminate when the ESP indicator comes
on to indicate that the ESP is not working
properly, but if this occurs, it does not
indicate the EPB has malfunctioned.
AUTO HOLD indicator
(if equipped)
If you press the AUTO HOLD switch, the
AUTO HOLD indicator on the cluster
comes on white. And when you stop the
vehicle completely by pressing the brake
pedal, the indicator changes from white
to green.
If the AUTO HOLD malfunction indicator
lights up yellow, the AUTO HOLD is not
working properly. Take your vehicle to an
authorized HYUNDAI dealer and have
the system checked.
For more information, refer to “AUTO
HOLD” in section 5.
AUTO
HOLDEPB
Page 152 of 403
Features of your vehicle
76 4
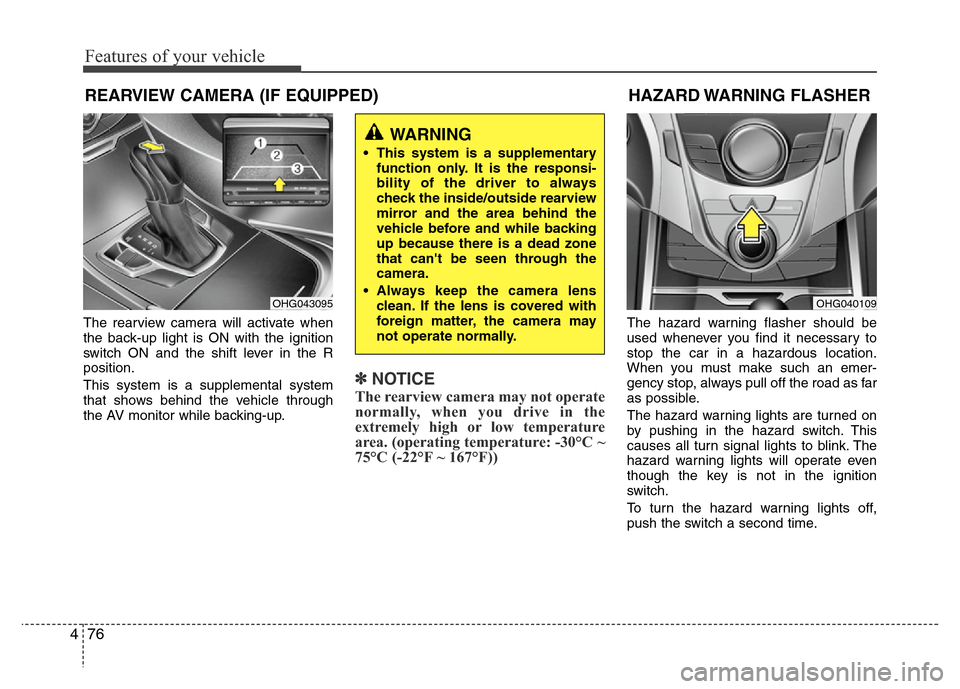
The rearview camera will activate when
the back-up light is ON with the ignition
switch ON and the shift lever in the R
position.
This system is a supplemental system
that shows behind the vehicle through
the AV monitor while backing-up.
✽NOTICE
The rearview camera may not operate
normally, when you drive in the
extremely high or low temperature
area. (operating temperature: -30°C ~
75°C (-22°F ~ 167°F))
The hazard warning flasher should be
used whenever you find it necessary to
stop the car in a hazardous location.
When you must make such an emer-
gency stop, always pull off the road as far
as possible.
The hazard warning lights are turned on
by pushing in the hazard switch. This
causes all turn signal lights to blink. The
hazard warning lights will operate even
though the key is not in the ignition
switch.
To turn the hazard warning lights off,
push the switch a second time.
HAZARD WARNING FLASHER
OHG040109
REARVIEW CAMERA (IF EQUIPPED)
OHG043095
WARNING
• This system is a supplementary
function only. It is the responsi-
bility of the driver to always
check the inside/outside rearview
mirror and the area behind the
vehicle before and while backing
up because there is a dead zone
that can't be seen through the
camera.
• Always keep the camera lens
clean. If the lens is covered with
foreign matter, the camera may
not operate normally.
Page 153 of 403
477
Features of your vehicle
Battery saver function
• The purpose of this feature is to pre-
vent the battery from being dis-
charged. The system automatically
turns off the parking lights when the
driver removes the ignition key (smart
key: turns off the engine) and opens
the driver-side door.
• With this feature, the parking lights will
be turned off automatically if the driver
parks on the side of road at night.
If necessary, to keep the lights on
when the ignition key is removed,
(smart key: turns off the engine) per-
form the following:
1) Open the driver-side door.
2) Turn the parking lights OFF and ON
again using the light switch on the
steering column.
Headlight escort function
(if equipped)
If you turn the ignition switch to the ACC
or OFF position with the headlights ON,
the headlights (and/or tail lights) remain
on for about 5 minutes. However, if the
driver’s door is opened and closed, the
headlights are turned off after 15 sec-
onds.
The headlights can be turned off by
pressing the lock button on the transmit-
ter (or smart key) twice or turning the
light switch to the OFF or parking light
position.
Headlight welcome function
When the headlight is ON or AUTO posi-
tion and all doors (and trunk) are closed
and locked, if you press the door unlock
button on the transmitter (or the smart
key), the headlights will come on for
about 15 seconds. At this time, if you
press the door lock or unlock button, the
headlights will turn off immediately.
LIGHTING
CAUTION
If the driver gets out of the vehicle
through other doors, the battery
saver function does not operate.
Therefore, it causes the battery to
be discharged. In this case, make
sure to turn off the lamp before get-
ting out of the vehicle.
Page 154 of 403
Features of your vehicle
78 4
Lighting control
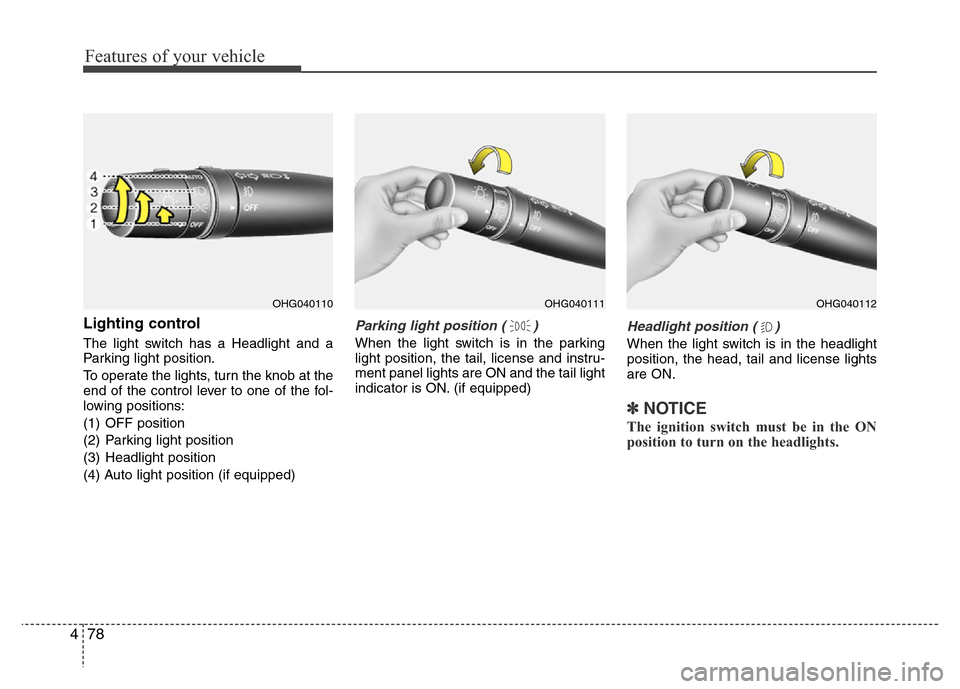
The light switch has a Headlight and a
Parking light position.
To operate the lights, turn the knob at the
end of the control lever to one of the fol-
lowing positions:
(1) OFF position
(2) Parking light position
(3) Headlight position
(4) Auto light position (if equipped)
Parking light position ( )
When the light switch is in the parking
light position, the tail, license and instru-
ment panel lights are ON and the tail light
indicator is ON. (if equipped)
Headlight position ( )
When the light switch is in the headlight
position, the head, tail and license lights
are ON.
✽NOTICE
The ignition switch must be in the ON
position to turn on the headlights.
OHG040110OHG040111OHG040112
Page 155 of 403
479
Features of your vehicle
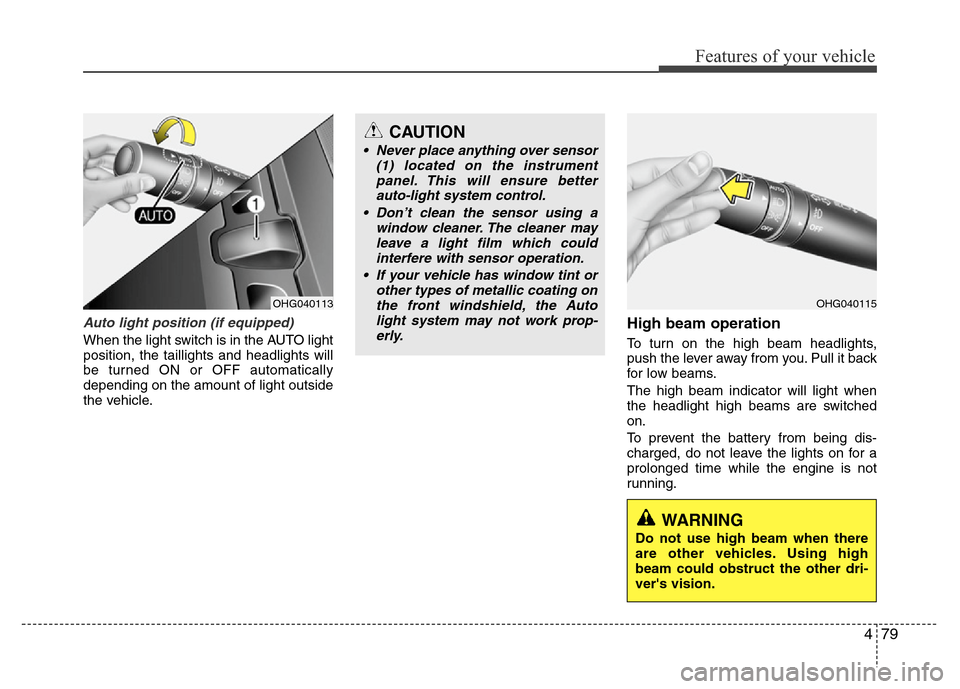
Auto light position (if equipped)
When the light switch is in the AUTO light
position, the taillights and headlights will
be turned ON or OFF automatically
depending on the amount of light outside
the vehicle.
High beam operation
To turn on the high beam headlights,
push the lever away from you. Pull it back
for low beams.
The high beam indicator will light when
the headlight high beams are switched
on.
To prevent the battery from being dis-
charged, do not leave the lights on for a
prolonged time while the engine is not
running.
OHG040113OHG040115
CAUTION
• Never place anything over sensor
(1) located on the instrument
panel. This will ensure better
auto-light system control.
• Don’t clean the sensor using a
window cleaner. The cleaner may
leave a light film which could
interfere with sensor operation.
• If your vehicle has window tint or
other types of metallic coating on
the front windshield, the Auto
light system may not work prop-
erly.
WARNING
Do not use high beam when there
are other vehicles. Using high
beam could obstruct the other dri-
ver's vision.
Page 156 of 403
Features of your vehicle
80 4
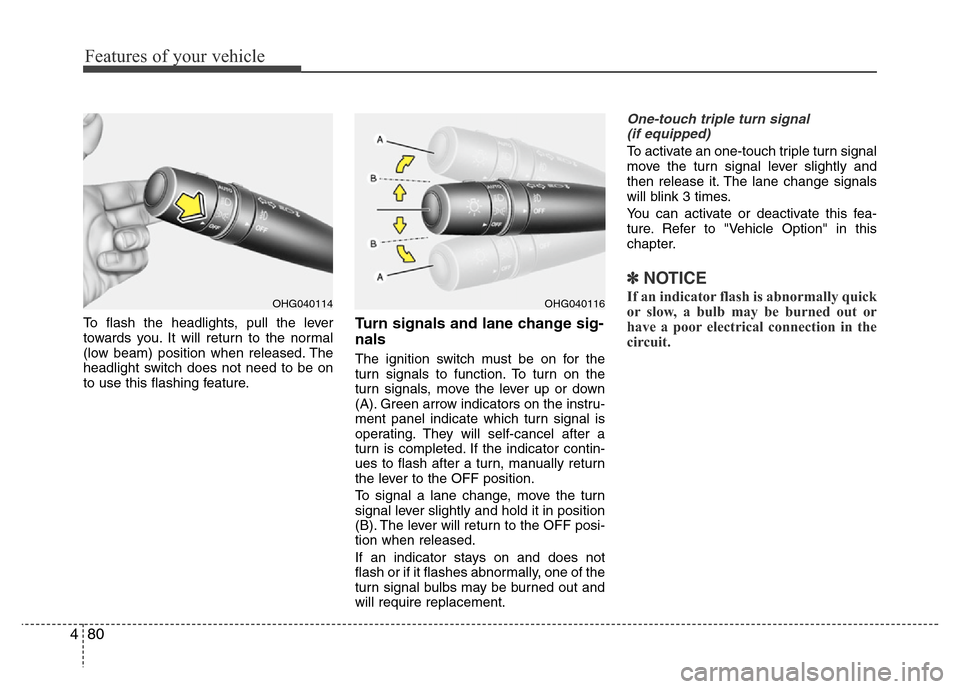
To flash the headlights, pull the lever
towards you. It will return to the normal
(low beam) position when released. The
headlight switch does not need to be on
to use this flashing feature.Turn signals and lane change sig-
nals
The ignition switch must be on for the
turn signals to function. To turn on the
turn signals, move the lever up or down
(A). Green arrow indicators on the instru-
ment panel indicate which turn signal is
operating. They will self-cancel after a
turn is completed. If the indicator contin-
ues to flash after a turn, manually return
the lever to the OFF position.
To signal a lane change, move the turn
signal lever slightly and hold it in position
(B). The lever will return to the OFF posi-
tion when released.
If an indicator stays on and does not
flash or if it flashes abnormally, one of the
turn signal bulbs may be burned out and
will require replacement.
One-touch triple turn signal
(if equipped)
To activate an one-touch triple turn signal
move the turn signal lever slightly and
then release it. The lane change signals
will blink 3 times.
You can activate or deactivate this fea-
ture. Refer to "Vehicle Option" in this
chapter.
✽NOTICE
If an indicator flash is abnormally quick
or slow, a bulb may be burned out or
have a poor electrical connection in the
circuit.OHG040116OHG040114
Page 157 of 403
481
Features of your vehicle
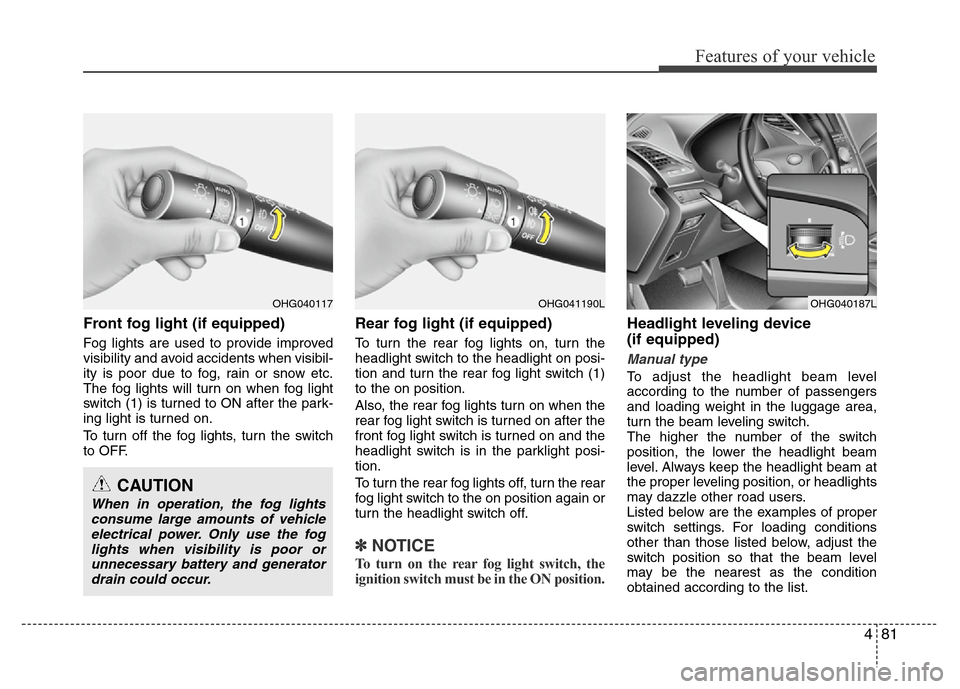
Front fog light (if equipped)
Fog lights are used to provide improved
visibility and avoid accidents when visibil-
ity is poor due to fog, rain or snow etc.
The fog lights will turn on when fog light
switch (1) is turned to ON after the park-
ing light is turned on.
To turn off the fog lights, turn the switch
to OFF.
Rear fog light (if equipped)
To turn the rear fog lights on, turn the
headlight switch to the headlight on posi-
tion and turn the rear fog light switch (1)
to the on position.
Also, the rear fog lights turn on when the
rear fog light switch is turned on after the
front fog light switch is turned on and the
headlight switch is in the parklight posi-
tion.
To turn the rear fog lights off, turn the rear
fog light switch to the on position again or
turn the headlight switch off.
✽NOTICE
To turn on the rear fog light switch, the
ignition switch must be in the ON position.
Headlight leveling device
(if equipped)
Manual type
To adjust the headlight beam level
according to the number of passengers
and loading weight in the luggage area,
turn the beam leveling switch.
The higher the number of the switch
position, the lower the headlight beam
level. Always keep the headlight beam at
the proper leveling position, or headlights
may dazzle other road users.
Listed below are the examples of proper
switch settings. For loading conditions
other than those listed below, adjust the
switch position so that the beam level
may be the nearest as the condition
obtained according to the list.
OHG040117
CAUTION
When in operation, the fog lights
consume large amounts of vehicle
electrical power. Only use the fog
lights when visibility is poor or
unnecessary battery and generator
drain could occur.
OHG040187LOHG041190L