warning Hyundai Coupe 2005 Owner's Manual
[x] Cancel search | Manufacturer: HYUNDAI, Model Year: 2005, Model line: Coupe, Model: Hyundai Coupe 2005Pages: 478, PDF Size: 13.44 MB
Page 7 of 478
!
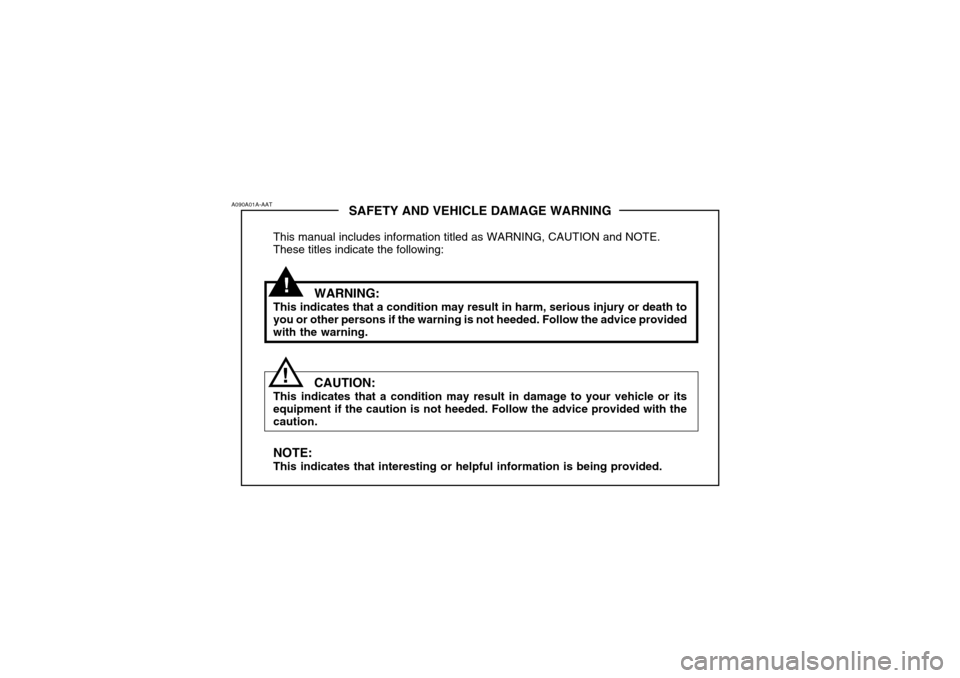
SAFETY AND VEHICLE DAMAGE WARNING
This manual includes information titled as WARNING, CAUTION and NOTE. These titles indicate the following:
WARNING:
This indicates that a condition may result in harm, serious injury or death to you or other persons if the warning is not heeded. Follow the advice provided with the warning.
CAUTION:
This indicates that a condition may result in damage to your vehicle or its equipment if the caution is not heeded. Follow the advice provided with the caution. NOTE: This indicates that interesting or helpful information is being provided.
A090A01A-AAT
!
Page 11 of 478
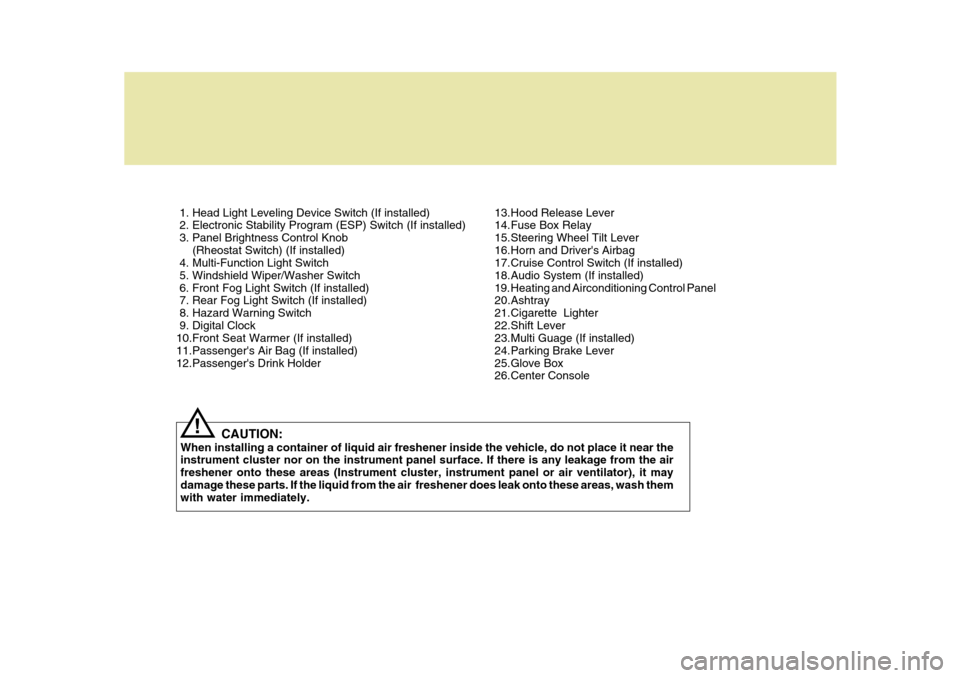
1. Head Light Leveling Device Switch (If installed)
2. Electronic Stability Program (ESP) Switch (If installed)
3. Panel Brightness Control Knob(Rheostat Switch) (If installed)
4. Multi-Function Light Switch
5. Windshield Wiper/Washer Switch
6. Front Fog Light Switch (If installed)
7. Rear Fog Light Switch (If installed)
8. Hazard Warning Switch
9. Digital Clock
10.Front Seat Warmer (If installed)
11.Passenger's Air Bag (If installed)
12.Passenger's Drink Holder
CAUTION:
When installing a container of liquid air freshener inside the vehicle, do not place it near the instrument cluster nor on the instrument panel surface. If there is any leakage from the air freshener onto these areas (Instrument cluster, instrument panel or air ventilator), it maydamage these parts. If the liquid from the air freshener does leak onto these areas, wash them with water immediately.
! 13.Hood Release Lever
14.Fuse Box Relay
15.Steering Wheel Tilt Lever
16.Horn and Driver's Airbag
17.Cruise Control Switch (If installed)
18.Audio System (If installed)
19. Heating and Airconditioning Control Panel
20.Ashtray
21.Cigarette Lighter
22.Shift Lever
23.Multi Guage (If installed)
24.Parking Brake Lever
25.Glove Box
26.Center Console
Page 13 of 478
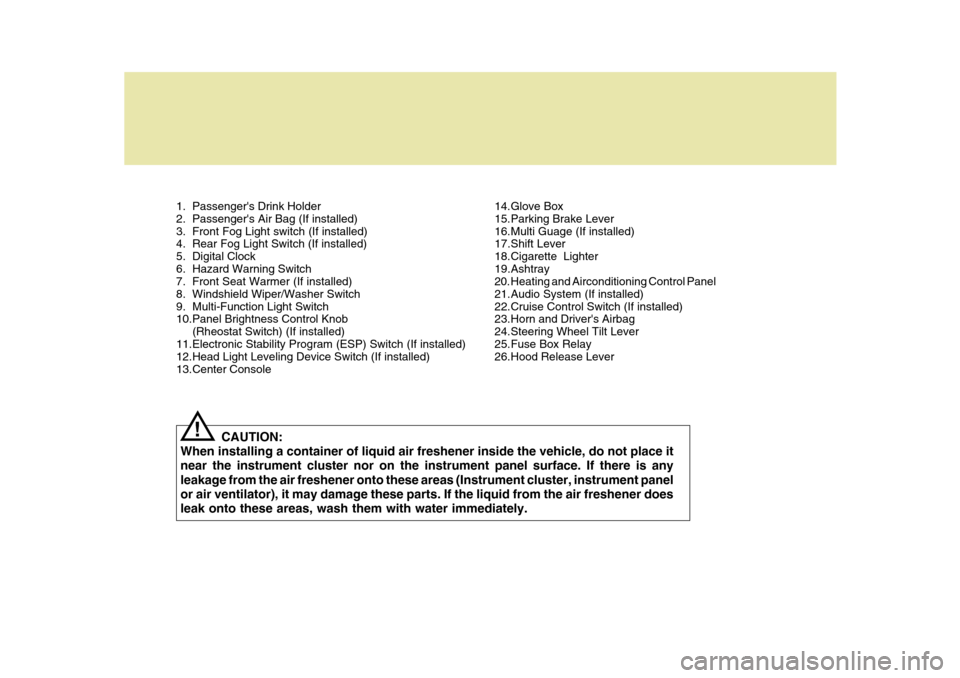
1. Passenger's Drink Holder
2. Passenger's Air Bag (If installed)
3. Front Fog Light switch (If installed)
4. Rear Fog Light Switch (If installed)
5. Digital Clock
6. Hazard Warning Switch
7. Front Seat Warmer (If installed)
8. Windshield Wiper/Washer Switch
9. Multi-Function Light Switch
10.Panel Brightness Control Knob(Rheostat Switch) (If installed)
11.Electronic Stability Program (ESP) Switch (If installed)
12.Head Light Leveling Device Switch (If installed)
13.Center Console
CAUTION:
When installing a container of liquid air freshener inside the vehicle, do not place it near the instrument cluster nor on the instrument panel surface. If there is any leakage from the air freshener onto these areas (Instrument cluster, instrument panel or air ventilator), it may damage these parts. If the liquid from the air freshener doesleak onto these areas, wash them with water immediately.
! 14.Glove Box
15.Parking Brake Lever
16.Multi Guage (If installed)
17.Shift Lever
18.Cigarette Lighter
19.Ashtray
20. Heating and Airconditioning Control Panel
21.Audio System (If installed)
22.Cruise Control Switch (If installed)
23.Horn and Driver's Airbag
24.Steering Wheel Tilt Lever
25.Fuse Box Relay
26.Hood Release Lever
Page 14 of 478

YOUR VEHICLE AT A GLANCE
B255A02GK-GAT INDICATOR SYMBOLS ON THE INSTRUMENT PANEL * More detailed explanations of these items will be found beginning on page 1-42.
Malfunction Indicator Light (If installed)
SRS (Airbag) Service Reminder Indicator (SRI)(If installed)
Tail Gate Open Warning Light
Low Fuel Level Warning Light
Door Ajar Warning Light (If installed)
ABS Service Reminder Indicator (If installed)
Turn Signal Indicator Lights
High Beam Indicator Light Low Oil Pressure Warning Light Parking Brake/Brake Fluid Level Warning Light Charging System Warning Light
CRUISE Indicator Light (If installed)
Seat Belt Warning Light
CRUISE SET Indicator Light (If installed)
Electronic Stability Program (ESP) Indicator Light (If installed)
Immobilizer Warning Light (If installed)
Page 15 of 478
Fuel Recommendations ............................................... 1-2
Breaking In Your New Hyundai .................................... 1-3
Keys .............................................................................. 1-4
Immobilizer System ...................................................... 1-4
Door Locks ................................................................... 1-7
Theft-Alarm System ...................................................... 1-9
Power Windows ..........................................................1-12
Seats .......................................................................... 1-13
Seat Belts ................................................................... 1-19
Child Restraint System............................................... 1-24
Supplemental Restraint (AIRBAG) System ............... 1-32
Instrument Cluster and Indicator Lights ..................... 1-40
Warning and Indicator Lights ..................................... 1-42
Trip Computer ............................................................ 1-49
Multi-function Light Switch ......................................... 1-52
Windshield Wiper/Washer Switch .............................. 1-54
Sunroof ....................................................................... 1-61
Mirror .......................................................................... 1-64
Hood Release ............................................................. 1-67
Cruise Control ............................................................ 1-72
Audio Remote Control Switch .................................... 1-75
Heating and Cooling Control ...................................... 1-77
Stereo Sound System ................................................ 1-94
Audio System ............................................................. 1-96
Antenna .................................................................... 1-129FEATURES OF YOUR HYUNDAI
1
1
Page 20 of 478
1FEATURES OF YOUR HYUNDAI
6
!
NOTE: You can get the limp home pass- word when the vehicle is first deliv- ered to you. If you do not have thepassword, consult your authorized Hyundai dealer.
1. To set the password you may turn
the ignition key "ON" and then turn it "OFF" according to the digit num-bers, then the immobilizer indicator will blink along with the operation of the ignition key. For example, turnthe ignition key once for digit num- ber "1", and twice for "2", and so on. However, for the digit number "0",you must turn the ignition key for 10 times.
2. Wait for 3~10 seconds.
3. You may set the remaining number of digits by following the same pro-cedures 1 and 2.
4. If all of four digits have been tried successfully, turn the ignition key"ON" and check that the immobi-lizer indicator illuminates. From this time, you have to start your engine within 30 seconds. If you start yourengine after 30 seconds, your en- gine will not start. NOTE: If the engine dies while driving after limp home procedure, you can start your engine within 8 seconds with-out limp home procedure again.
5. If the immobilizer indicator blinks for
five seconds, you have to try the limp home procedure again from the beginning.
After doing the limp home procedure,you have to consult with your autho-rized Hyundai dealer as soon as pos- sible.
CAUTION:
o If you fail to try the limp home procedure with the sequence of three times, you have to wait for about one hour to do the limp home procedure again.
o If you cannot start your engine in spite of limp home procedure,have your vehicle towed by anauthorized Hyundai dealer.
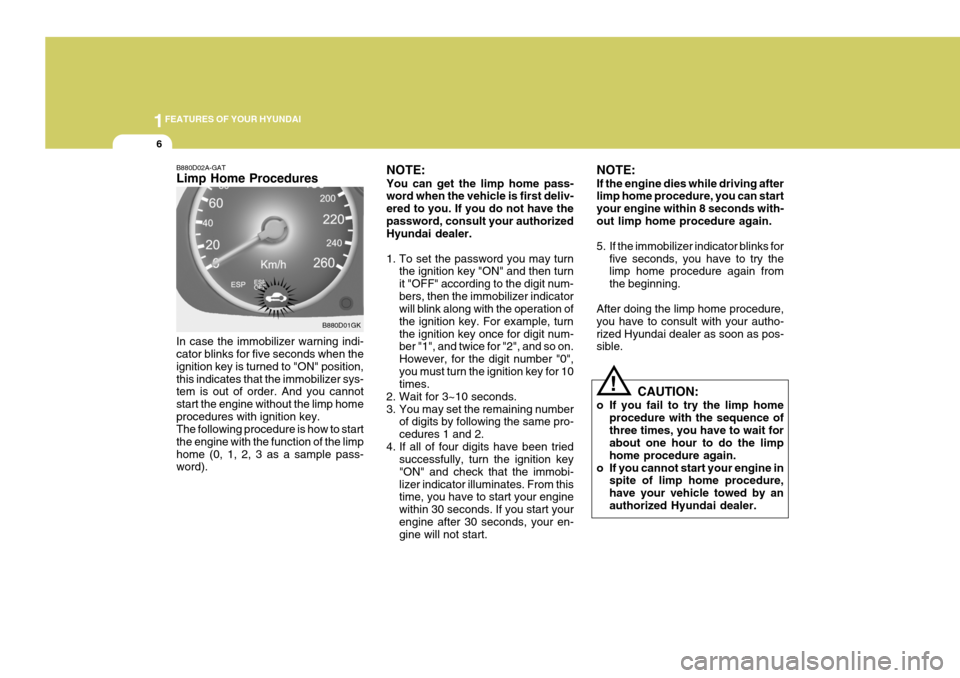
B880D02A-GAT Limp Home Procedures In case the immobilizer warning indi- cator blinks for five seconds when the ignition key is turned to "ON" position,this indicates that the immobilizer sys- tem is out of order. And you cannot start the engine without the limp homeprocedures with ignition key. The following procedure is how to start the engine with the function of the limphome (0, 1, 2, 3 as a sample pass- word). B880D01GK
Page 21 of 478
1
FEATURES OF YOUR HYUNDAI
7
!
DOOR LOCKS
B040A02Y-AAT
WARNING:
o Unlocked doors can be danger- ous. Before you drive away (es- pecially if there are children inthe car), be sure that all the doors are securely closed and locked so that the doors cannot be inad-vertently opened from the inside. This helps ensure that the doors will not be opened accidentally.Also, when combined with the proper use of seat belts, locking the doors helps keep occupantsfrom being ejected from the car in case of an accident.
o Before opening the door, always look for and avoid oncoming traf-fic.
o In case of accident, the door is unlocked automatically (If in-stalled).
B040B01A-AAT Locking and Unlocking Front Doors With a Key
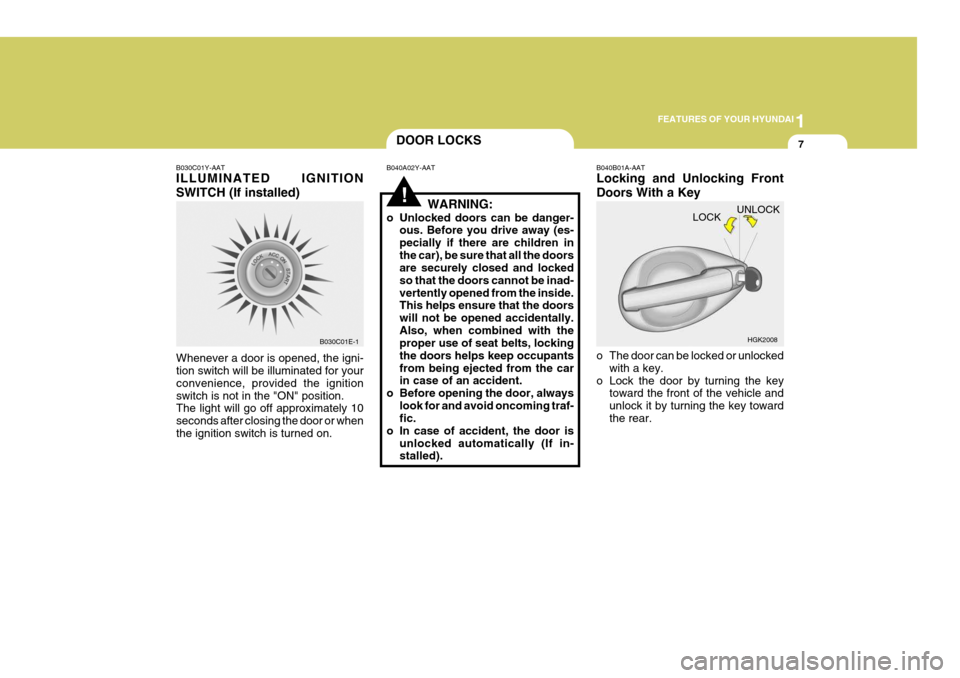
o The door can be locked or unlockedwith a key.
o Lock the door by turning the key toward the front of the vehicle and unlock it by turning the key towardthe rear. HGK2008
UNLOCK
LOCKB030C01Y-AAT ILLUMINATED IGNITION SWITCH (If installed)
Whenever a door is opened, the igni- tion switch will be illuminated for your convenience, provided the ignitionswitch is not in the "ON" position. The light will go off approximately 10 seconds after closing the door or whenthe ignition switch is turned on. B030C01E-1
Page 24 of 478
1FEATURES OF YOUR HYUNDAI
10
! B070D04GK-AAT Disarmed Stage
UNLOCK
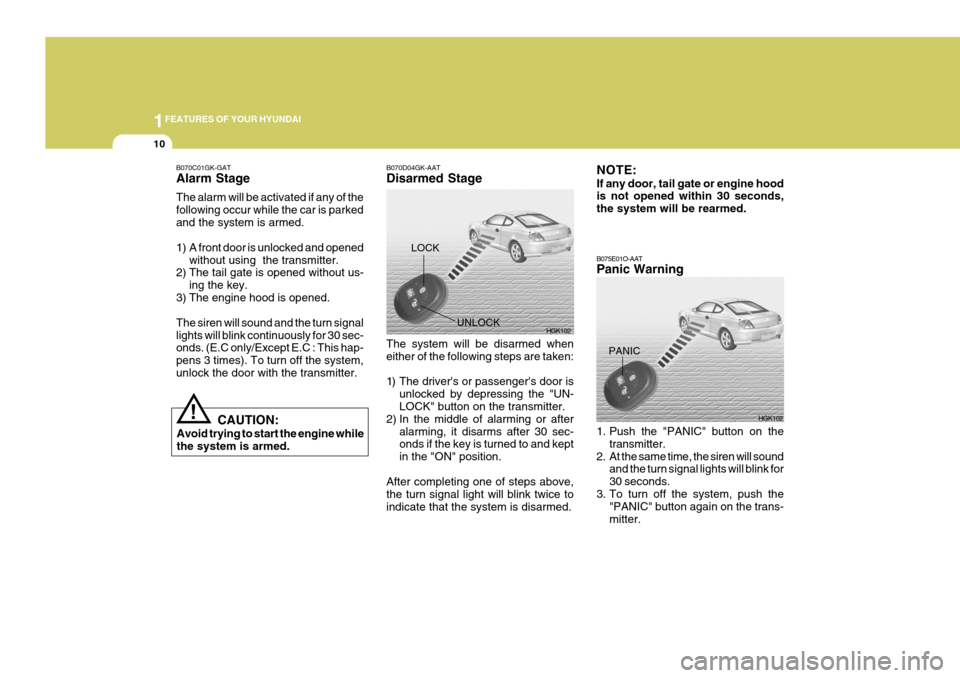
The system will be disarmed when either of the following steps are taken:
1) The driver's or passenger's door is unlocked by depressing the "UN- LOCK" button on the transmitter.
2) In the middle of alarming or after
alarming, it disarms after 30 sec-onds if the key is turned to and kept in the "ON" position.
After completing one of steps above,the turn signal light will blink twice toindicate that the system is disarmed.
CAUTION:
Avoid trying to start the engine while the system is armed. HGK102
LOCK
B070C01GK-GAT Alarm Stage The alarm will be activated if any of the following occur while the car is parkedand the system is armed.
1) A front door is unlocked and opened
without using the transmitter.
2) The tail gate is opened without us-
ing the key.
3) The engine hood is opened.The siren will sound and the turn signal lights will blink continuously for 30 sec- onds. (E.C only/Except E.C : This hap- pens 3 times). To turn off the system,unlock the door with the transmitter.
B075E01O-AAT Panic Warning
1. Push the "PANIC" button on the
transmitter.
2. At the same time, the siren will sound and the turn signal lights will blink for 30 seconds.
3. To turn off the system, push the "PANIC" button again on the trans-mitter. HGK102
PANIC
NOTE: If any door, tail gate or engine hood is not opened within 30 seconds, the system will be rearmed.
Page 27 of 478
1
FEATURES OF YOUR HYUNDAI
13
!WARNING:
1) Be careful that someone's head, hands and body are not trapped by a closing window.
2) Never try to operate the main switch on the driver's door andthe individual door windowswitch in opposing directions at the same time. If this is done, the window will stop and cannot beopened or closed.
passenger's power window, push thewindow lock switch. To revert to nor-mal operation, push in on the window lock switch again.
HGK2016
SEATS
!
B080A01A-AAT ADJUSTABLE FRONT SEATS
WARNING:
Never attempt to adjust the seat while the vehicle is in motion. This could result in loss of control or anaccident which may cause death, serious injury or property damage.
3) Do not leave children alone in the
car. Always remove the ignition key for their safety.
B050A02GK
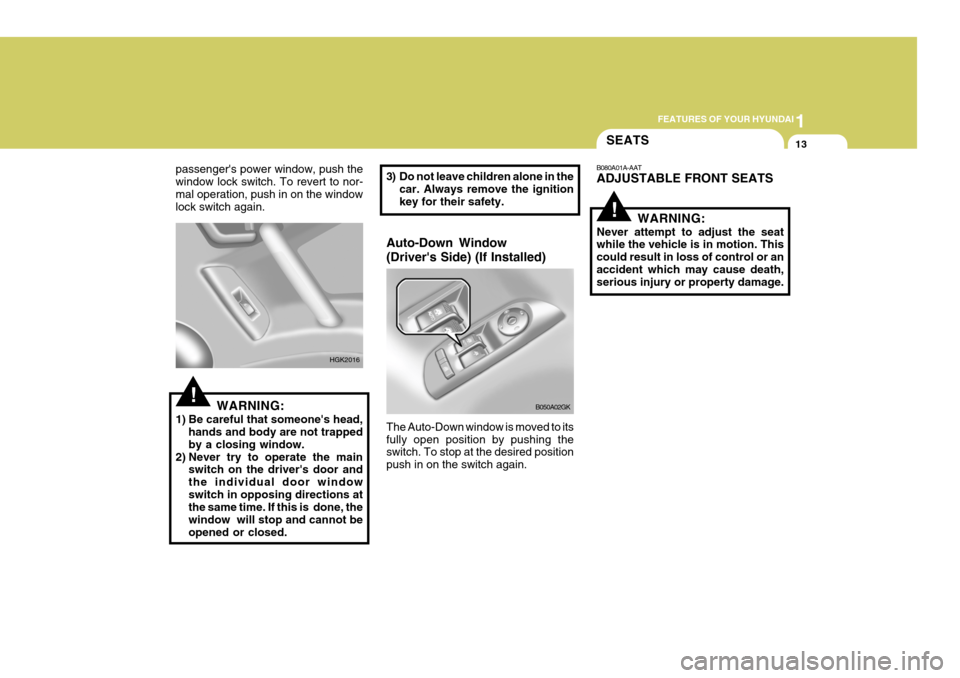
Auto-Down Window (Driver's Side) (If Installed) The Auto-Down window is moved to its fully open position by pushing the switch. To stop at the desired position push in on the switch again.
Page 28 of 478
1FEATURES OF YOUR HYUNDAI
14
!!WARNING:
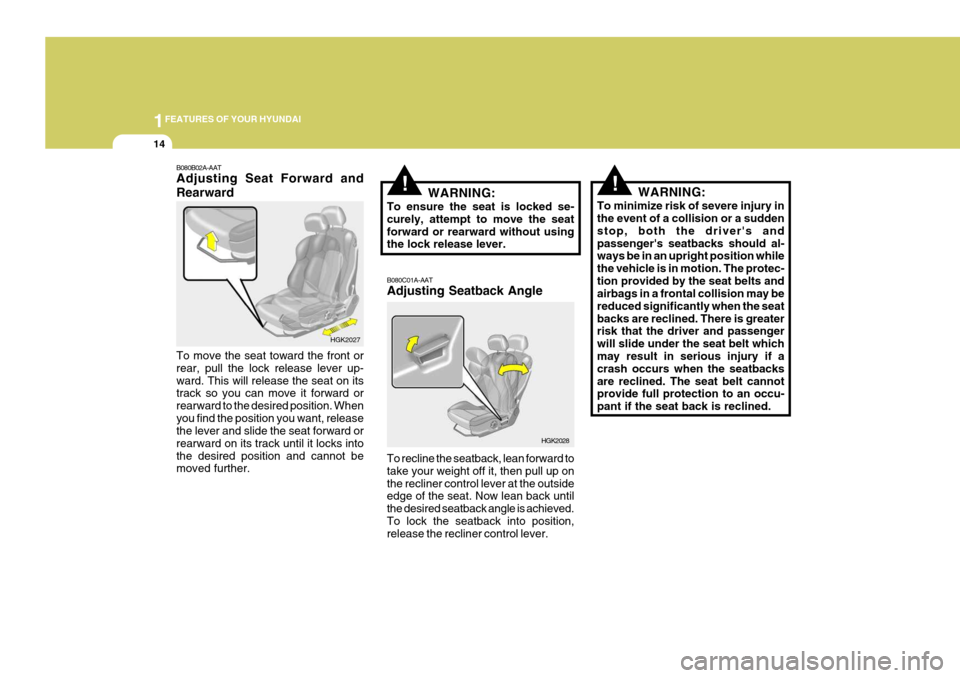
To ensure the seat is locked se- curely, attempt to move the seatforward or rearward without using the lock release lever. B080C01A-AAT Adjusting Seatback Angle
HGK2028
To recline the seatback, lean forward to take your weight off it, then pull up onthe recliner control lever at the outside edge of the seat. Now lean back until the desired seatback angle is achieved.To lock the seatback into position, release the recliner control lever. WARNING:
To minimize risk of severe injury inthe event of a collision or a sudden stop, both the driver's andpassenger's seatbacks should al- ways be in an upright position while the vehicle is in motion. The protec-tion provided by the seat belts and airbags in a frontal collision may be reduced significantly when the seatbacks are reclined. There is greater risk that the driver and passenger will slide under the seat belt which may result in serious injury if a crash occurs when the seatbacksare reclined. The seat belt cannot provide full protection to an occu- pant if the seat back is reclined.
B080B02A-AAT Adjusting Seat Forward and Rearward To move the seat toward the front or rear, pull the lock release lever up-ward. This will release the seat on its track so you can move it forward or rearward to the desired position. Whenyou find the position you want, release the lever and slide the seat forward or rearward on its track until it locks intothe desired position and cannot be moved further. HGK2027